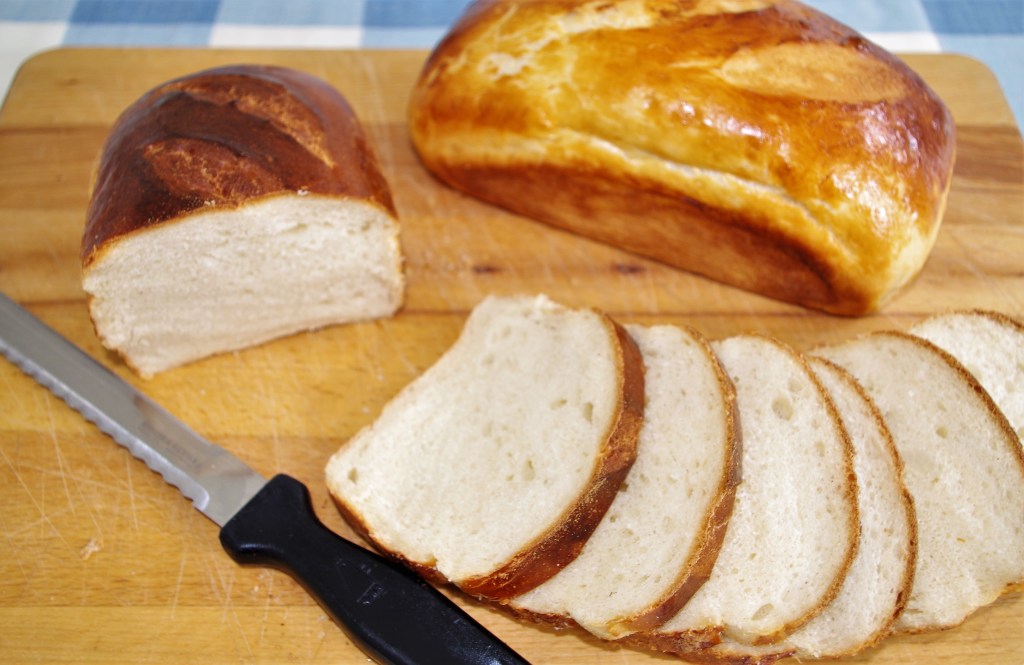
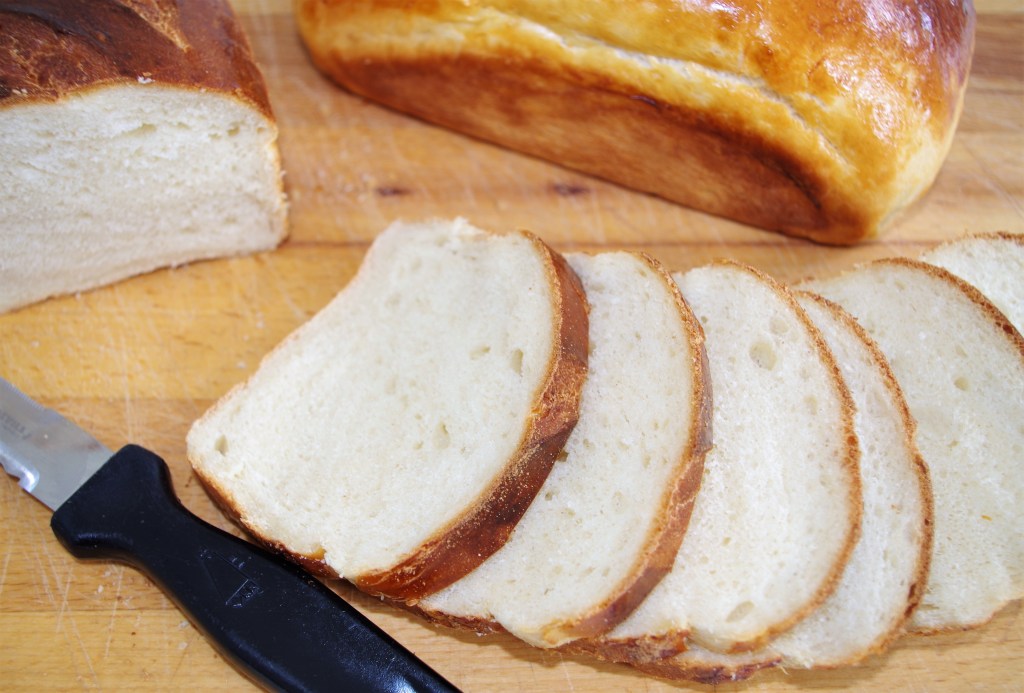
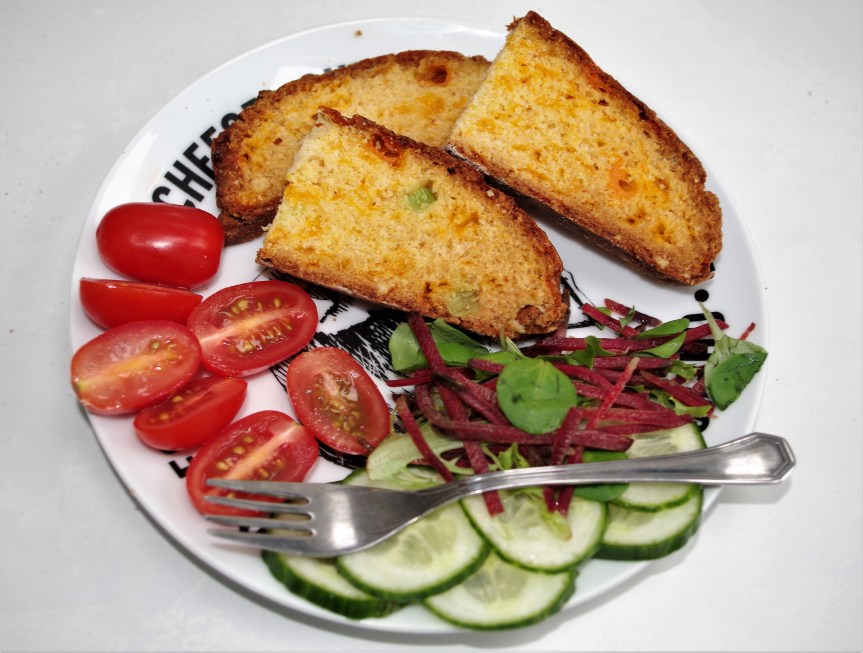
Milk loaves are light and fluffy. These use buttermilk instead of milk and are even lighter, even fluffier and very tasty, with just a hint of sweetness. They’re also great with savoury items: scrambled eggs, baked beans, bacon, salmon, et al.
Makes: 2 small/medium loaves each giving 10 – 12 slices
Time: 5 min prep beforehand then about 90 + 40 min proofing periods with 25 min hands on.
Level: Easy
Need: 2 x 1kg/2lb loaf tins

Ingredients
- Either 200g/7oz sourdough starter or a pre-mix of 100g/3.5oz strong white bread flour & 100ml/3.5fl oz water.
- 400g/14oz strong white bread flour
- 6g salt
- A packet/7g instant yeast
- 50g/1.75oz caster sugar.
- 50g/1.75oz melted butter
- 200ml/7fl oz buttermilk
- 1 small egg for glazing (optional)
Method
Prep: If using a sourdough starter, feed it 2 – 3 hours before using it. If using a pre-mix, simply mix the flour and water together in a bowl with about 1g of yeast and set aside for the same amount of time, or longer.
1. In a large bowl, mix all the dry ingredients (flour, salt, yeast & sugar), keeping the salt and yeast well apart.
2. Make a well in the centre and pour in the starter/pre-mix, melted butter and buttermilk. Stir to mix really well, or get your hands in there and give a good mix.
3. Tip out onto a lightly floured surface and knead until a smooth ball is formed – about 15 min. OR, use a stand mixer with a dough hook – slow for 5 min. then faster for another 5 min. Place in a lightly oiled bowl, turn the ball over a few times and cover with a cloth or cling film or an elasticated shower cap. Leave to double in size – 60 – 90 min depending on the warmth of the room.
4. While the dough is proving, butter and line the inside of two loaf tins.
5. Tip out the risen dough and gently knead it for a couple of minutes. Divide it into two equal pieces by weight. Roll and shape each piece then place them seam side down into the loaf tins. Place these inside a large plastic bag or white bin liner, ensuring that there’s enough air inside to create a “balloon” effect. Leave to prove and rise again – 30 – 40 min.
6. After about 20 min. turn your oven on to 220°C / Fan 200°C / 425°F / Gas 7 and place a baking tray or tin on the bottom shelf (sufficiently high sided to receive ice cubes.)
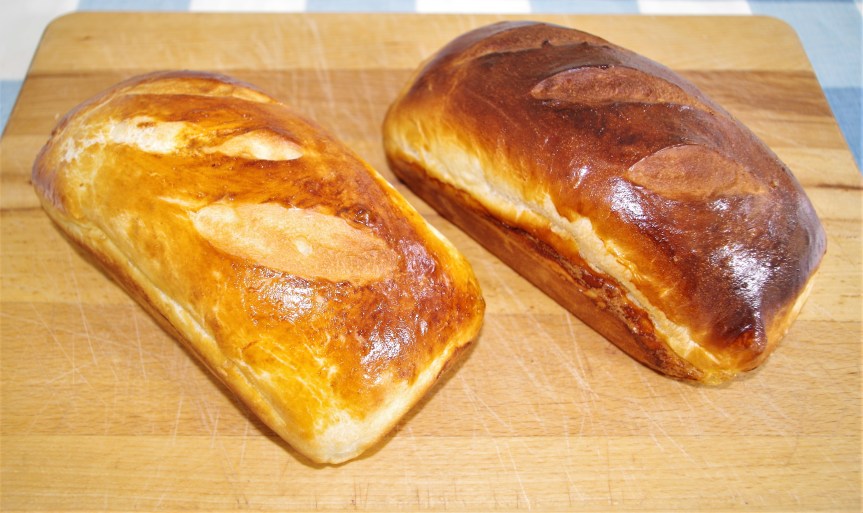
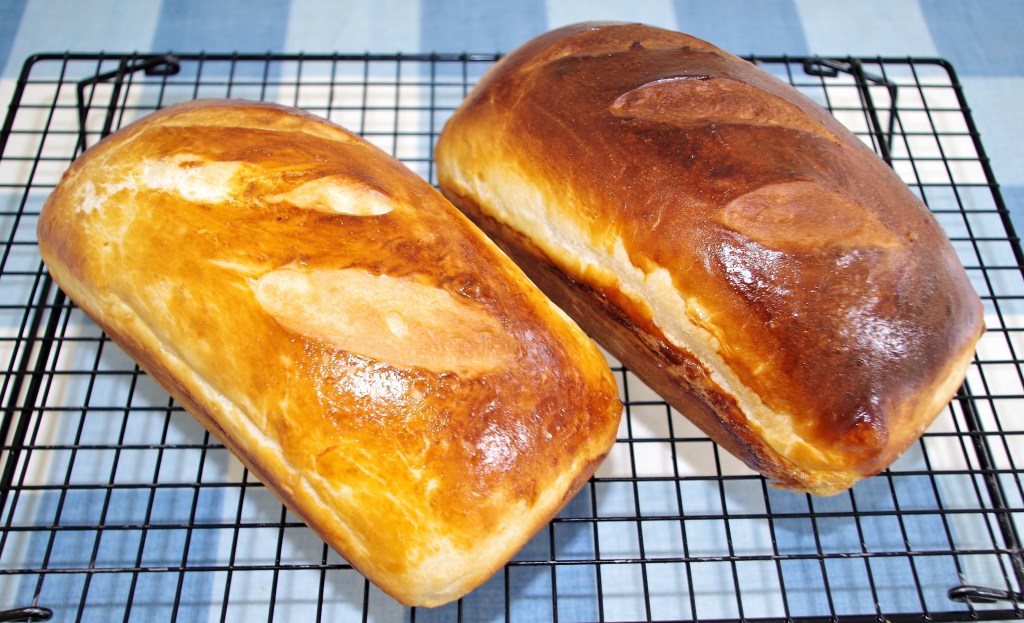
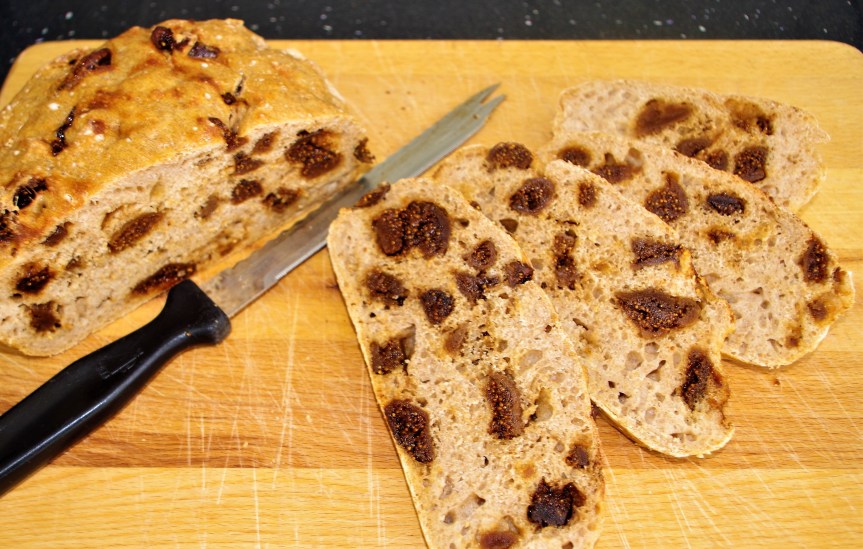
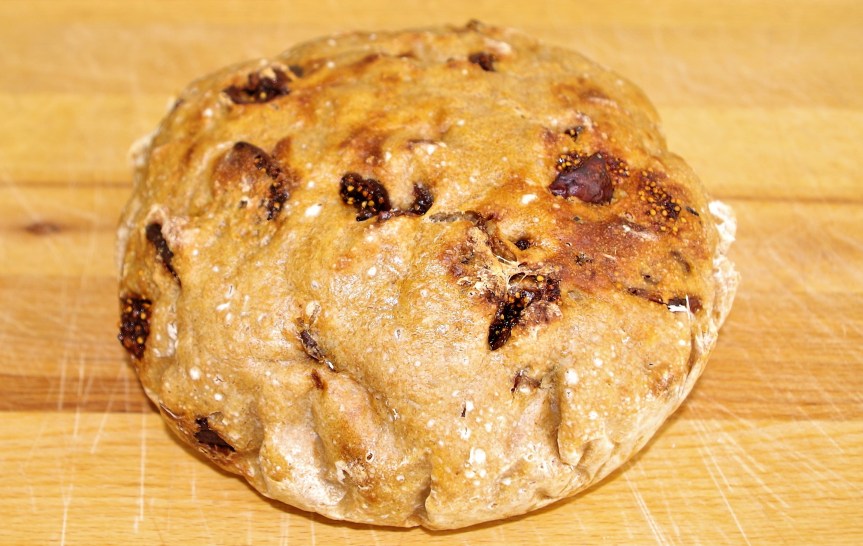
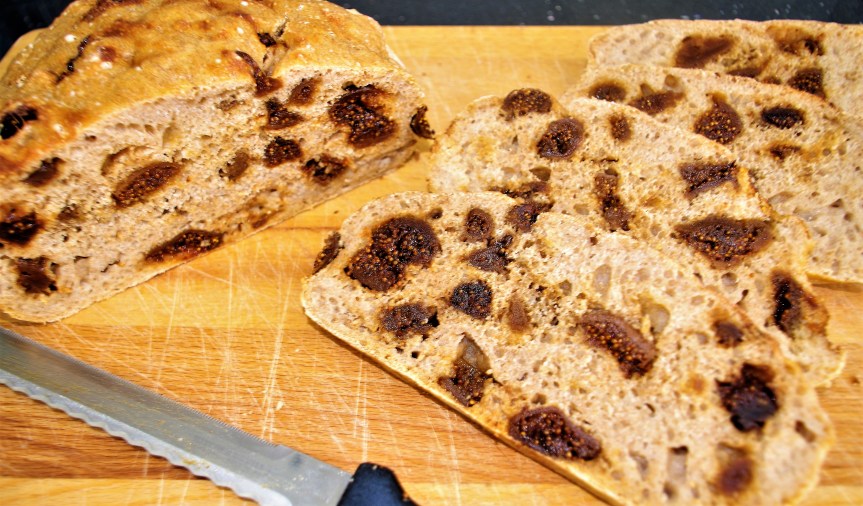
7. When each piece of dough has risen again, use a sharp knife or razor blade to cut three diagonal slashes in each one. You could brush beaten egg onto the loaves if you want a rich, dark top, or use just the yolk for an even darker dark top.*
* This is what I did in the photos; one loaf came out very dark on top. I could have covered it with foil in the latter stages or even turned down the oven temperature, but I quite like a dark loaf.
8. Throw some ice cubes or very cold water into the hot tray at the bottom of your oven then bake the loaves for 24 – 30 min. Check they’re done by tapping the bottom of each loaf and listening for a hollow sound. If they’re not quite ready, pop them back into the oven for a few minutes, just on a rack without re-using the tins.
I hope you have a go at these tasty loaves. If you want to see more of my bread recipes click This link. Here are three quite different breads that I hope you try:


Ridiculously easy No-knead bread


Happy Baking whatever you bake
Best wishes
Ian