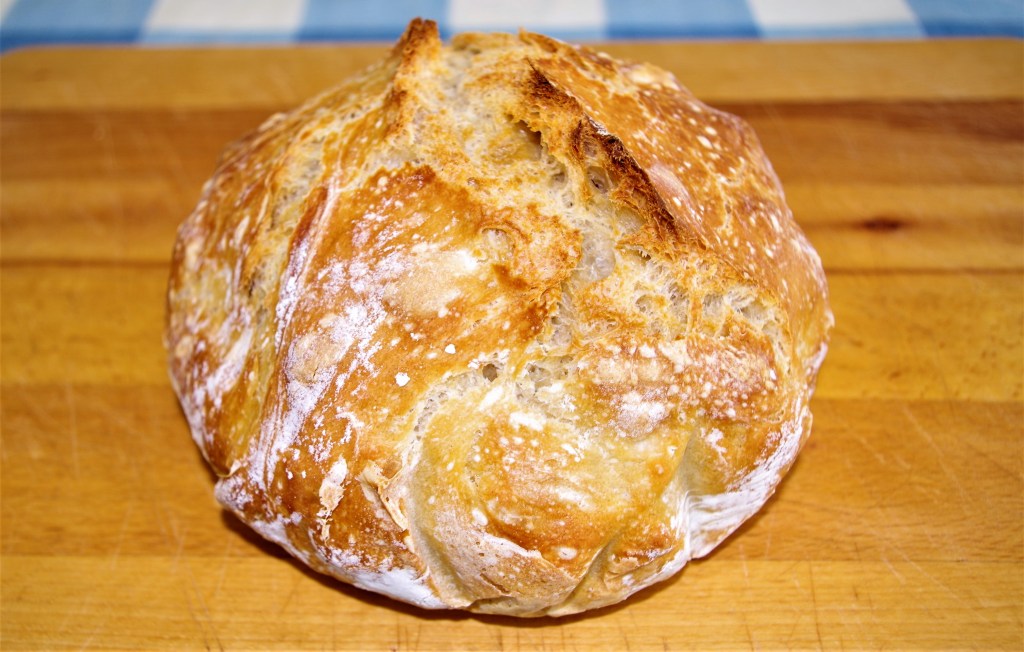
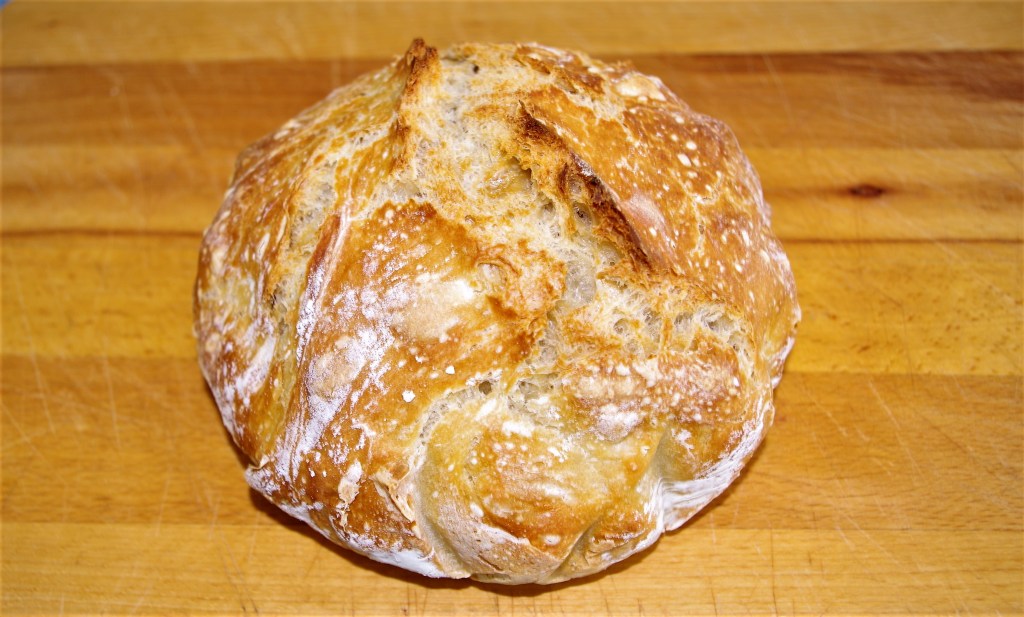
This is the easiest and one of the tastiest yeasted breads that I’ve ever made. It’s so easy, it’s ridiculous. To be honest, I never expected it to come out so well. But, as they say, “the proof of the pudding bread is in the eating.”
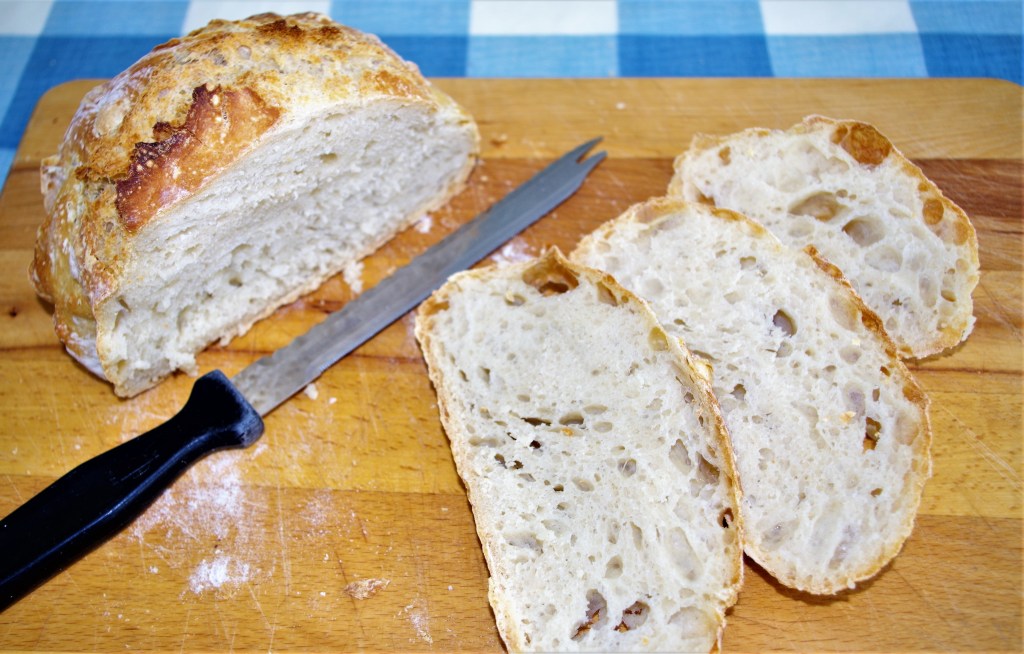
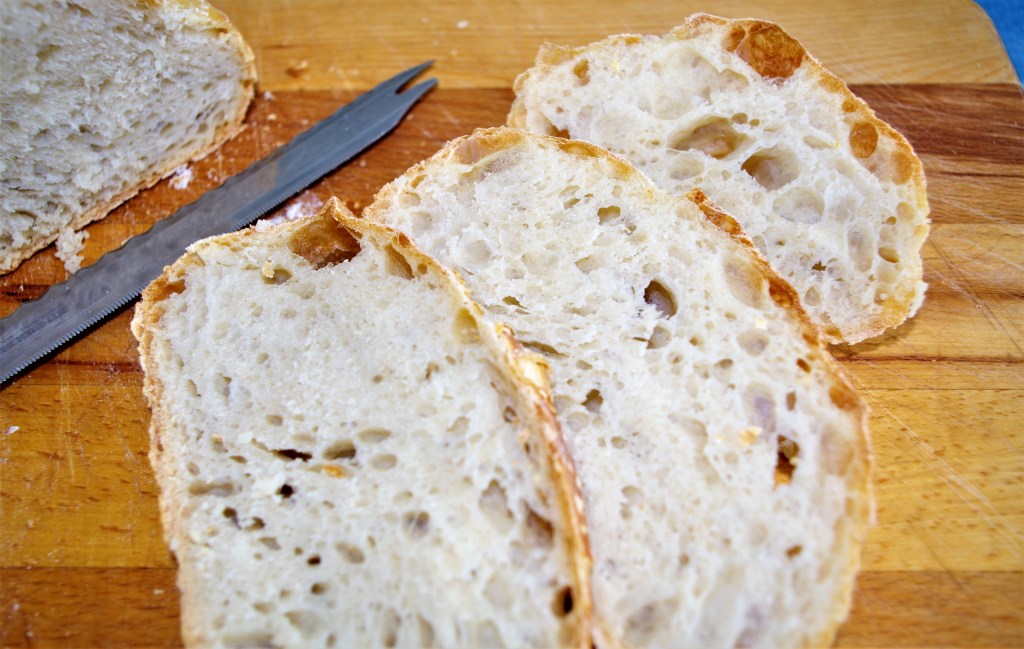
Makes: A medium/small loaf; 10 – 12 slices
Time: Day 1 hands on 5 minutes, then leave overnight. Day 2 hands on 10 minutes + 3 – 4 hours proofing; 40 – 50 minutes baking time
Level: Really easy
Need: A mixing bowl and a Dutch oven (or lidded casserole dish)
Ingredients
- 400g/14oz strong white flour
- 10g/2 tsp salt
- 2g instant yeast
- 300ml/10fl oz cold water
Method
NB I don’t have a thermometer in my kitchen, but this loaf was made in late August in 2021. It was a fairly mild period with Autumn in the air, but not cold. Sorry, that’s the best I can do for temperature. Obviously the proofing times will be affected by very hot or very cold days.
1. Mix together the flour, salt and yeast. (Keep the salt and yeast well apart before mixing.)
2. Make a well in the dry mixture then pour in the water and mix briefly to form a rough, shaggy dough – 2 or 3 minutes at the most.
3. Cover* and leave in the kitchen overnight. I mix mine at about 7pm, but I’m an extremely early riser. “Normal” people would be better off mixing the dough later in the evening, around 10.00pm or later. That way you can bake at around 9.00am rather than 6.00am or even earlier, like me.
(*I use a shower cap. It’s green with white spots. That’s totally irrelevant, but I just fancied mentioning it.)
4. The next morning it should have risen and be bubbly. Keep it in the bowl and simply lift and stretch a piece of dough over itself, turn the bowl and repeat a few times. No “punching down” is needed. Cover the bowl again and leave it to rise – about 3 – 4 hours.
5. Turn the oven on as near to these heats as possible: 230°C / Fan 210°C / 450°F / Gas 8. Put the Dutch oven in to heat up.
6. When the dough has risen again, lay out a large sheet of baking parchment and sprinkle a little flour in the middle. Tip or scrape the dough onto the parchment and repeat the lifting and stretching actions.
7. Lift the parchment & dough into the Dutch oven. Trim away any excess parchment paper with scissors. The dough will probably be far too soft and wet to score. If you want to you could try snipping a few cuts with scissors held vertically, but I didn’t bother.
8. Bake for 20 – 25 minutes with the lid on the Dutch oven. Take the lid off and bake for another 20 minutes. After this, if you want even more colour on the loaf, take it out of the Dutch oven and pop it back onto a shelf in the main oven for another 5 minutes.
9. Cool on a wire rack and try your very best not to cut and eat it too early.
NB again. I normally have a gallery or two with photos of the process, but not this time. I really didn’t think this bread would be so good, so I never bothered. Maybe next time….
I hope you have a go at this ridiculously easy loaf and let me know how you get on using the contact page. If you want to see my more normal bread recipes click this link.

