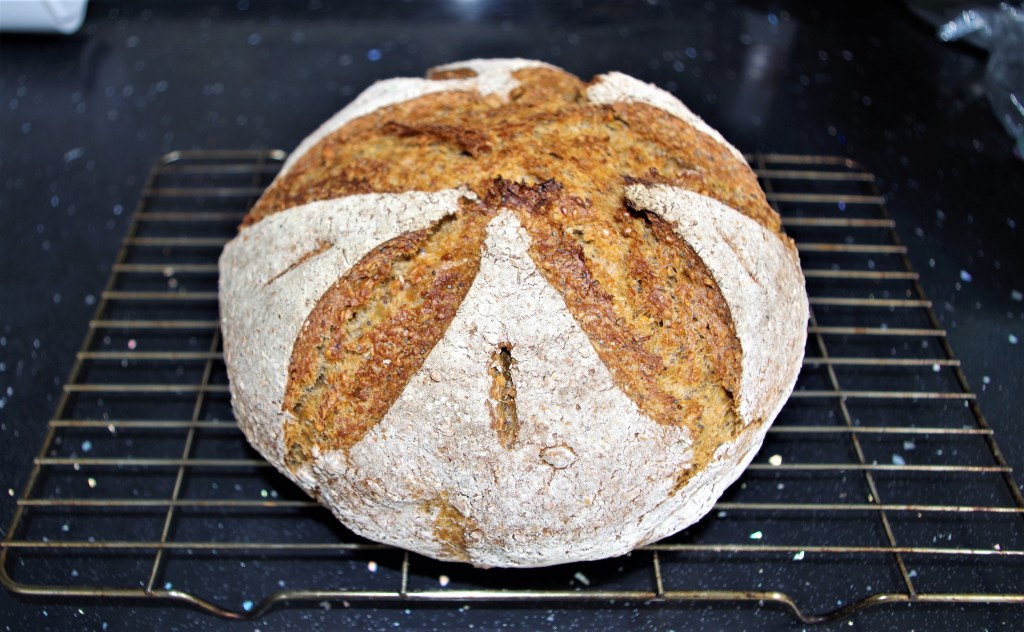
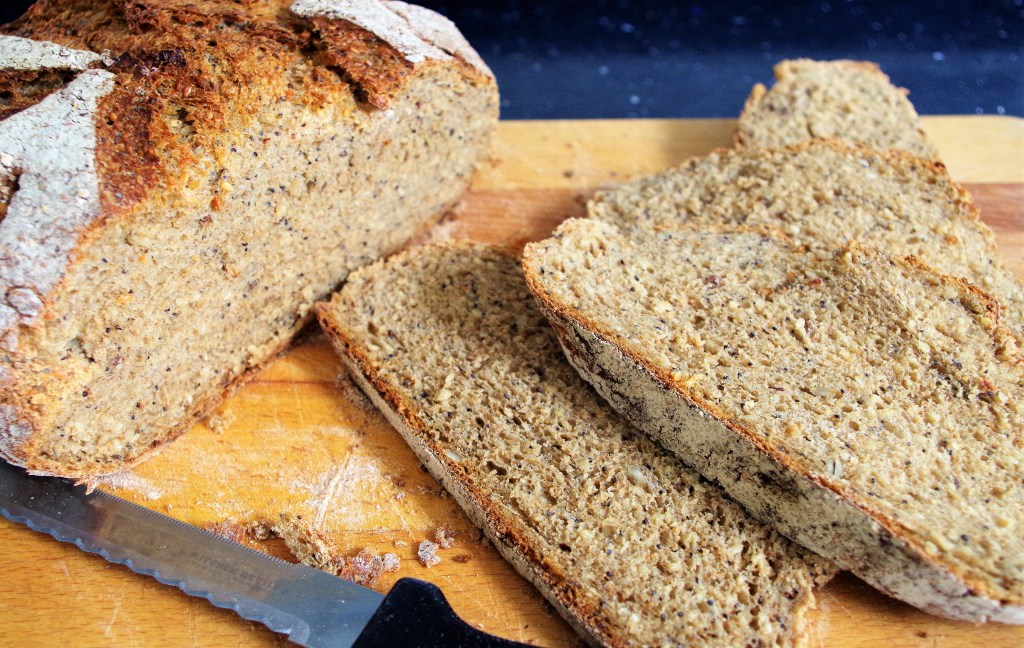
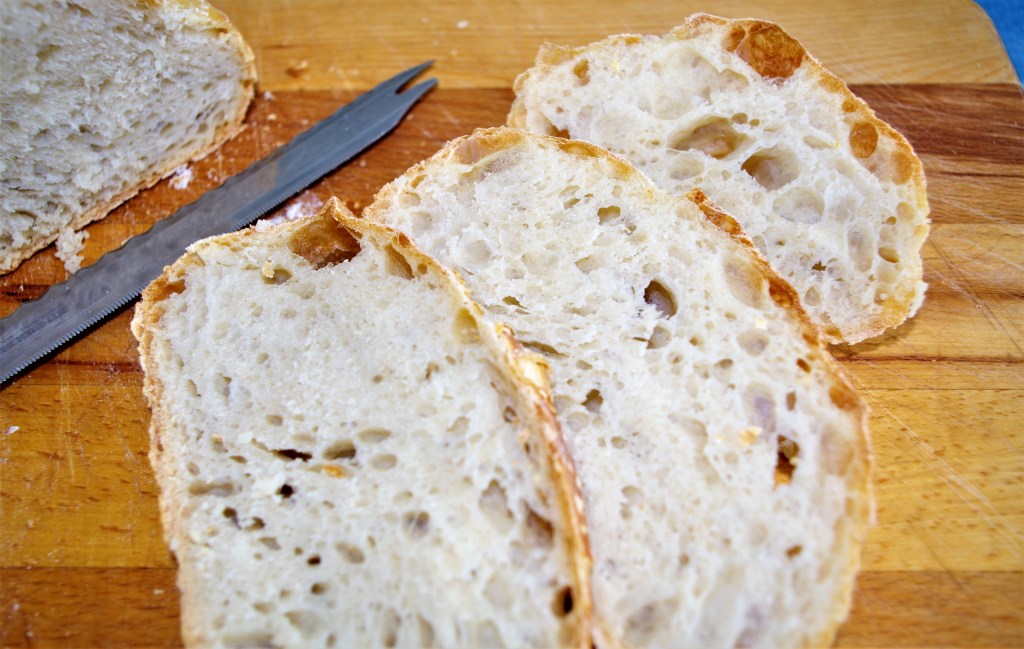
Here’s a loaf that demands some time and attention, but the result makes it well worth it. It’s dark, it’s strong and it’s got attitude.

Makes: One medium loaf
Time: It varies a lot – quite a while if it’s a cold day, but most of the time is when you leave it to prove. Hands on: 20 – 25 min to prep for the first prove; 10 – 15 min prior to baking.
Level: The techniques and actions are straight forward, but you’ll need to exercise judgement along the way as it proves. Think of it as a tasty learning experience.
Need: A stand mixer makes life easier, but not essential. A banneton is useful but can be replaced with a bowl. A Dutch Oven or a lidded casserole dish is necessary.

Ingredients
- 200g/7 oz strong white flour
- 100g/3½ oz wholemeal bread flour
- 200g/7 oz dark rye flour, plus extra for dusting
- 10g fine salt
- 12g – 14g (2 sachets) instant yeast*
- 100g/3½ oz mixed seeds
- 30ml/1 fl oz black treacle
- 350ml/12 fl oz water
* 12g – 14g of yeast for a cold day and a cold rise overnight (i.e. in a garage). For a warm summer day use less, 7g should be OK.
Method
1. Tip the flours into a large mixing bowl (or the bowl of your stand mixer) and add the salt to one side of the bowl and the yeast to the other. Mix well then stir in the seeds. Now add the treacle and about three-quarters of the water. Turn the mixture round with your hands or use the dough hook in your stand mixer.
2. Continue to add the remaining water, a little at a time, until the sides of the bowl are clear of extra flour. You may not need to add all the water or you may need to add a little more – you want dough that is soft, but not soggy.
3. Knead the dough until it is smooth and stretchy: 12 – 15 min by hand, up to 10min in a stand mixer with dough hook.
4. Place it in an oiled bowl, cover and leave to prove for about 6 – 8 hours or maybe even overnight. The dough will double in size eventually, but will take much longer than an all white wheat flour loaf.
5. When the dough has risen, generously dust the inside of a round proving basket (banneton) with flour. (If you don’t have a banneton you could use a medium sized bowl lined with baking parchment.)
6. Punch down the risen dough then tip it out onto a lightly floured surface. Knead it briefly then form into a smooth, round cob shape by turning it on the work surface and tucking the edges underneath until the top is smooth and tight. Flour the cob and place in the banneton with top downwards. Cover and leave to prove again for 1 – 2 hours, but keep an eye on it, especially if the room is warm.
7. For the “cold start method” gently tip the risen dough onto a large sheet of parchment paper. Score the dough ball with a very sharp knife then use the parchment to lift it into the Dutch oven. (If your dough spreads on the parchment get it into the Dutch Oven ASAP and score it in there, or use scissors.)
8. Put the lid on the Dutch Oven and place on a low shelf in your main oven. Now turn the oven on to 220C / Fan 200C / 425F /Gas 7 and bake for 55 minutes with the lid on then about 10 minutes lid off.
9. Test the baked loaf by tapping it with your knuckles. A hollow sound means it has baked OK. Take it out and cool on a wire rack.
I hope you try this lovely loaf and enjoy making and eating it. If you want to see more of my bread recipes click This link.
Here are some quite different breads that I hope you try:
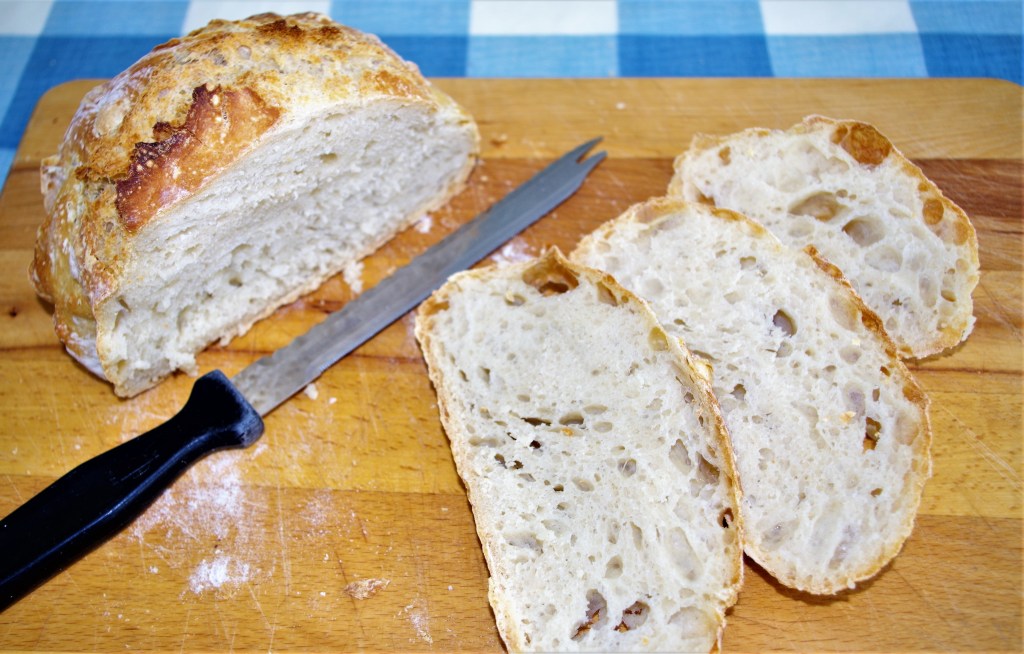
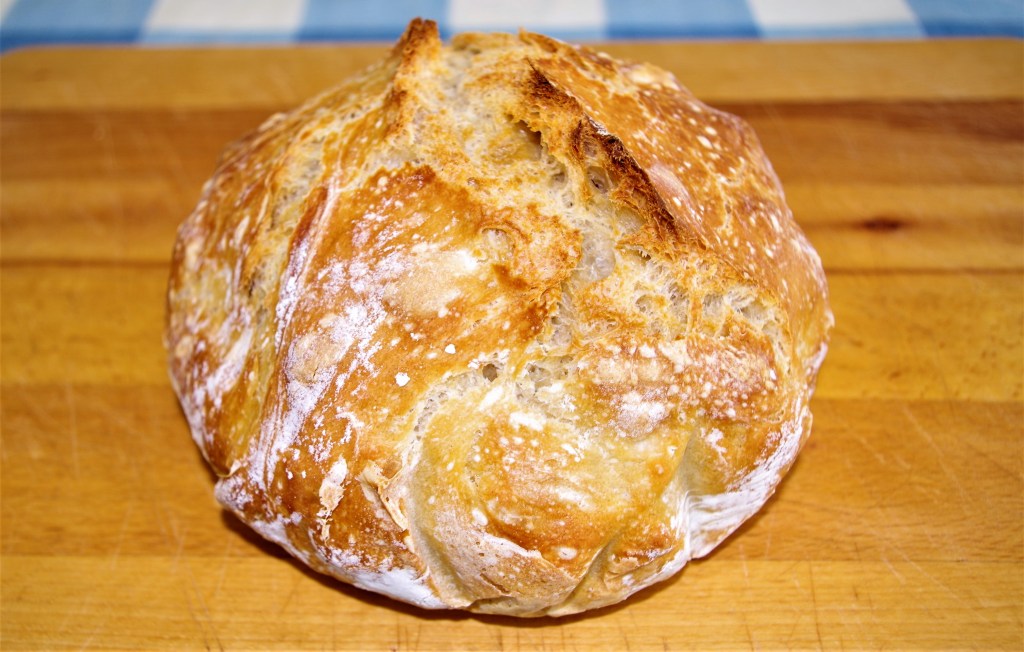
Ridiculously easy No-knead bread
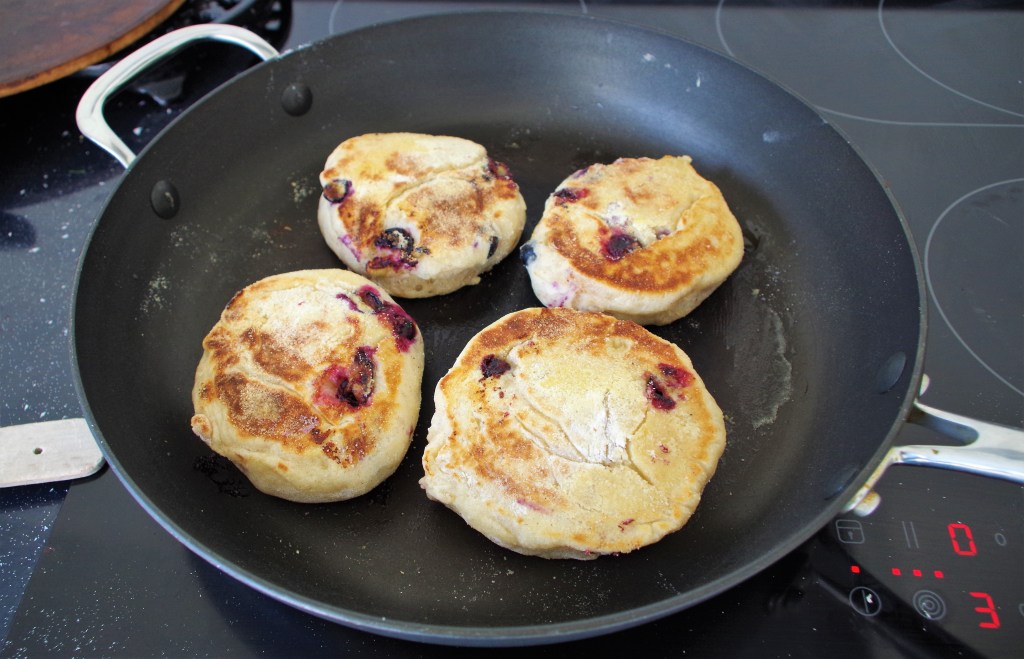
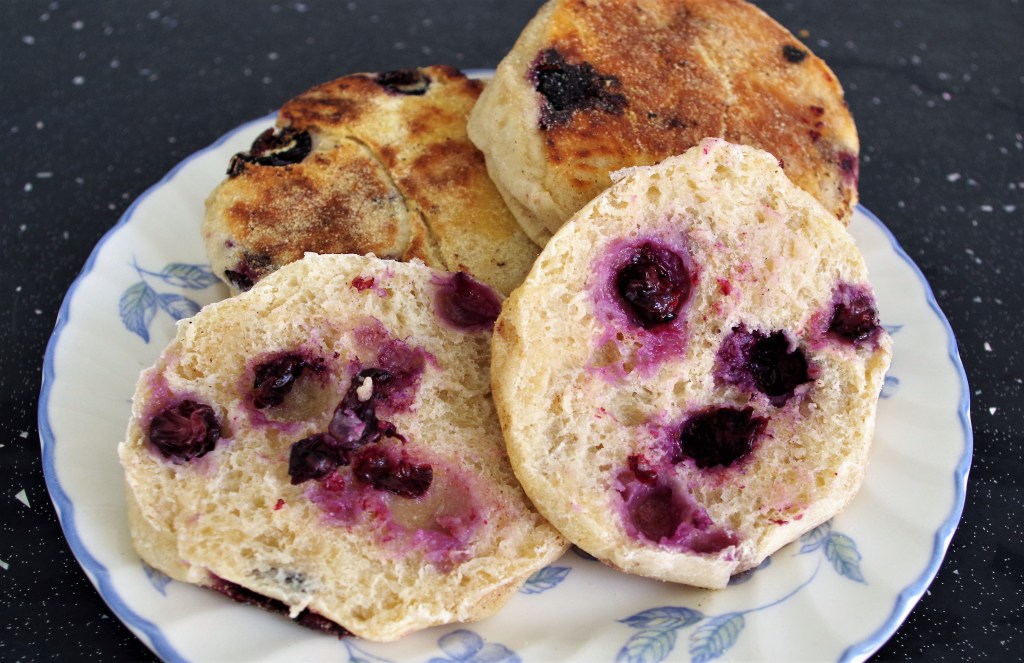
Blueberry and Cinnamon English Muffins

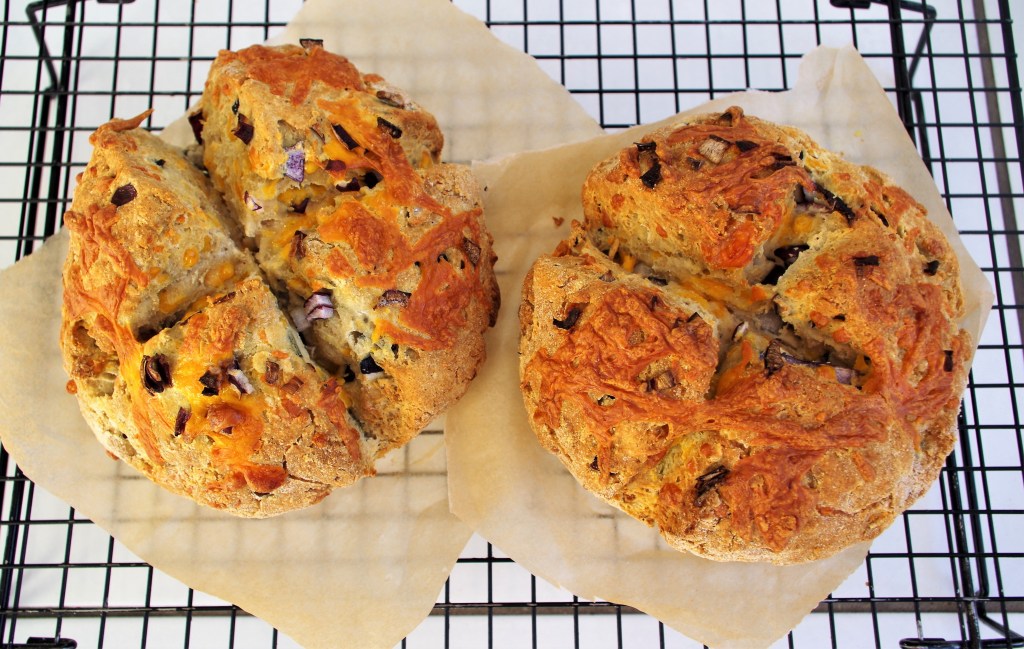
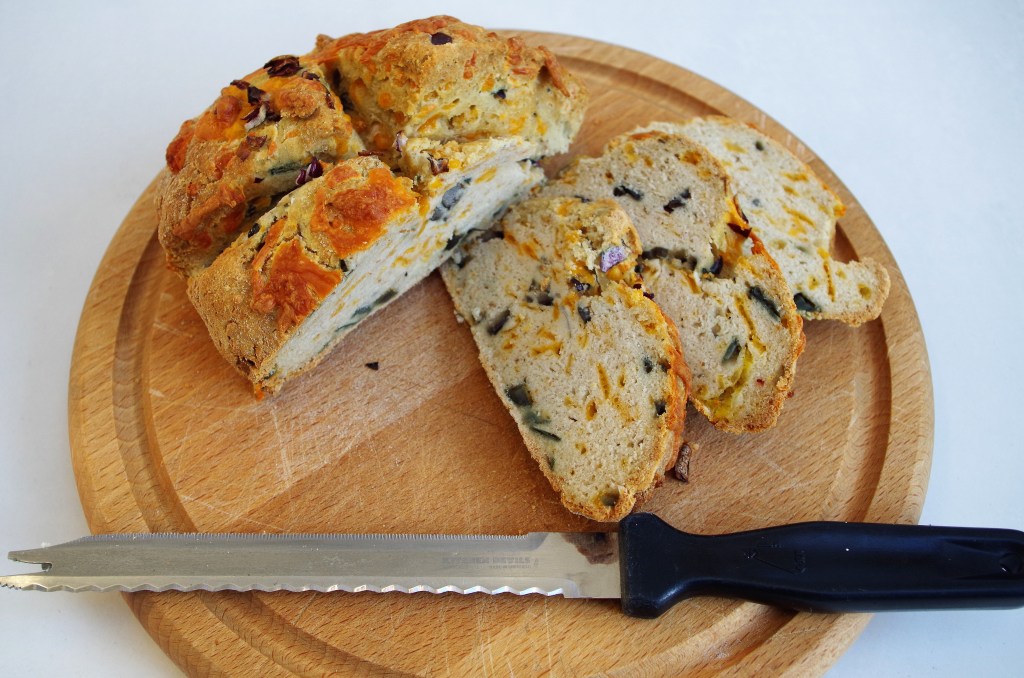
Gluten-free Soda Bread with Cheese Onion

If you’d like to make a comment or ask a question please do, via the contact page.
