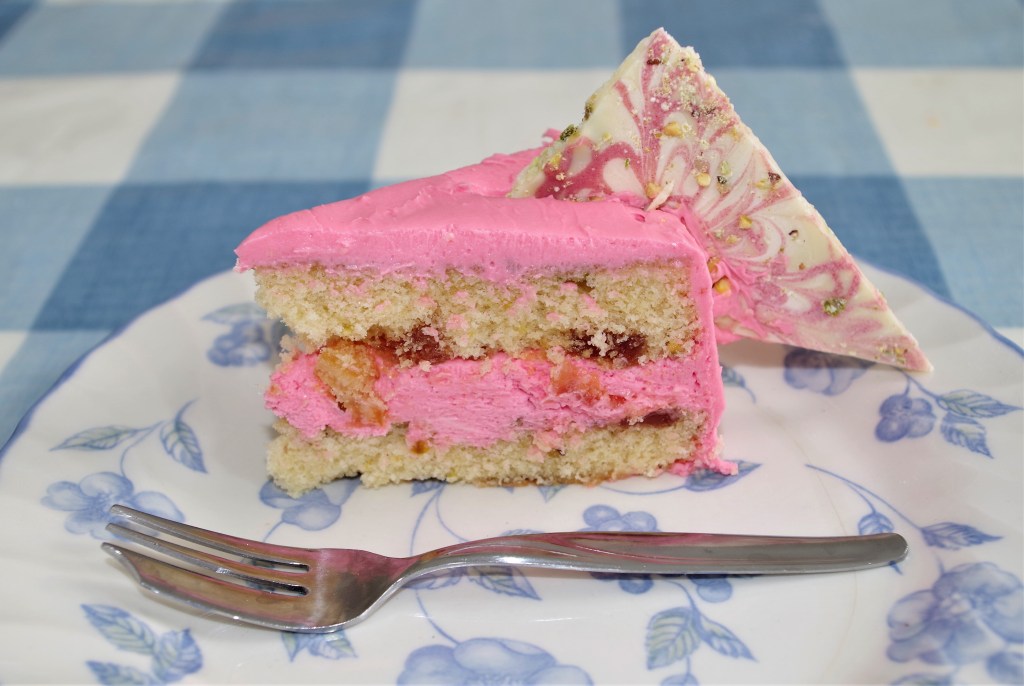
Here’s a cake that I made for a lovely lady in our church. For health reasons, she can’t have gluten or lactose in her diet. This presents a few interesting challenges, but she was very happy with the end product. Of course it can also be made with “normal” flour and “normal” milk.
Makes: A medium sized cake, giving about 12 slices
Time: Prepping – 15 minutes if you use a paper liner and an electric mixer. Baking – around an hour + decorating as you choose
Level: Very simple – perfect for an easy time in the kitchen
Need: A 20cm/8” round cake tin, an electric hand-held mixer and bowls etc. You could just use a wooden spoon to mix the ingredients if you want some exercise. Rather than greasing and lining the tin I simply dropped in a pre-shaped paper liner. I also like using a wetted “bake easy” band.
Cake Ingredients
- 225g/8oz gluten free self-raising flour
- 1 tsp xanthan gum powder
- 225g/8oz caster sugar
- 50g/2oz desiccated coconut
- 175ml/6½fl oz non-dairy milk (soya milk or coconut milk)
- 115ml/4½fl oz vegetable oil
- 2 eggs
- A large orange – zest + half the juice
Frosting
- 180g/6½oz full fat cream cheese
- 50g/2oz very soft butter
- 50g/2oz icing sugar
- zest of another orange and some toasted desiccated coconut to use as decoration
Alternate topping
- 2 medium oranges
- About 50g/2oz sugar
Method – For the cake
1. Grease and line the cake tin. (Or drop in a paper liner as mentioned above) Preheat the oven to 170°C / fan 150°C / 325°F / Gas 3.
2. Place all the ingredients into a mixing bowl and whisk everything together until fully combined, light and fluffy.
3. Pour into the prepared tin and bake for 55 – 65 minutes, or until an inserted skewer comes out clean.
4. Allow to fully cool before removing from the cake tin.
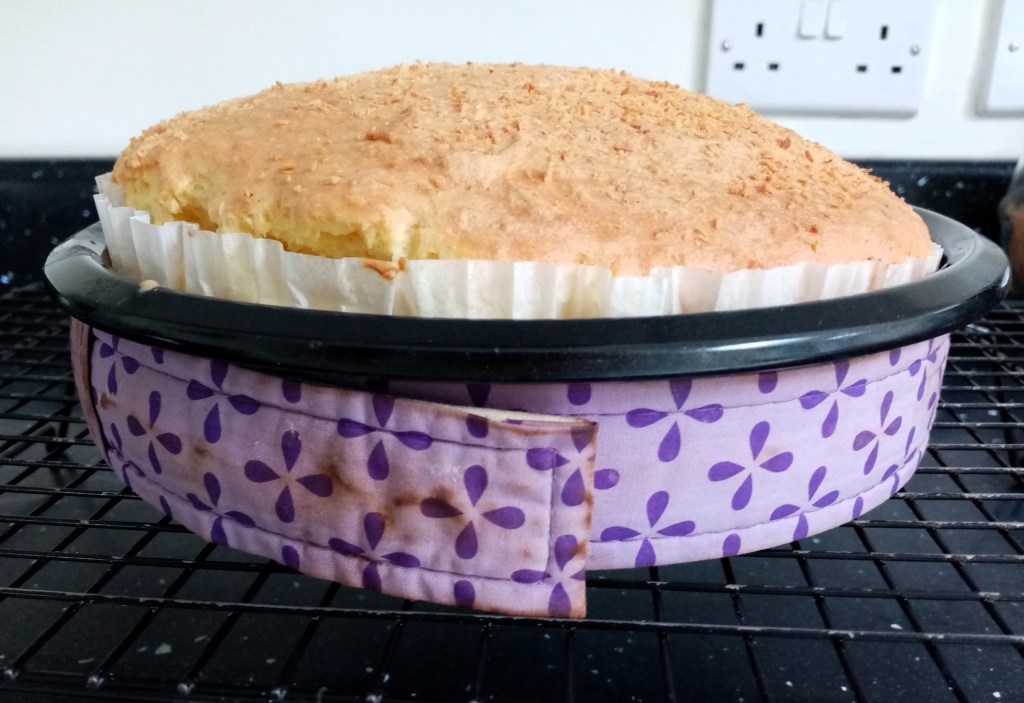
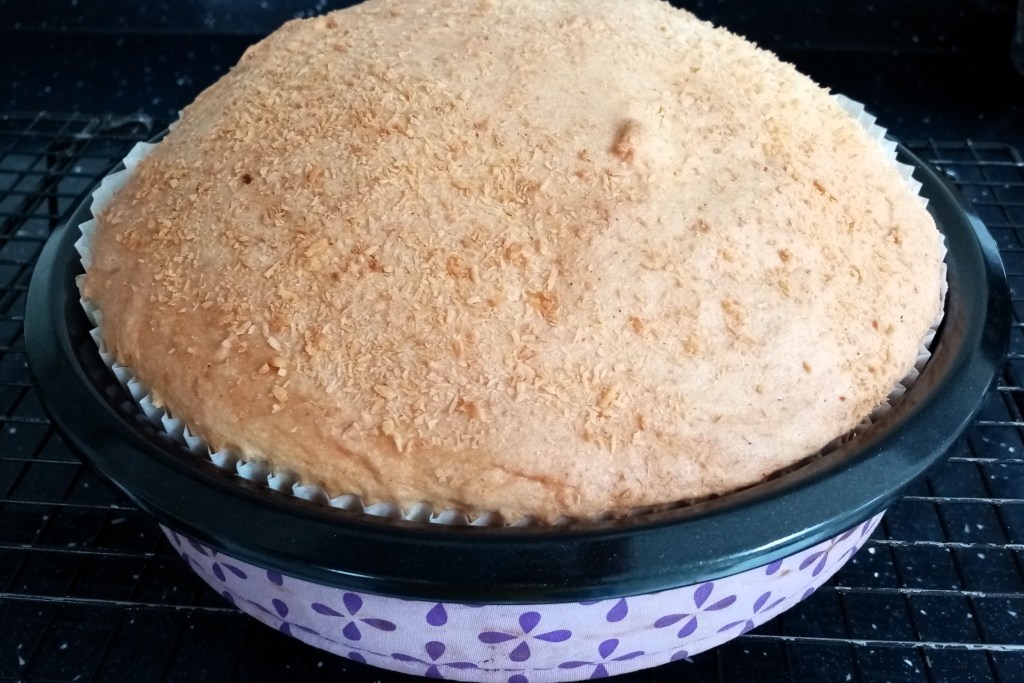
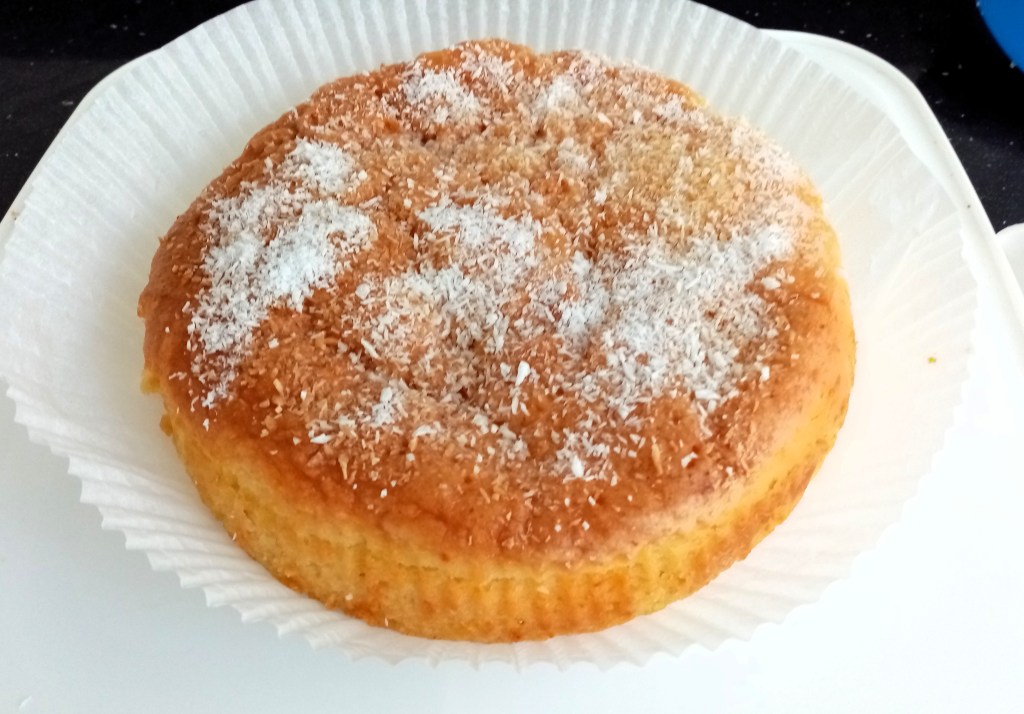
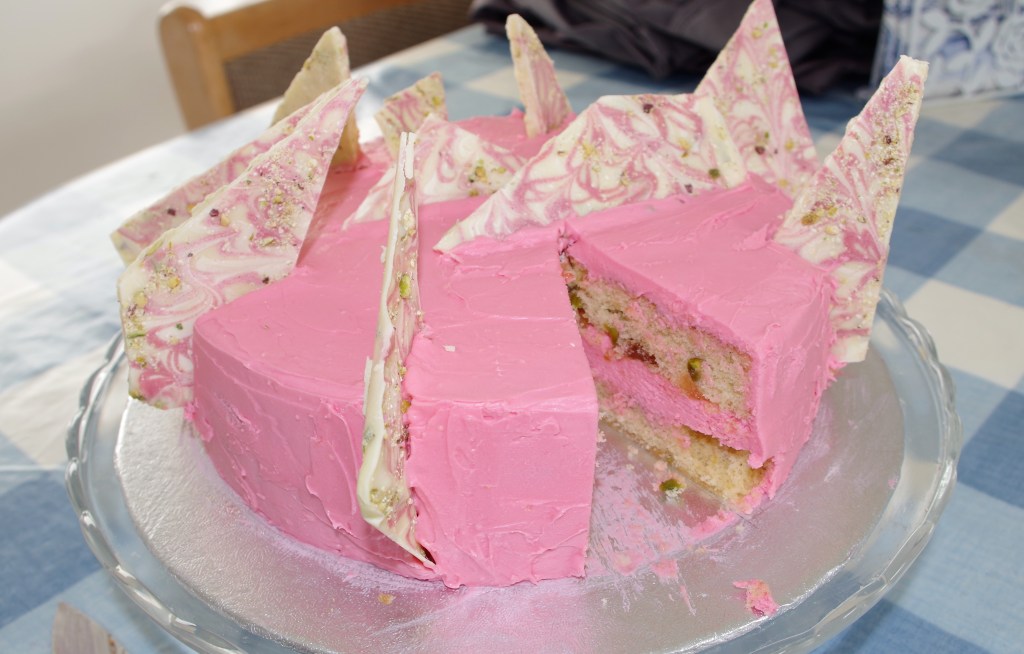
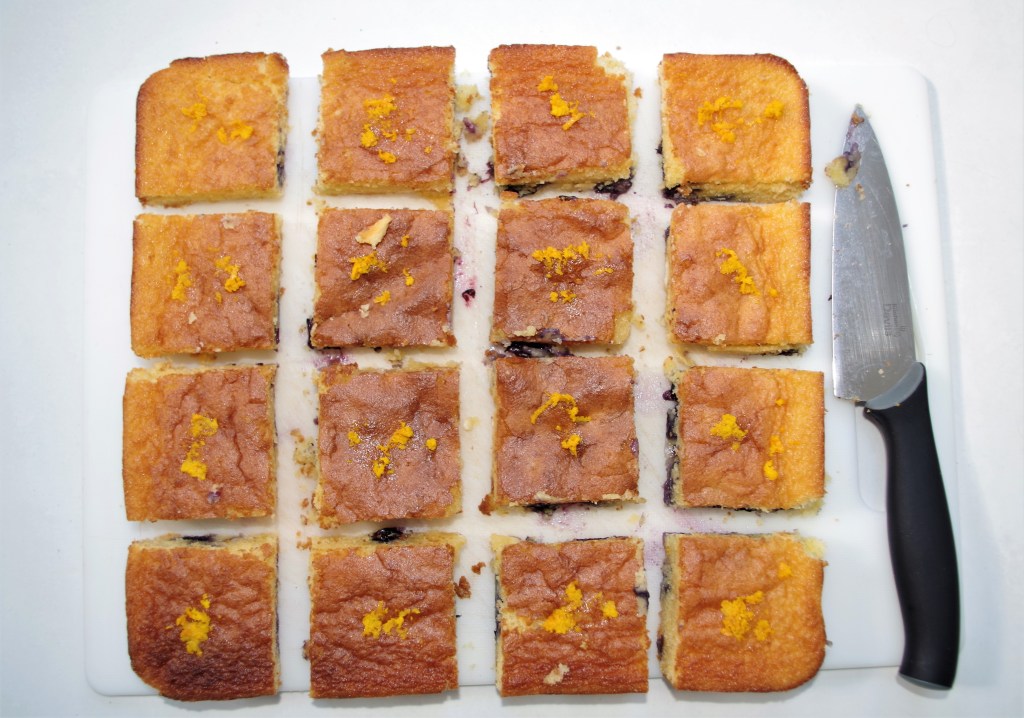
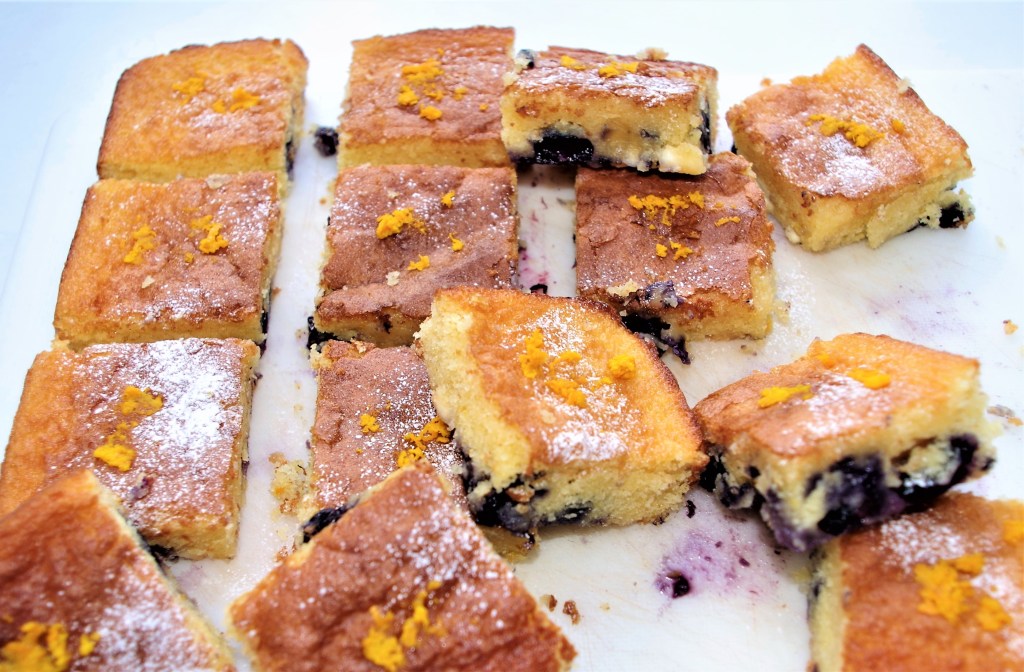
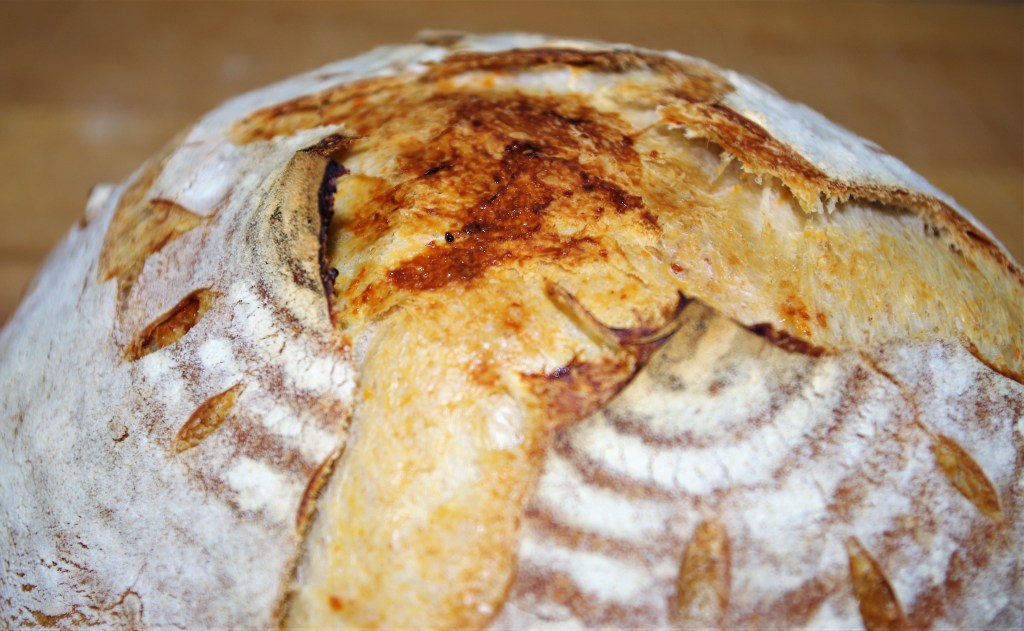
As you can see from the photos, the cake rose into an impressive (and very surprising) dome. I’ve no idea why it rose so high; maybe the GF self raising flour was more potent than normal flour. Anyway, as the cake cooled it dropped. Apart from being a bit wrinkly on top, no harm was done.
For the frosting
I must admit that the next bit is theory based on many other similar topping mixtures. On the day I actually changed my mind when I realised that I couldn’t use cream cheese and normal butter. I didn’t have any lactose free replacements, but I did have a couple of spare oranges, so on the spur of the moment I did something different.
5. Beat the cream cheese, butter and icing sugar together. You’ll have a lovely sheen on the mixture very quickly and then it’s ready – no more than a minute or so.
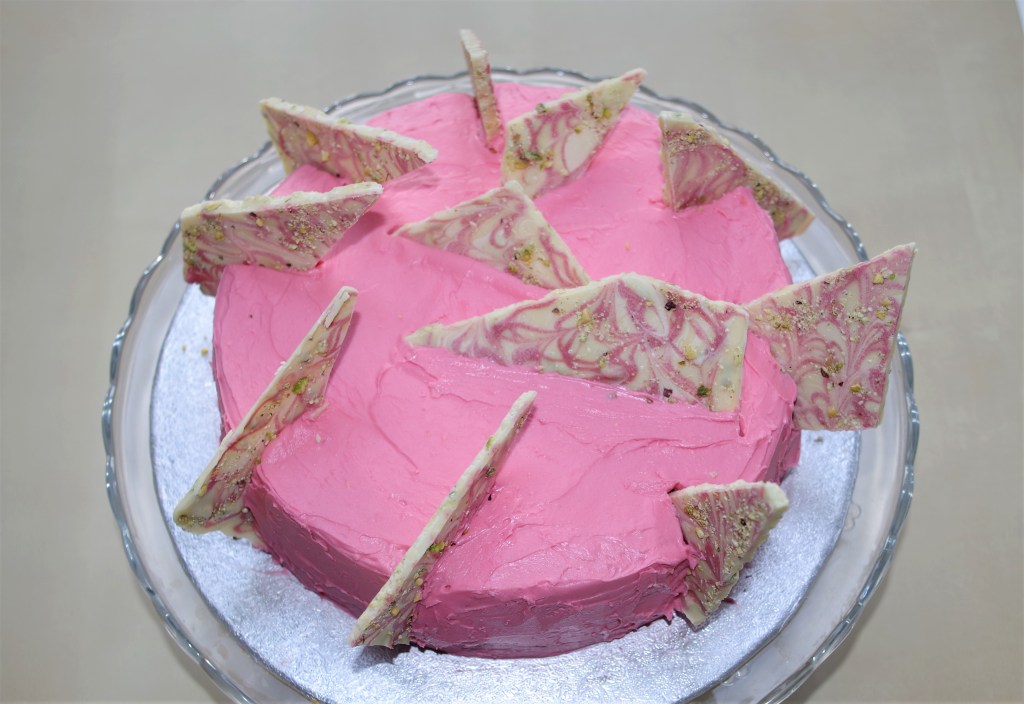
6. Spread the frosting on your finished, cooled cake, that is now on your cake stand and to finish, scatter the zests and toasted desiccated coconut on top.
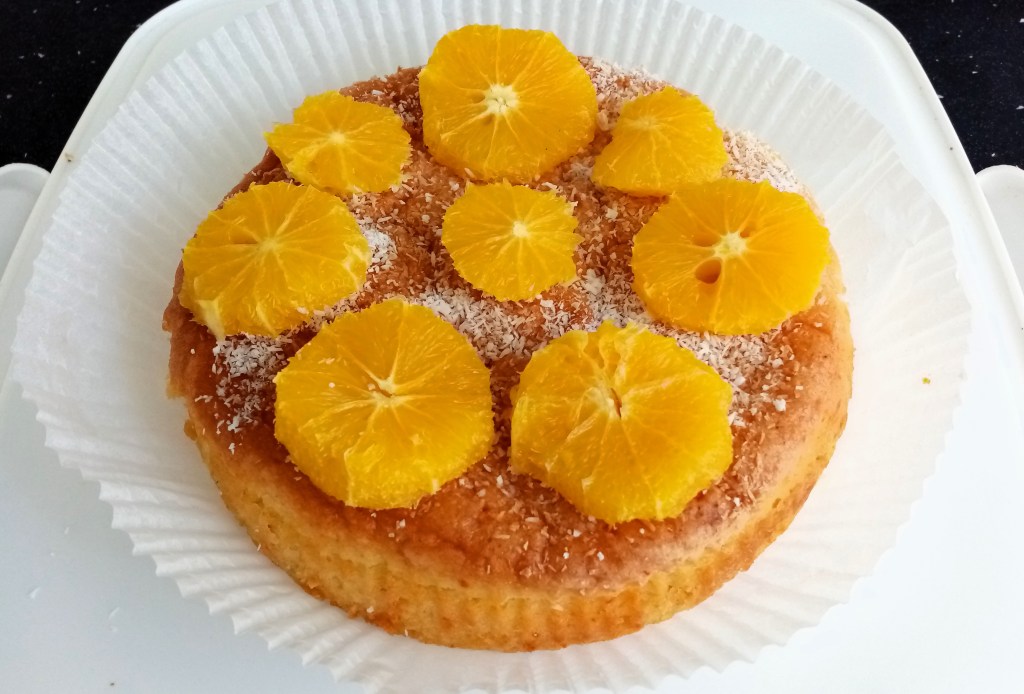
My change of mind
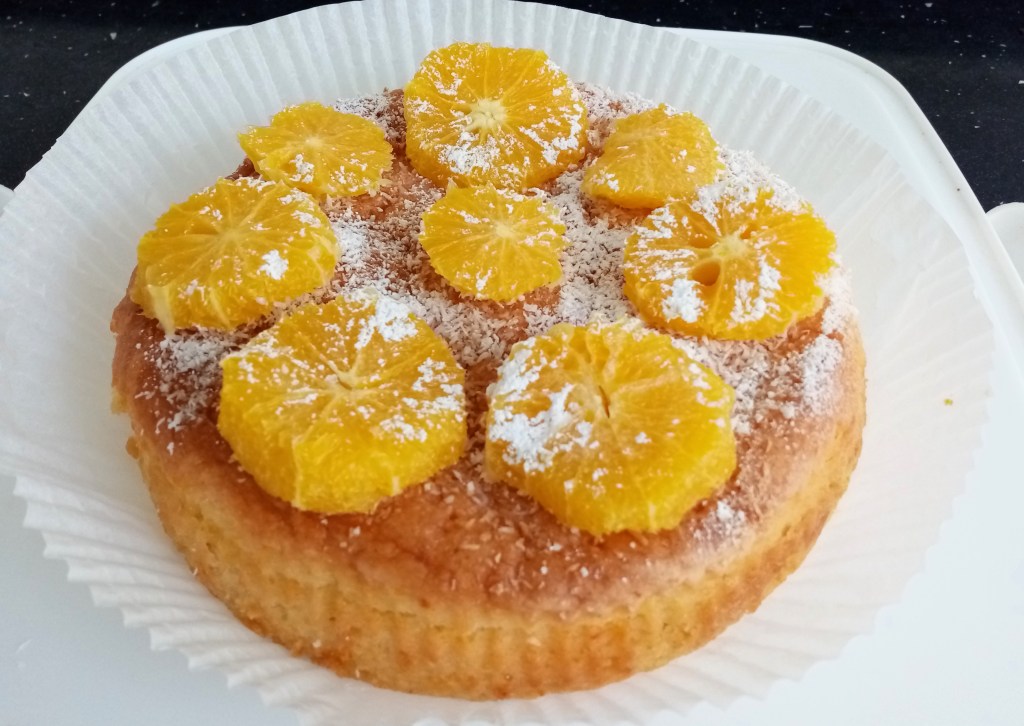
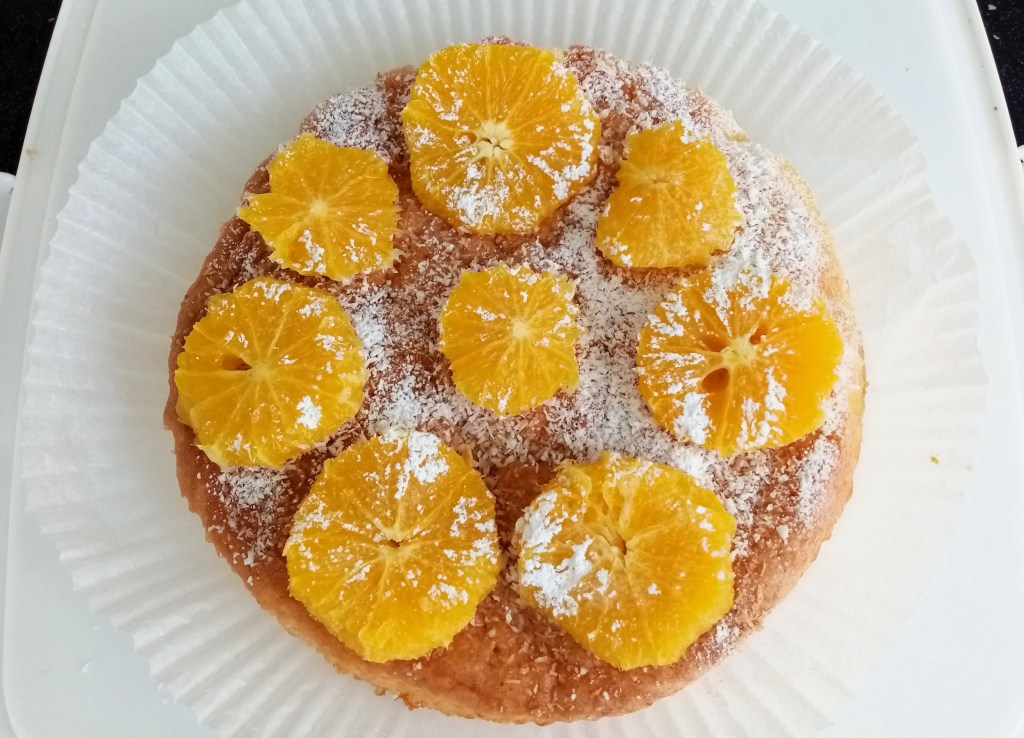
7. I peeled the oranges, carefully removing the unpleasant tasting white pith, then sliced them.
8. Next I dissolved 50g of caster sugar in about 100ml of water which I brought to a boil before adding in the slices of orange. I turned the heat down and poached the orange slices for 5 – 10 minutes. My oven was still hot from baking so I drained the slices and popped them in for about half an hour to dry a little.
9. These I arranged on top of the cake, (carefully hiding the wrinkles.) I dusted it all with icing sugar (which immediately dissolved into the orange slices, so not very good visually, but sweeter to taste.) I also scattered some more coconut on top.
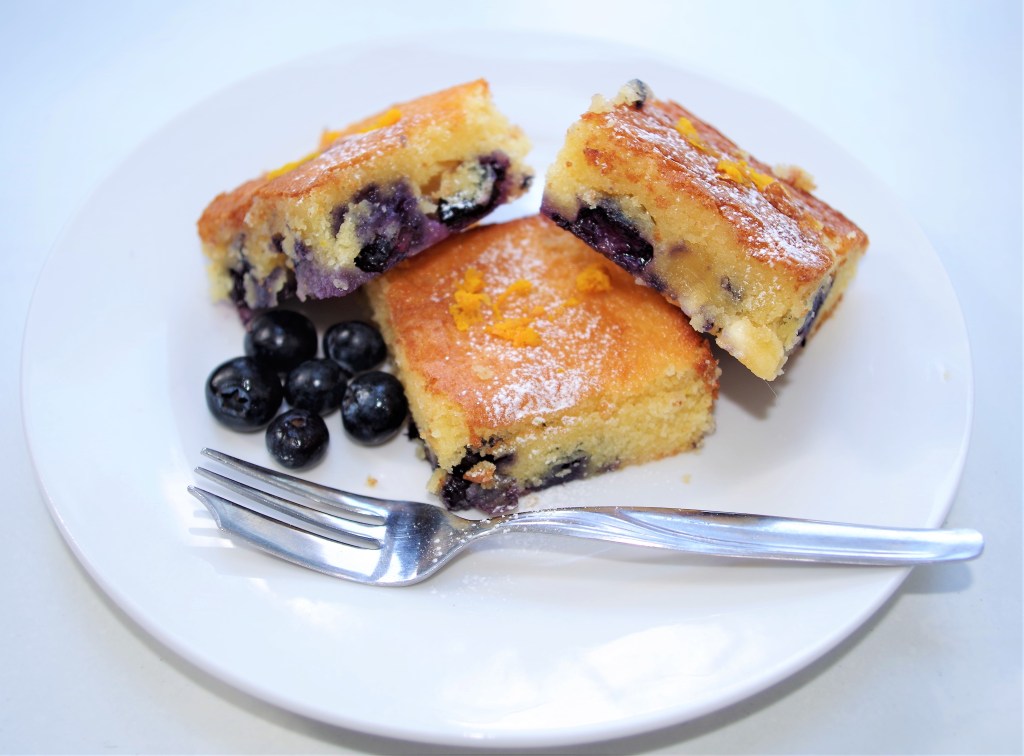
I hope you enjoy this slightly unusual, but very nice cake. If you want more cake recipes click this link, or have a look at my site for lots of other great recipes, both sweet and savoury. Below are a few that I’d love you to try:
Turkish Delight and Pistachio Cake
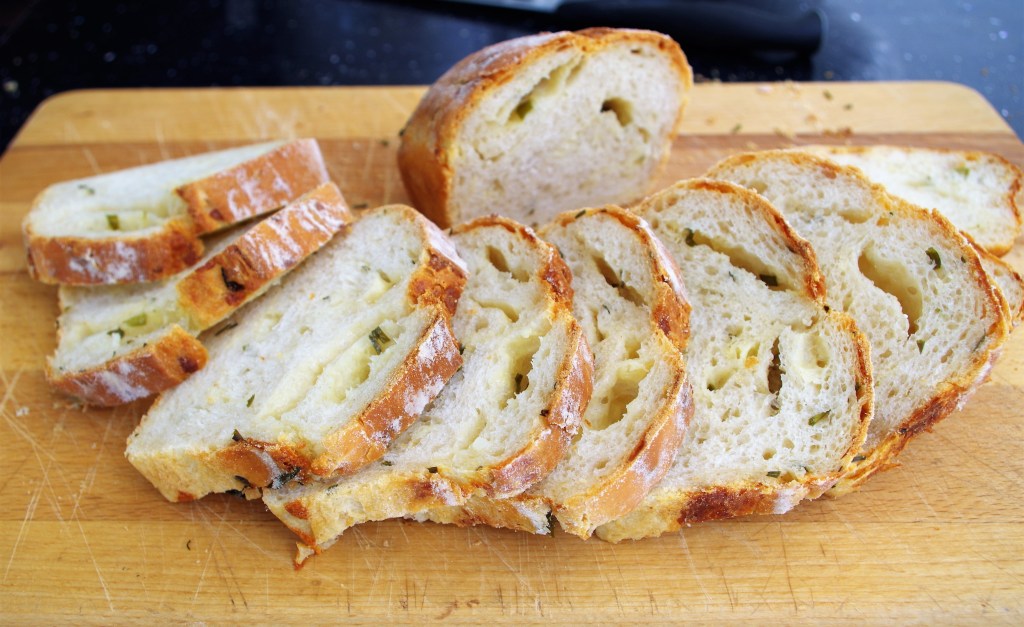
Cheese, Chilli & garlic Sourdough
To make a comment or ask a question please go to the contact page. Click here for the home page.
