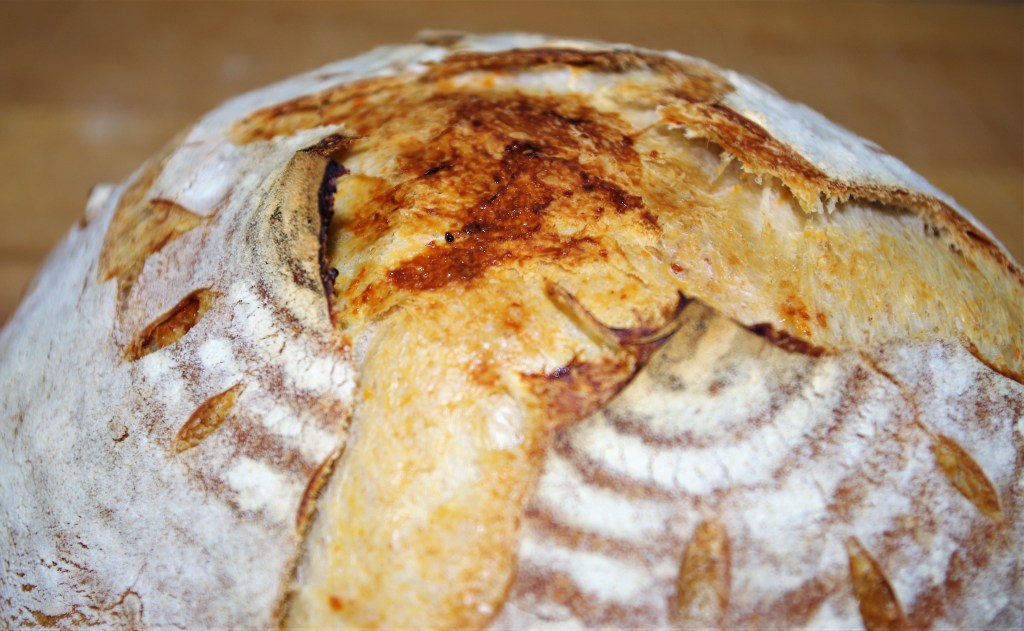
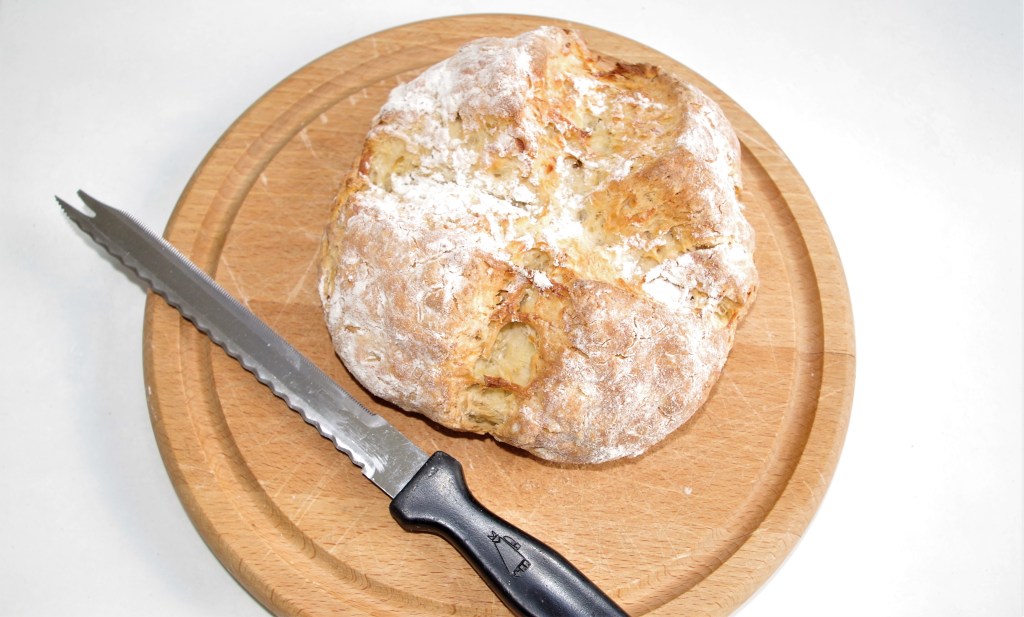
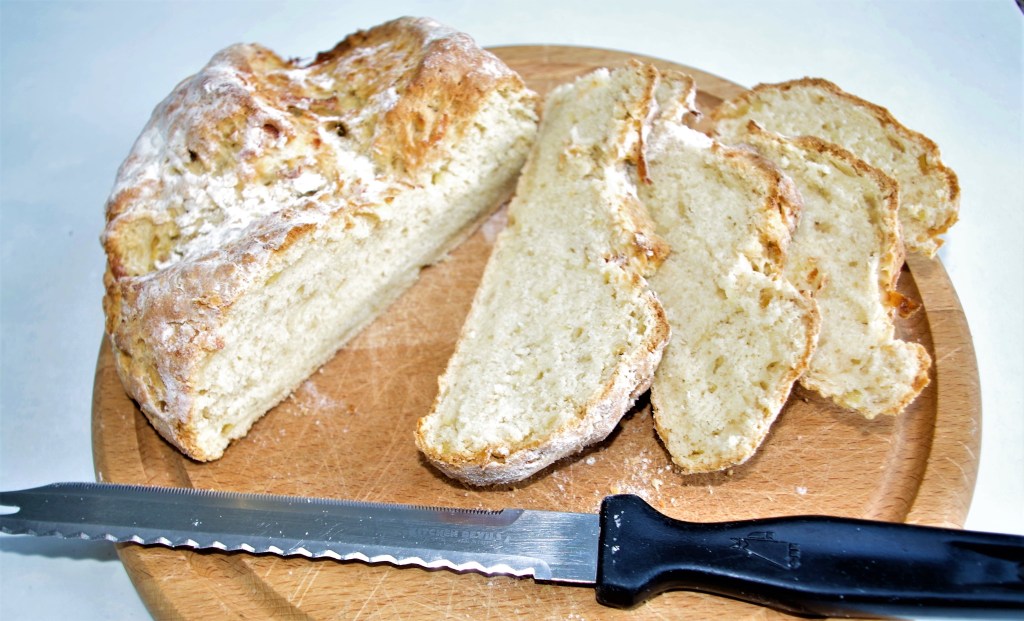
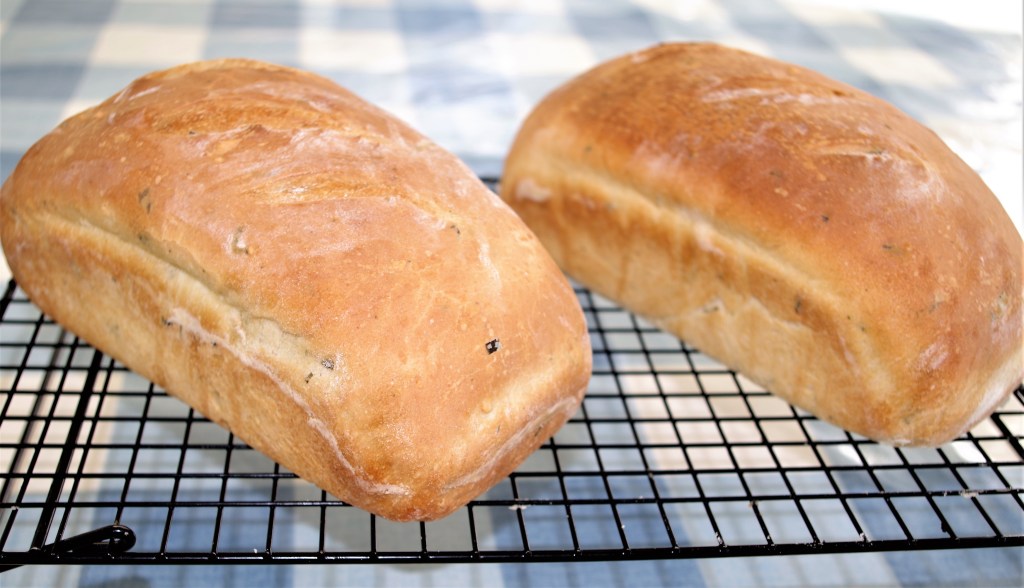
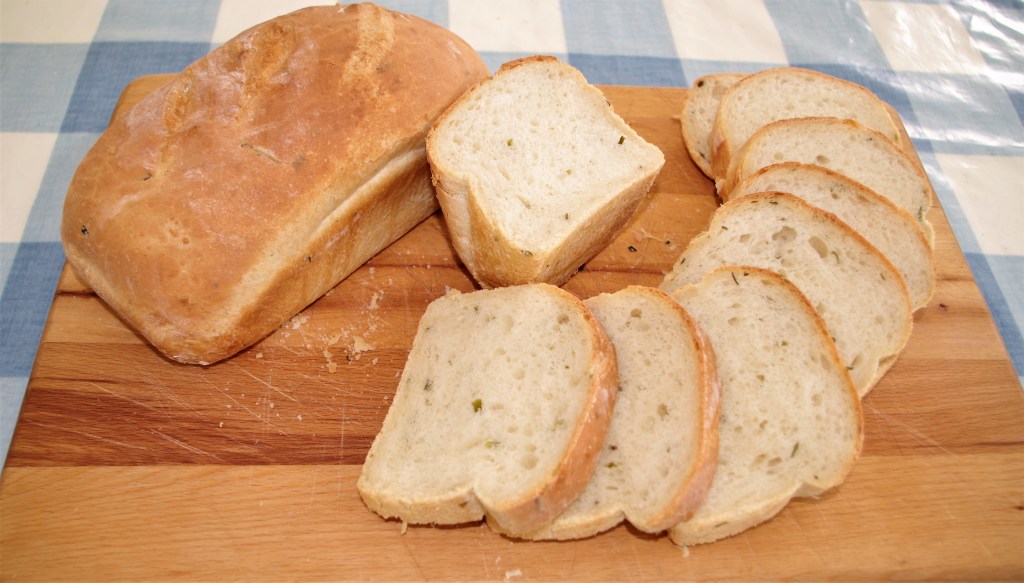
This is a beautiful bread. It’s crunchy on the outside, soft in the middle and WOW: what flavour and heat. It’s bread that bites back.

I’m assuming you will have a sourdough starter. You will need the following equipment or a substitute as shown below:
A Dutch oven or a round lidded casserole dish
A banneton or a moderately deep bowl
A stand mixer or bare hands and strong arms

Ingredients
- 250g/9oz sourdough starter (If it’s really warm in your home just use 200g)
- 400g/14oz strong white flour
- 7 – 10g fine salt
- 170ml – 190ml tepid water (around 6½fl oz)
- A glug (20ml – 25ml) of olive oil – This is optional, but I think it adds something (other than calories, of course)
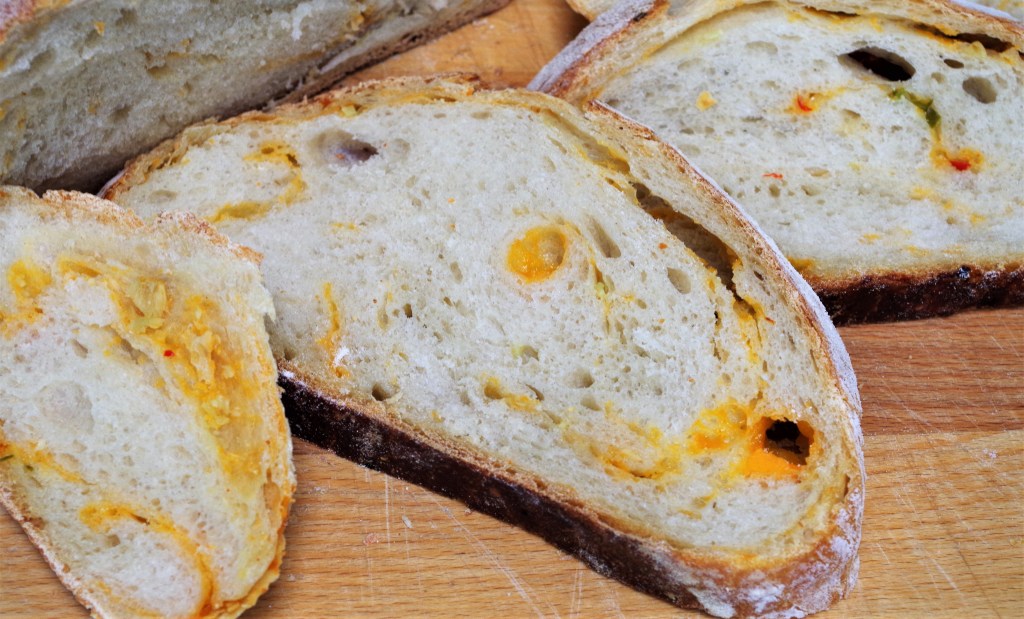
- Around 100g/3½oz cheese (I like using Red Leicester, but any hard cheese should be OK and you can put in more if you want to make it really cheesy.)
- 4 small chillies (2 red, 2 green, deseeded and chopped smallish, again you could go for more, but it’ll be super hot)
- 3 – 4 cloves of garlic (I grated a couple and finely chopped the rest.)
Schedule/method
(I made this during April in UK, so neither hot nor cold: 16° – 18°C daytime temperature, probably around 10°C at night.)
Day 1
1. I keep my starter in the fridge, so I take it out early morning, loosen the lid and let it sit to come up to room temperature then I feed it with equal amounts of strong white flour and pre-boiled water that has cooled. During the day it should bubble up nicely.
2. Later, the same day, around 4pm I make the dough, using a stand mixer. I tip in the starter first then add the flour and salt, give it a mix and pour in the olive oil and water. Mix it by hand, scraping the dough around the mixer bowl to pick up any dry flour there.
3. I usually let the mixer knead it, using the dough hook. I give it 6 – 10 minutes. As a guide, when the dough ball holds together well and is slapping against the side of the mixer bowl it’s probably ready. While the mixer is doing all the hard work, use a little more olive oil to grease another bowl, unless you intend leaving the dough to prove in your stand mixer bowl. (I prefer to wash mine and tidy it away, but I’m a bit fussy like that, OCD maybe)
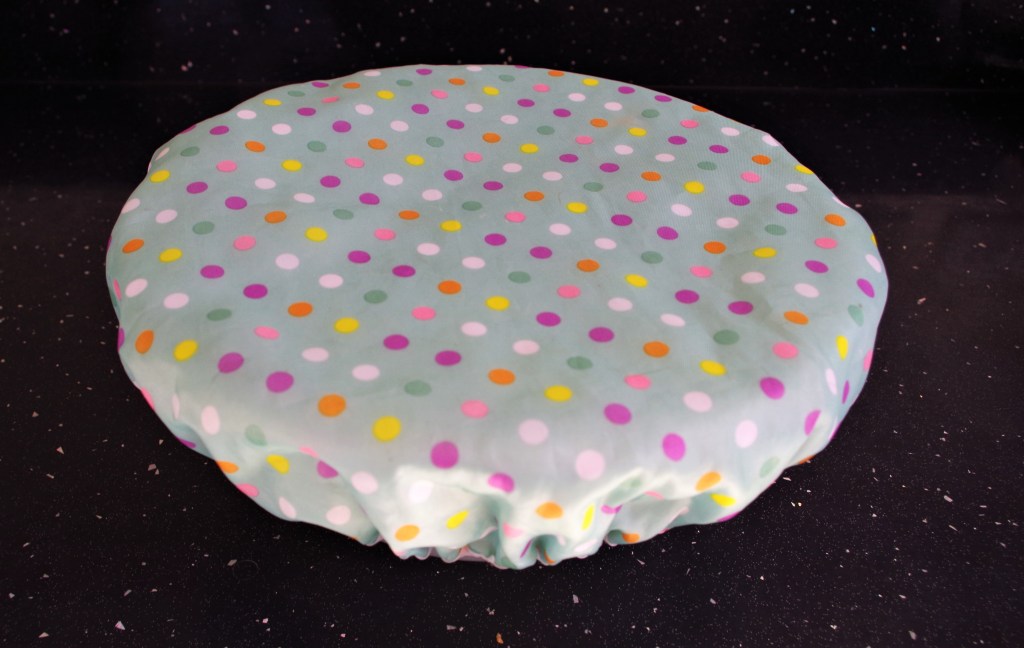
4. When the dough is fully kneaded, plop it into the oiled bowl and turn it over a few times, pulling pieces up and over into a firmer ball. Cover the bowl with cling film or a shower cap. (Mine’s green with coloured spots, but any colour should still work!) Then just leave it in the kitchen and carry on living your life for a while. (Or, you could grate the cheese and chop the peppers and garlic ready for the next day.)
Day 2
5. Now it’s a bit uncertain. It all depends on the conditions, mainly the ambient temperature. In my kitchen in rural Derbyshire, the dough will have risen by the next morning. Sometimes, when I come downstairs at 3am to do my morning exercise routine (Yes, crazy, I know) the dough has risen, sometimes it’s hours later. There may be rules for this, but if so, I don’t know them.
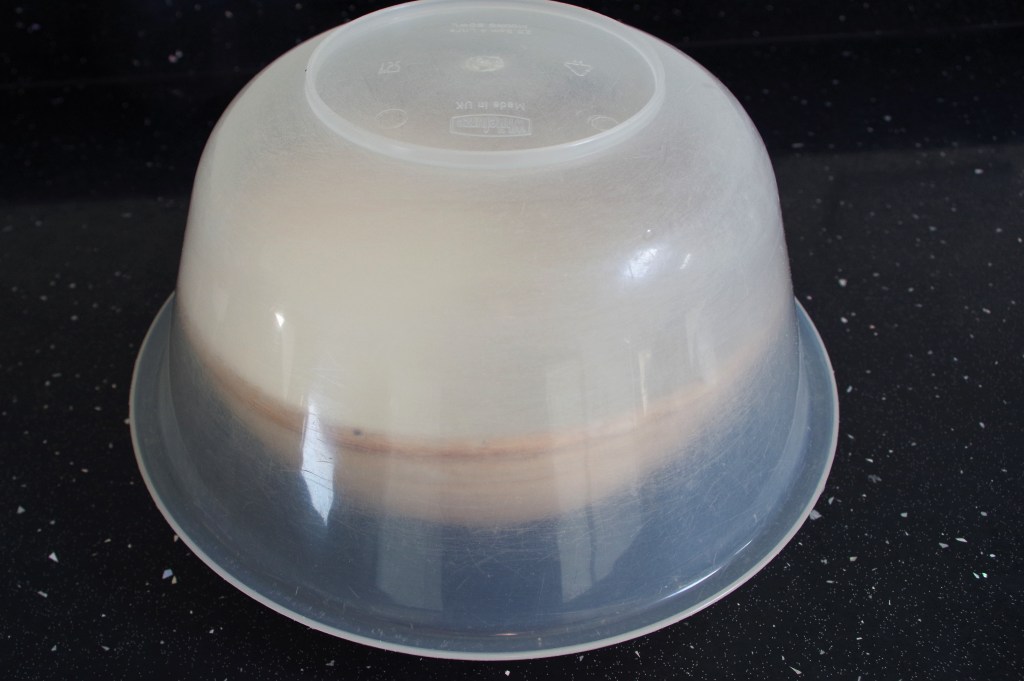
6. Anyway, when it has risen, knock it back (i.e. take out the air) and flatten it out onto a floured work surface. Add the grated cheese, chopped peppers and garlic. Spread it well over the surface and fold it all in. Then form the dough into a ball, dragging the outer surface under the ball so that the surface is taught. Flour the ball well and invert it into a floured banneton. I usually cover the banneton with the bowl that housed the rising dough – saves on washing up. Leave this to rise again – maybe several hours, again depends on temperature. You can push it along faster by sitting it next to a hot radiator. But I think forcing it reduces the flavour of bread.
7. When the dough has risen again it’s time to actually bake the bread. I use the “cold start” method. First lay out a sheet of baking parchment big enough to sit the dough ball onto with enough around the edges for you to lift it into the Dutch oven. Place the sheet over the dough ball in your banneton then turn the whole thing over and ease out the dough ball. Use the parchment to lift the dough ball into the cold Dutch oven.
8. With a very sharp knife or a razor blade, make a few scores on the dough ball. (If the dough ball is too soft to score easily you could put it in your freezer for half an hour.)
9. Put the lid on the Dutch oven then it all goes into a cold oven. Turn the oven on to 230°C / fan 210°C / 450°F / Gas 8 and bake for 50 minutes. At this point, remove the lid and bake for a further 10 minutes. Once baked, test it by tapping the loaf, listening for the hollow sound that tells you it’s done. Cool on a wire rack and resist the urge to cut & eat too early – this is probably the hardest part of the whole operation.
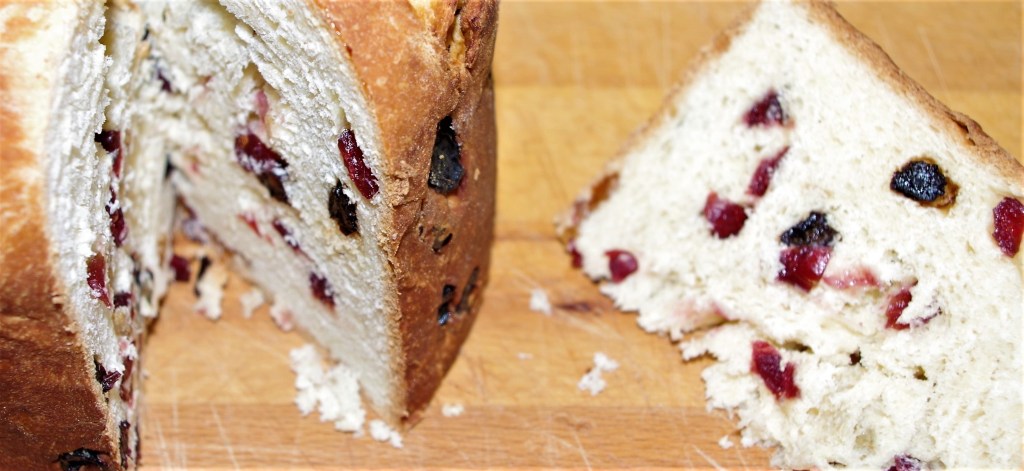
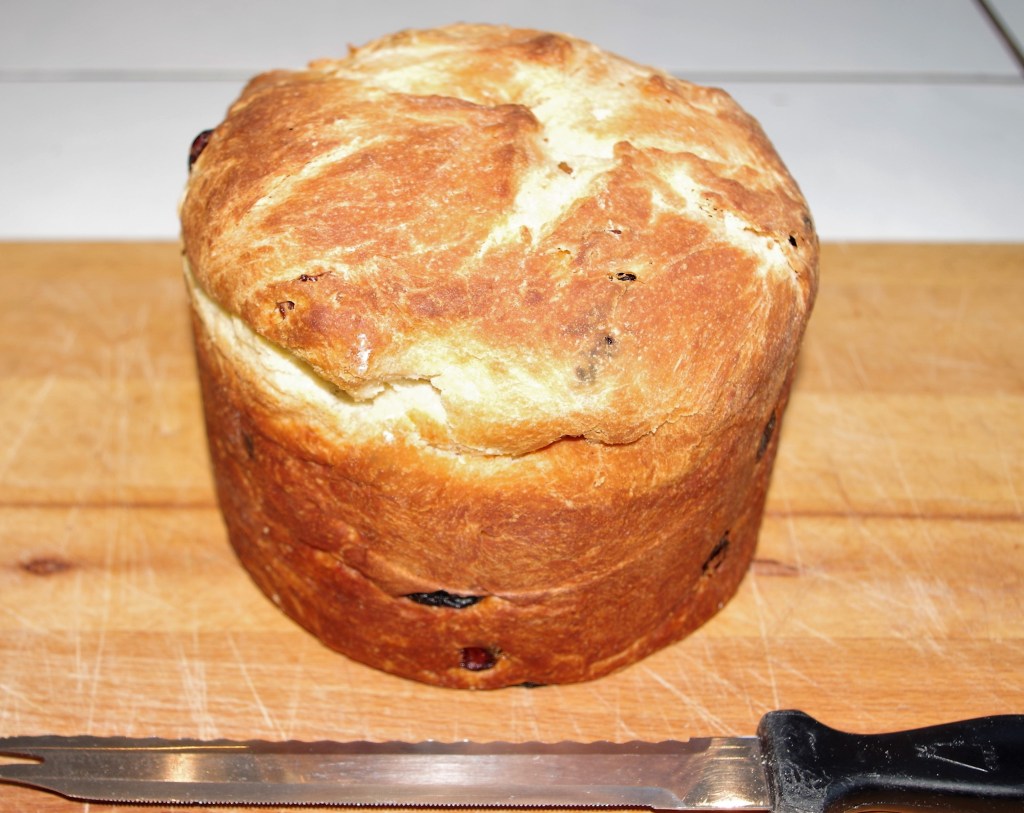
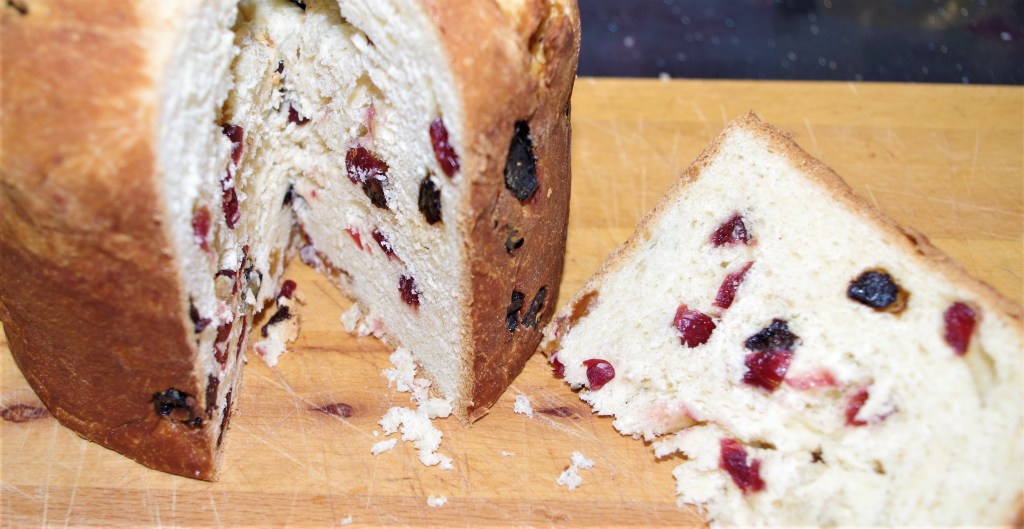
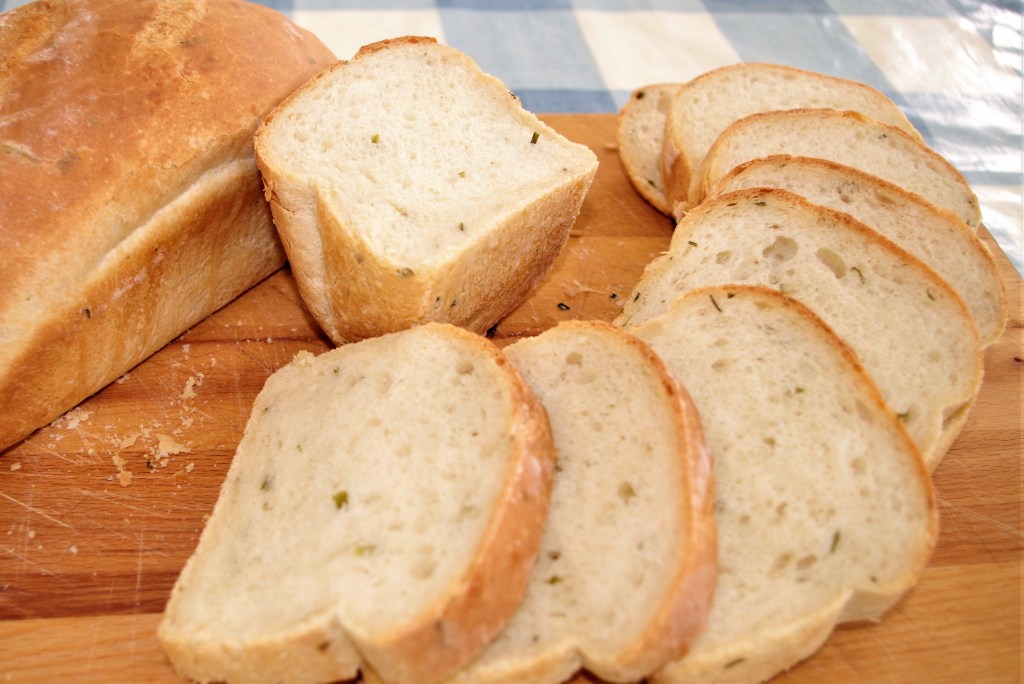
Gallery


Now an apology – I know I’ve waffled on far too much, but have tried to be very detailed and specific. If things don’t work out brilliantly straight away, try again. I still have occasional failures. In fact, you’ll probably vary this method to suit you and your circumstances, which is great. If so, let me know.
I wish you every success with your bread making. I hope you have a go at this one and enjoy making and eating a lovely loaf. If you want to see more of my bread recipes click This link.
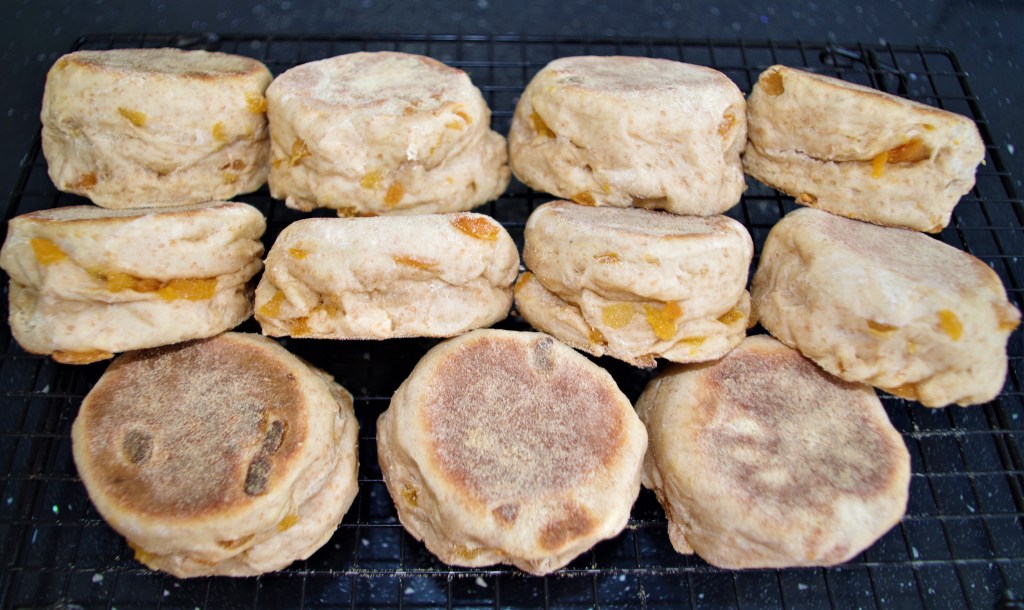
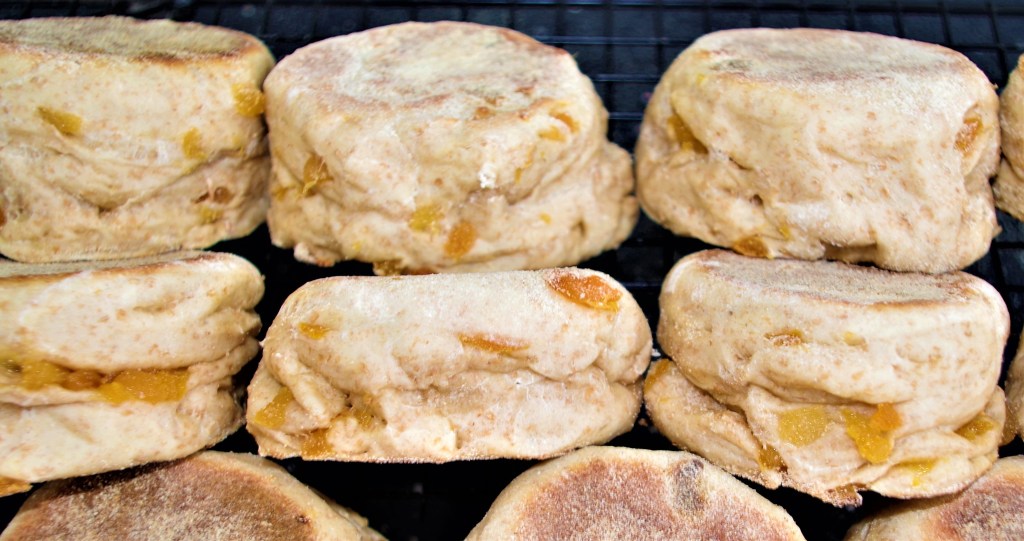
Here are some quite different breads that you might want to try:

Rye & Wholemeal Apricot English Muffins

If you’d like to make a comment or ask a question please do, via the contact page.
