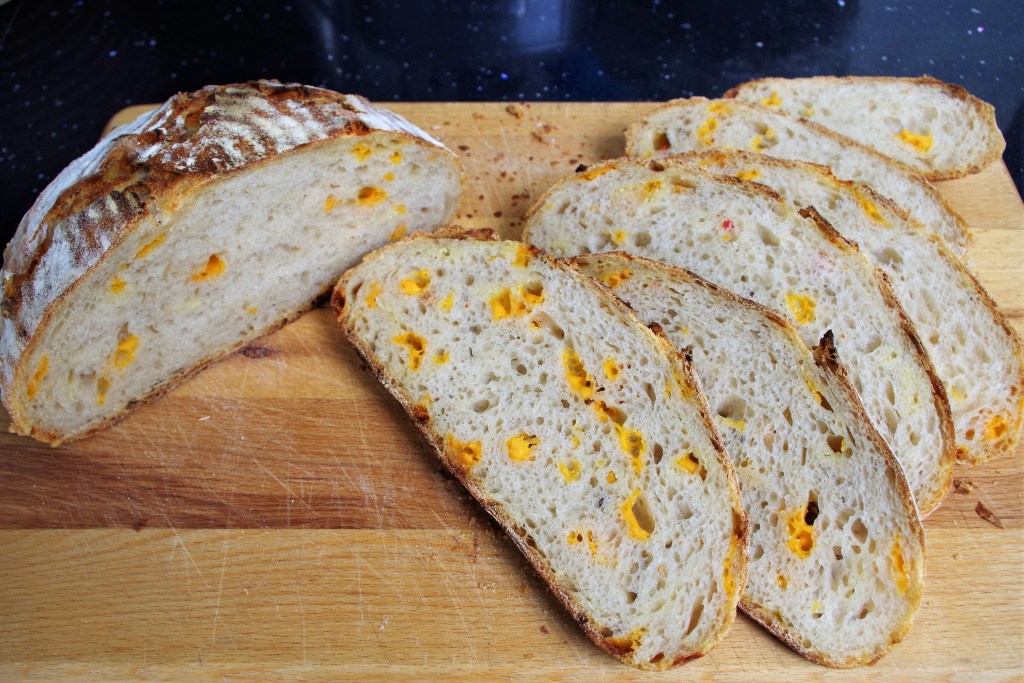
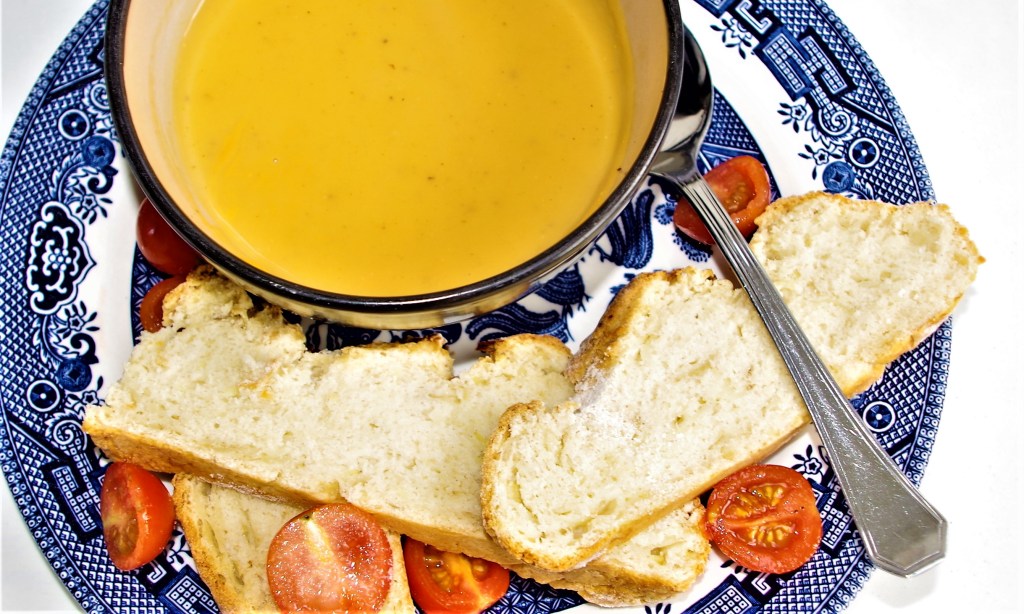
Sourdough is fantastic, I love making it and I love eating it. Even with just normal strong white flour, well baked sourdough has a great taste and texture. But it also allows “additions” for a whole range of flavours. Here’s my latest, it really packs a flavour punch.
I’m assuming you have or can obtain some sourdough starter (sometimes called a “mother”). Making one yourself is quite easy and there are lots of good tutorials on You Tube.
Makes: One reasonably large loaf, giving 10 – 12 slices
Need: A Dutch Oven (or a lidded casserole dish), a banneton (or a deep round bowl). A stand mixer makes kneading easier, but it can be done by hand.
Level: If you already make yeasted bread this will be an interesting and worthwhile “step up”
Time: Be aware, it’s a two day process, but well worth the time.
Ingredients for the first prove
- 250g/9fl oz starter (bubbly and active)
- 400g/14oz strong white flour
- 10g/¼oz fine salt (Some bakers use less, but I like the flavour)
- About 160ml – 170ml tepid water (about 5¾fl oz)
- 20 – 25ml olive oil (about ¾fl oz)
Ingredients for the second prove
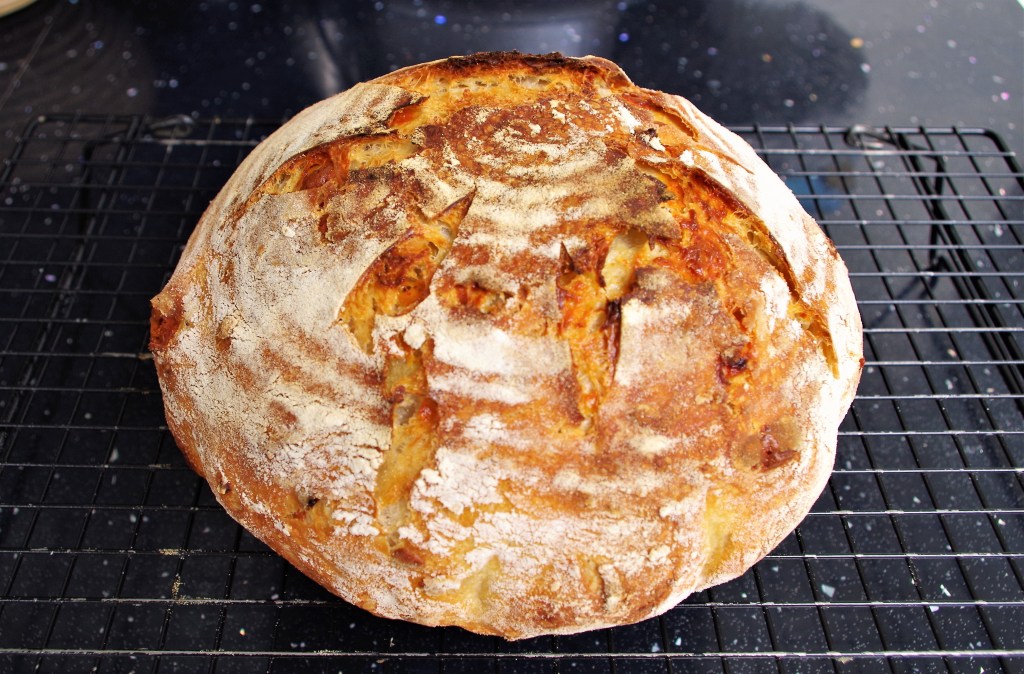
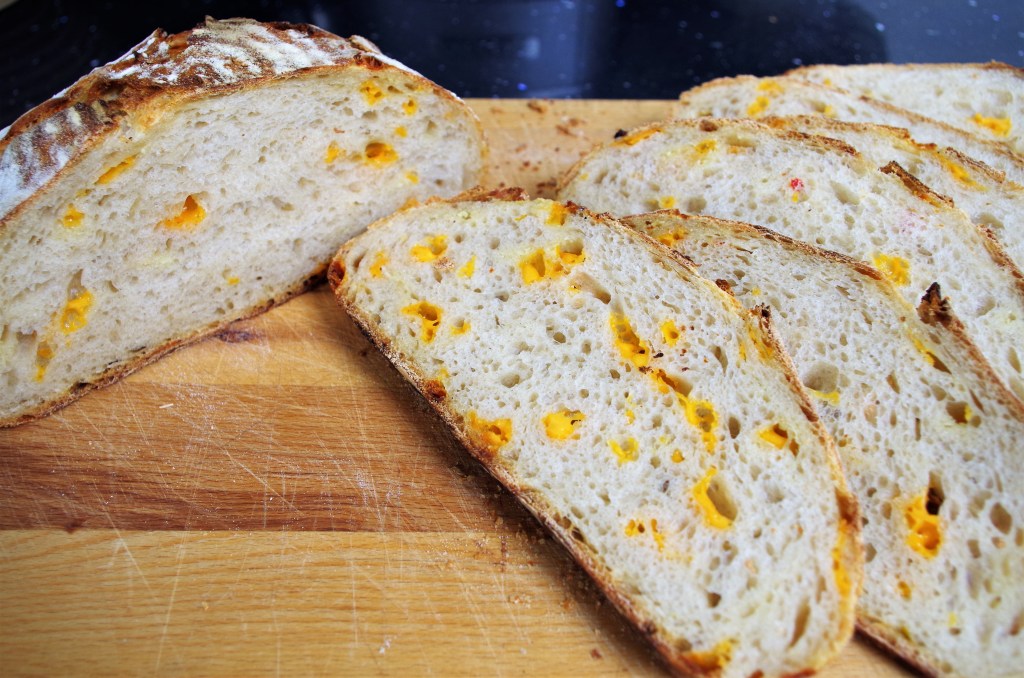
- 2 – 3 chillies, cut fine – or more if you’re feeling macho
- 3 cloves of garlic, grated to a paste
- 50g – 60g (about 2oz) cheese diced quite small (I like Red Leicester, but most hard cheeses would work)
Method
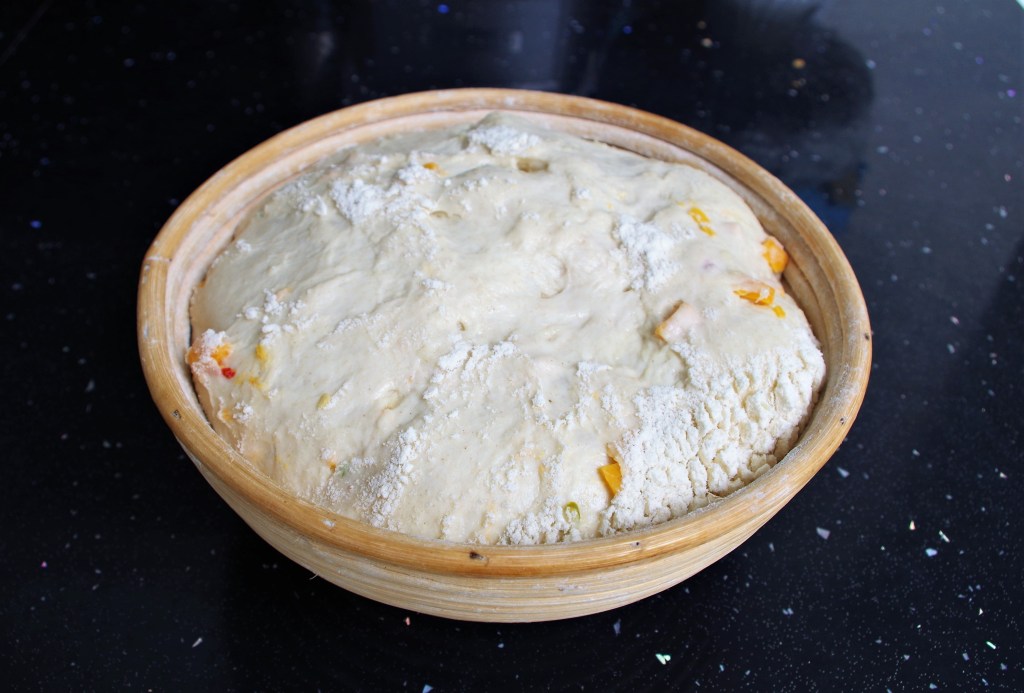
1. Day 1 mid/late afternoon: mix all the first prove ingredients and knead well. Place in a lightly oiled bowl, cover and leave in the kitchen overnight.
2. Day 2 Sometime the following morning (depending on room temperature) tip the risen dough onto a floured surface. Knock it back and spread the dough flat. Smear some of the garlic over then add pieces of pepper and cheese across the surface as evenly as possible, fold over the dough then repeat.
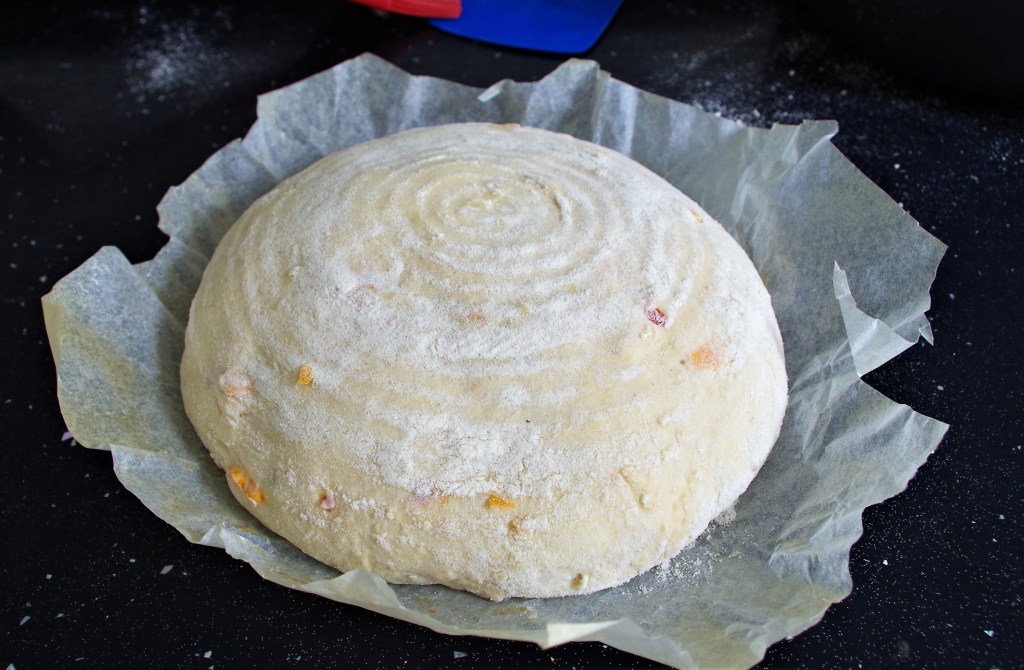
3. Fold, gather and manipulate the dough into a ball, pulling the outer surface taught.
4. Flour the dough well and place in a floured banneton (or bowl). Cover and leave to rise for the second prove: 3 – 4 hours depending on room temperature.
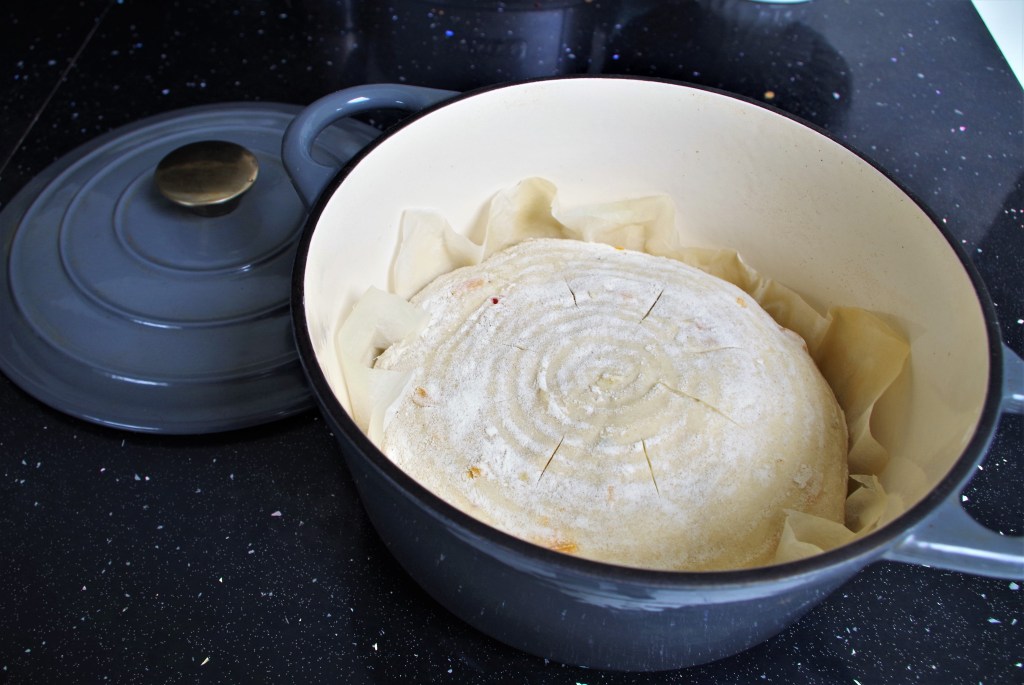
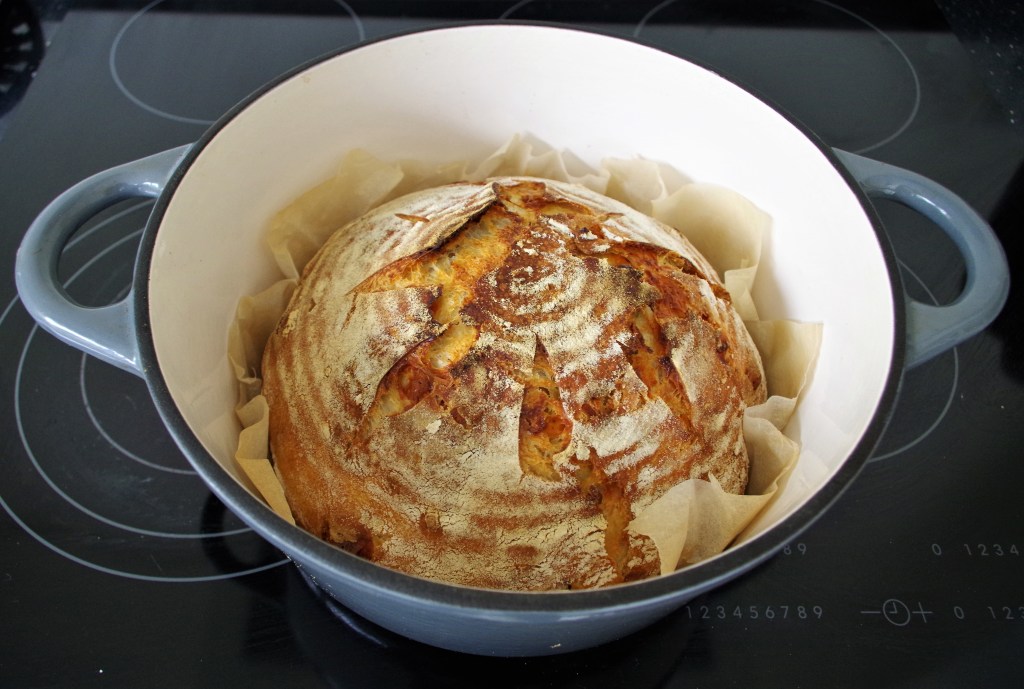
5. Gently tip the risen dough out onto a piece of baking parchment. Brush off the excess flour and lift the dough into a cold Dutch oven.
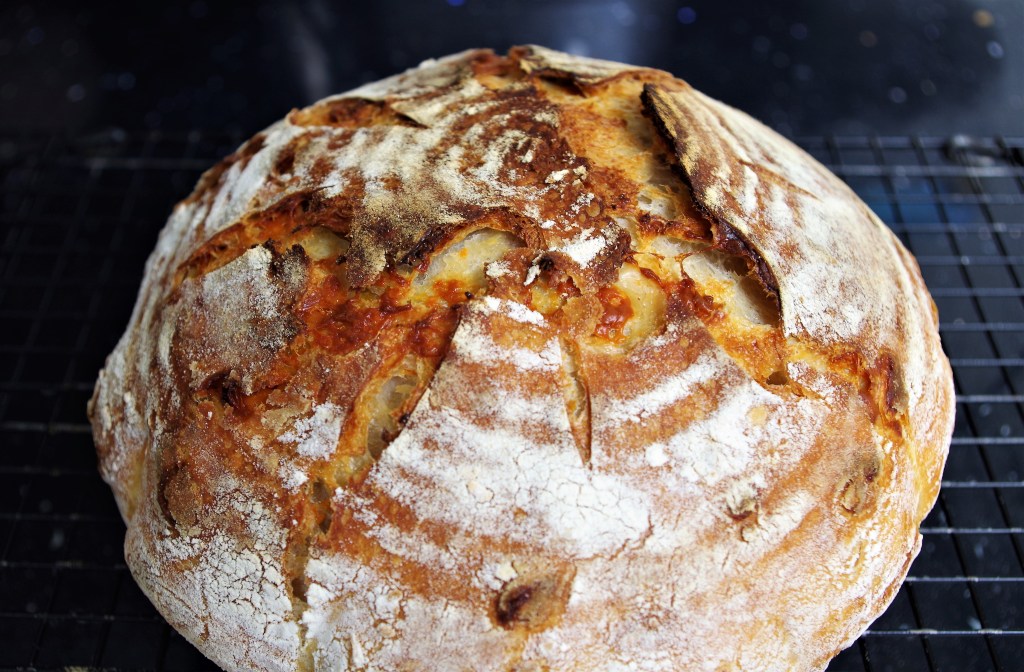
6. Score the dough with a lame or razor blade or very sharp knife.
7. Put the lid on the Dutch oven and put it in a normal oven. Turn the oven on to a very high setting (200° – 220°C if possible. 400°F/Gas 6 or higher) and bake for 50 minutes. Remove the lid and bake for a further 10 minutes. (NB This is a “cold start” method, which I like to use.)
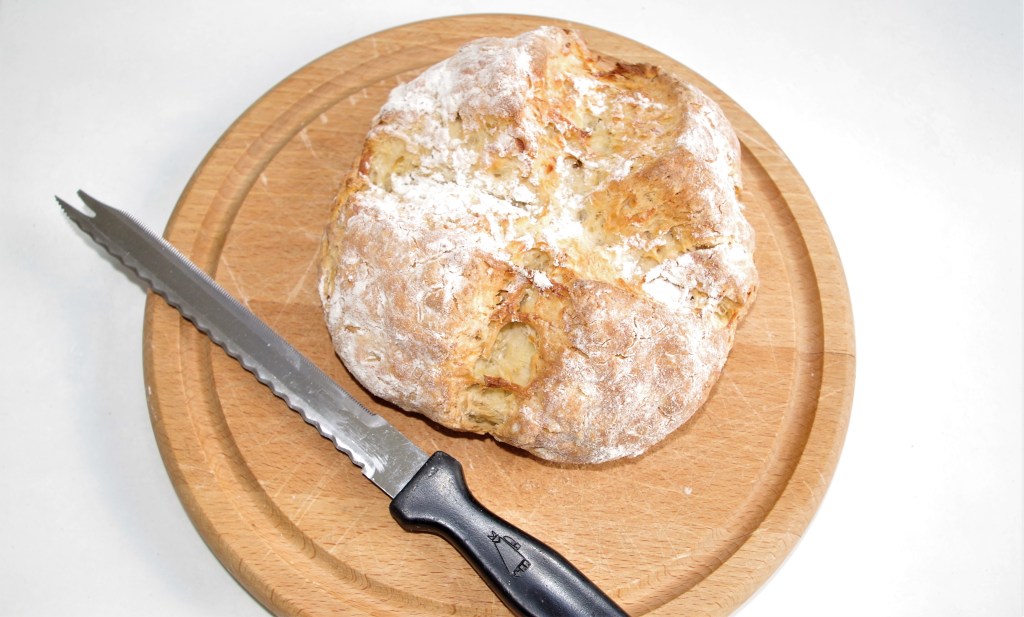
8. Carefully tip it out and cool on a wire rack.
Gallery 1

Gallery 2

I wish you every success with your bread making. I hope you have a go at this one and enjoy making and eating a lovely loaf. If you want to see more of my bread recipes click this link.
Here are some quite different breads that you might want to try:

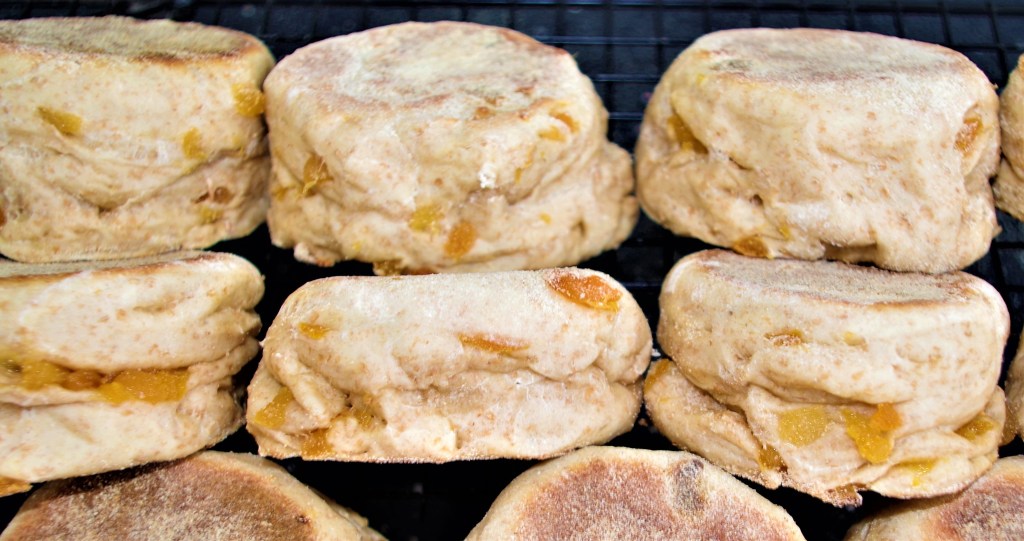
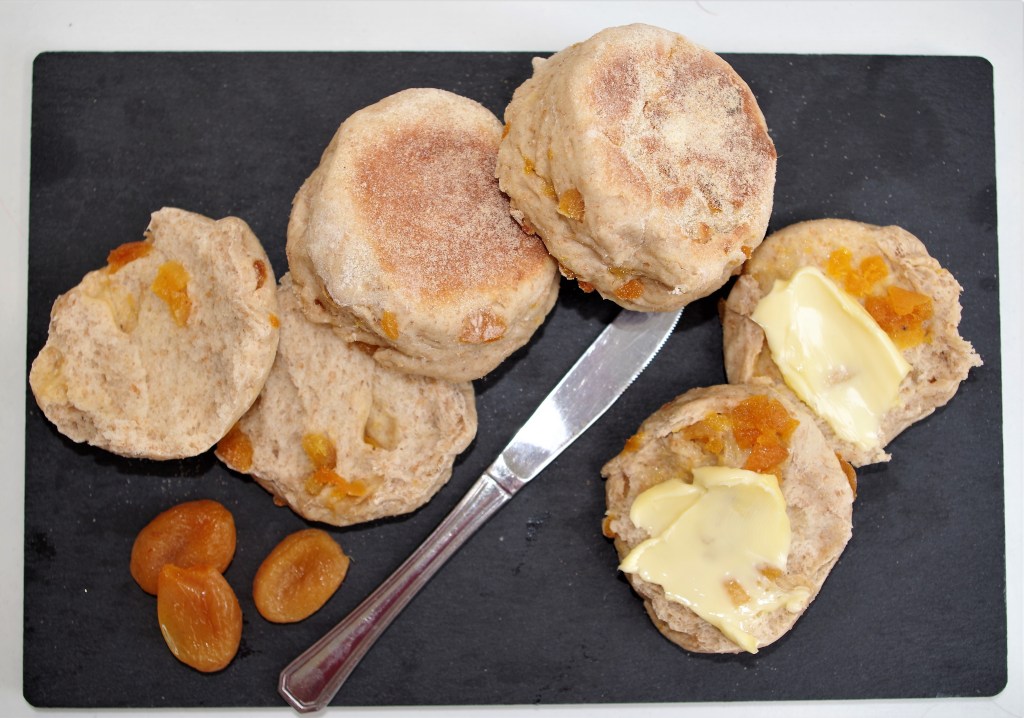
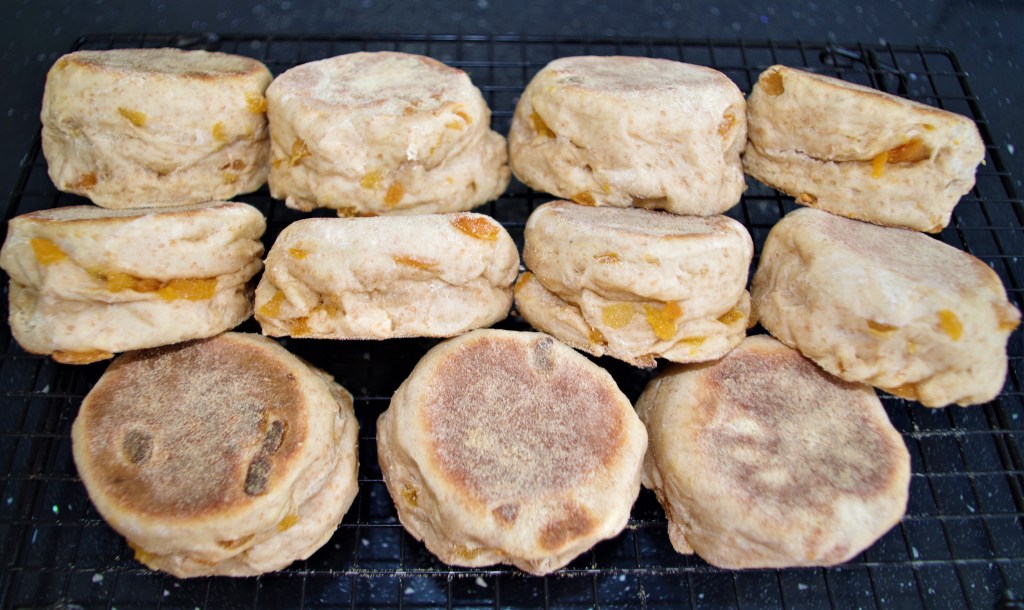
Rye & Wholemeal Apricot English Muffins

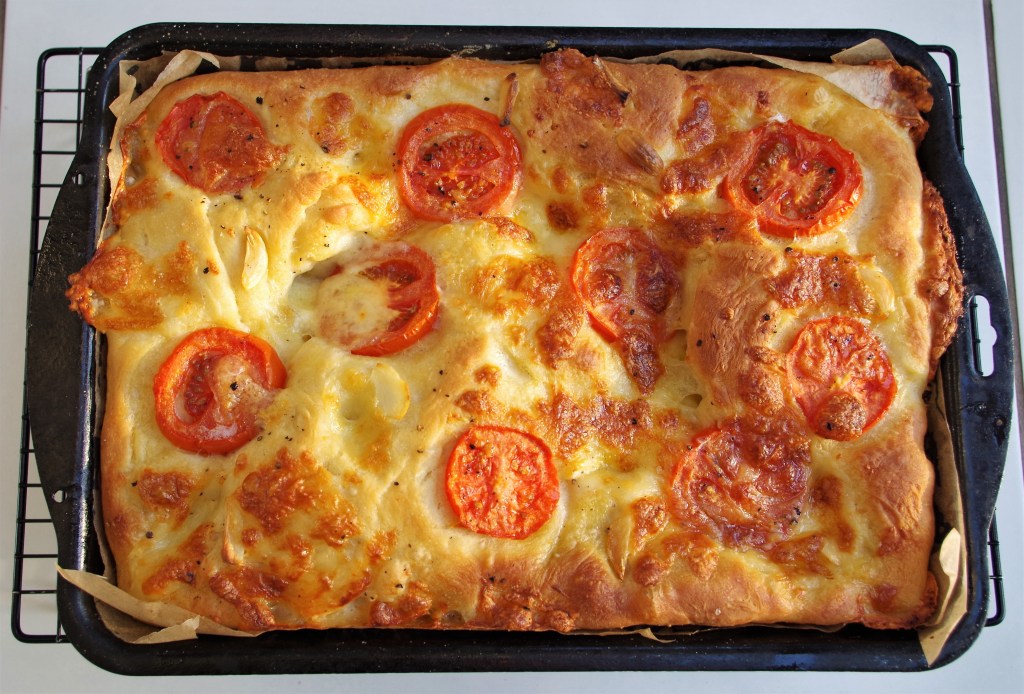
Focaccia con Mozzarella, pomodoro e aglio