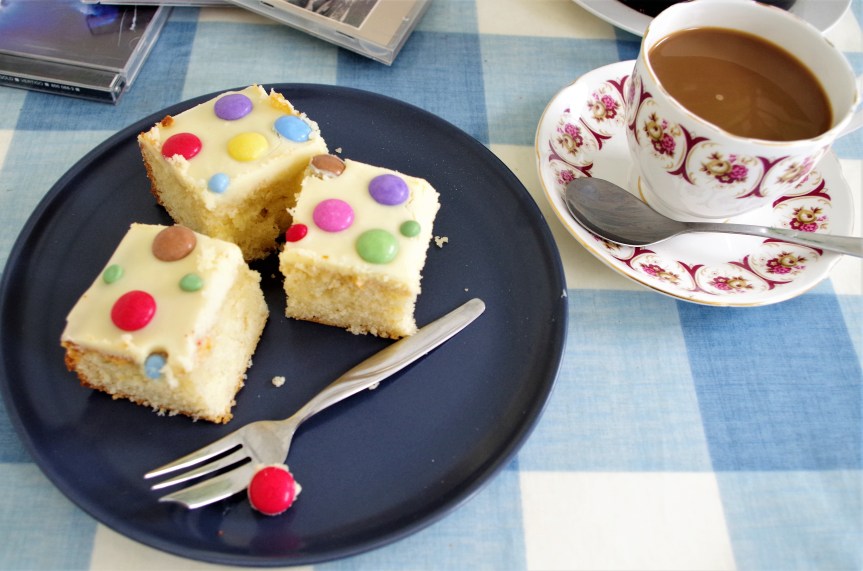
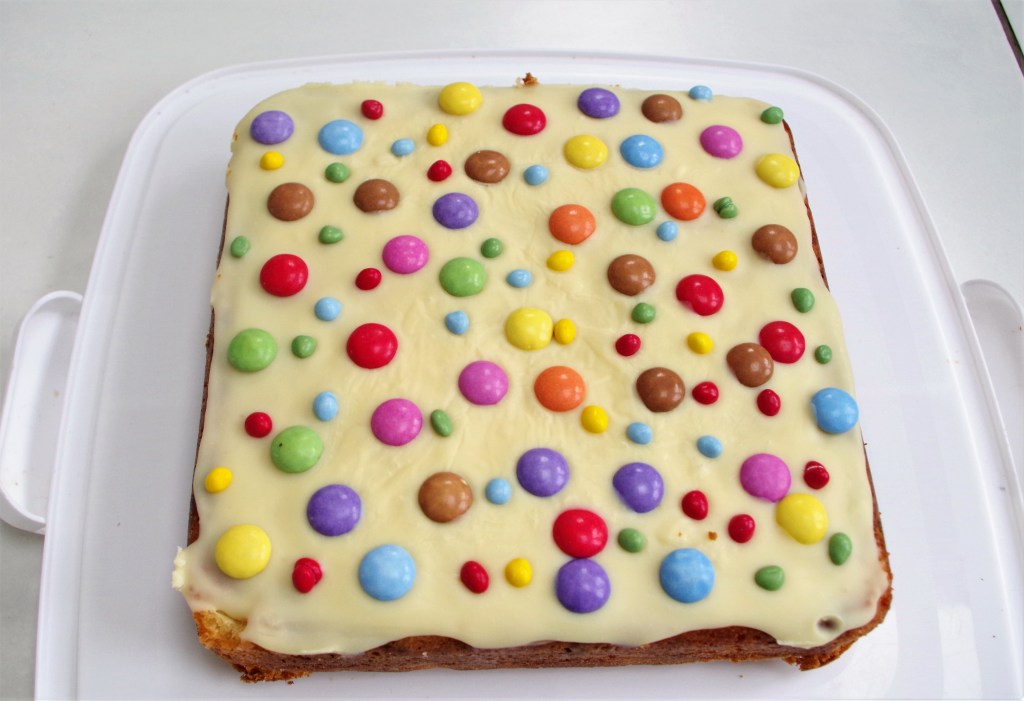
The dark chocolate version* of this easy but luscious cake has been so popular that I simply had to create a white chocolate version. This is slightly richer, but equally yummy, equally easy. (*see link below)

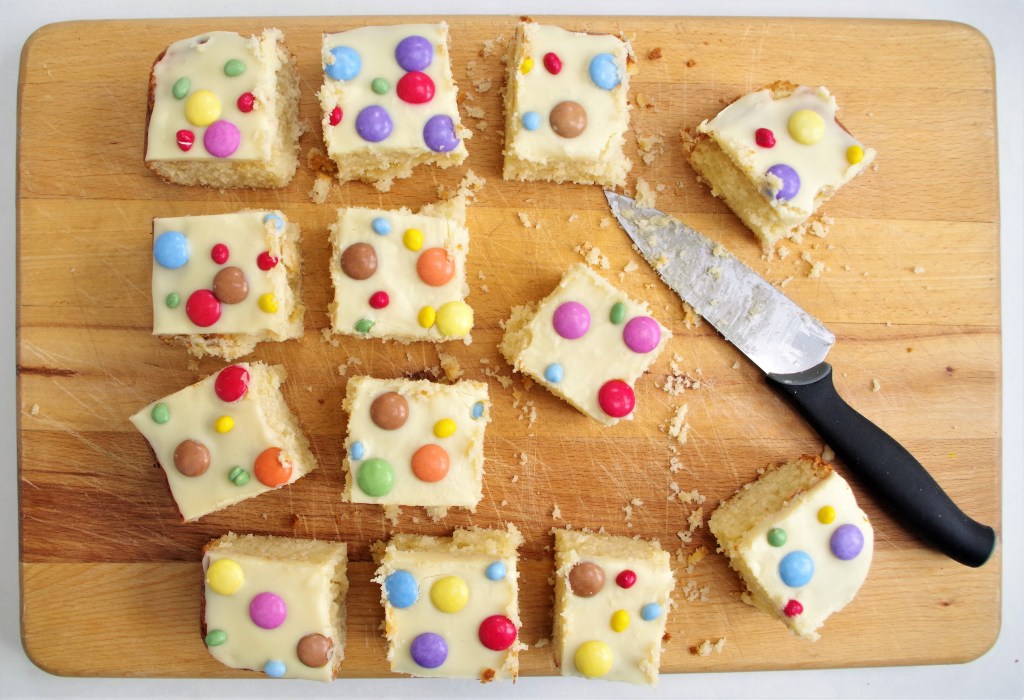
Makes: 16 – 20 pieces
Time: 20 – 25 minutes prep; 30 minutes baking then cooling time + 15 minutes to decorate
Level: Easy
Equipment: A 20cm (8”) square baking tin, ideally with a loose bottom
Ingredients

Cake
- 3 medium eggs
- 250g/9oz white caster sugar
- 60ml/2fl oz sunflower oil or similar
- 60g/2oz melted butter
- 1 tsp vanilla extract
- 100ml/3½fl oz buttermilk or milk
- 150g/5½oz self-raising flour
- pinch of salt
- 100g/3½ oz white chocolate chips
Topping
- 125g/4½oz – 150g/5½oz white chocolate pieces
- 1 Tbsp butter
- 1 – 2 Tbsp milk (or use cream to make it a bit richer)
- 2 tubes of smarties or any other colourful sweet you fancy
- Any colourful sprinkles, ideally to coordinate with the other colours
Method
1. Preheat the oven to 180°C / fan 160°C / 350°F /Gas 4. Grease and line the tin.
2. In a large bowl, whisk together the eggs, sugar, oil and melted butter. Stir in the vanilla extract and buttermilk/milk then sift the flour and salt over and fold it all in. Stir in the chocolate chips.
3. Bake for 35 – 40 minutes until well risen and firm. Test with a skewer inserted into the middle. If it comes out clean then the cake is ready. Run a knife carefully round the edge of the cake and leave it on a wire rack to cool in the tin.
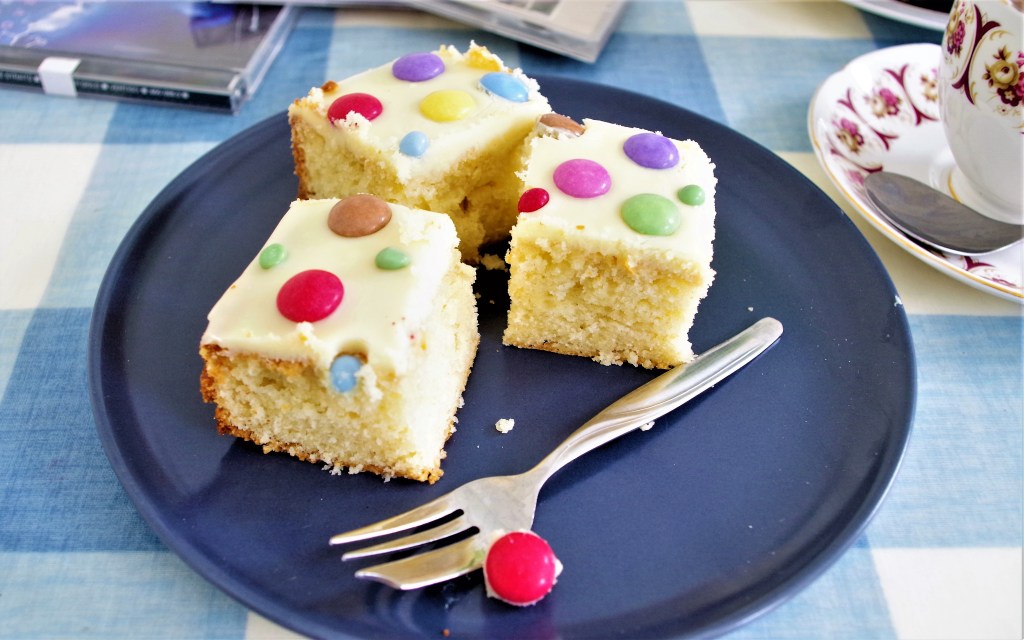
4. To make the topping, gently melt the chocolate, butter and milk (or cream) in a bain marie, stirring as you do so. When it’s fully melted and smooth, use a palette knife or small spatula to coat the surface of the cake. Scatter the top with the smarties and sprinkles and leave for 2 – 3 hours to set. (It could go in the fridge.) Cut into pieces and serve.
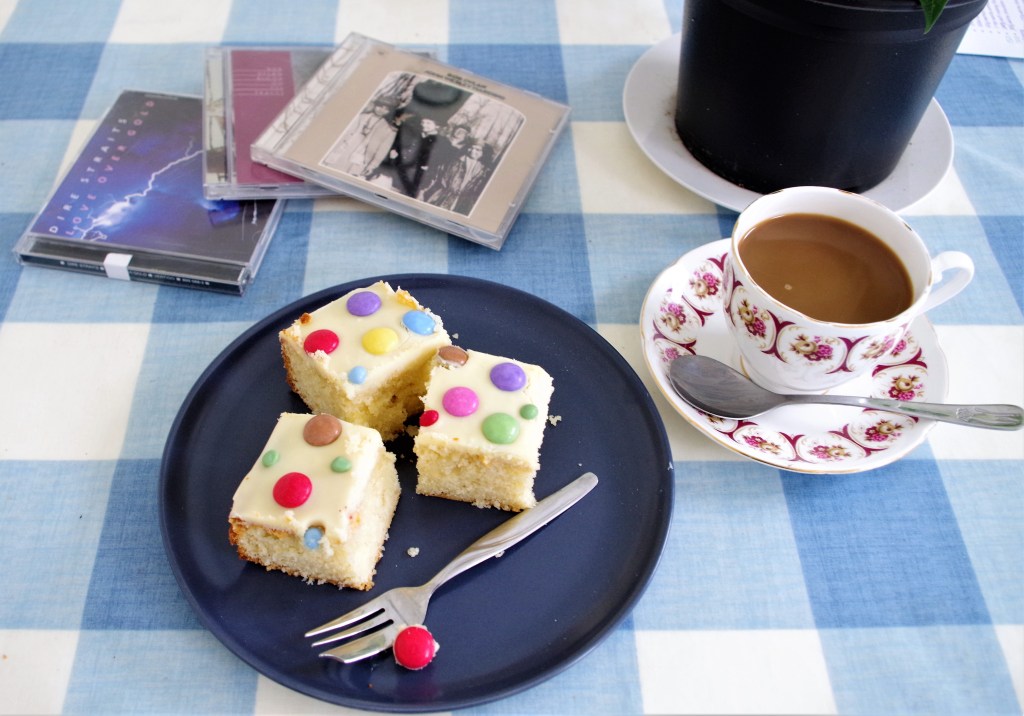
I hope you enjoy baking, sharing and eating this easy but very tasty cake. If you’d like to have a go at the dark chocolate version click here.
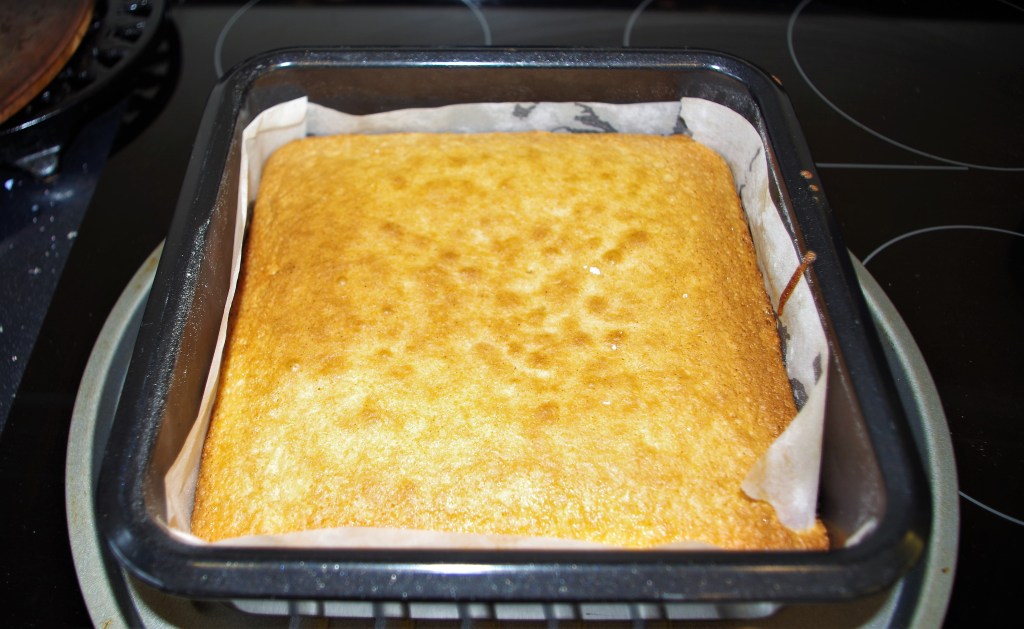
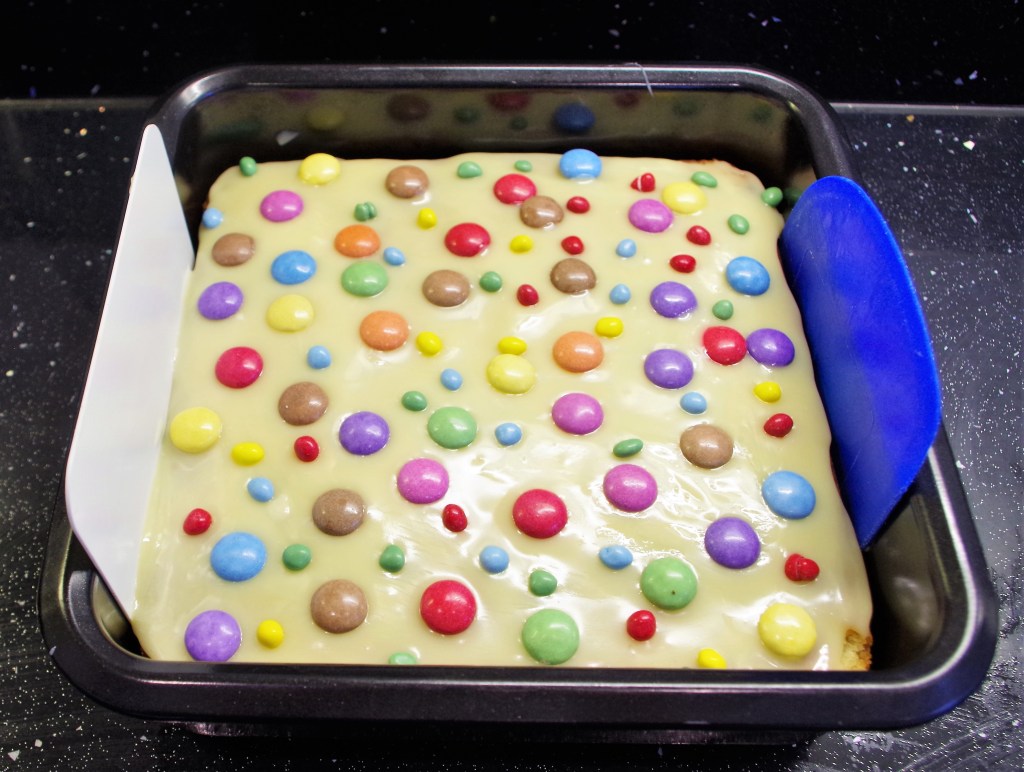
Before closing, I’d like explain the picture below. When the cake had baked I clumsily tugged away the baking parchment and the cake pulled apart on one side. To rescue it, I put it back in the tin and used melted chocolate to “glue” the crack. I then wedged in the two plastic scrapers to hold the joint together until the chocolate set. To my relief, it actually worked better than I expected.
I’d love to hear your comments on this recipe or others on my website. If you have any comments or questions please get in touch via the contact page.