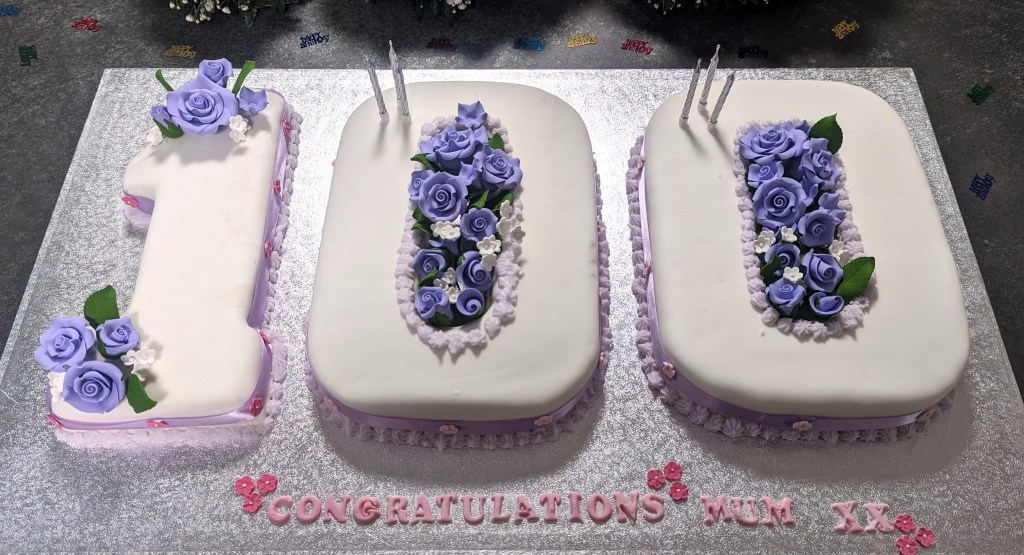
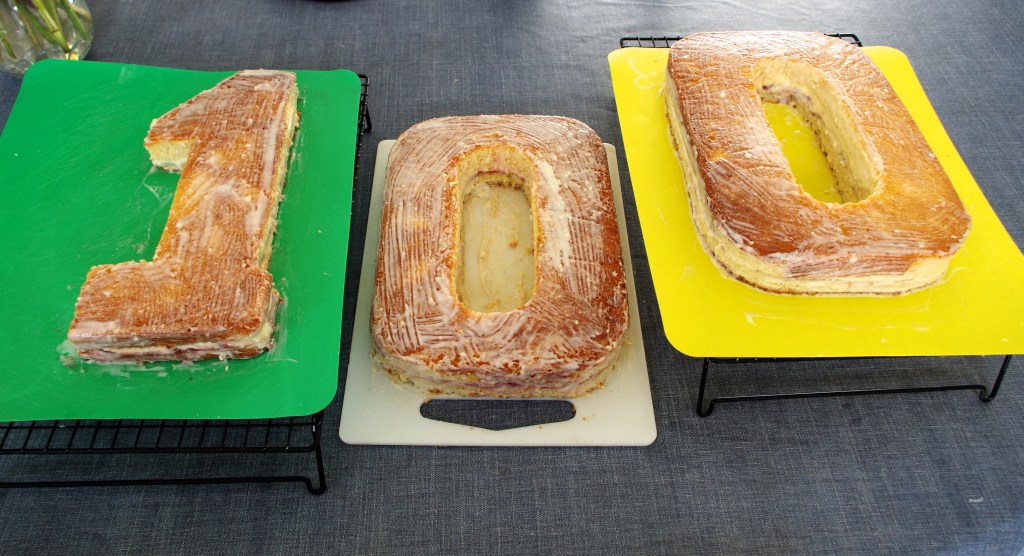
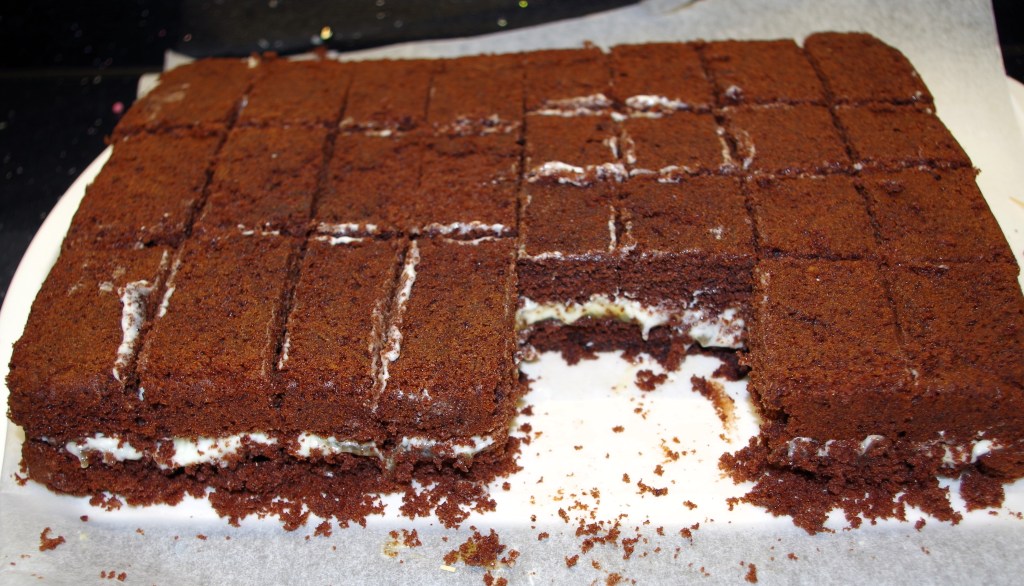
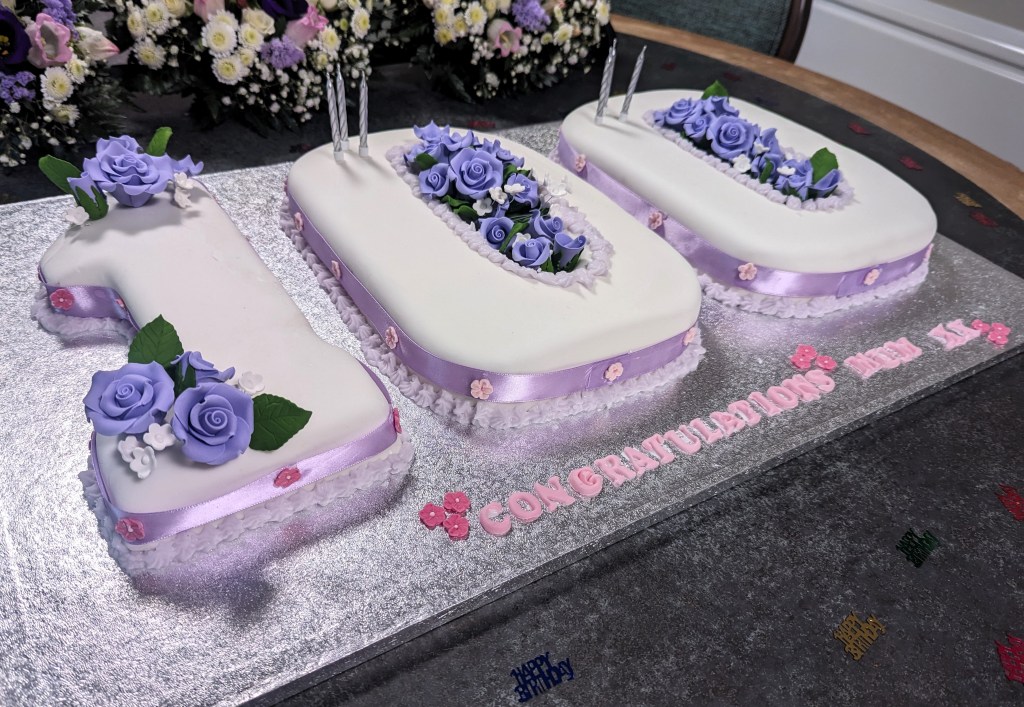
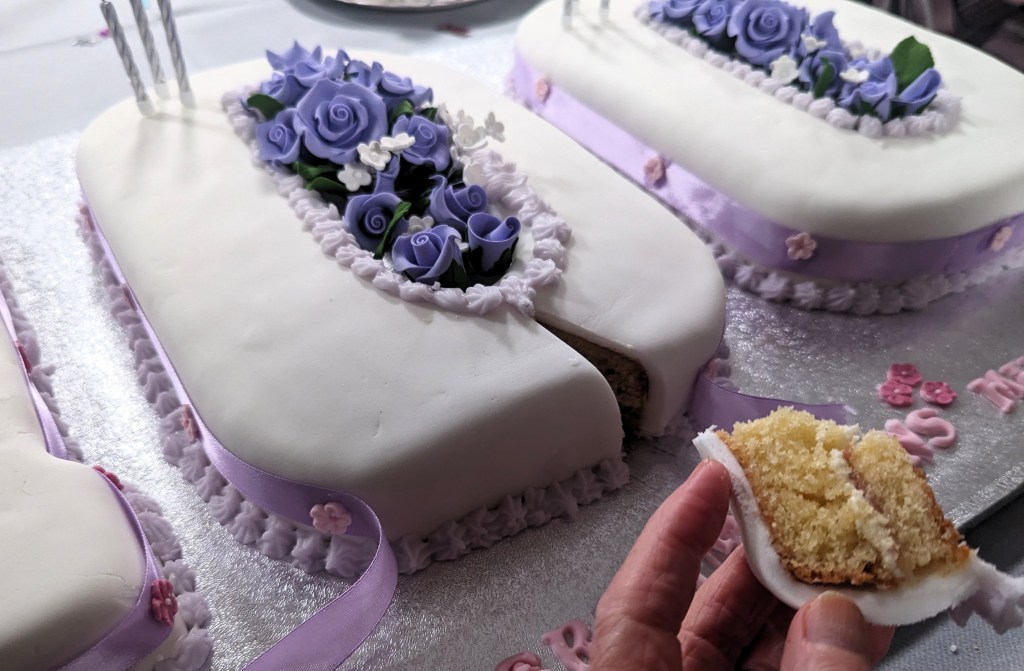
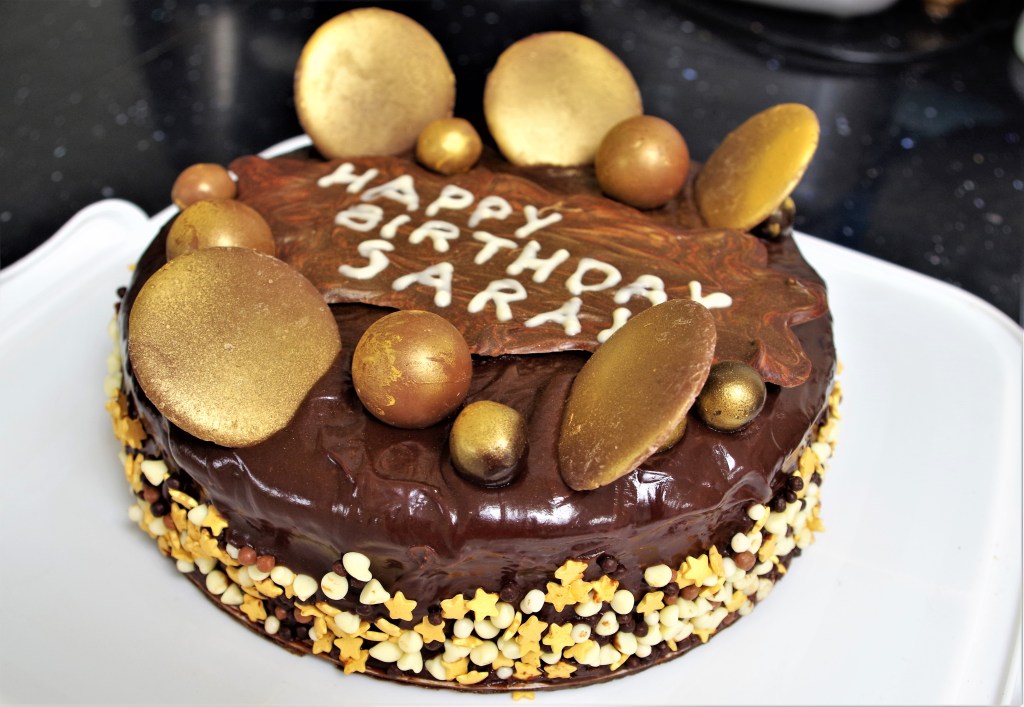
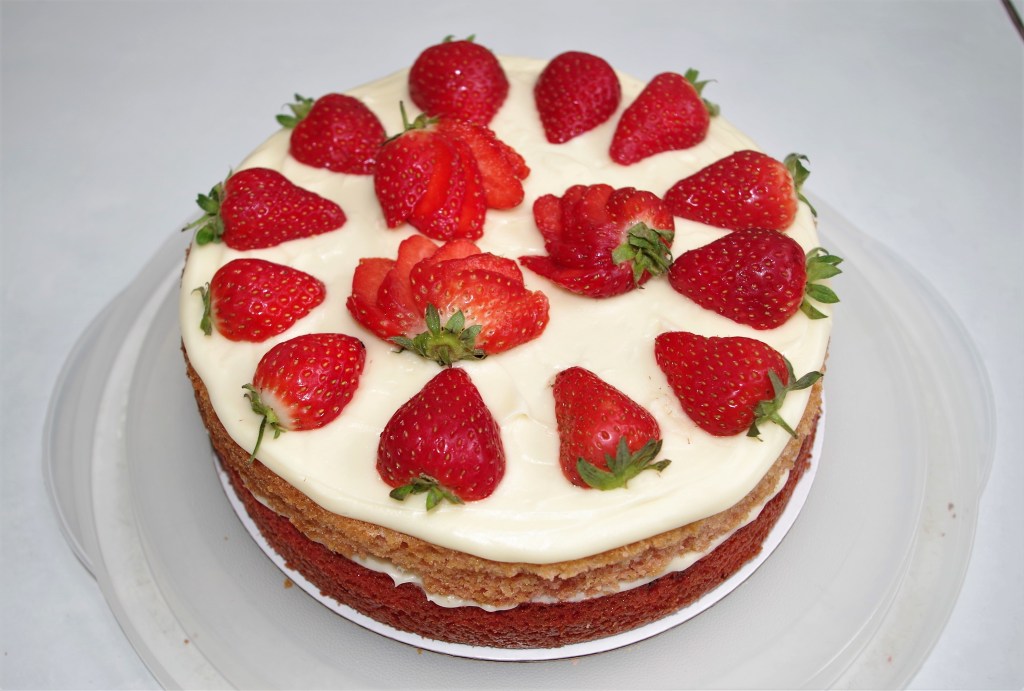
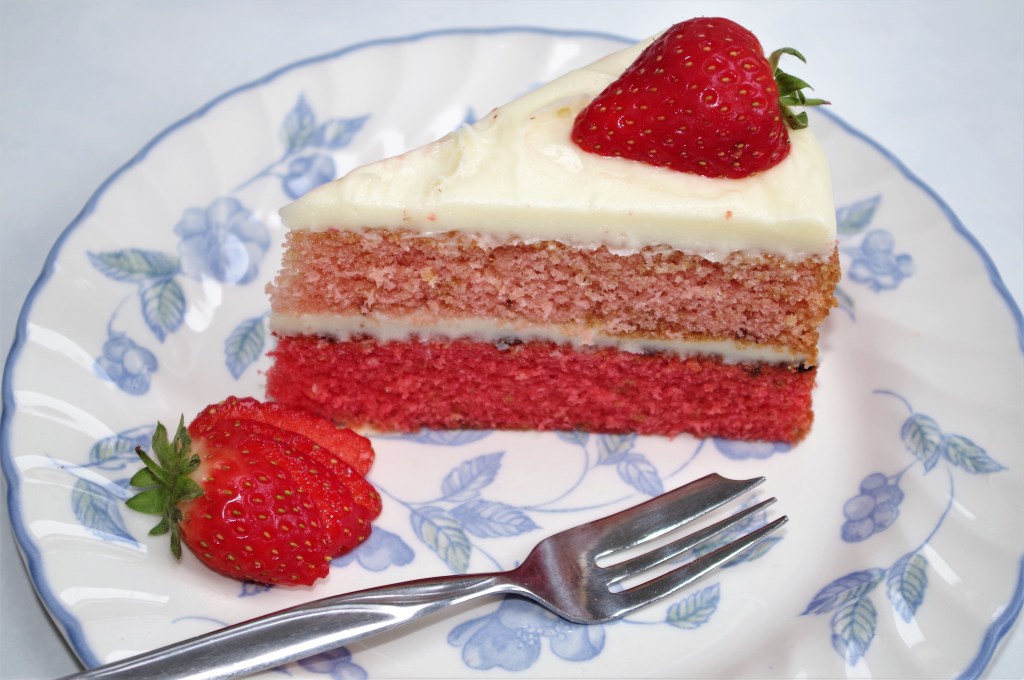
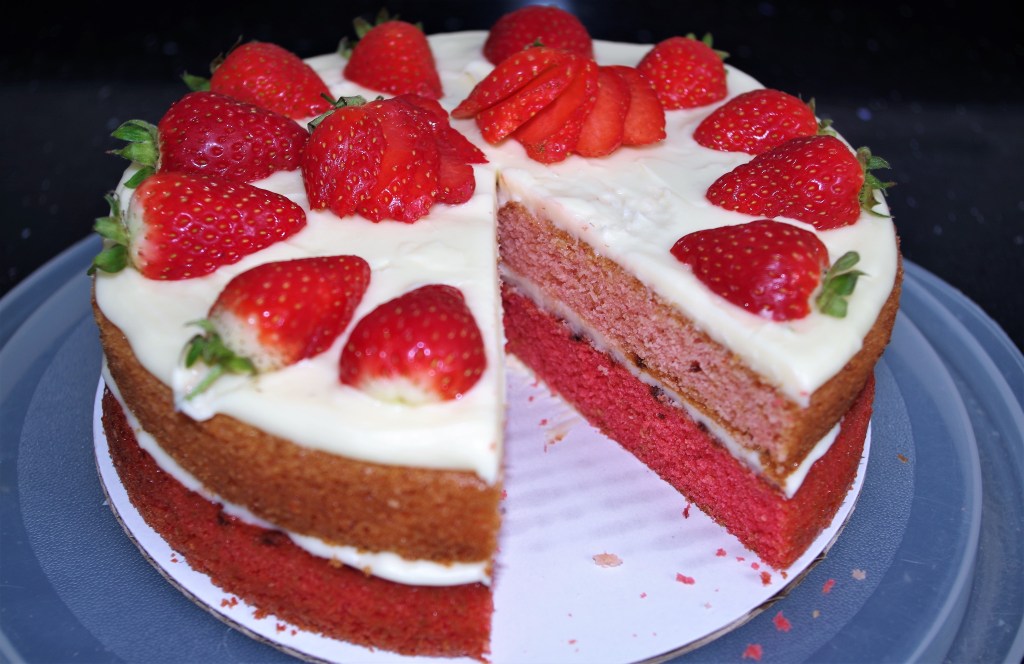
This is a very nice variation of a timeless classic. It’s a lovely buttery cake, but as a tray bake (or sheet cake in US) it also offers “artistic possibilities” as shown below.
- Makes: One full tray (see dimensions below) to be cut as needed
- Level: Making the actual cake is easy. It may be challenging later, depending on what end result you want if you choose to cut and shape it.
- Time: Probably under an hour for the actual cake. Time varies afterwards, depending on what you want to do with the cake or cakes.
- Need: A deep baking tray about 33 by 23cm (13 by 9”). I used a stand mixer but a hand mixer or just by hand will be OK.

Ingredients (for one cake)
- 350g/12oz self-raising flour
- ½ tsp fine salt
- 350g/12oz butter (or margarine) softened
- 350g/12oz caster sugar
- 6 large eggs at room temperature
- 2 tsp vanilla extract (or to taste)
- 60ml/2oz milk
Filling* (for one cake – as above)
- 125g – 175g (4½oz – 6oz) butter (or margarine) softened
- 50g – 75g (1¾oz – 2½oz) full fat cream cheese
- 1 tsp vanilla extract (or to taste)
- 250g – 350g (9oz – 12oz) icing sugar sieved (plus extra for dusting)
- About 100g/3½oz jam
* The figures for the filling are a general guide. I often vary them depending how sweet or thick I want the end product. Sorry to be so vague, but it’s actually quite a flexible part of the whole process. Also, if you go for the higher figures there will be more than enough overall.
Instructions
1. Preheat oven to 180°C / fan 160°C / 350°F / Gas 4. Grease and line the tray. Sift the flour and salt into a medium bowl and set aside.
2. In a large bowl, beat together butter & sugar thoroughly. Beat in one egg at a time + 1 tsp of the “set aside” flour. Stir in the vanilla extract.
3. Add in half the flour and fold in or stir gently until well mixed. Add in the remaining flour and, again, stir gently until the flour is mixed in. Add in milk & stir until mixed in.
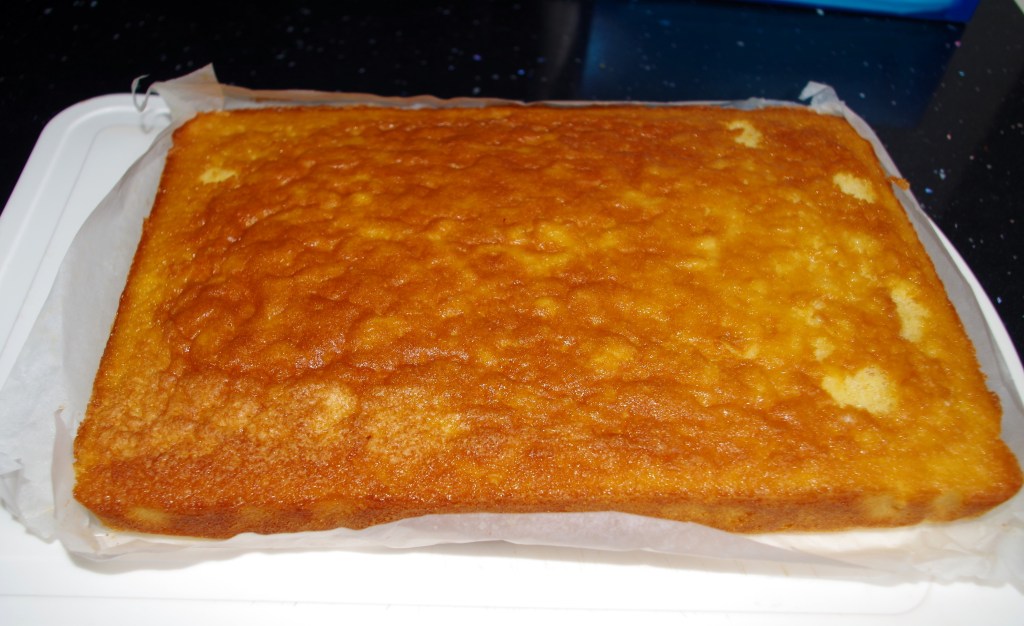
4. Tip the mixture into the lined tin and smooth the surface. Bake for 42-48 minutes. After 36 minutes, check to see if it’s done.
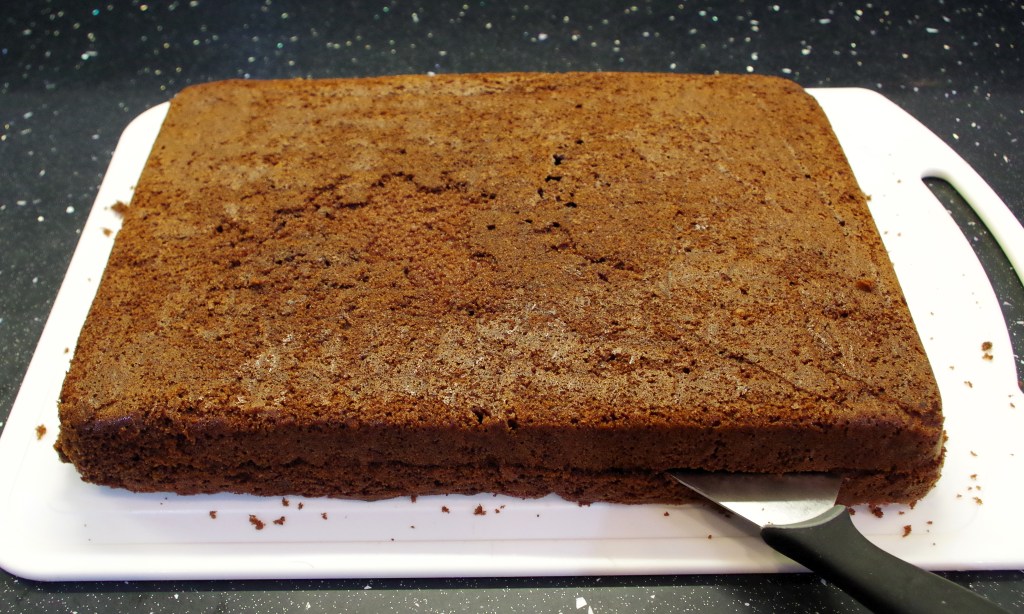
5. Allow the cake to cool in the tin for 15 minutes, then turn it out onto a cooling rack and allow it to cool completely.
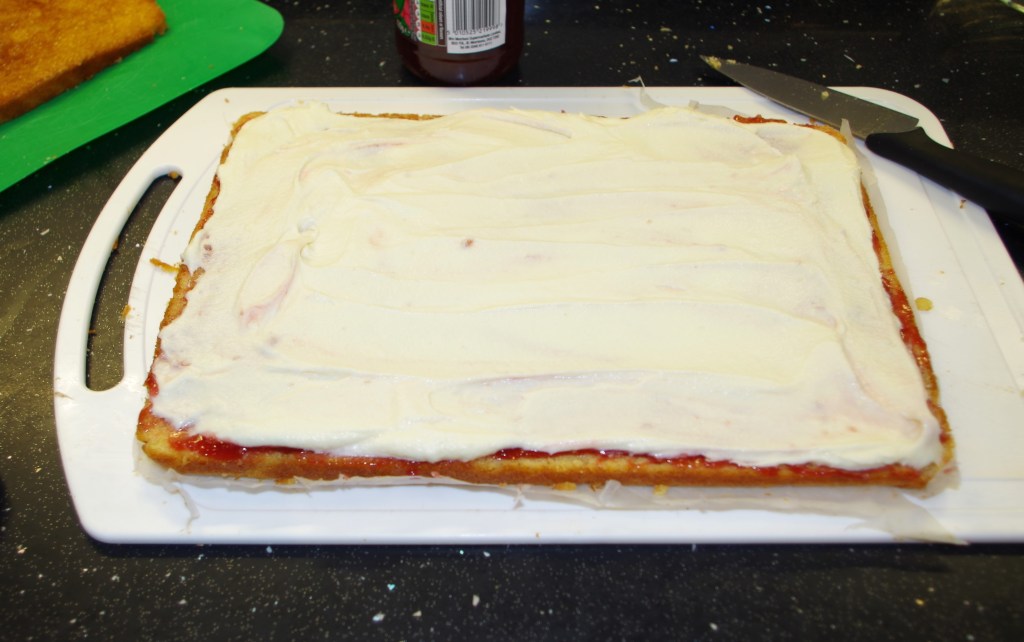
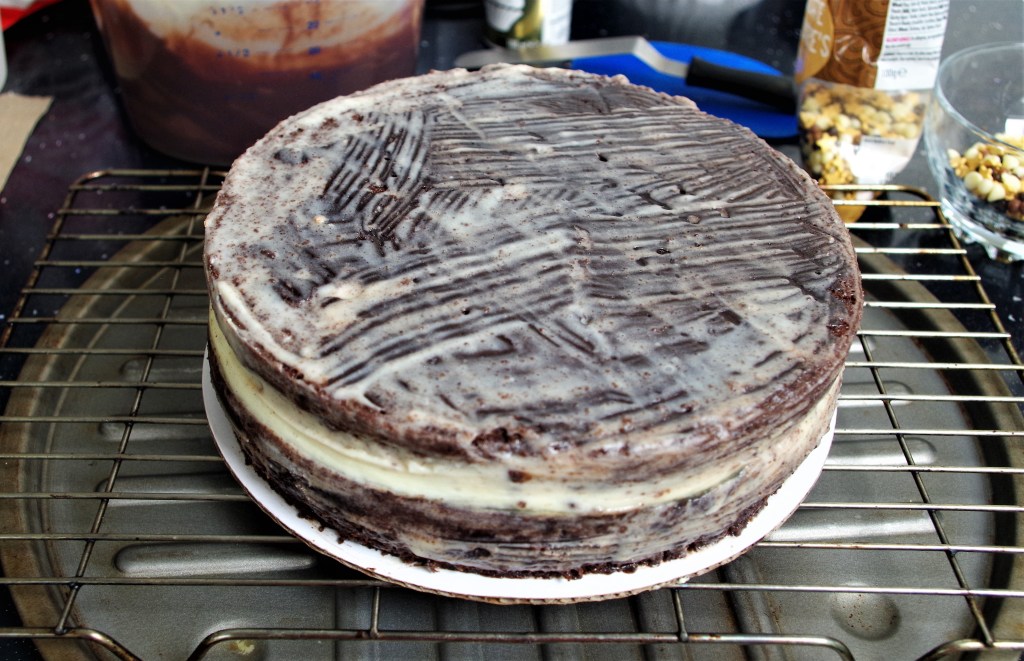
6. When cool, slice horizontally into two halves.
7. To fill and/or add topping – beat together the softened butter and cream cheese then mix in the vanilla extract. Sieve in half of the icing sugar and mix in gently. Repeat with the rest then beat more vigorously until smooth, thick and creamy.
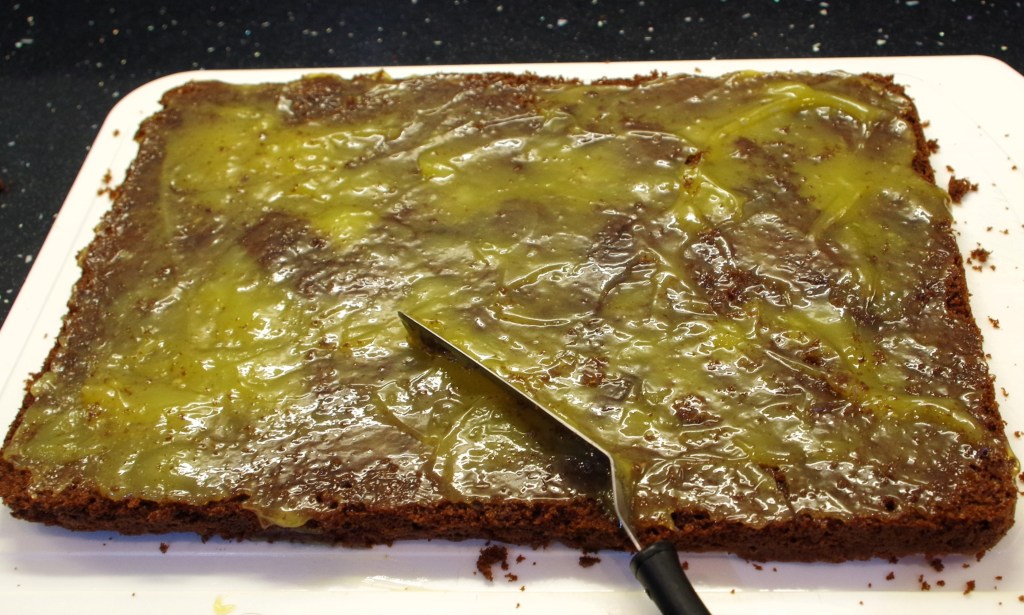
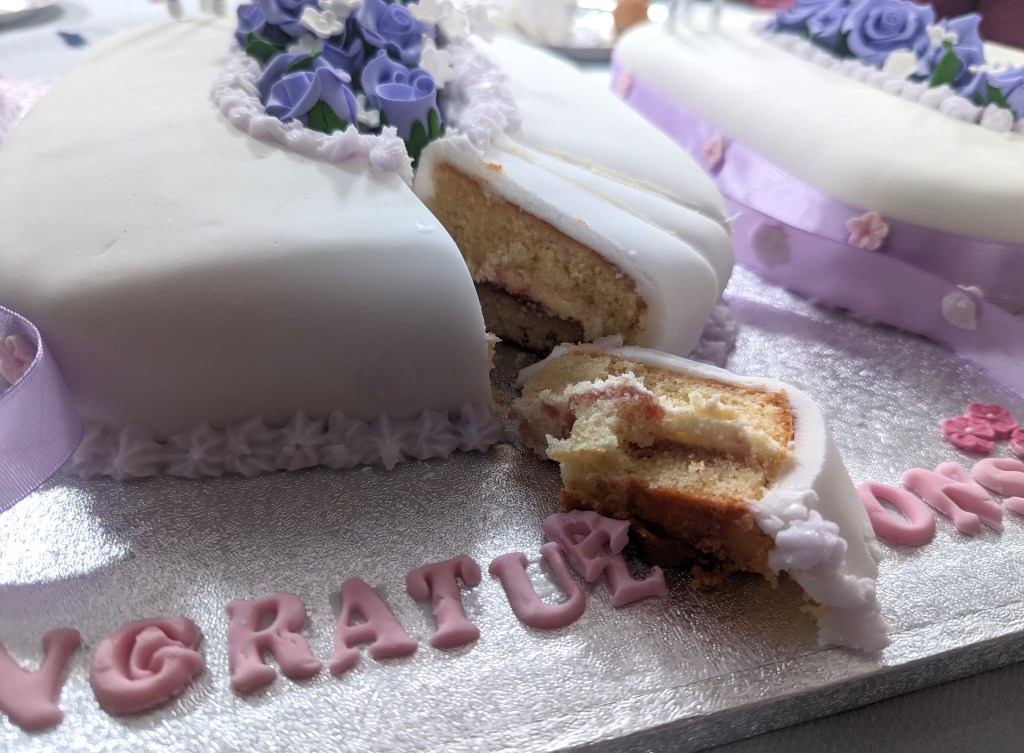
8. Spread the jam evenly all over the cut surface. (You may need to warm it.) Spread the butter cream evenly over the (cold) jam, then put the rest of the cake back on top. (Take care to ensure the top of the cake does not break when you do this!)
9. Dust with icing sugar and cut into pieces as required.
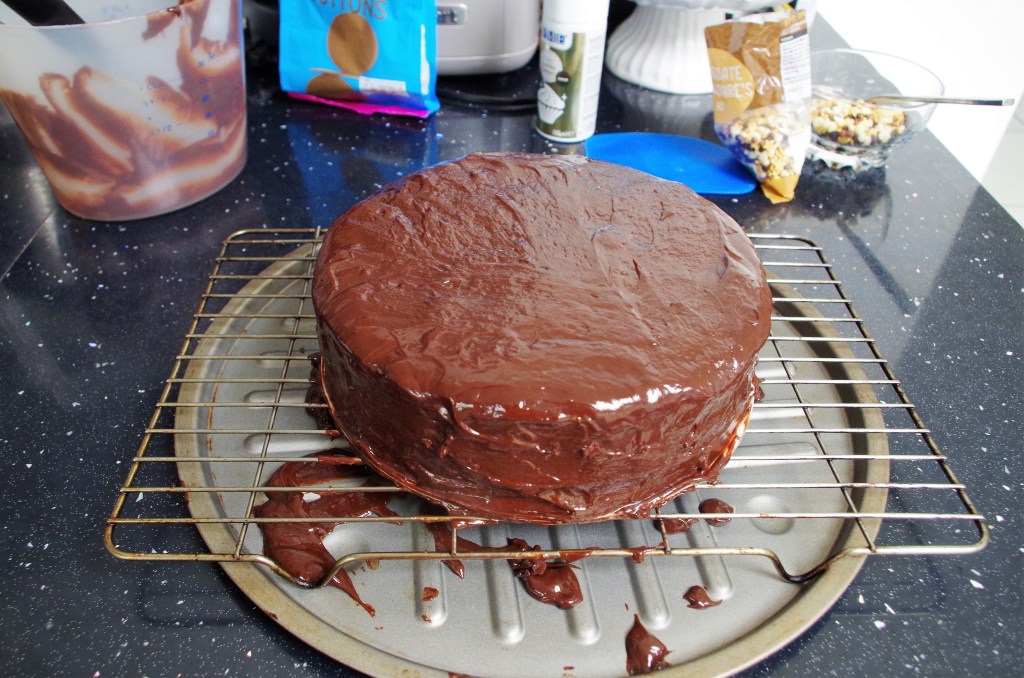
Chocolate version
I reduced the flour to 325g and added in about 50g cocoa powder, plus another 30ml milk. It came out OK and had a good taste, but was rather crumbly. Cocoa powder can dry a cake, so maybe I put in too much. Next time, I might try simply adding in some melted dark chocolate instead.
I made a similar filling, but made it slightly richer by using mascarpone. I also replaced the jam with a layer of lemon curd. The sharpness of the curd balanced the sweetened mascarpone really well.
If you choose to cut the cakes into shapes – some pointers
- One decision to be made is whether to shape the cake before or after cutting it horizontally and adding the filling. It’s easier to cut the cake into halves before shaping and filling it, but it makes the actual shaping a little more tricky. I’d definitely add the filling before shaping the cake into numbers, especially if the numbers are relatively thin (i.e. 1 and 7) or complex (i.e. 5 and 8)
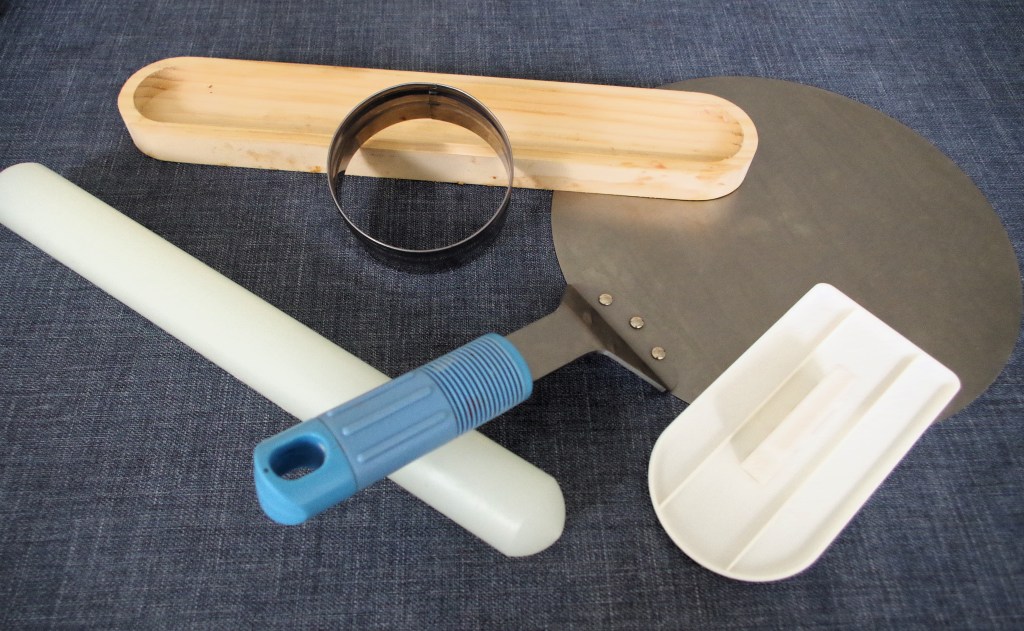
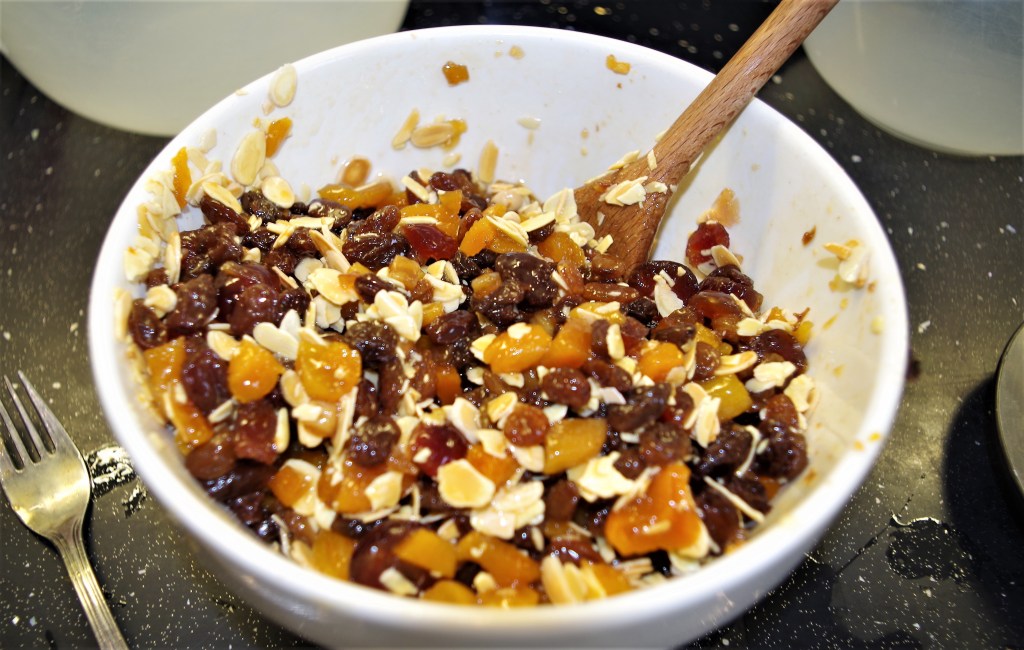
- You could make cardboard patterns to aid cutting. I chose not to. Instead I was able to find various items around the house that I could put to use. For example the equipment photo (above) shows a wooden tray which held nuts. (It was a fortuitous Christmas gift) It was perfect for the centre of each zero. For rounded corners I used small metal cutters to guide me. (i.e. the sort we all have for biscuits etc.
- Take care to keep your knife blade absolutely vertical.
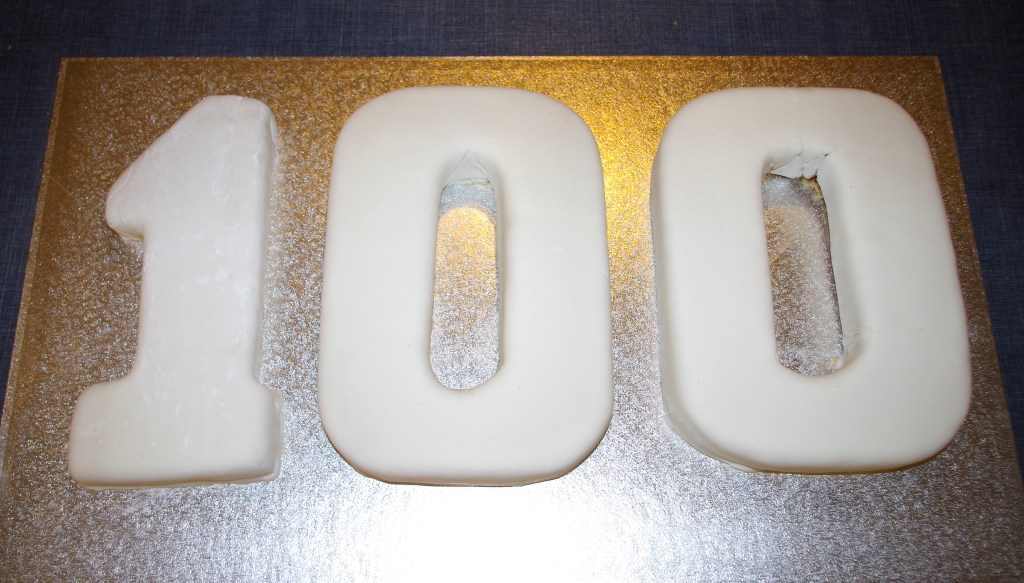
- A crumb coat will be necessary if you intend adding fondant icing. I found it virtually impossible to get the fondant neatly into the “hole” in the zeros. Luckily the plan was to fill these holes with flowers, so it wasn’t a problem. I recommend doing likewise with flowers or sweets or petals.
I hope you enjoy this lovely cake. If you want more cake recipes click this link, or have a look at my site for lots of other great recipes, both sweet and savoury. Below are a few that I’d love you to try:


To make a comment or ask a question please go to the contact page. Click here for the home page.
