Here’s a wonderfully rich, dense and yummy brownie. The addition of honeycomb gives it an extra crunchy zing. (And who doesn’t enjoy an occasional crunchy zing in their life?)
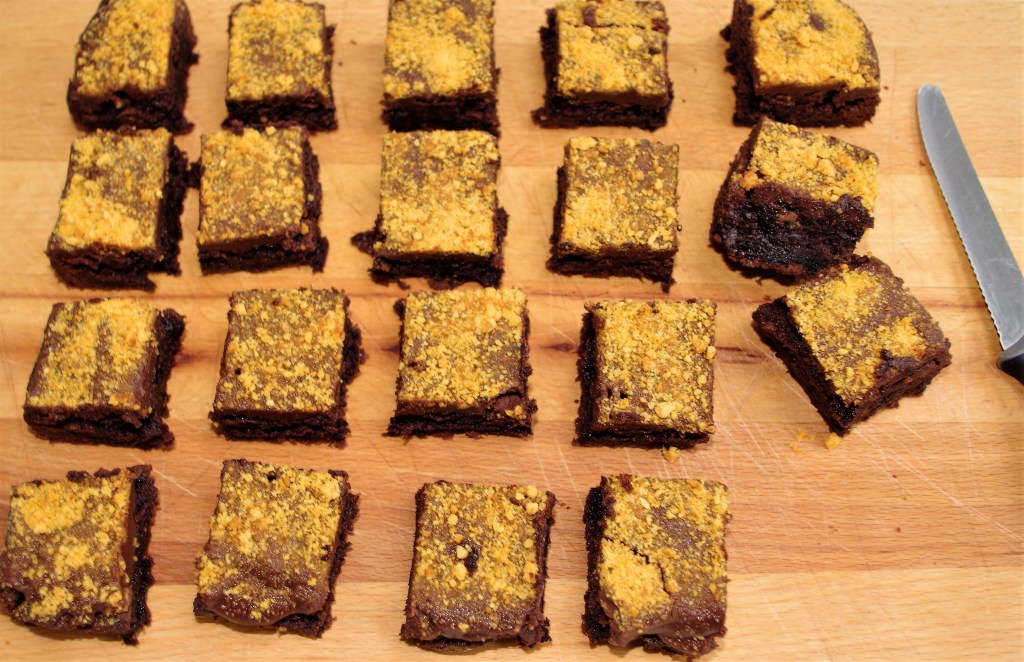
Makes: 16 medium size pieces
Time: Just under an hour including decorating, excluding cooling
Level: Fairly easy
Use: A 20cm (8”) square tin, ideally non-stick.
Ingredients

- 200g/7oz unsalted butter, cubed, plus extra for the tin
- 200g/7oz milk chocolate roughly chopped (or use dark choc.)
- 3 large eggs
- 1 tsp vanilla extract
- 200g/7oz light brown sugar or Golden Caster Sugar
- 100g/3.5oz gluten-free plain flour* (Or ordinary flour for non-GF)
- 30g/1oz cocoa powder
- ½ tsp salt
- 1 tsp coffee powder or granules
- 50g – 100g dark chocolate, cut into chunks or chips.
- 100g – 125g Honeycomb pieces**. Reserve some for decorating
* I’ve used Sainsbury’s own brand and also Doves Farm Free From. Both work well; in this case without the addition of xanthan gum powder.
** Either make your own honeycomb (see below) or buy some. Cadbury’s “Crunchie” bars could also be used.
Decorating option ingredients
- 150g/5.5oz dark or milk chocolate
- 50g/1.75oz butter
- The reserved honeycomb pieces, finely whizzed
Method
1. Heat oven to 180C / 160C fan / 350F /gas 4. Butter the tin then line the bottom and sides with baking parchment.
2. Melt together the butter and milk chocolate, either in a bain marie or use short bursts in a microwave, stirring regularly. Leave to cool a little.
3. Beat the eggs, vanilla and sugar together until thick enough to leave a trail. Gently fold into the cooled melted chocolate. Sift in the flour, cocoa powder, salt and coffee powder. Finally, stir in the dark chocolate chunks and honeycomb pieces.
4. Pour the brownie batter into the lined tin, place in the centre of the oven and bake for 30-35 mins. Leave to cool in the tin for at least 15 minutes.


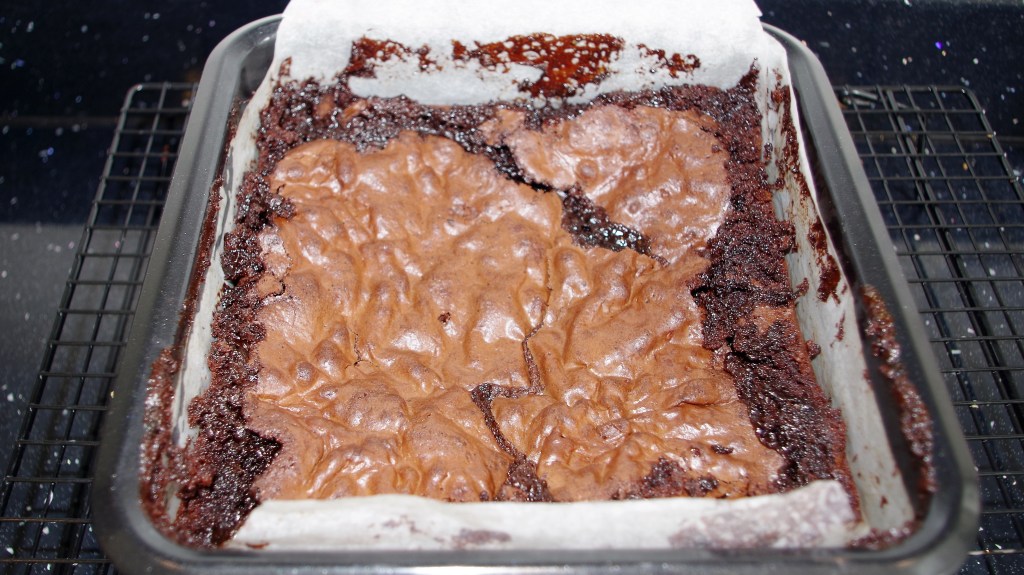
5. There may be a flaky layer on top, which is quite usual. If so it would be worth carefully inverting the whole slab next. Make sure it’s firm before doing this. At this stage you could just cut it and it will be finished. But….
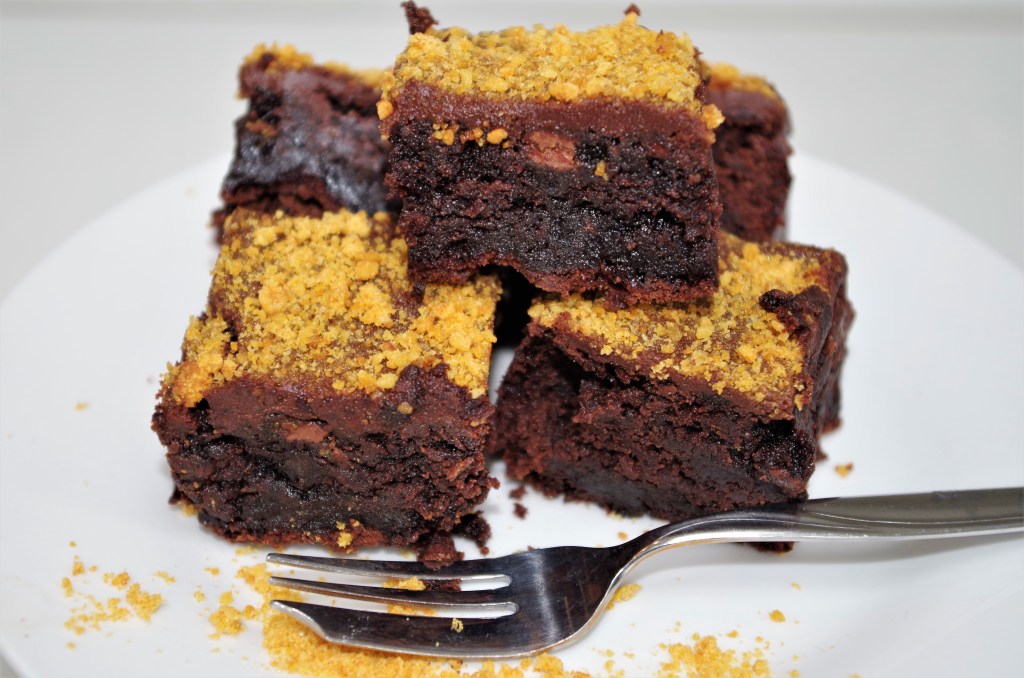
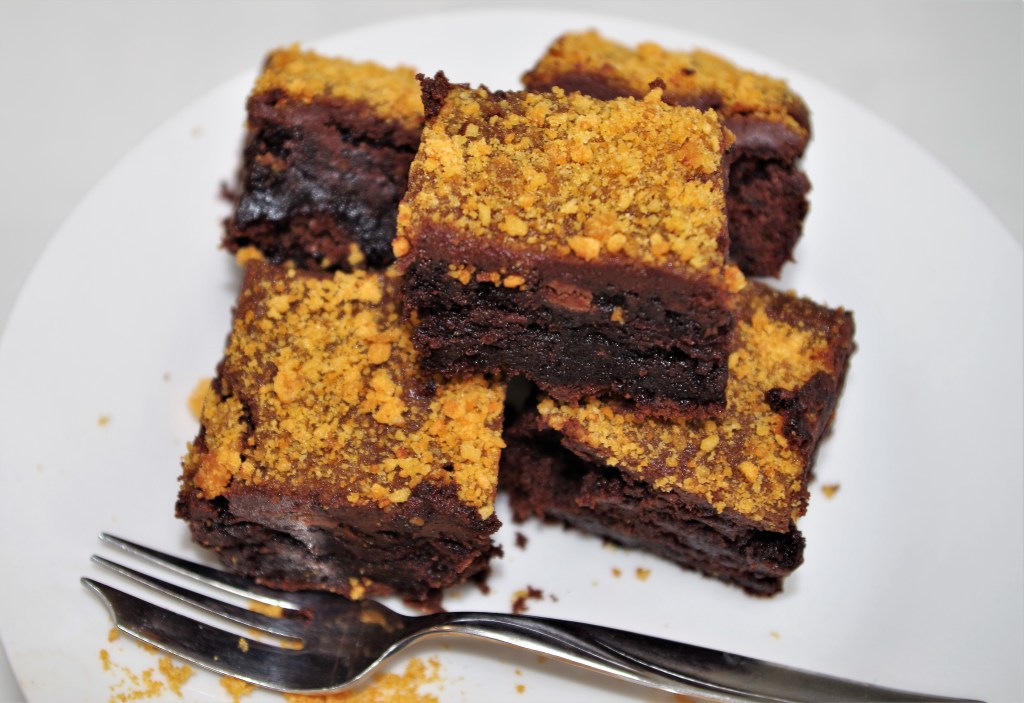
6. One decorating option is to melt the chocolate and butter together and brush or pour it onto the top of the uncut brownie slab. Working quickly, before the chocolate sets, sprinkle over some finely whizzed honeycomb pieces.


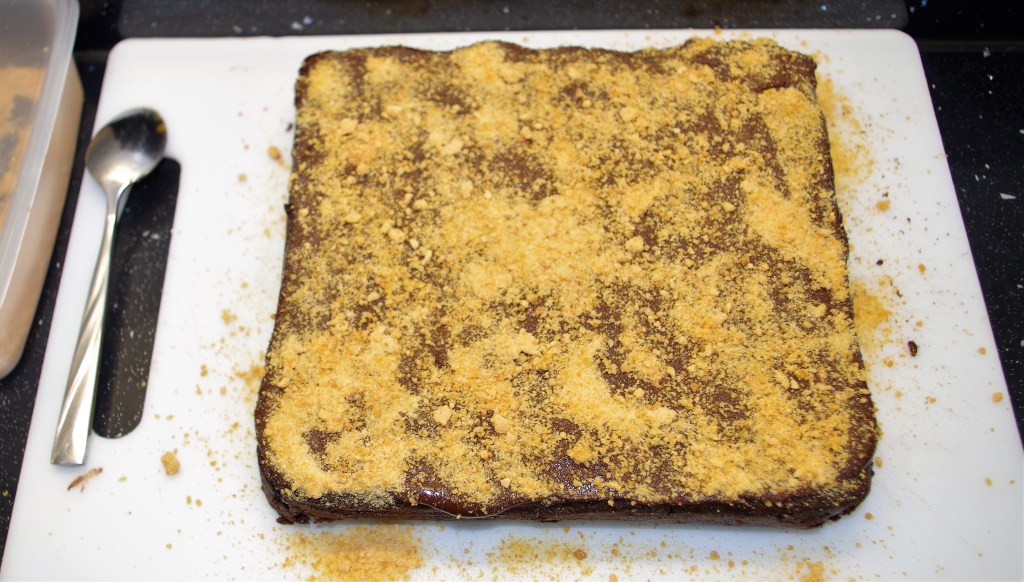
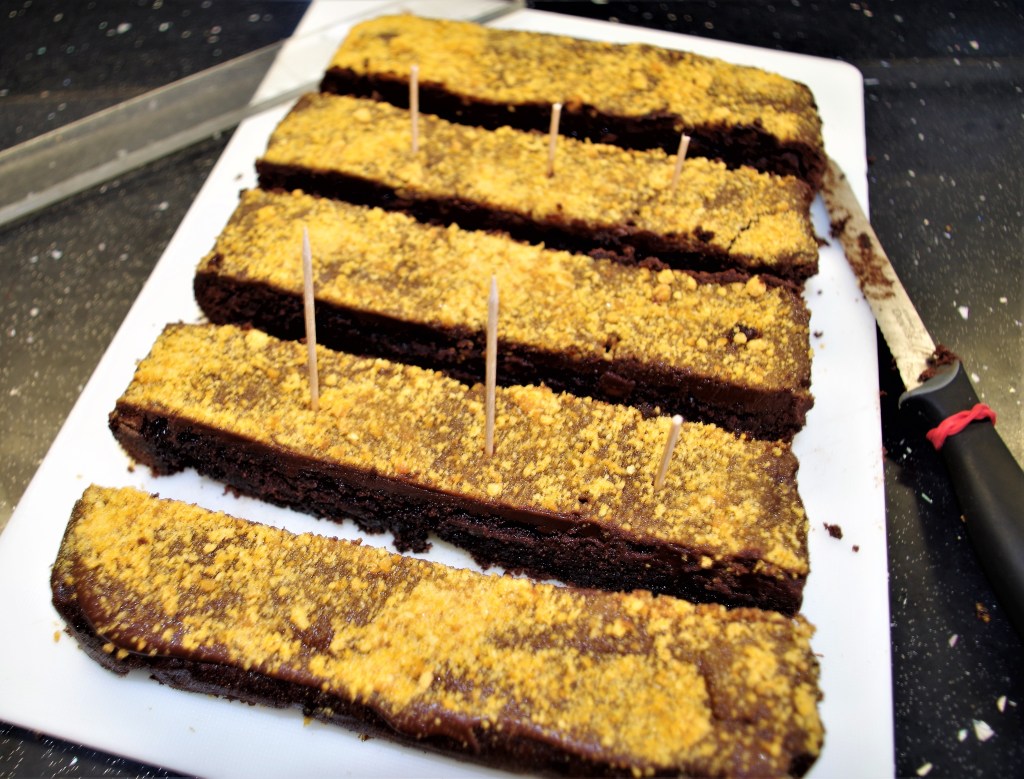
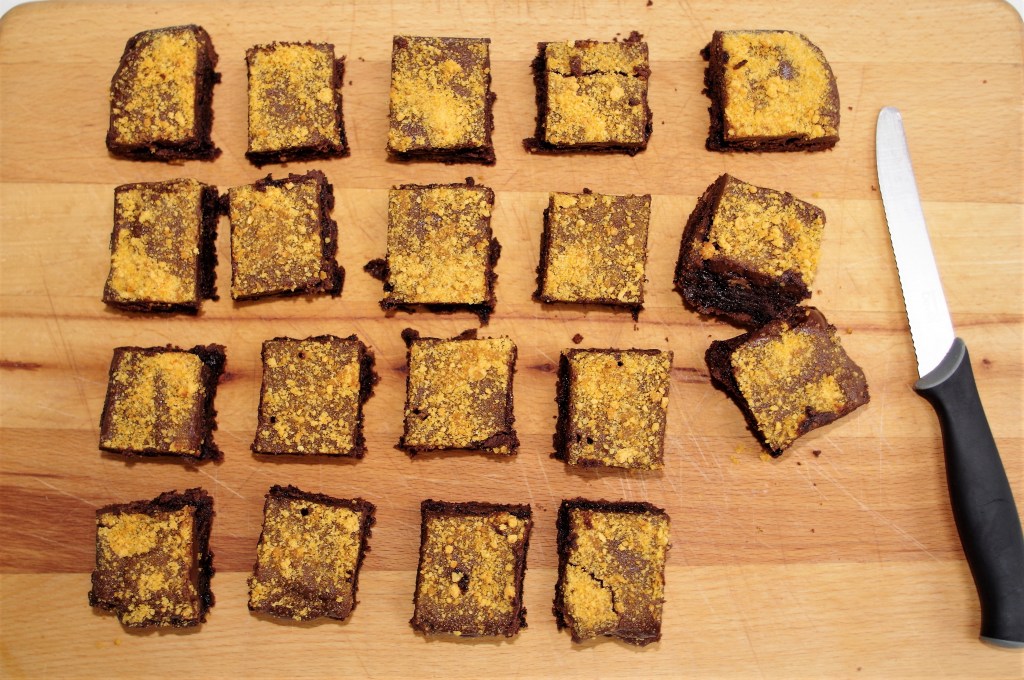
7. Leave until set and dry then cut into whatever size pieces you fancy.
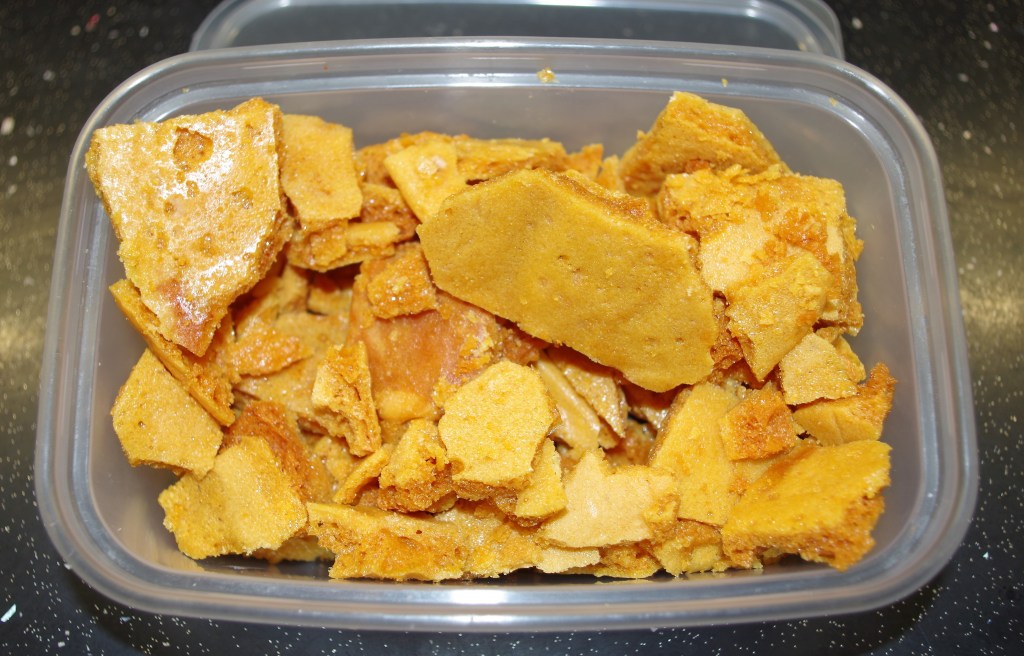
Making honeycomb
The first thing to say is that it’s well worth making your own: it’s easy, it’s quick, it’s fun and it’s better than bought honeycomb. This amount below will be plenty.
Ingredients
- Butter for the tin
- 200g caster sugar
- 75g golden syrup
- 2 tsp bicarbonate of soda
Method
1. Butter and line a 20cm square tin.
2. Stir the sugar and golden syrup together in a deep saucepan over a low heat until the sugar has melted. (It can be stirred) Avoid the mixture bubbling until the sugar grains have fully dissolved.
3. When the sugar has melted, turn up the heat a little and simmer until it becomes an amber coloured caramel. (This won’t take long.)
4. Working quickly, turn off the heat, tip in the bicarbonate of soda and beat in with a wooden spoon until it has all disappeared and the mixture is foaming. Pour into the tin immediately. Take care, it will be very hot.
5. The mixture will continue bubbling for a while, just leave it. In about 60 – 90 mins the honeycomb will be hard and ready to crumble or snap into chunks. (Tip – put the saucepan in to soak ASAP.)

