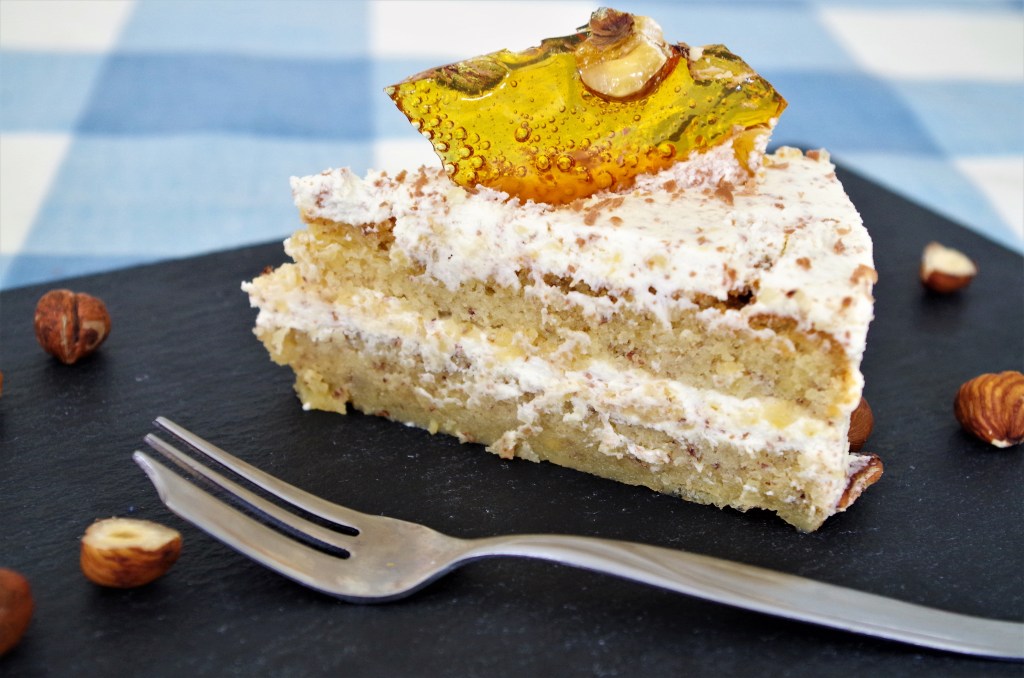
Here’s something very special – a showstopper in fact. It’s light, it’s tasty, it’s easy to bake, it’s easy to decorate and it’s gluten free. What more could anyone want? Oh, yes, it contains chocolate as well.
Makes: 8 – 10 slices
Level: Mostly easy
Time: 30 – 35 mins prep; 50 – 60 mins baking + cooling time + time to decorate the cake, depending on what you choose to do.
Need: A deep sided 20cm/8” round tin, ideally springform style. (NB If you don’t have one with high sides then line the inside of your tin with baking parchment that is raised above the rim.)

Ingredients
For the Cake
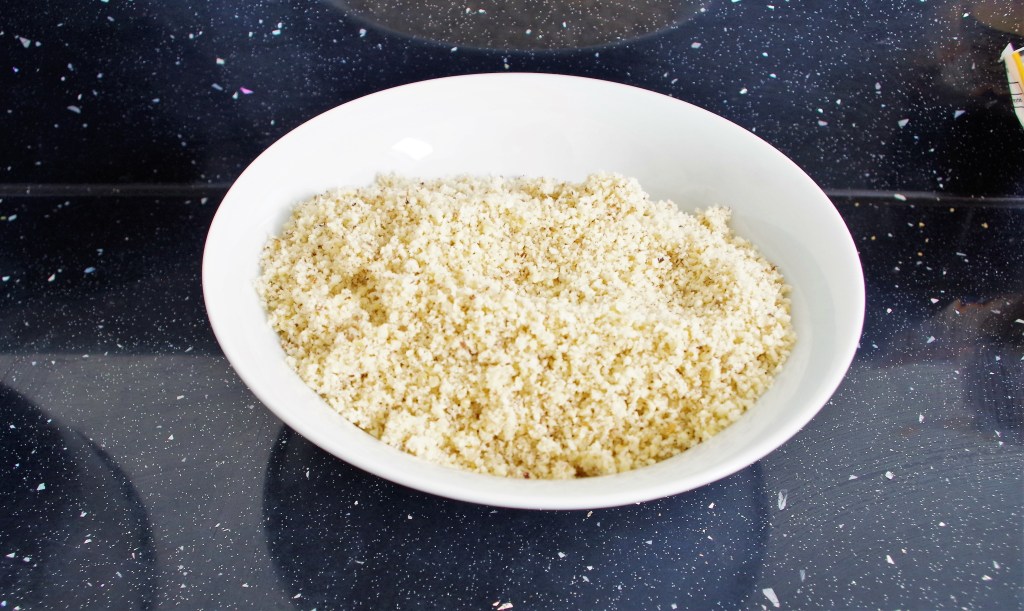
- 200g/7 oz blanched hazelnuts
- 5 medium eggs
- 175g/5 oz golden caster sugar
- 100g/4 oz unsalted butter, melted
- 1 tsp vanilla extract
For the Frosting
- 300g/10 oz Mascarpone cheese
- 1 tsp vanilla extract
- 50g/2 oz icing sugar
- 150ml/5½fl oz double cream
- 20g/¾ oz chocolate (milk or dark), grated
To decorate
- About 30g/1oz hazelnuts (with skins on)
- 225g/8 oz sugar (caster or granulated)
- 125ml/4½fl oz water
- A further 35g/1¼ oz hazelnuts (with or without their skins)
Method
1. Preheat the oven to 180°C / Fan 160°C / 350°F / Gas 4. Butter and line the tin.
2. Finely grind the hazelnuts in a food processor or blender. Take care in the latter stages to stop before they turn into a paste.
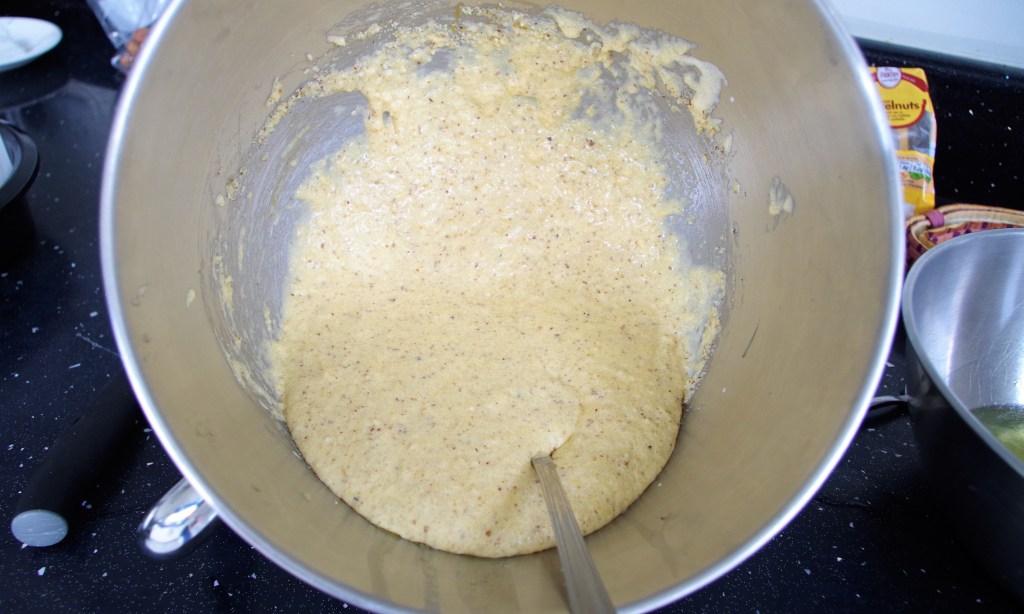
3. Separate the eggs into two bowls*. Add the sugar to the yolks and whisk with an electric mixer until light and fluffy. Gradually whisk in the melted butter and 1 tsp vanilla. Gently fold in the hazelnuts. (*Avoid putting the whites into a plastic bowl, as it may have traces of grease which will inhibit the desired rise.)
4. Using clean mixer blades, whisk the egg whites until stiff peaks are formed. In three or four stages, fold the egg whites into the other mixture. Spoon the combined mixture into the prepared tin and bake for 50 – 60 minutes. (Test with a skewer inserted into the middle. If it comes out clean, the cake is ready.)
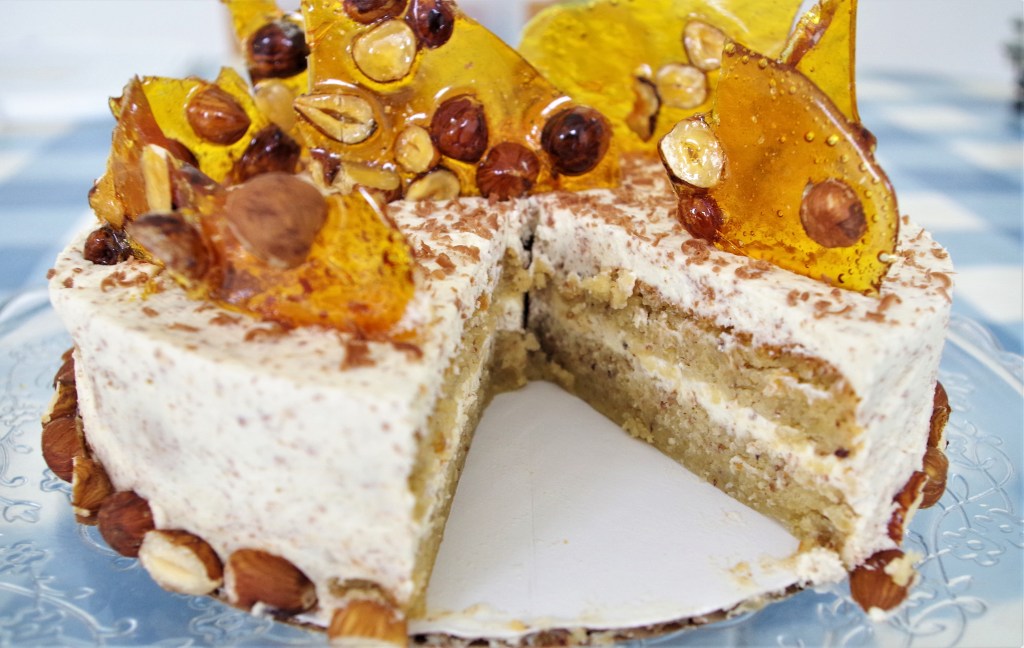
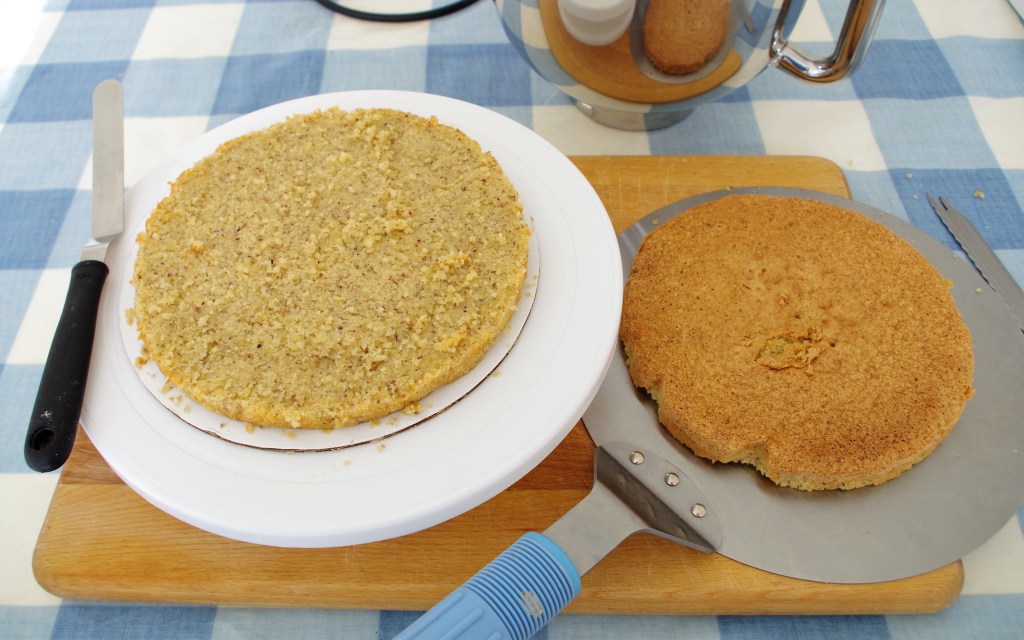
5. Cool in the tin for 10 minutes then turn out onto a wire rack to cool fully. When fully cool, slice in half horizontally. (NB You might prefer to cut the cake after you’ve made the frosting. Also, handle it carefully, as it’s quite a fragile cake.)
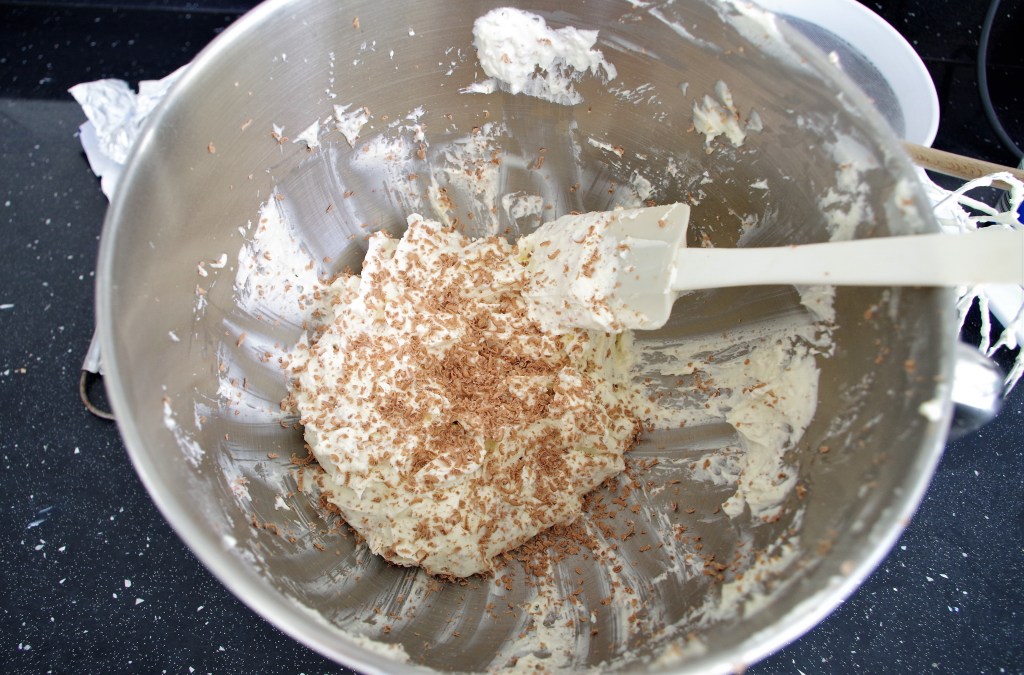
6. To make the frosting, beat the mascarpone for a few minutes then add in 1 tsp vanilla extract and sift in the icing sugar. Stir to mix then beat for a few minutes. Pour in the double cream and whisk until it’s firm enough to hold its shape. (Take care not to overbeat as it will become lumpy.) Grate over most of the chocolate and stir in. (Keep some chocolate to grate over the frosted cake.)
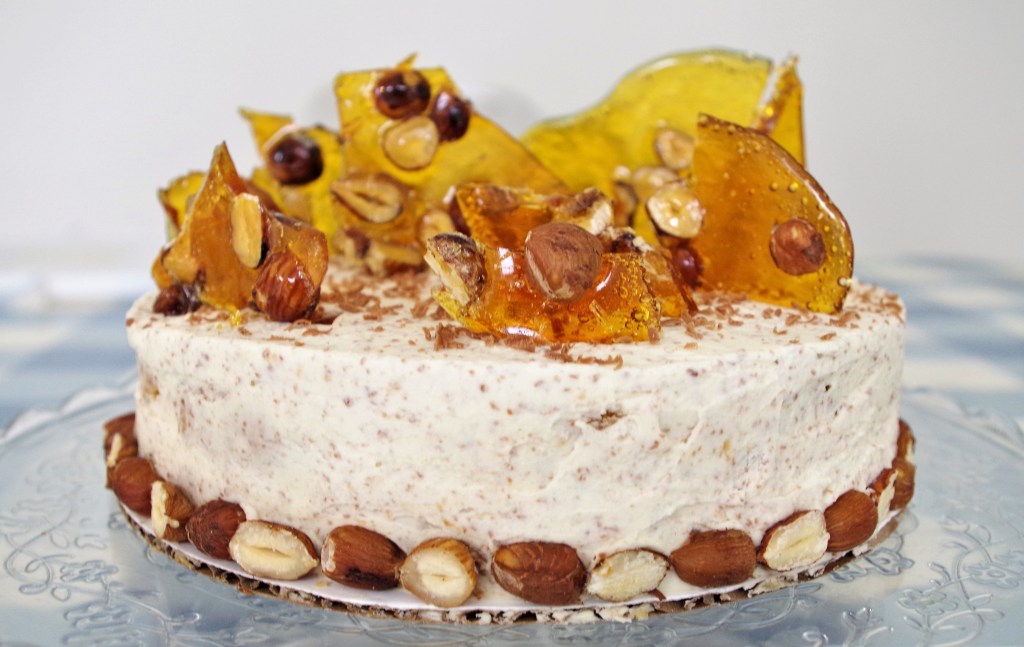
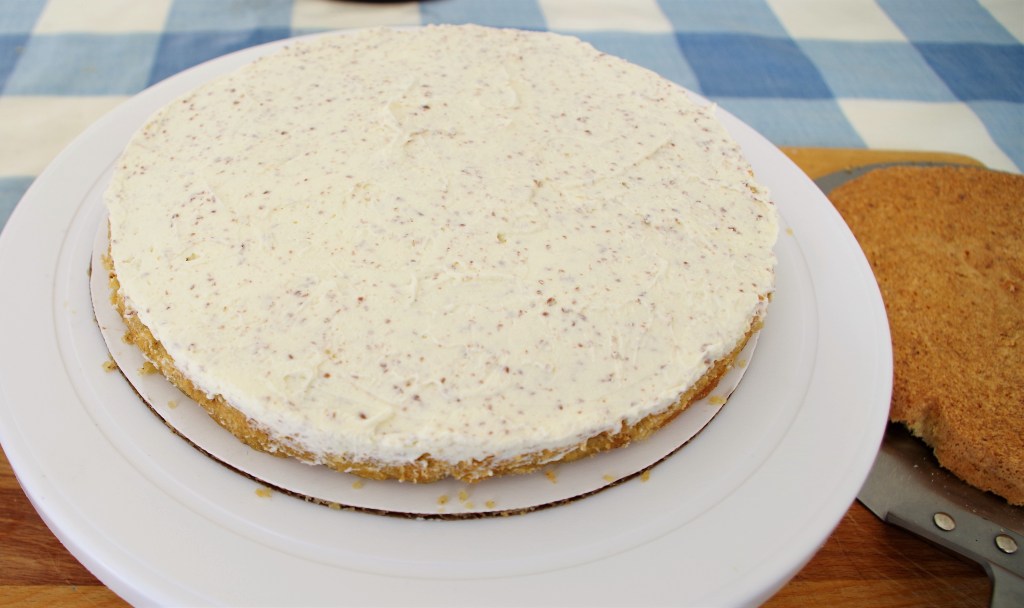
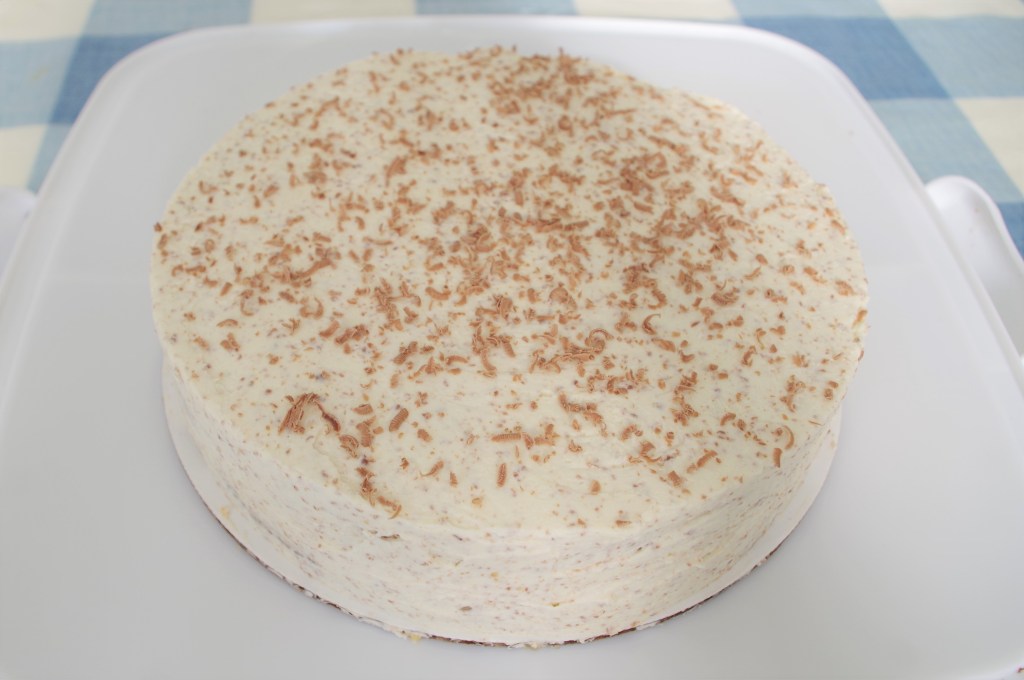
7. Use a blob of frosting to attach one cake half onto a turntable or a board and spoon or pipe a little less than half of the frosting onto it then place the second half on top. Spoon or pipe most of the remaining frosting on top and bring the excess down the sides. Use the remaining frosting to cover the sides, then smooth it all. Grate over the remaining chocolate.
8. (Optional ) Use the 30g of hazelnuts to line the base of the cake. Cut them into halves and lightly press them into the frosting.
N.B. At this point you could add a few hazelnuts on top and leave it there. It will look good and be quite impressive. In fact that was my plan initially, then I thought, “why not add a few nut brittle shards?” Here’s how:
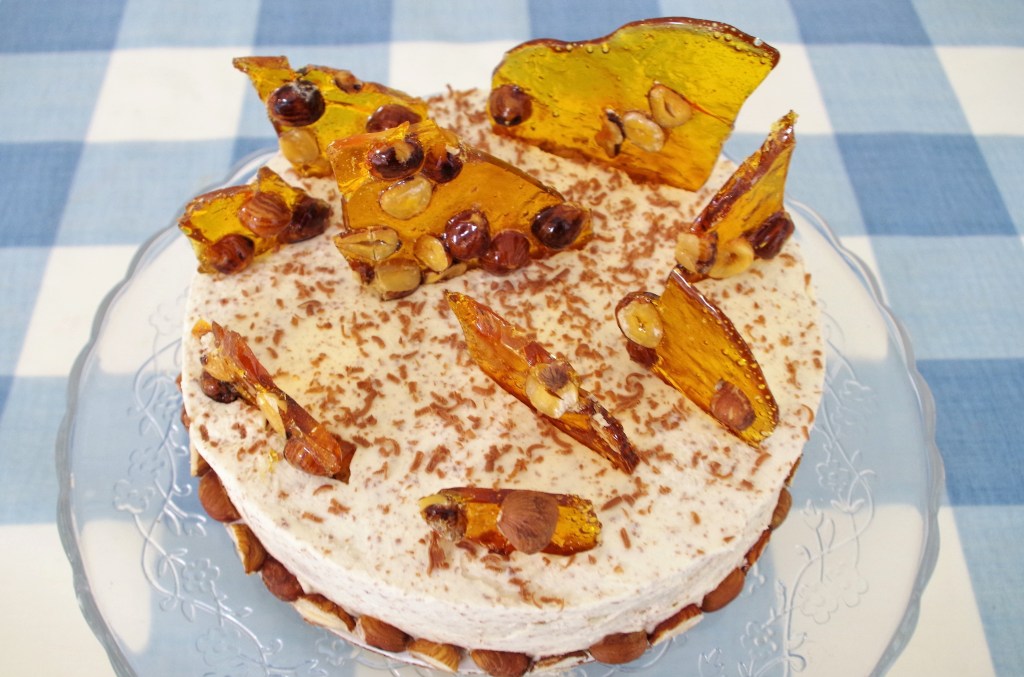
9. Line a large baking tray with parchment and set aside. Take the 35g of hazelnuts and cut some into halves.
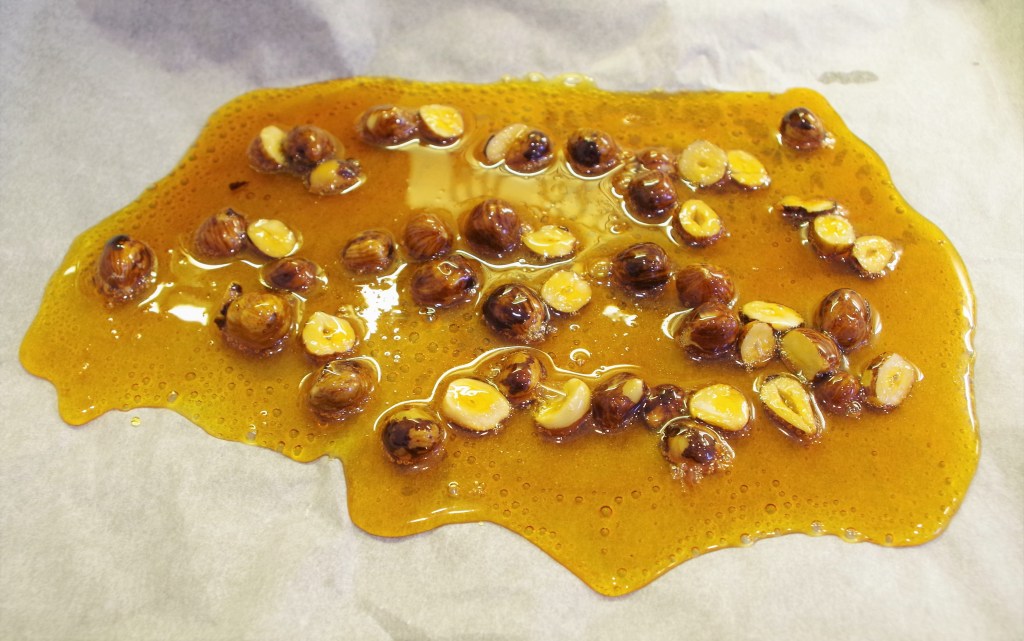
10. Put the sugar and water in a medium saucepan and heat on a low heat to dissolve the sugar then turn the heat up to medium. Don’t stir the mixture, just swirl the saucepan occasionally. After about ten minutes the syrup should turn amber in colour. When it does, take it off the heat and tip in the nuts.
11. Working quickly, swirl the saucepan to coat all the nuts then tip the mixture onto the parchment covered baking tray. If the nuts clump together, quickly spread them out. Leave to cool and become brittle then break into shards. Stick them into the frosting on top of the cake however you wish.
12. ENJOY YOUR CAKE
Normally, I add photos of the baking process within the “Method” steps, but on this occasion I thought I’d add them as galleries below. To some extent they’re step-by-step photos, which I’m hoping will be of interest as well as being helpful.
Gallery 1


4. The egg whites at “stiff peak” stage
Gallery 2


Gallery 3

Gallery 4

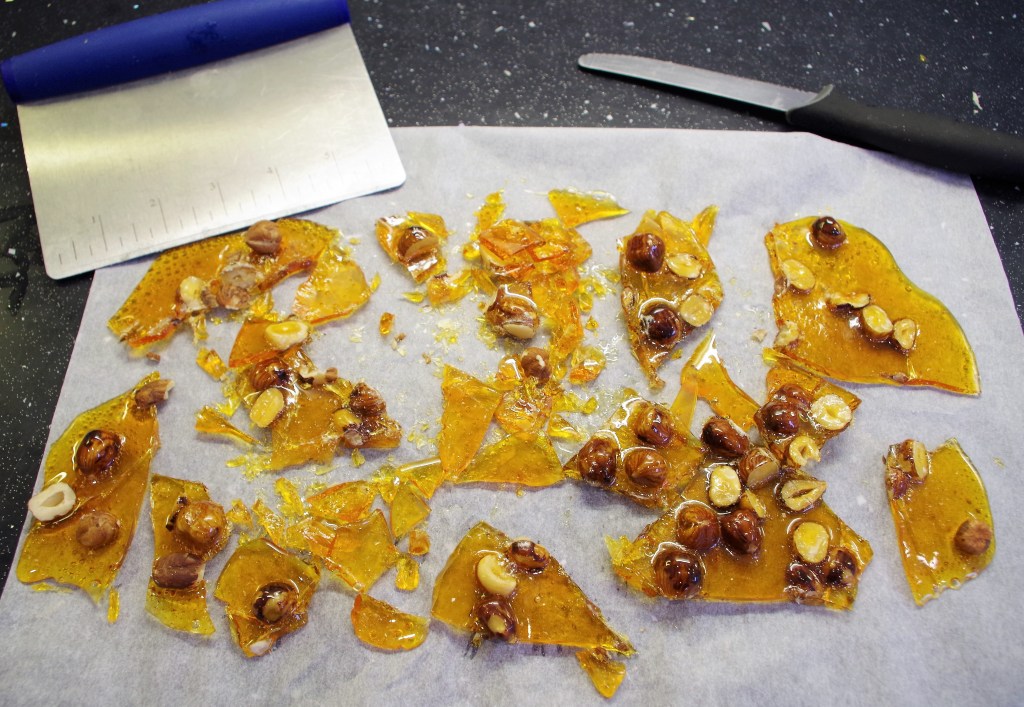
NB When I broke up the nut brittle into shards, I had lots of small pieces that I didn’t need. One option would have been to use these around the bottom of the cake rather than the nuts. Another use would have been to grind them finely and scatter them over the top rather than chocolate. These are just a couple of possibilities that you may want to consider.
I hope you enjoy making (and eating) this lovely cake. If you want more cake recipes click this link. If you’d like to make a comment or ask a question please go to the contact page.

