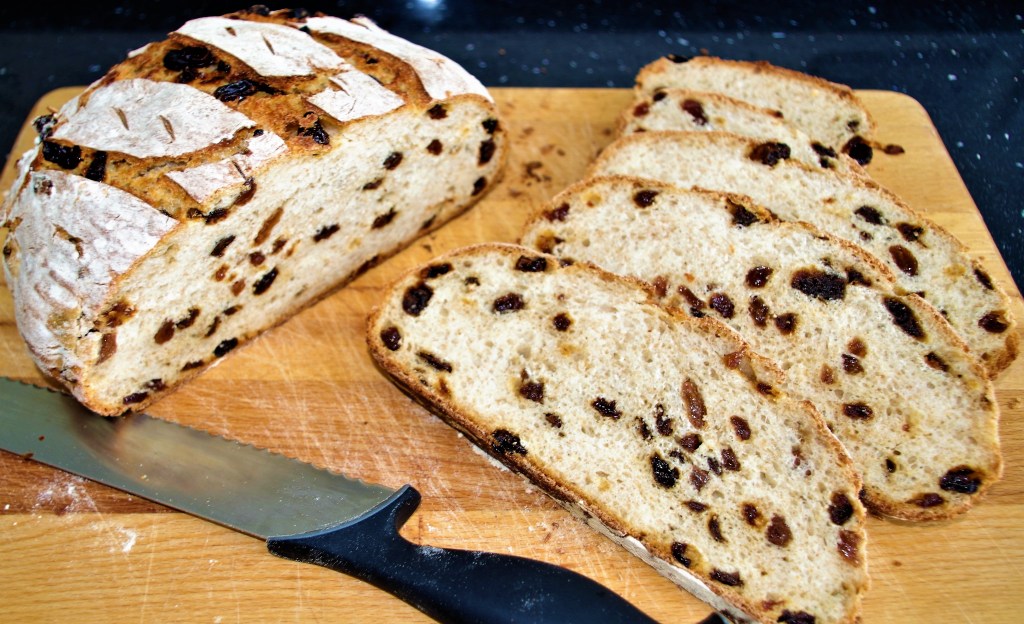
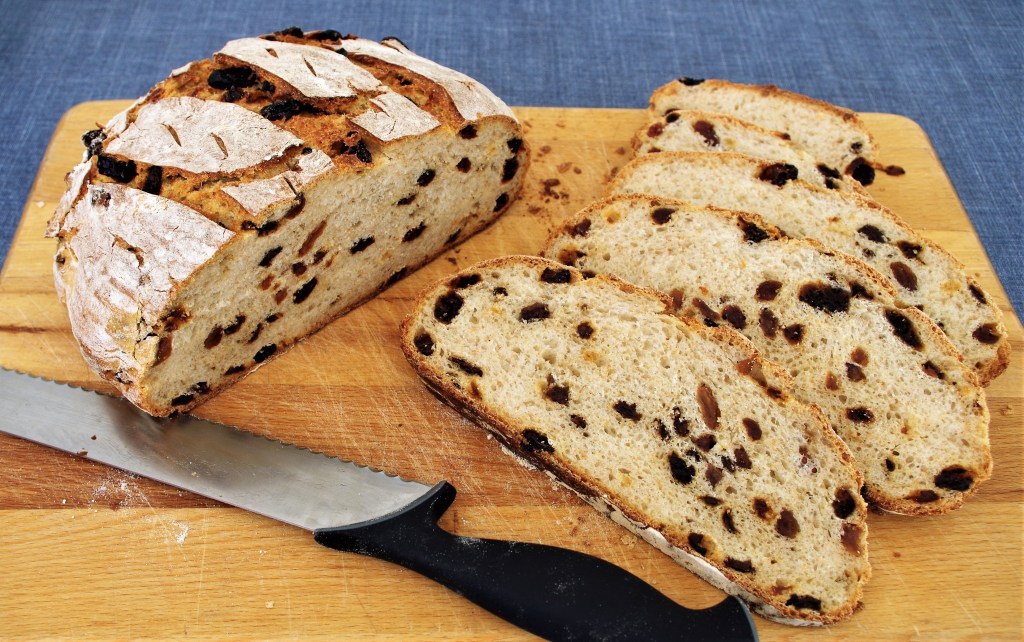
I’ve been making savoury sourdough loaves for quite some time, but had never attempted anything sweet until this one, so I was especially pleased with how well it turned out. In fact it was a bit of a “gateway experience” because I now know it’s well worth attempting many other sweet options. I’ve written the “method” section below in diary form, to tell you what I did.
Makes: 1 large loaf, giving about 12 slices
Time: Initial mixing and kneading: 15 – 20 minutes. Knocking back and prep for second prove: 20 minutes. Preparing to bake: 10 – 12 minutes. Baking: 60 minutes. But all this is spread over two days.
Level: Nowhere near as difficult as you may have thought.
Need: Ideally a Dutch oven and a banneton, but these can be replaced by a casserole dish and a bowl. A stand mixer with a dough hook is very useful, but not essential provided you have strong arms for kneading.
Ingredients
- 250g active starter
- 300g strong white flour
- 100g strong wholemeal flour
- 5g salt
- 25g caster sugar
- 100ml tepid buttermilk (or milk)
- 70ml tepid water
- 30g butter, melted.
- 200g mixed dried fruit. (I used sultanas, raisins & dates)
Method
1. Day 1 morning – I took my starter out of fridge and left to come up to room temperature then fed it with 60ml water & 60g strong white flour.
2. Day 1 around 4pm – I mixed all the ingredients (except the dried fruit) in my stand mixer bowl and used the dough hook to knead it for about 8 minutes, then it was placed in a lightly oiled bowl and turned over with stretches for a few minutes. After this I left the bowl covered in the kitchen overnight.
3. Day 2 very early in the morning it had risen really well, so I decided to knock it back immediately, flatten it out on a lightly floured work surface and fold in the dried fruit. Once done I covered it in flour and placed it upside down in a well floured banneton, which I then covered with the large plastic bowl that I’d used to prove it. I then left it for a second prove.
NB It had risen much faster than usual, maybe because the temperature overnight was a little higher than normal for May in UK.
4. I expected the second prove to take about 5 or 6 hours, but less than four hours later it had risen again, really well.
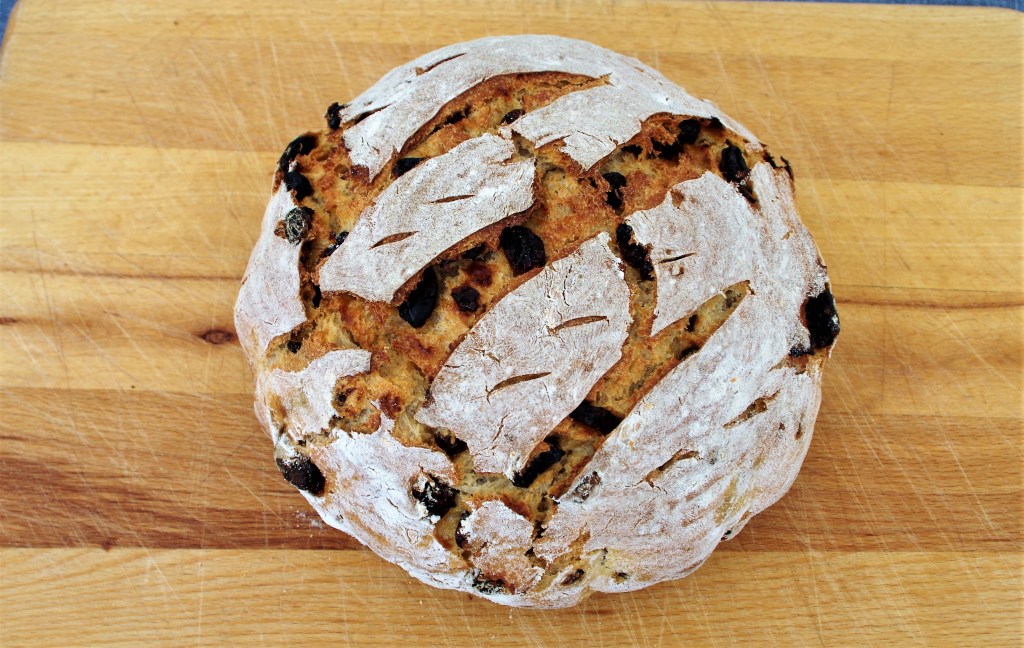
5. I turned it out onto a piece of parchment paper which I used to lift the dough into a cold Dutch oven. Before doing this, I scored the dough with a razor blade.
6. I put the lid on the Dutch oven and placed it in our main oven, which I then turned on to its highest setting – fan 220°C*. I baked it for 50 minutes. When I removed the lid of the Dutch oven I noticed how dark the top of the loaf was, so I reduced the heat to fan 180°C and baked the loaf for a further 10 minutes with the lid removed from the Dutch oven.
*NB This is the “cold start” method that I always use for my sourdough loaves baked in a Dutch oven.
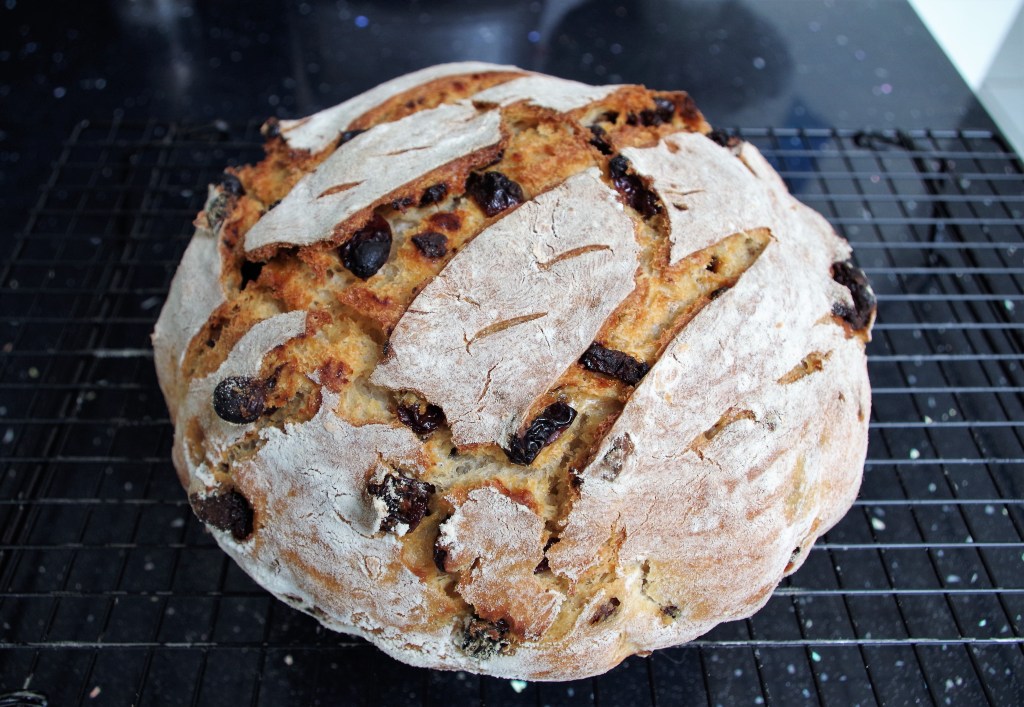
7. I tipped it out and left it on a wire rack to cool.
I wish you every success with your bread making. I hope you have a go at this one and enjoy making and eating a lovely loaf. If you want to see more of my bread recipes click this link.
Here are some quite different breads that you might want to try:
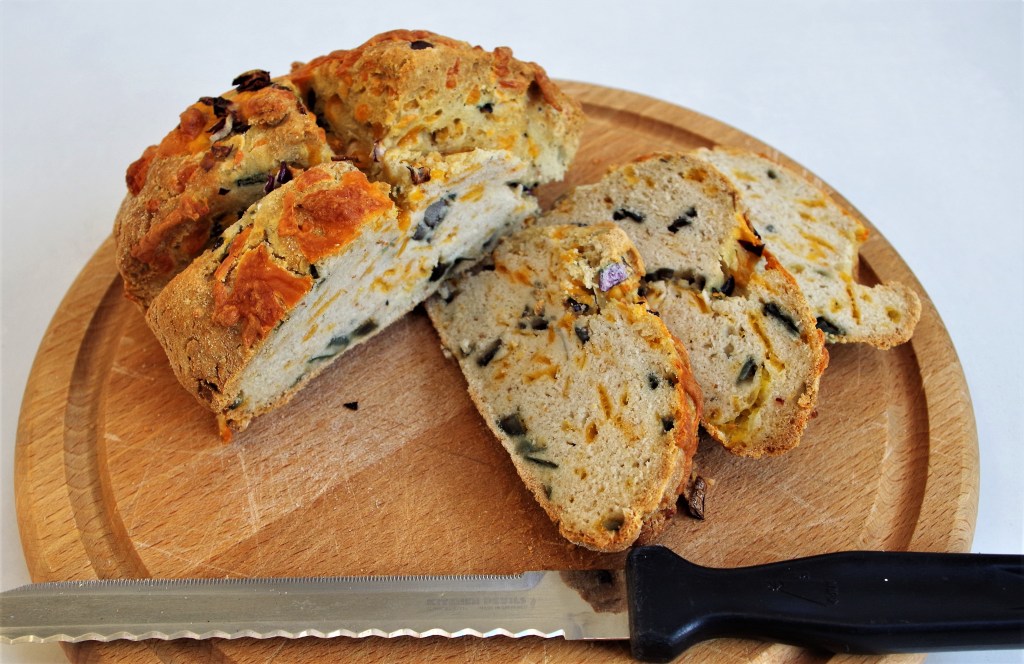
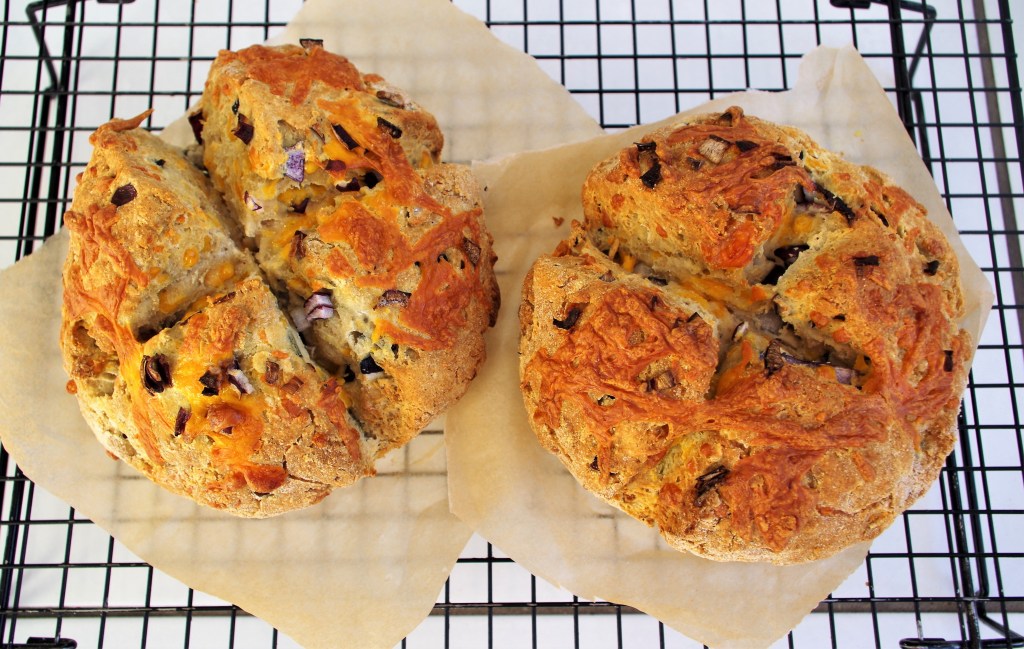
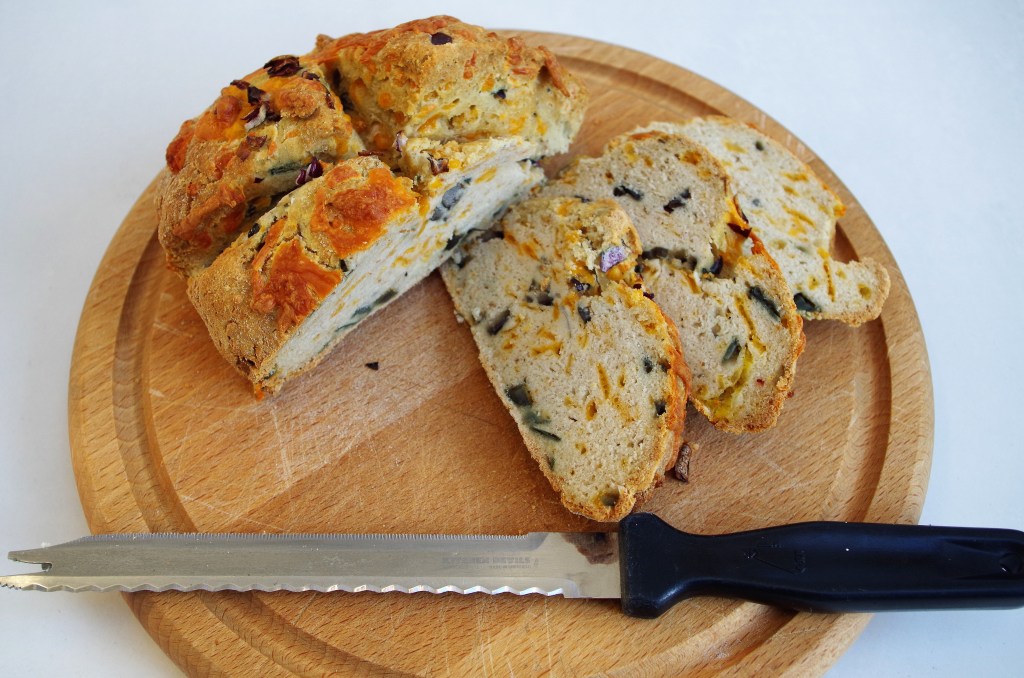
Gluten-free Soda Bread with Cheese & Onion
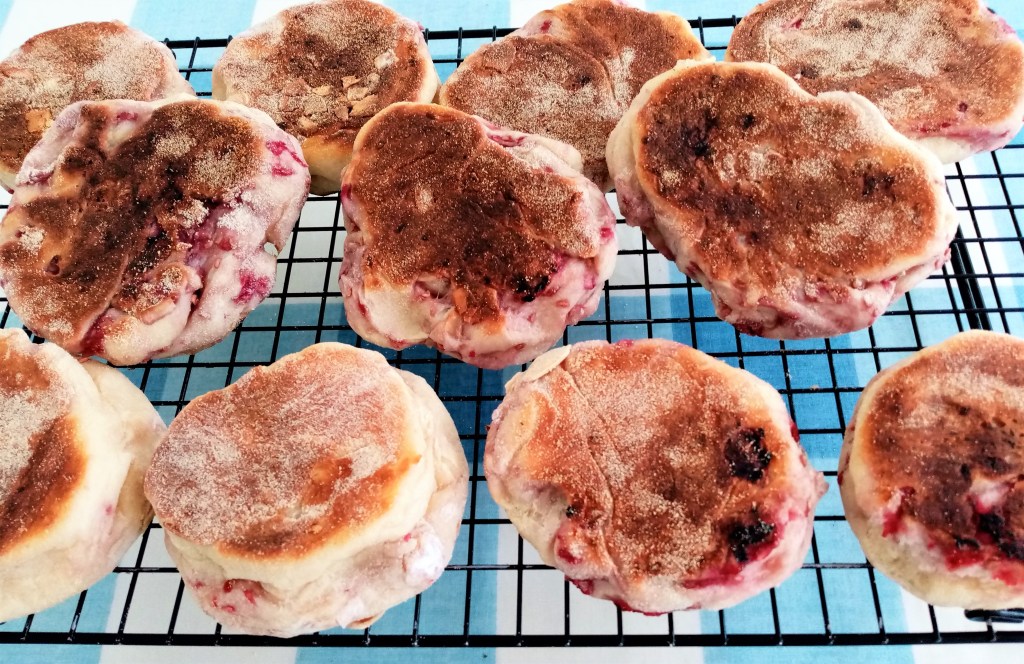
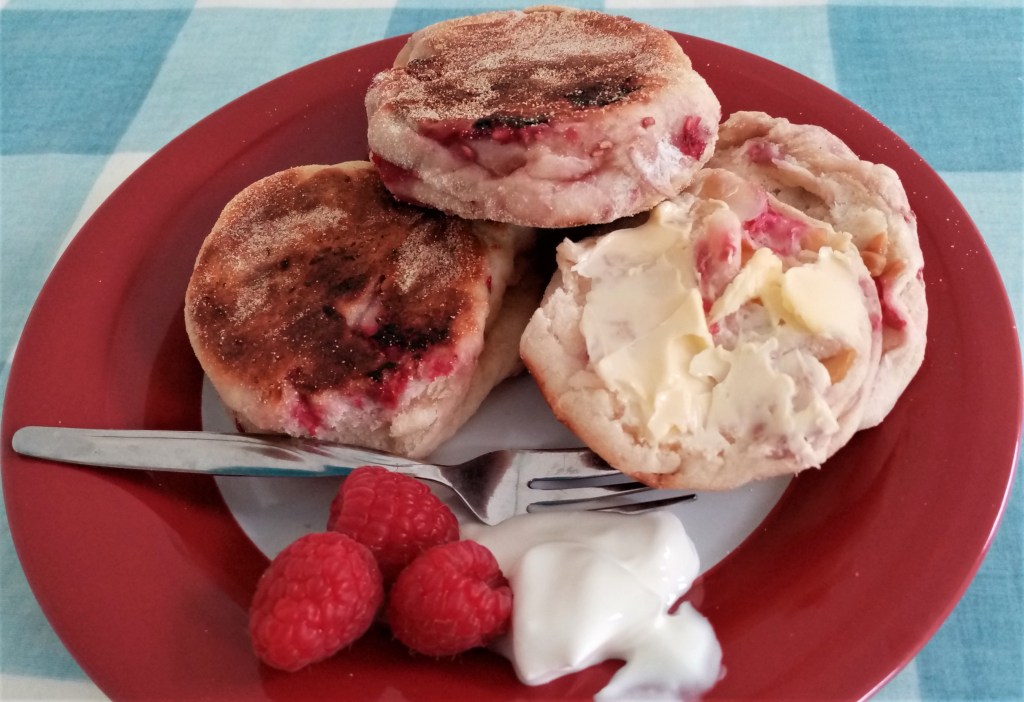
Raspberry and Almond English Muffins

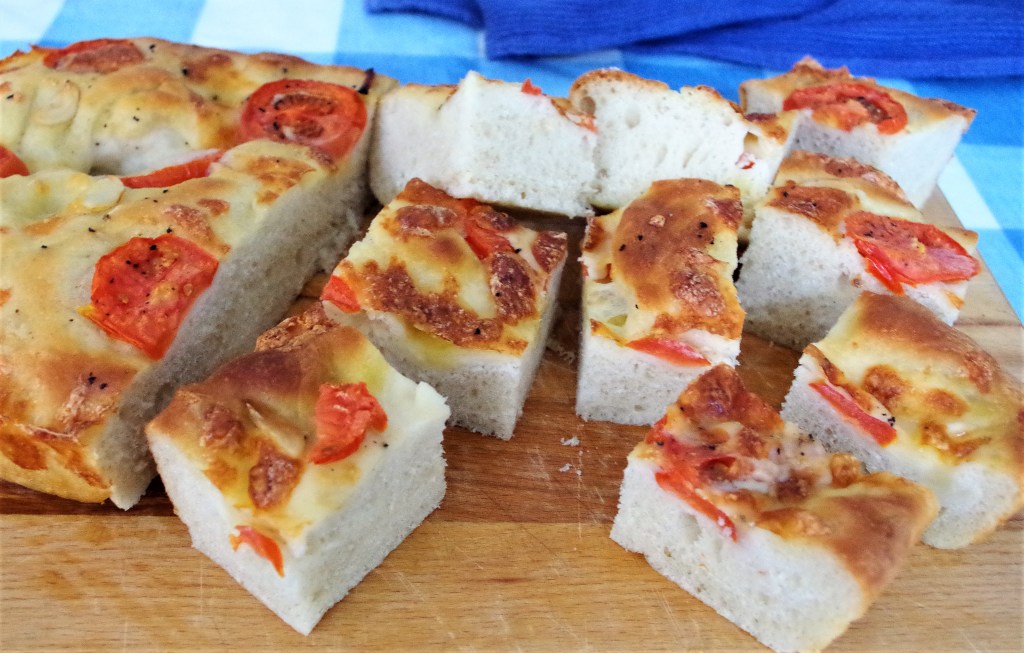
Focaccia con Mozzarella, pomodoro e aglio