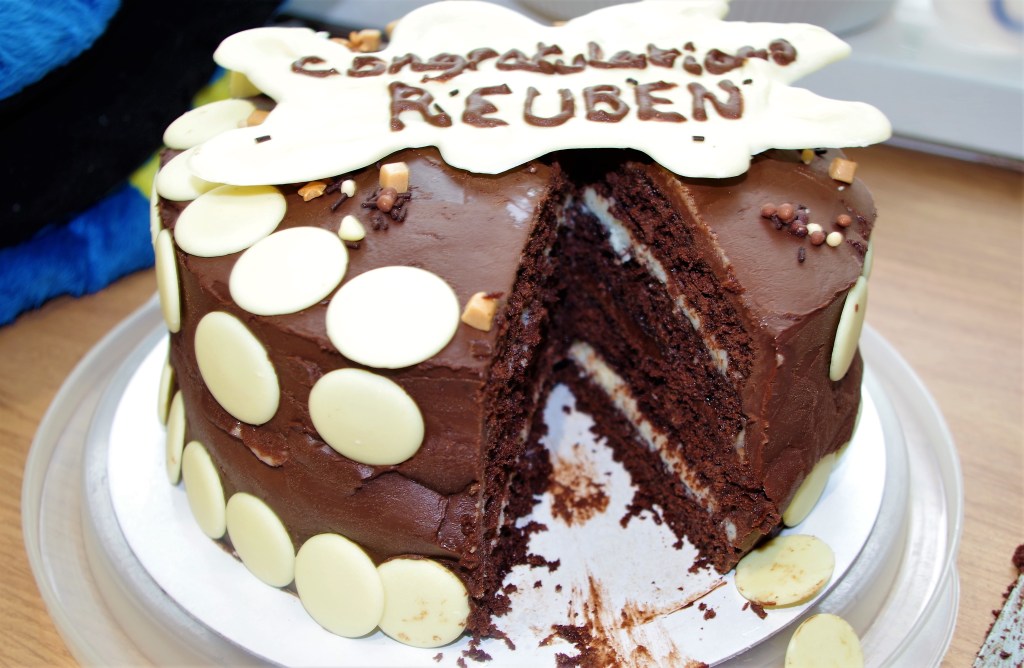
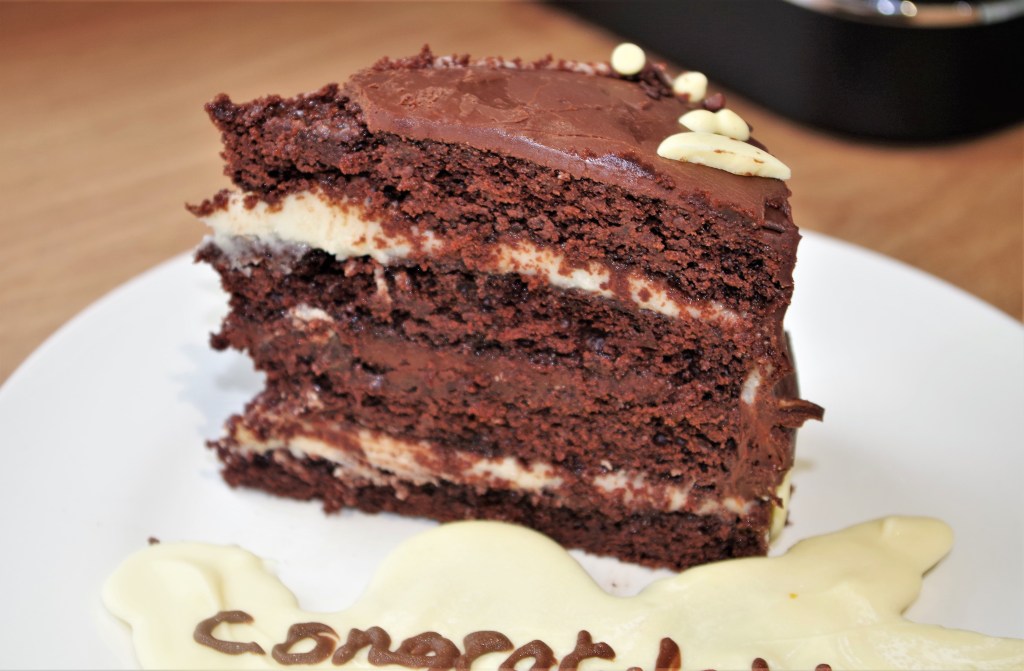
This is a cake for which the word “indulgent” was made. It’s tall, it’s rich it’s moist, it’s chocolaty it’s… sorry, getting carried away there. In brief it’s one heck of a tasty cake.
Makes: 12 – 15 tall slices
Time: 80min. to prep and bake the cakes + cooling time. At least 45 min. for fillings and assembly + fridge time. 25 min. covering and decorating + time for ganache to become useable.
Level: It’s not difficult, but a bit of a faff. (definitely worth it though)
Need: 2 x 20cm/8” round tins, preferably loose bottomed
Cake ingredients
- 125g/4½oz unsalted butter, softened, plus extra to grease
- 250ml/9fl oz cola
- 125g/4½oz dark brown muscovado sugar
- 125g/4½oz soft, light brown sugar
- 125g/4½oz caster sugar
- 85g/3oz cocoa powder
- 4 large eggs
- 200ml/7fl oz buttermilk
- 325g/11oz self-raising flour
- 1 tsp bicarbonate of soda
Fillings
- Around 200g/7oz butter
- Around 200g/7oz cream cheese or Mascarpone
- Around 115g/4oz white chocolate
- Around 350g/12oz icing (confectioner’s) sugar
- Around 10g – 15g (¼ – ½oz) cocoa powder
- 2 tsp vanilla extract
NB I’m saying “around” because it all depends how thick you want the fillings. I always make plenty and then keep the left-over mixture to use later.
Ganache*
- 250g/9oz dark chocolate
- 150ml/5½fl oz double (heavy) cream
- 30g/1oz unsalted butter
* The ganache ingredients can also be increased proportionally if you want a lovely thick layer.
NB A quick and easy alternative for the fillings would be to use three tubs (two vanilla, one chocolate) of ready-made frosting/filling from your nearest supermarket. I’m happy to do this, especially if I’m in a rush. Why not?
Method
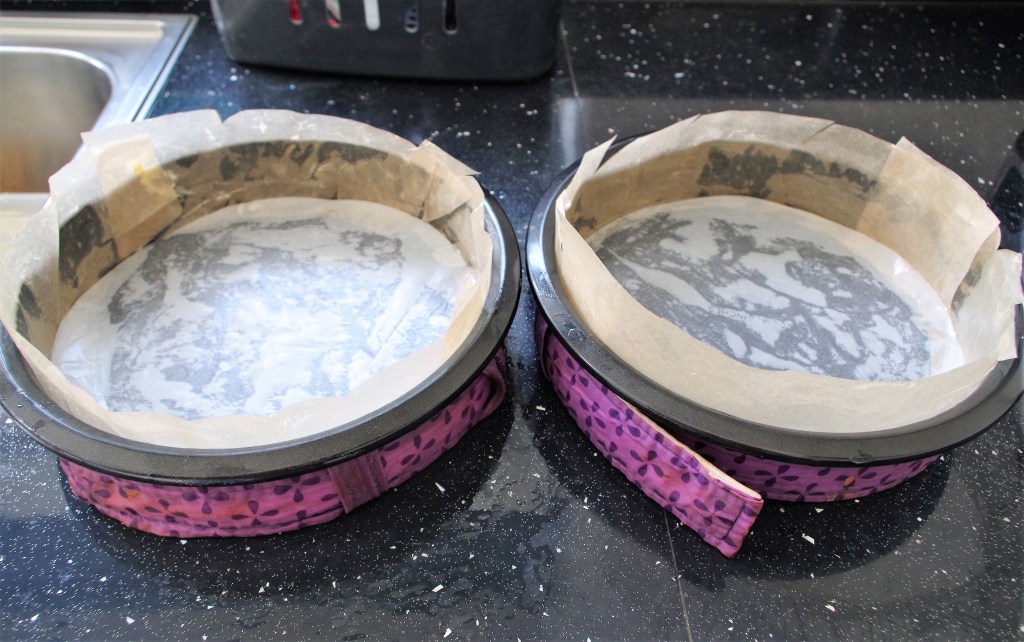
1. Heat the oven to 180°C / 160°C fan / 350°F / gas 4. For the sponges, butter and line the cake tins with baking paper. (Line the insides, ensuring that at least 15mm/½“ is raised above the edge.)
2. In a jug or bowl, stir the cola and brown sugars until the sugar has dissolved. Set aside. (NB Brown sugars can be lumpy if damp, so either warm briefly or carefully sift or squeeze out any hard lumps.)
3. Using an electric mixer, beat the butter and caster sugar together in a large mixing bowl for 4 – 5 minutes until pale and light in texture. Sift in the cocoa powder and beat again to form a brown paste.
4. In a separate jug, whisk the eggs with the buttermilk until smooth, then slowly pour into the cocoa paste, while beating.
5. Sift the flour and bicarbonate of soda over the mixture and beat in. Pour the cola & brown sugar mixture into the bowl and beat to a smooth, fairly loose batter.
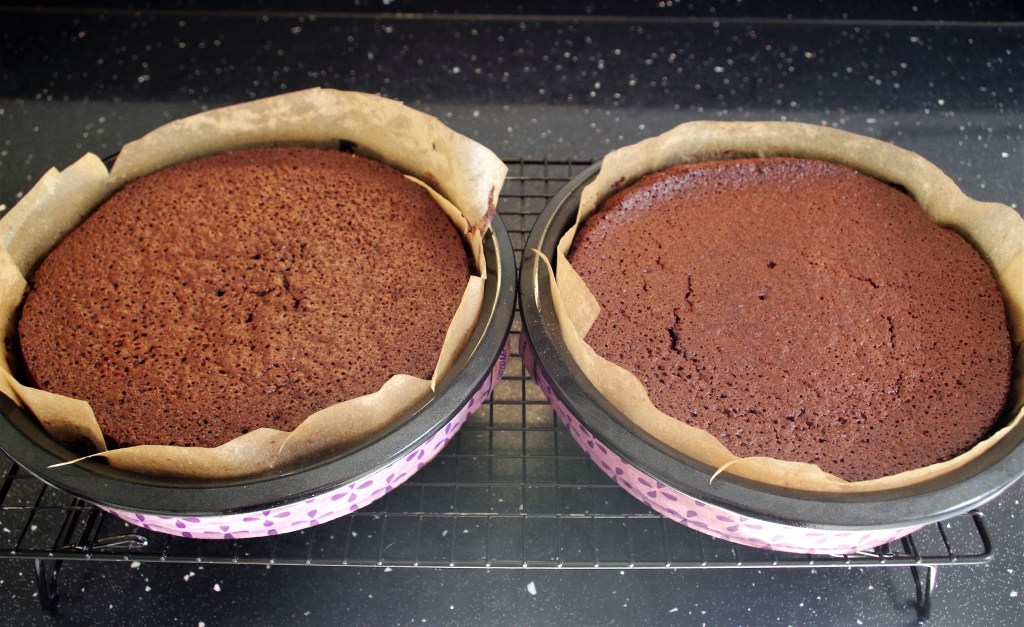
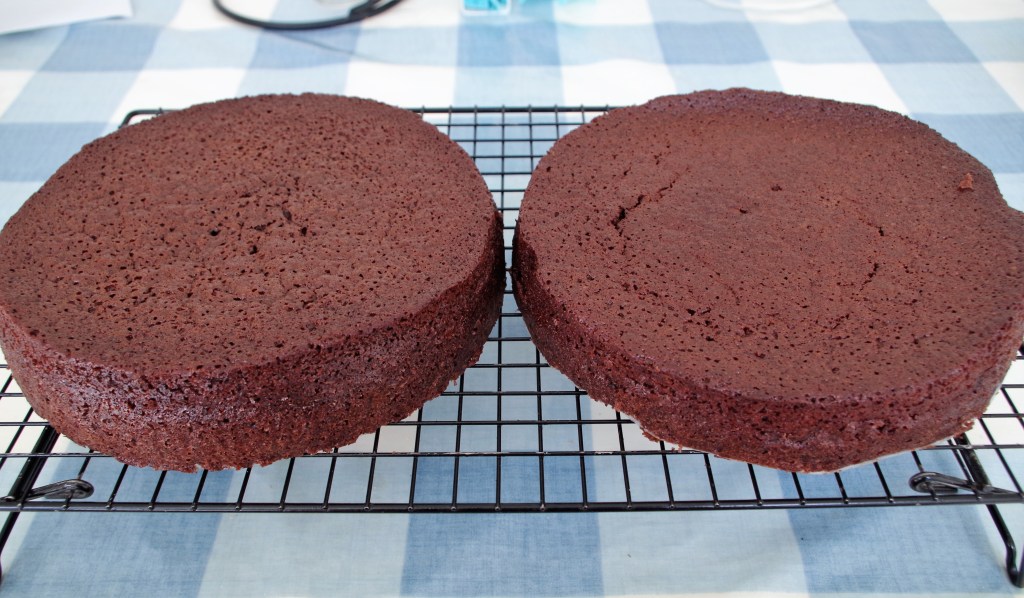
6. Divide the batter equally between the prepared cake tins and bake for 25-35 minutes. (until a skewer inserted into the centre comes out clean.) Leave the sponges in the tins for 5 – 10 minutes, then turn out onto a wire rack to cool fully.
7. For the fillings, melt the white chocolate over a bain marie and set aside.
8. Beat the softened butter and cream cheese together then beat in the melted chocolate and vanilla extract. Sift in the icing sugar. Mix gently at first then beat more vigorously.
9. Separate one third of the mixture into another bowl and sift in the cocoa powder. Mix or beat this in. The two mixtures might need to go in the fridge for a short time to thicken up, but they shouldn’t be too stiff to spread.
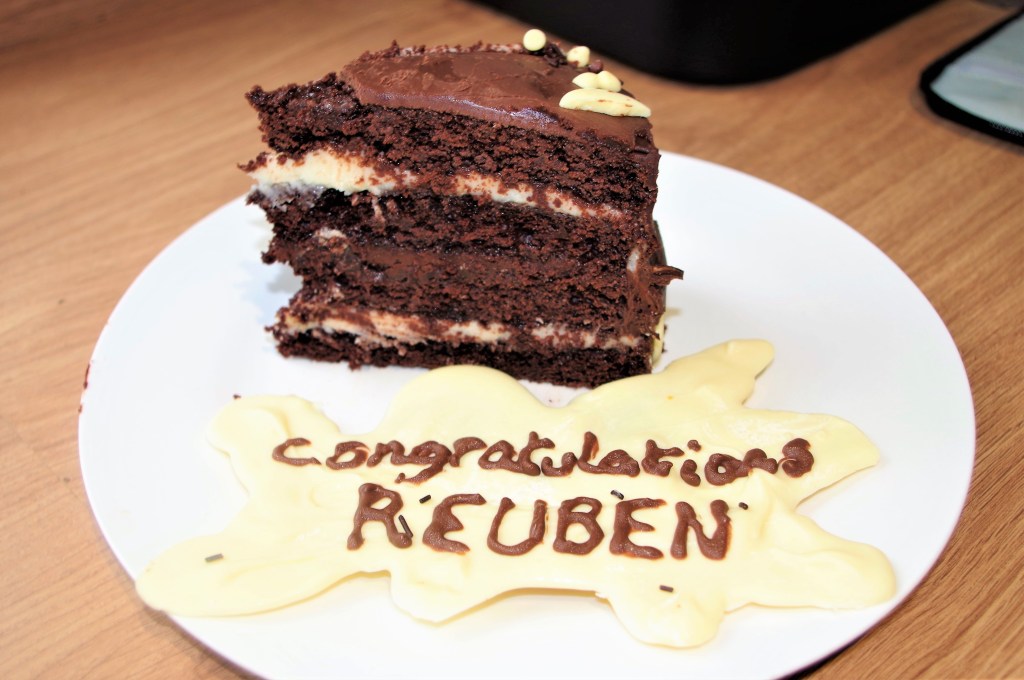
10. Once the sponges have cooled completely, evenly slice each in half horizontally with a large bread knife or a purpose-made cake cutter, to create 4 sponge layers.
11. Place one sponge onto a cake stand or a cake decorating turntable. Spread or pipe on a layer of white filling, then put another sponge on top and cover with most of brown filling. Attach the remaining sponge with the rest of the white mixture.
12. Add a little milk to the remaining brown mixture and brush this on the sides and top of the cake as a crumb coating. Put the cake in the fridge to firm up.
13. To make the ganache, break the chocolate into small pieces and place in a heat proof jug. Pour the cream into a saucepan and bring almost to a boil. Pour the hot cream over the chocolate and leave for a few minutes. Add the butter and stir it all to mix everything together.
14. Set the ganache aside to cool, but not to set. It needs to be pourable so that it will gently run down the side of the cake without running off immediately.
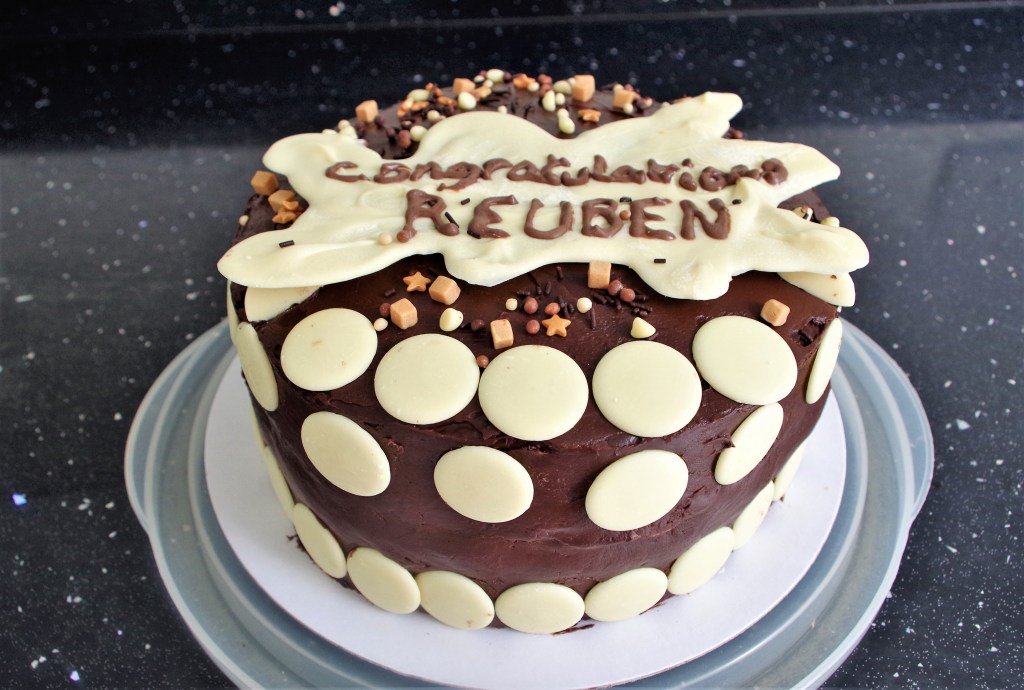
15. Before adding the ganache make sure you have any required decorations (e.g. chocolate balls or shards; sprinkles or sweets etc.) to hand.
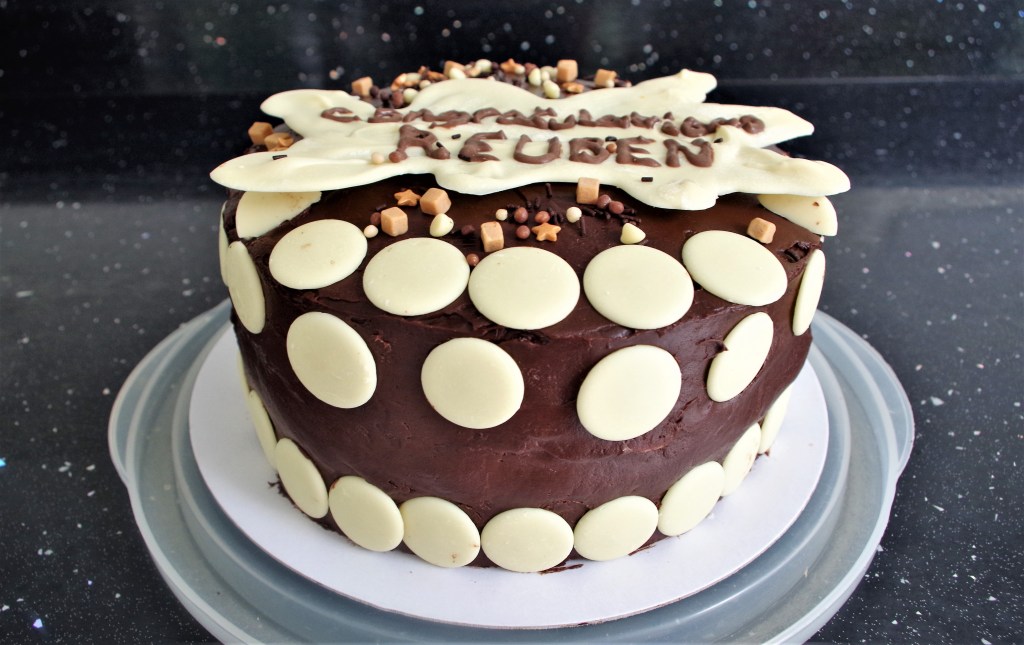
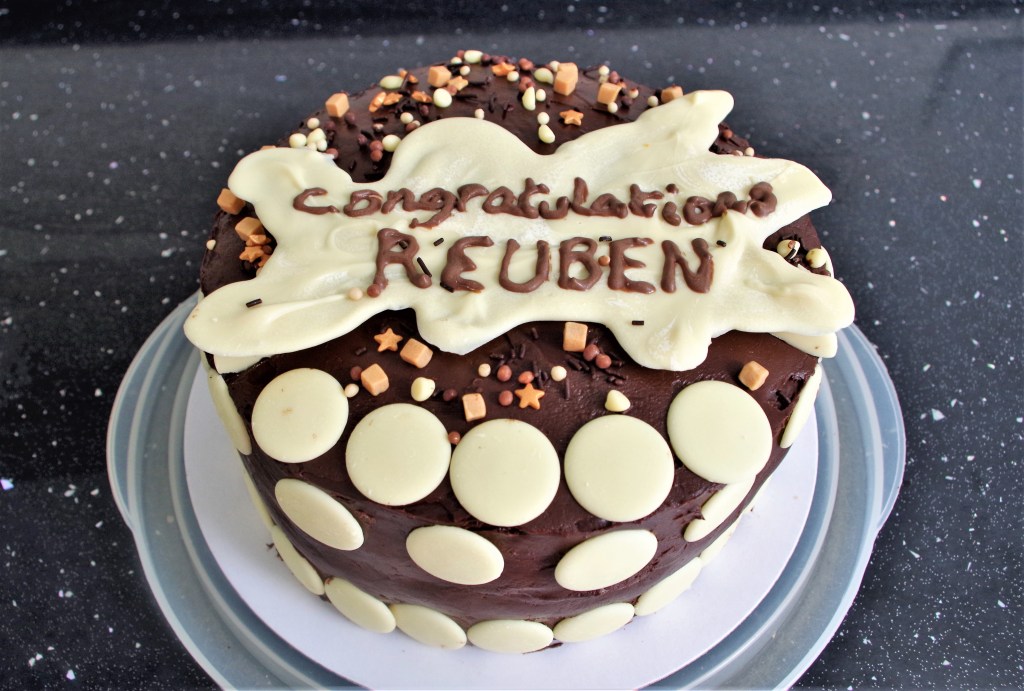
16. Pour the ganache onto the top of the cake and, while revolving the stand, smooth it out and down the sides. Once it’s stable add any chosen decorations.
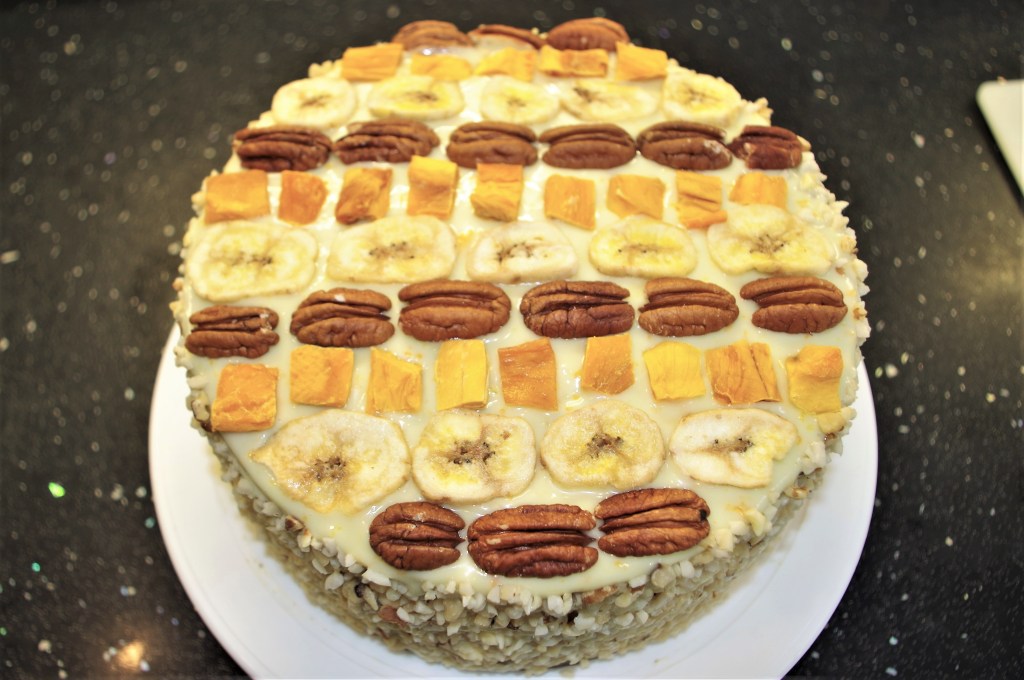
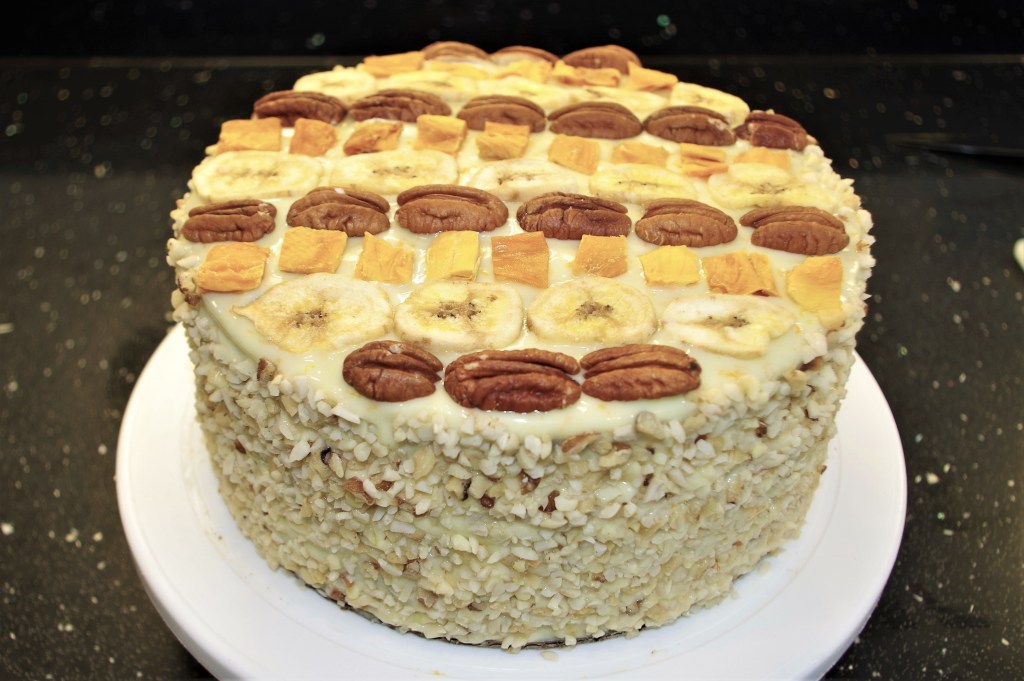
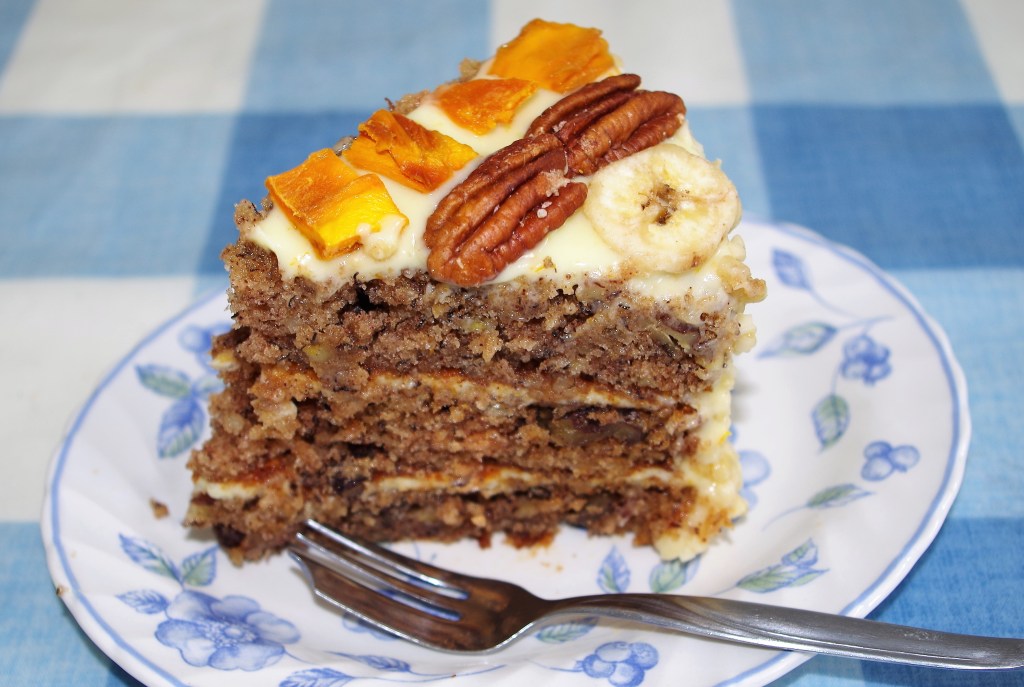
Gallery
NB The white chocolate shield (or banner – I’m not sure what to call it) on the cake as shown was easy to make. Simply spoon and shape melted white chocolate onto an acetate sheet. I often do this because my piping skills are woefully inadequate, so if I muck it up it doesn’t mean I’ve ruined the top of the cake.
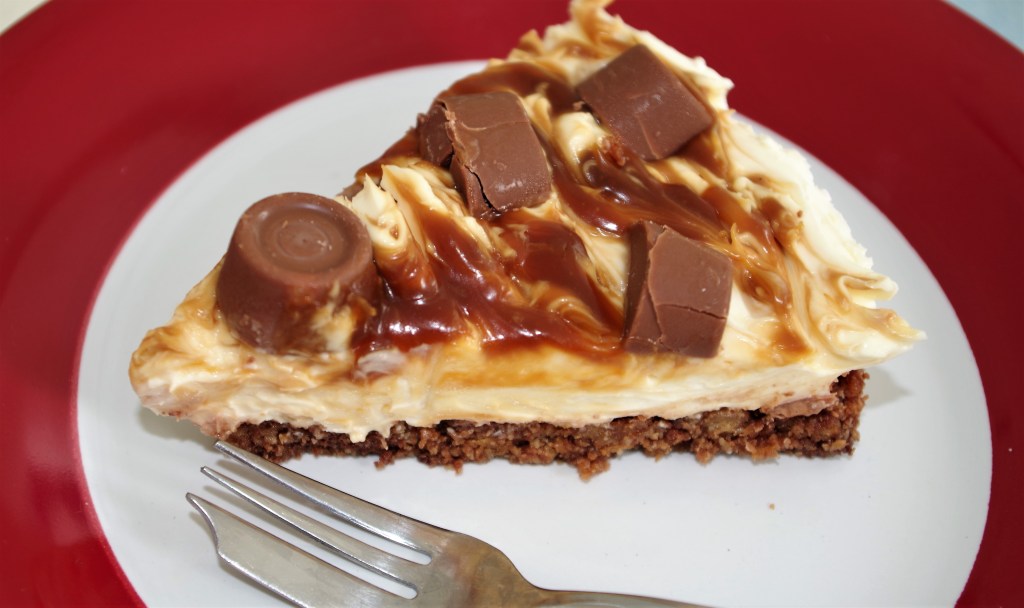
I hope you enjoy this lovely cake. If you want more cake recipes click this link, or have a look at my site for lots of other great recipes, both sweet and savoury. Below are a three cakes that I’d love you to try:
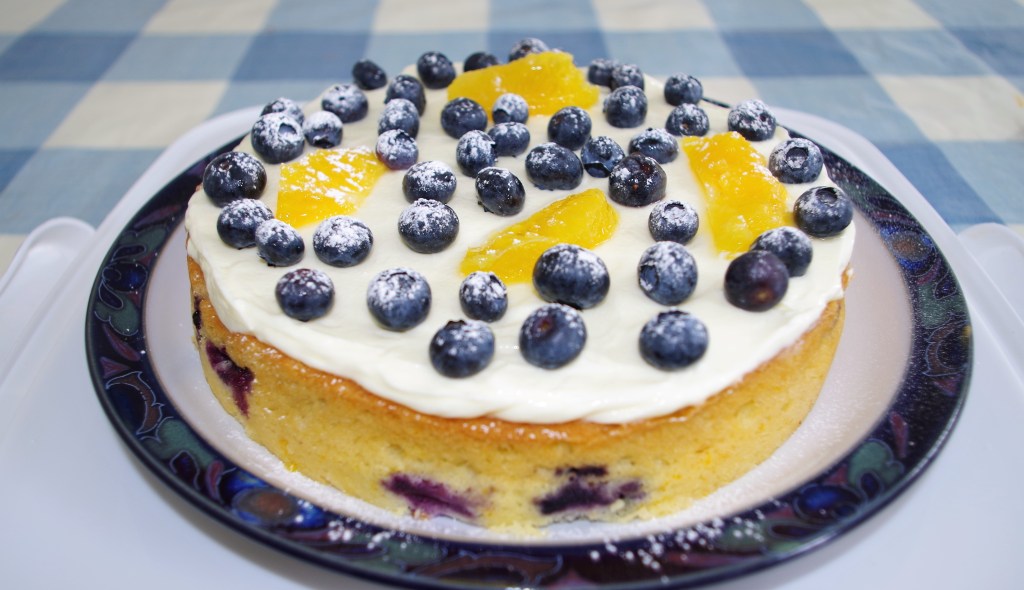
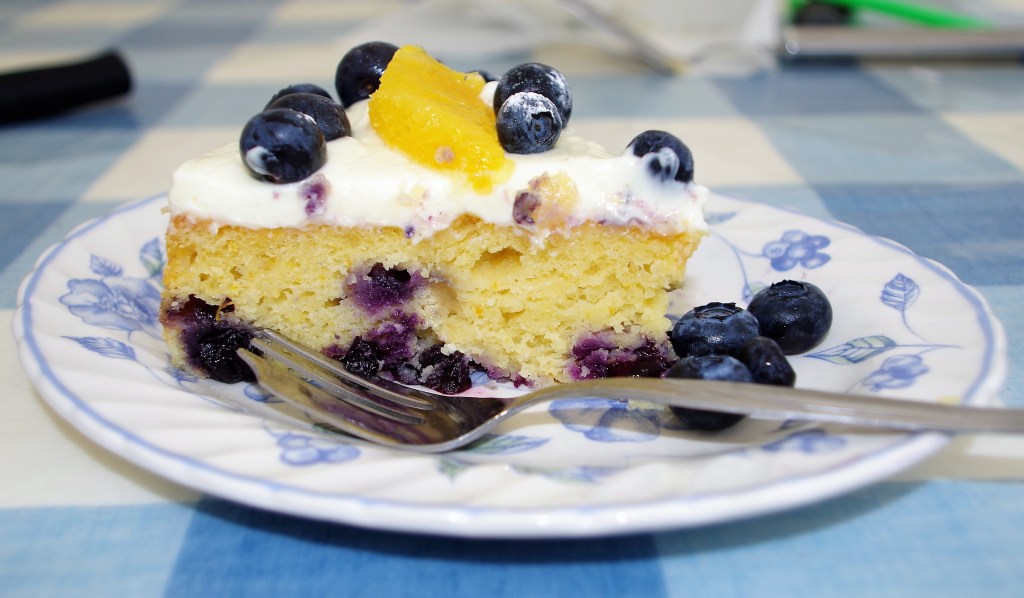
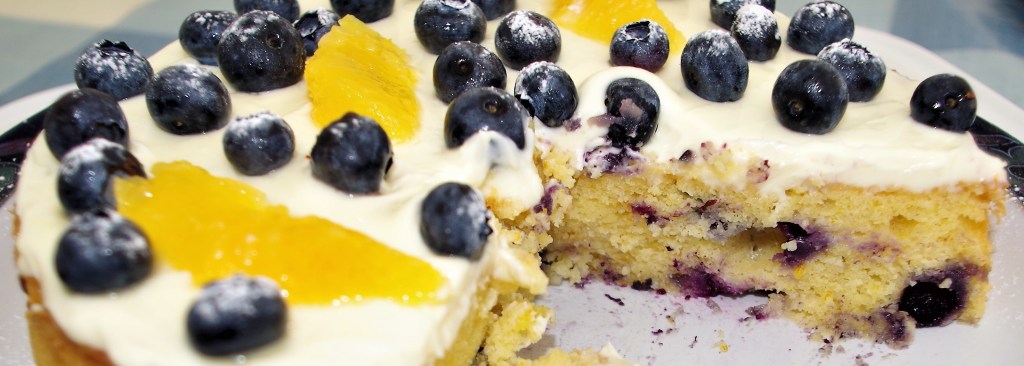
Blueberry and Orange Soured Cream Cake
To make a comment or ask a question please go to the contact page. Click here to return to the home page.
Whatever you bake, I hope it’s fantastic
Happy Baking
Ian
