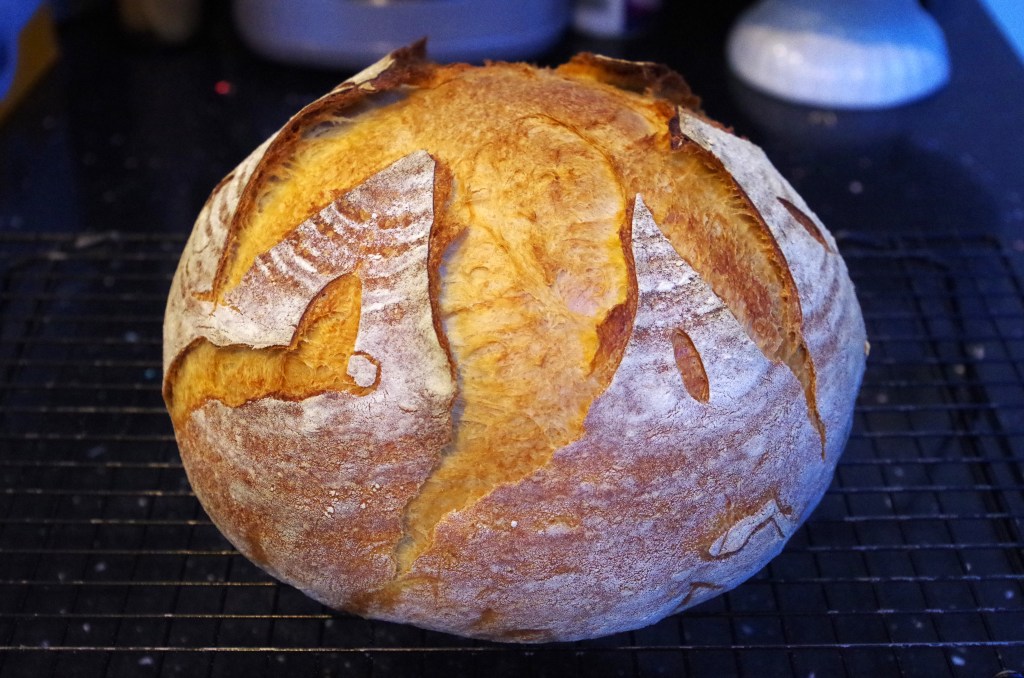
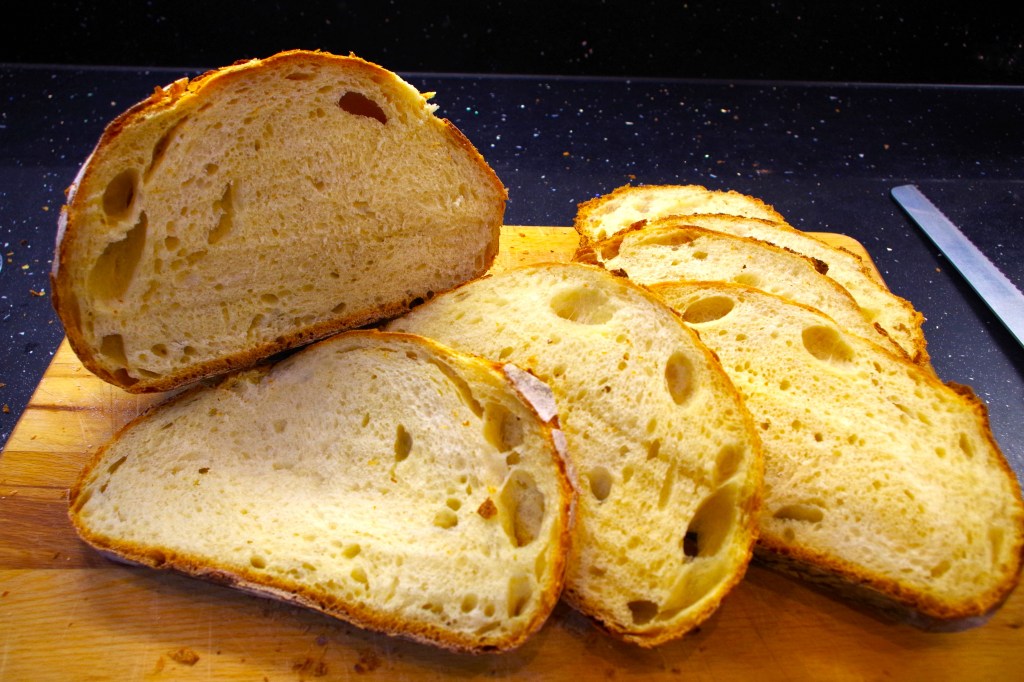
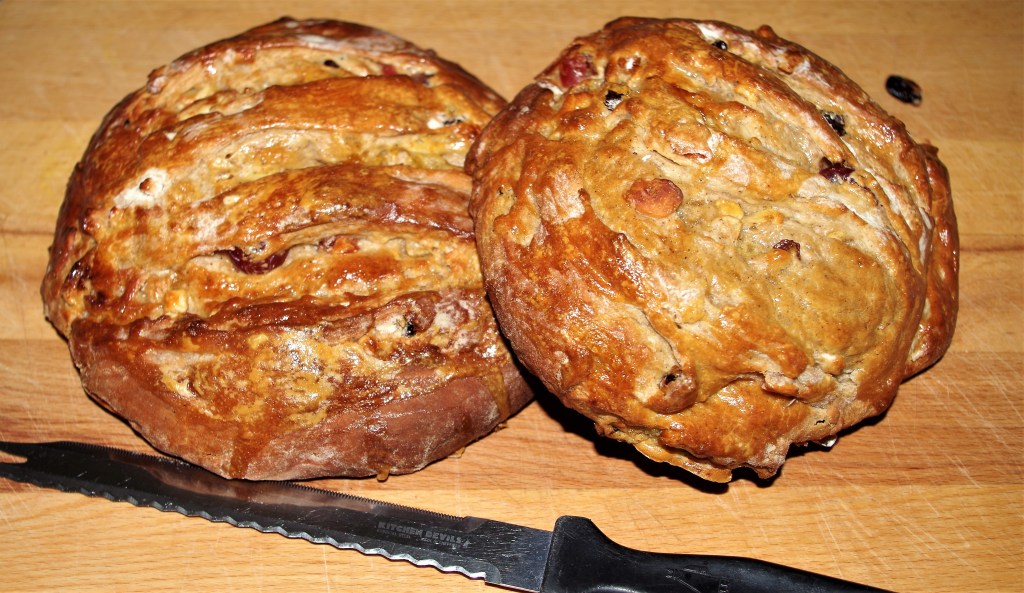
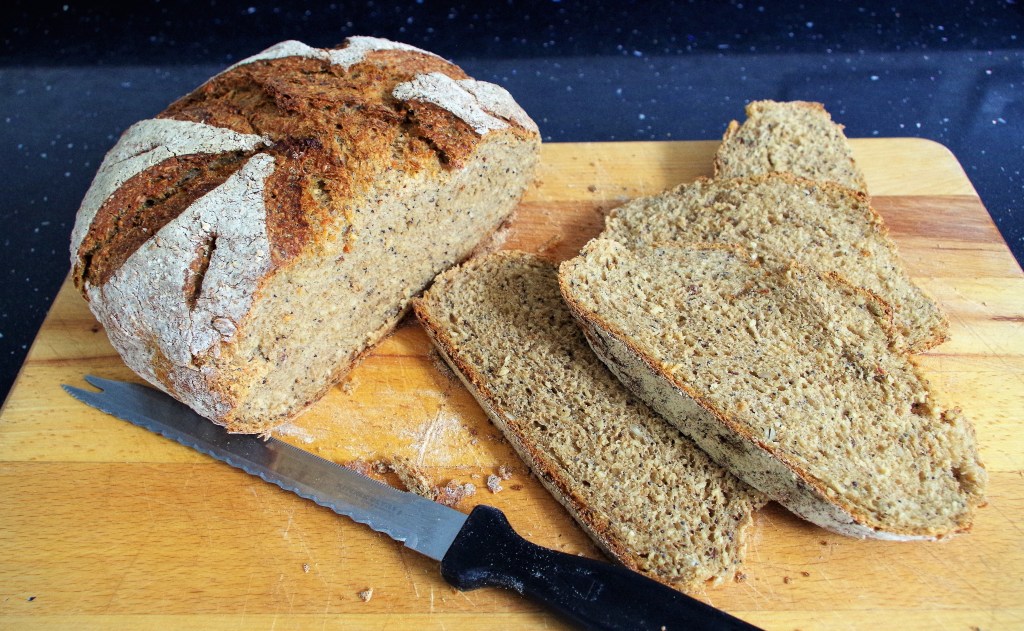
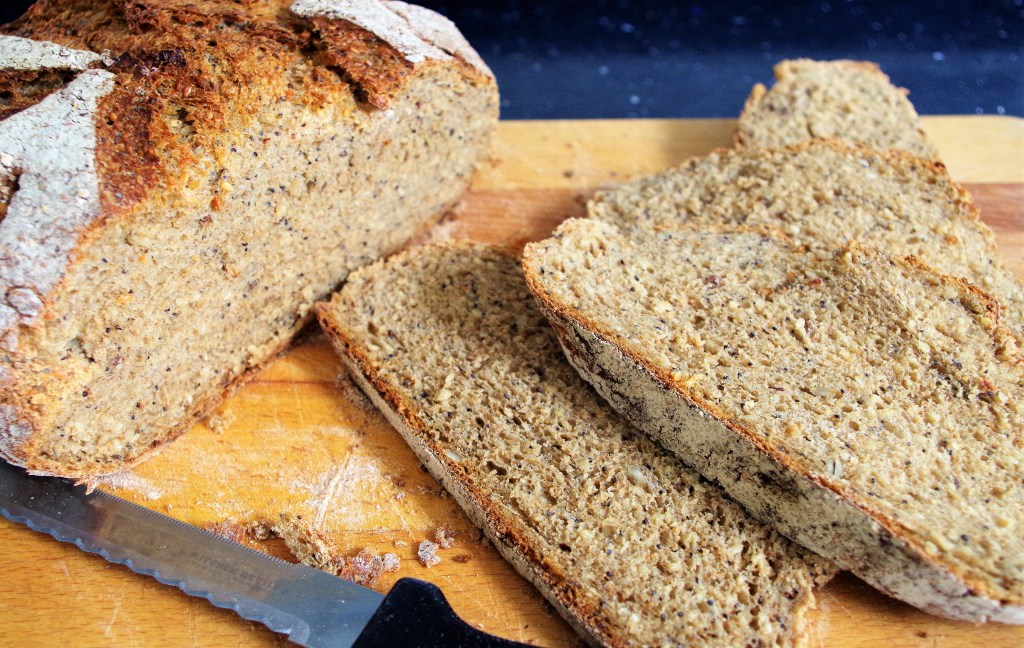
This loaf is based on my regular artisan sourdough, but can be made without a sourdough starter as a “normal” yeasted loaf and will still be really good. It’s enriched by using eggs to replace most of the water when mixing the dough. This produces a loaf with a wonderfully soft crumb (interior) and it still has a crispy crust. The flavour is subtle, sitting comfortably between savoury and sweet – not at all “over-eggy”.
You will need:
- A stand mixer (or a large bowl)
- A banneton (or a round dish/medium bowl)
- A Dutch oven (or a lidded casserole dish or just bake on a metal tray)
Time: The sourdough version will need an hour one evening then much of the following morning, but most of that time is waiting for the dough to rise, which varies depending on the temperature. The yeasted version can be completed in half a day.
Level: It presents several interesting small challenges or “learning opportunities”.
Makes: One lovely reasonably large loaf.
Ingredients
- 250g sourdough starter
- 400g strong white flour, plus extra for dusting
- 10g salt
- 2 – 3 eggs, beaten + enough lukewarm water to make up 180ml – 200ml liquid
For a non-sourdough version replace the starter with 125g flour & 125ml lukewarm water and add in a 7g sachet of instant dried yeast at step 1.
Method
1. In the bowl of stand mixer, mix together starter and the other liquid then stir in the flour and salt. Mix to a dough.
2. Use the dough hook to knead the dough until it forms a ball and pulls away from the side of the bowl as a “lump” – about 7 – 9 minutes. (Kneading by hand, at least 12 – 15 minutes)
3. Lightly oil the sides and bottom of a large bowl and place the dough into it. Cover and leave in a warm place until doubled in volume. (Or leave in a less warm place for a slow, flavourful rise. I tend to mix the dough early one evening then it rises overnight.)
4. Ease the risen dough out, onto a lightly floured surface. Gently, pull and fold over strands of the dough. There’s no need to “knock it back” heavy-handedly. Turn it over and use the palms of your hands to drag and tighten the outer surface. Sprinkle with flour.
5. Place the dough ball into a well floured banneton (or a bowl). Cover and leave for the second rise.
Two different baking methods now follow:
(Cold start method, my preferred technique)
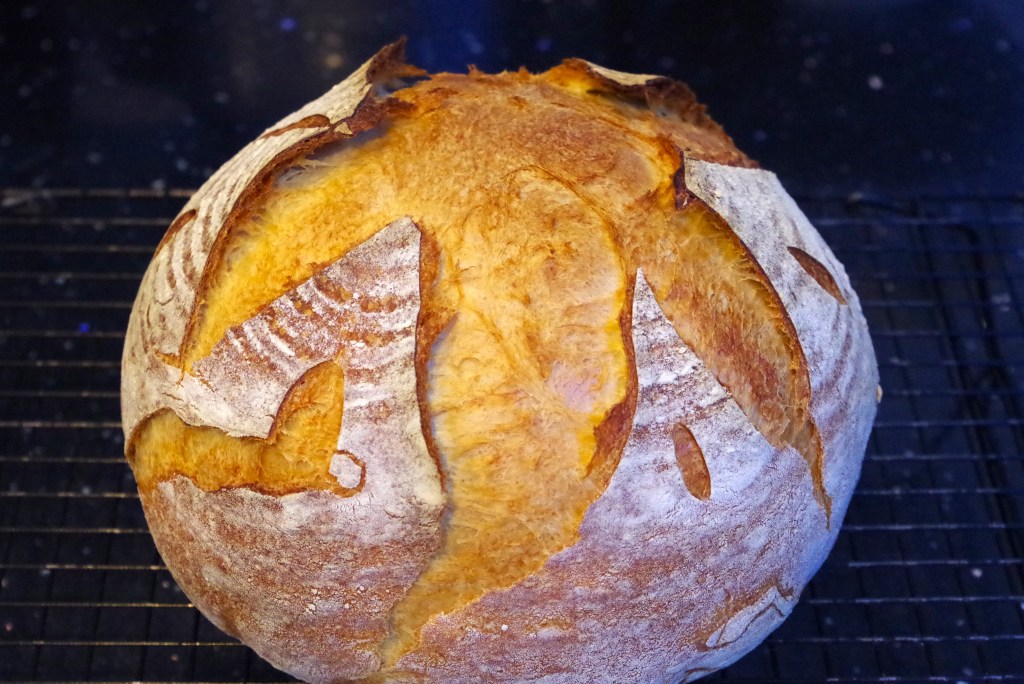
6A. Gently, invert the risen dough onto a sheet of parchment and use this to lift it into a cold Dutch oven (or casserole dish/baking tray). Use a very sharp knife or razor blade to cut slashes. (You can use any design you choose, but for a first time I recommend a simple cross on top, not massively deep.)
7A. Put the top on the Dutch oven and place in an unheated main oven. Turn the oven on to 220°C / fan 200°C / 425°F / Gas 7 and bake for 50 minutes. Take the lid off and bake for a further 10 – 12 minutes until golden brown or darker.
(Traditional method)
6B. Turn the oven on, temperatures as above. Place the Dutch oven or casserole dish/baking tray in the oven to heat up.
7B. Take the hot Dutch oven out and, as above, use a piece of parchment paper to lift the dough carefully into it. Cut slashes as above then return the hot Dutch oven or casserole dish/ baking tray to the main oven and bake for around 30 – 35 minutes.
8. To test whether or not the loaf has baked, tap it with your knuckles. It should feel firm and also sound hollow. Cool on a wire rack and resist the temptation to cut and eat it too early. This could be the most difficult part of the whole process.
I wish you every success with your bread making. I hope you have a go at this one and enjoy making and eating a lovely loaf. If you want to see more of my bread recipes click this link.
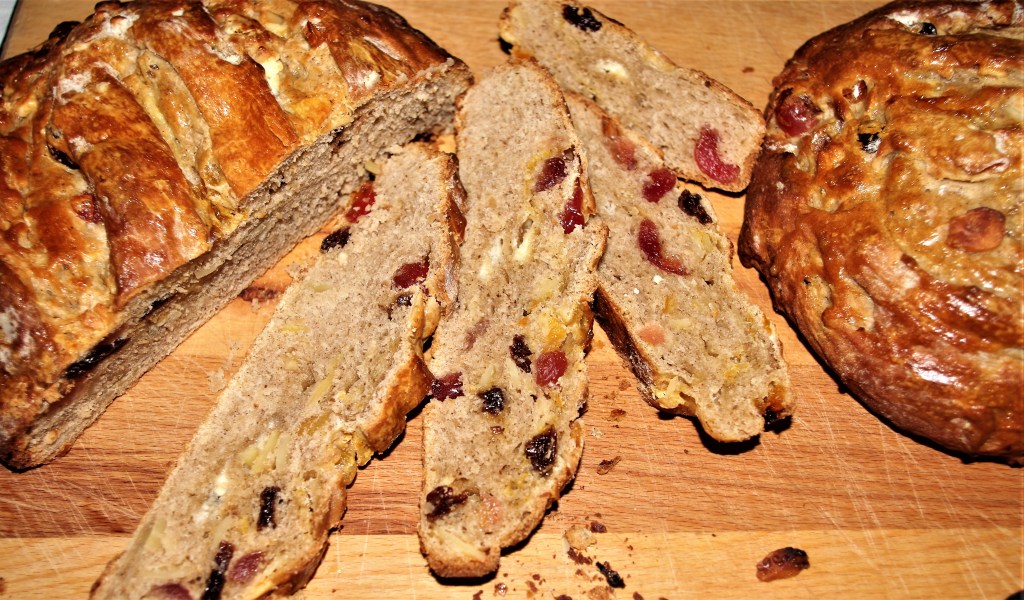
Here are some quite different breads that you might want to try:

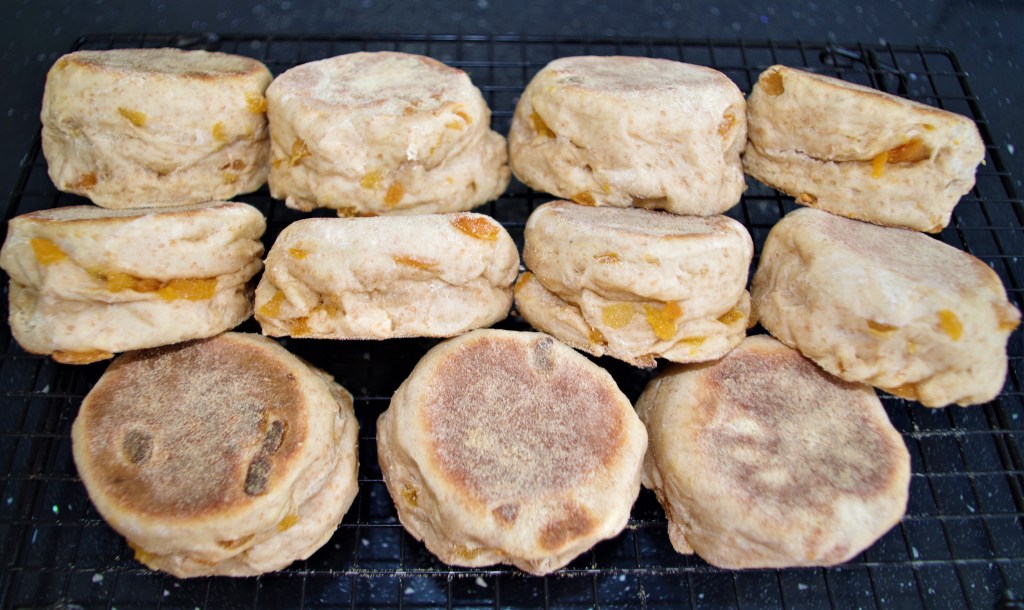
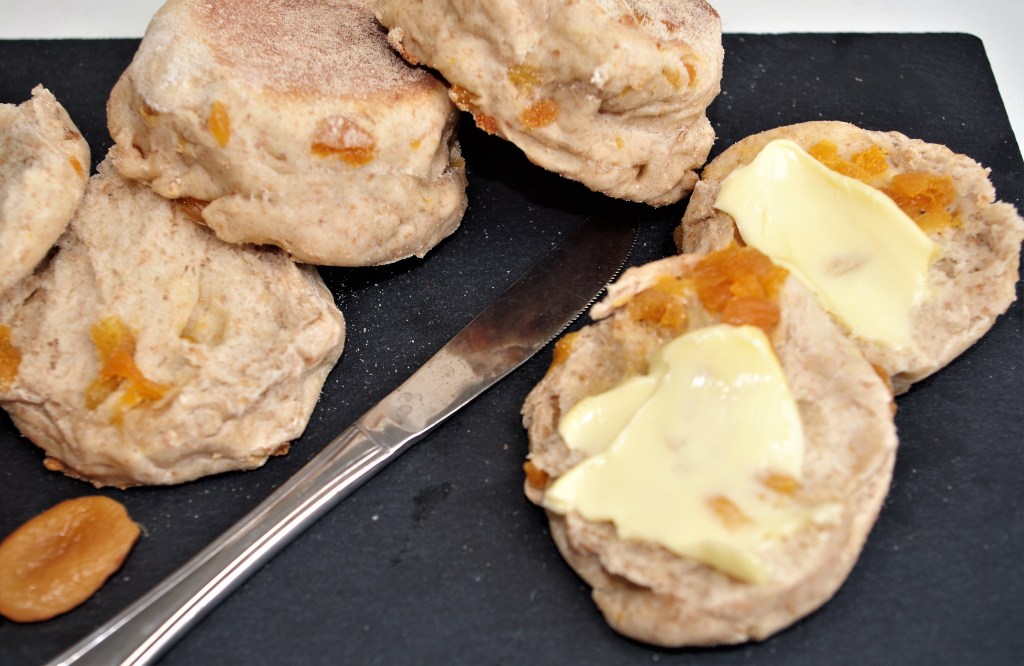
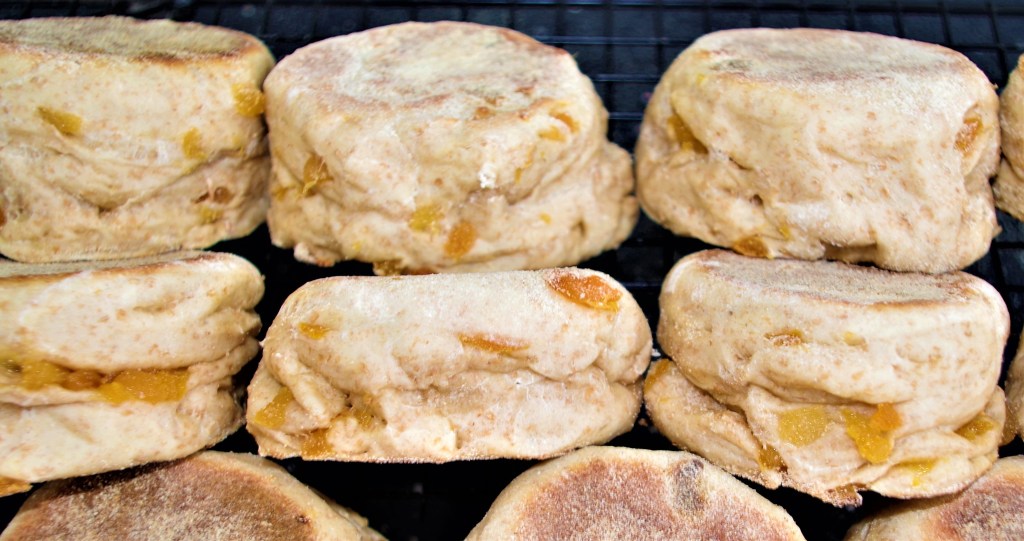
Rye & Wholemeal Apricot English Muffins
Dark Rye, Wholemeal and Wheat flour seeded Cob

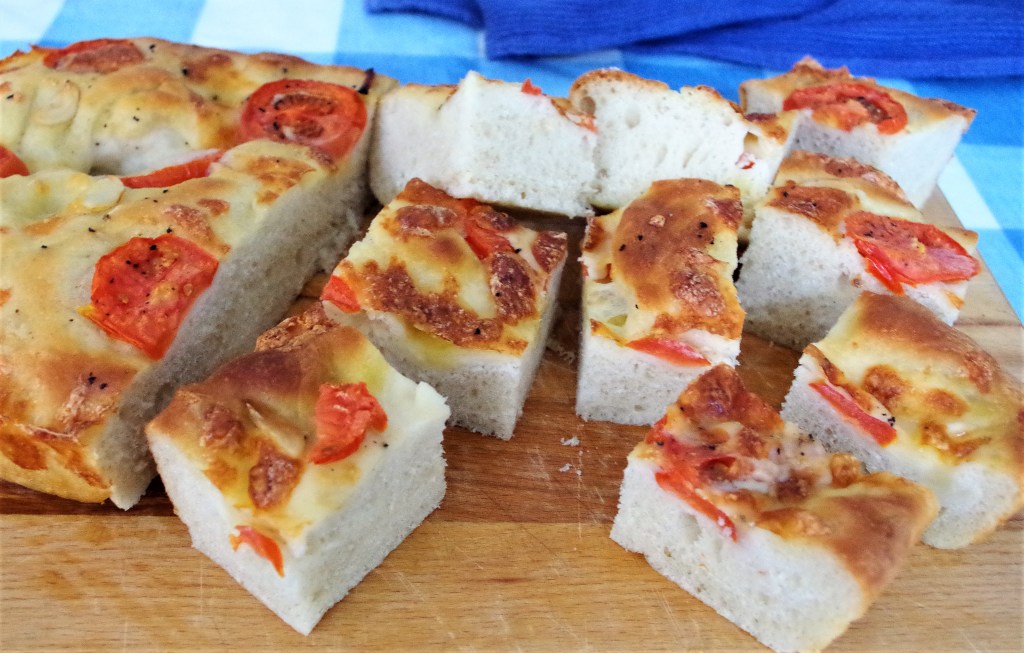
Focaccia con Mozzarella, Pomodoro e Aglio


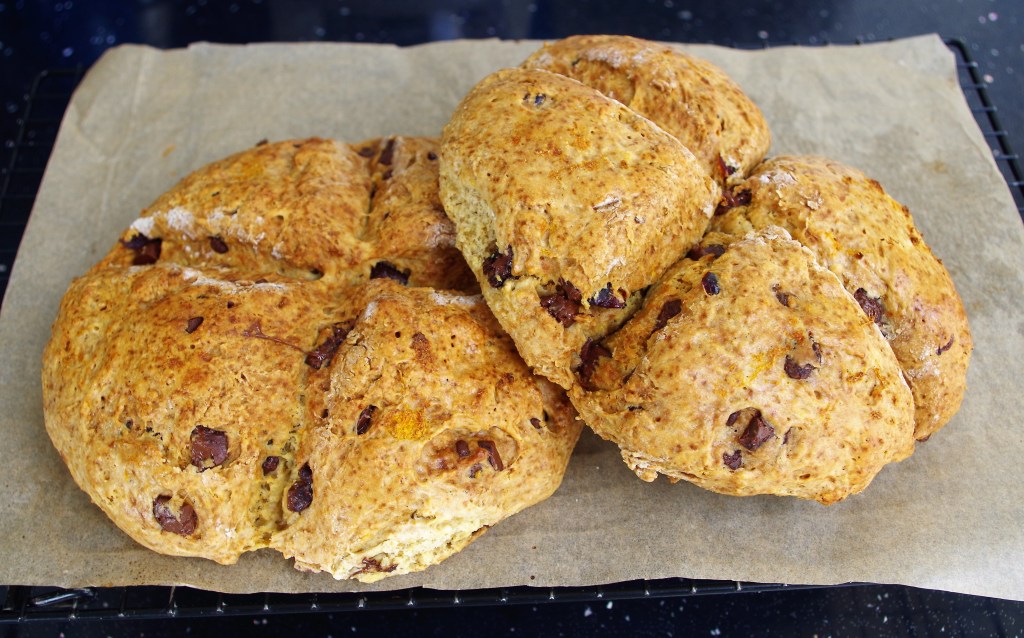
Chocolate, Orange and Cranberry Soda Bread

If you’d like to make a comment or ask a question please do, via the contact page.
