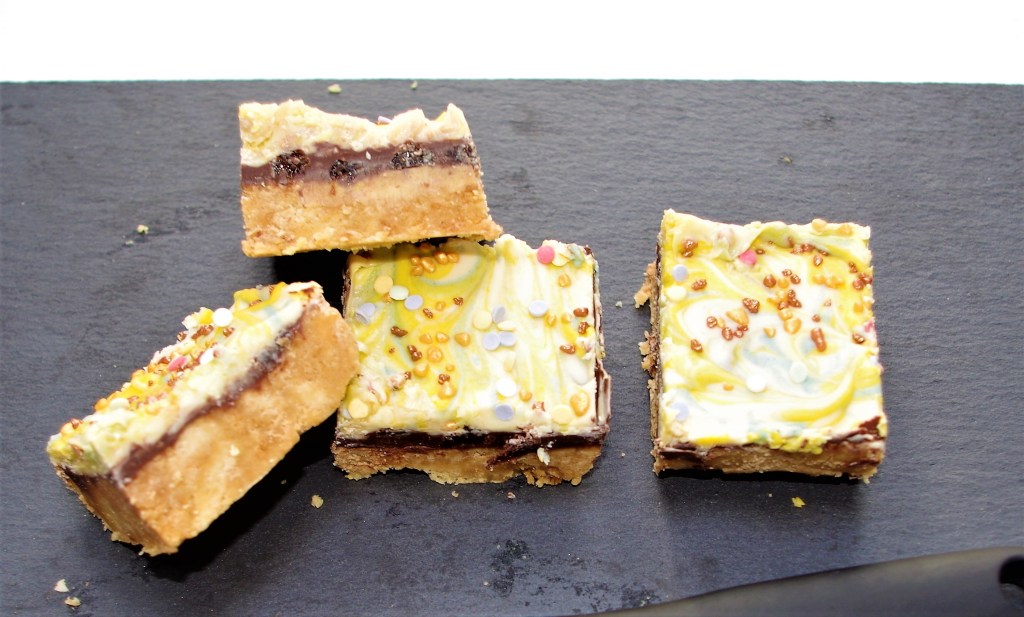
Here’s a lovely, chunky, triple layer no-bake treat, that’s packed with great taste and texture.
Time: Around 40 – 45 minutes + chilling & setting time. Add 10 – 12 minutes for coloured version
Equipment: A 20cm square baking tin
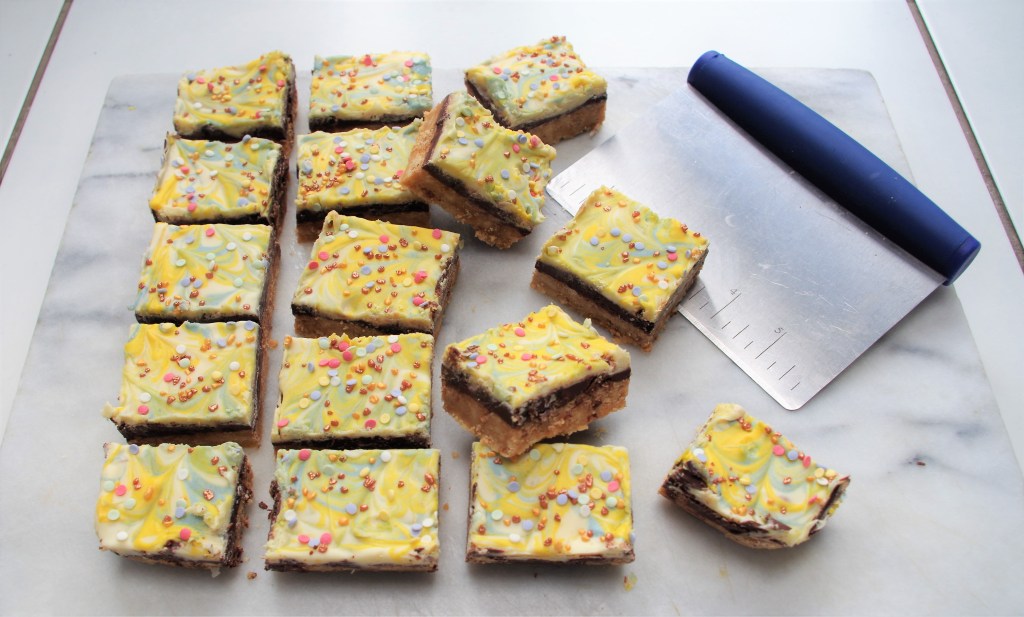
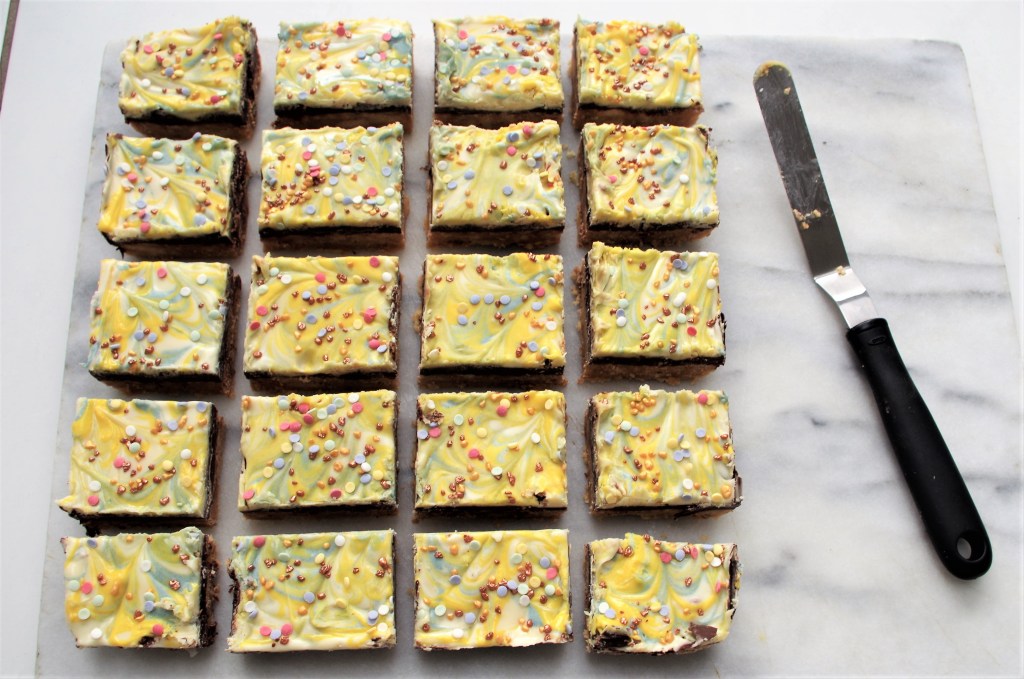
Makes: 16 – 20 fair sized pieces
Level: Easy
Ingredients
- 125g/4.5oz butter, cut into chunks
- 75g/2.5ozg golden syrup
- 20g/0.75oz golden caster sugar
- 400g/14oz biscuits (I like using custard creams for this one)
- 75g/2.5oz any dried fruit (cut into small pieces)
- 75g/2.5oz any nuts (chopped small)
- 200g/7oz dark or milk chocolate
- 300g/10oz – 350g/12oz white chocolate
- 2 non-water based food colourings (optional)
- A selection of sprinkles to go on top
Method
1. Grease and line the tin. Bash the biscuits in a bag to break them up, or whizz in a food processor. (The majority should be like fine breadcrumbs, but a few slightly larger pieces are OK to give a good overall texture.)
2. In a large saucepan, melt the butter, sugar and golden syrup on a low heat, stirring regularly to avoid it burning.
3. Tip the biscuit pieces into the melted butter and sugar and stir completely until fully coated. (You could stir in the dried fruit and nuts here or add to the first chocolate layer, later. If you use them here it makes for a smoother surface later.)
4. Empty the contents of the saucepan into the prepared tin and flatten it down firmly. (I use a plastic scraper, one with a rounded corner, which works really well.) Leave somewhere cool to set. Place in fridge if necessary.
5. Melt the dark or milk chocolate. (Either in the microwave using 20 second “blasts” or in a bain marie. Whichever method you choose, stir regularly.) Mix in the fruit and nuts, unless you’ve already used them. Pour over the biscuit base, quickly tilting the tin back and forth to spread it evenly. Leave to set.
6. Melt the white chocolate. If you just want a plain white top then pour all of it over the previous chocolate layer, then add your sprinkles – job done.
6a. For a bit more colour, pour most of the white chocolate over the previous layer, then pour half of the remaining white chocolate into a small dish and stir in a small amount of colour. Use a teaspoon to flick this back and forth over the white chocolate. Add the second colour to the remaining white chocolate and repeat the flicking. Use a cocktail stick to spread & feather the colours. Add sprinkles and leave to cool and set.
7. Just before the chocolate hardens completely, cut into pieces. I measure then insert cocktail sticks to guide my cutting. I’ve recently discovered that the best “cutting tool” is a metal dough scraper (see top picture). It requires more of a pressing action than slicing, so there’s less chance of dragging any non-hardened chocolate.