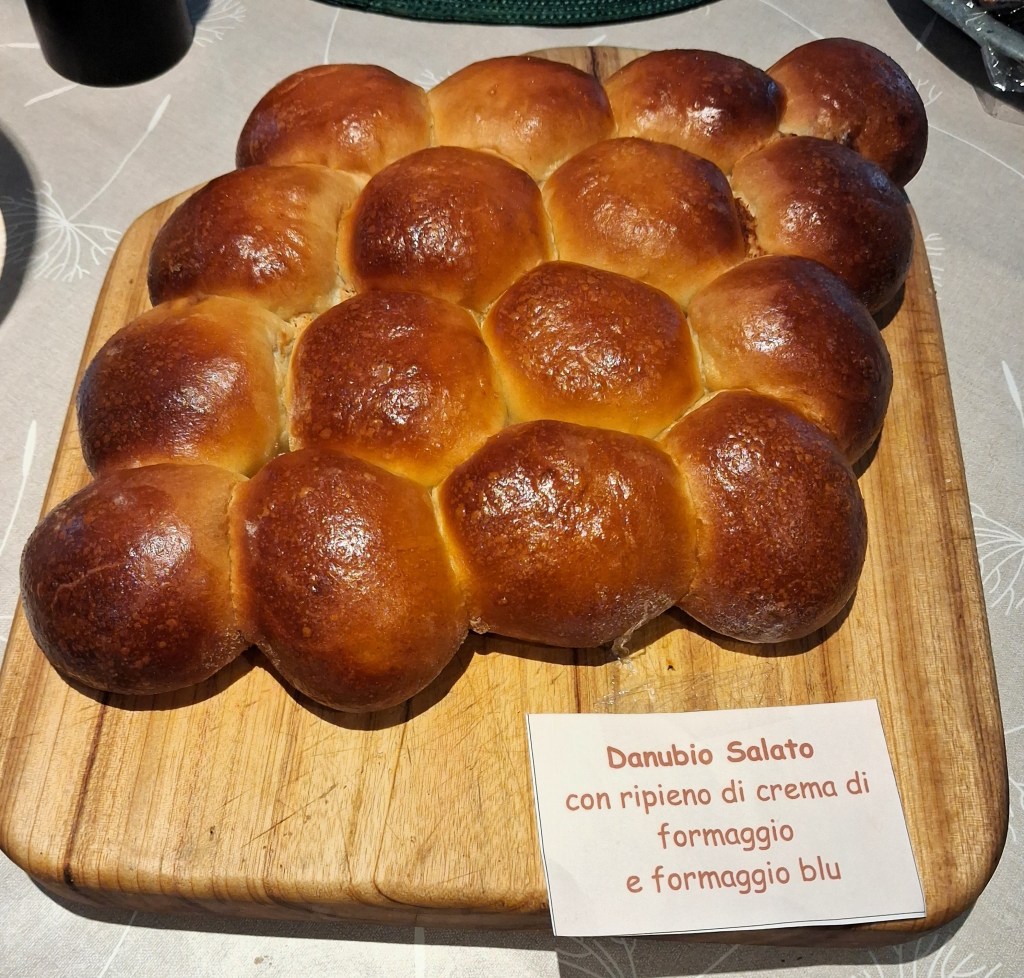
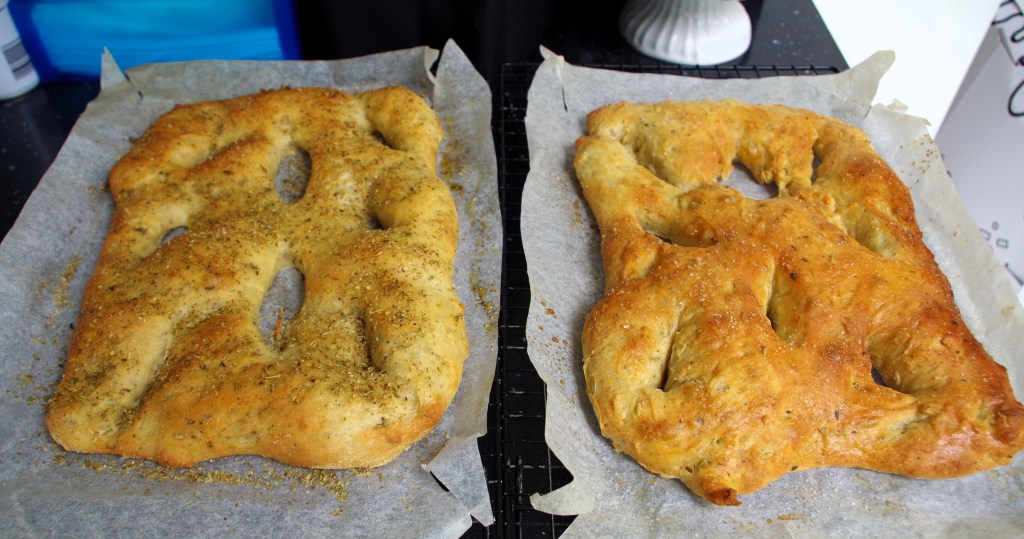
The recipe below owes a lot to the wonderful Gennaro Contaldo. I’ve adapted it a little, hopefully without Anglicising it too much. The end product looks great and tastes likewise. Oh, and the name: it translates literally as “Savoury Danube”. I’ve no idea why. If you know, please contact me and tell me. I could call it “Italian Savoury Brioche”, but that’s far too utilitarian for Italian food.
Makes: 15 or 16 small filled balls
Level: It’s not too difficult, but a bit fiddly when you fill the balls.
Time: 15 – 18 min. prepping for the first prove. At least 30 min. weighing, rolling and filling the balls. About 25 min. baking. And within all this time, the dough will have to rise twice.
Need: I use a stand mixer with a dough hook; you can knead the dough without one, but it’s not an easy dough to work with. Half an hour in the fridge should make it more manageable.

Ingredients
- 7g sachet of instant yeast
- 115ml lukewarm water
- 275g strong white flour or 00 flour
- 15g caster sugar
- 1 tsp fine salt
- 1 egg, beaten
- 50ml olive oil
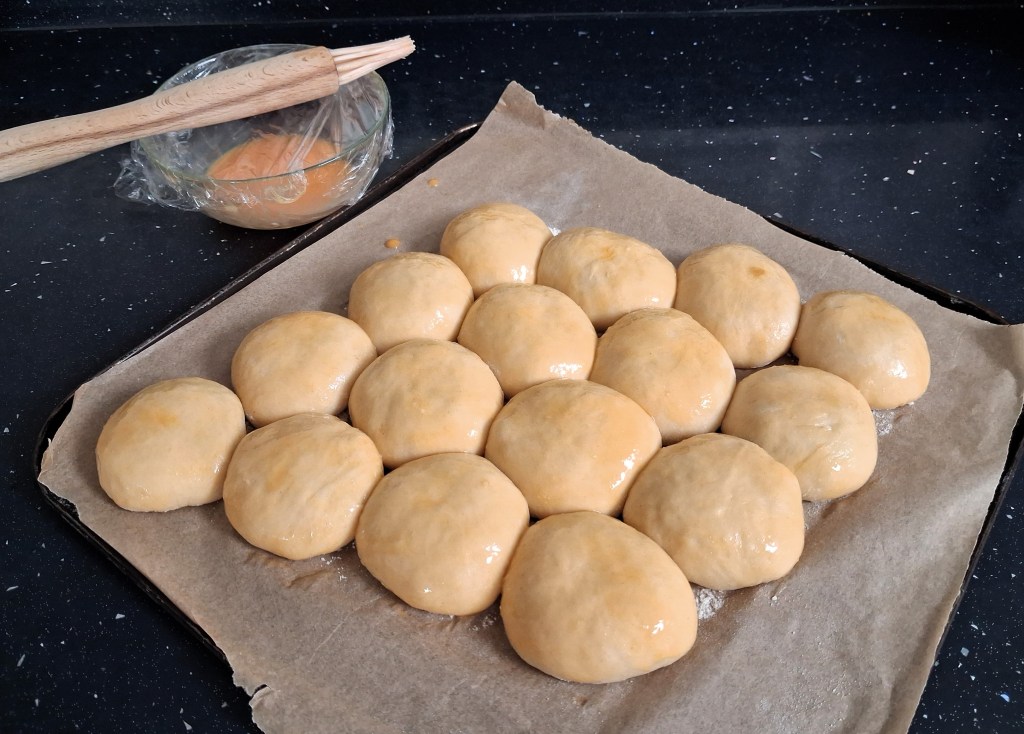
- ½ egg, beaten – for glazing
- Lots of passion (It’s an Italian recipe!)
Filling
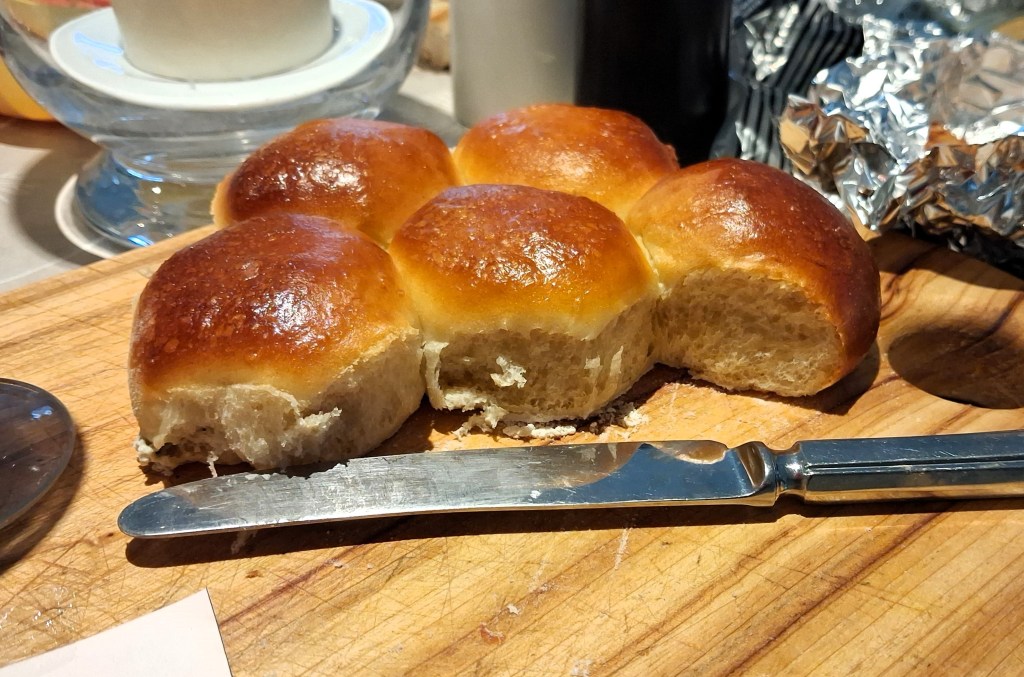
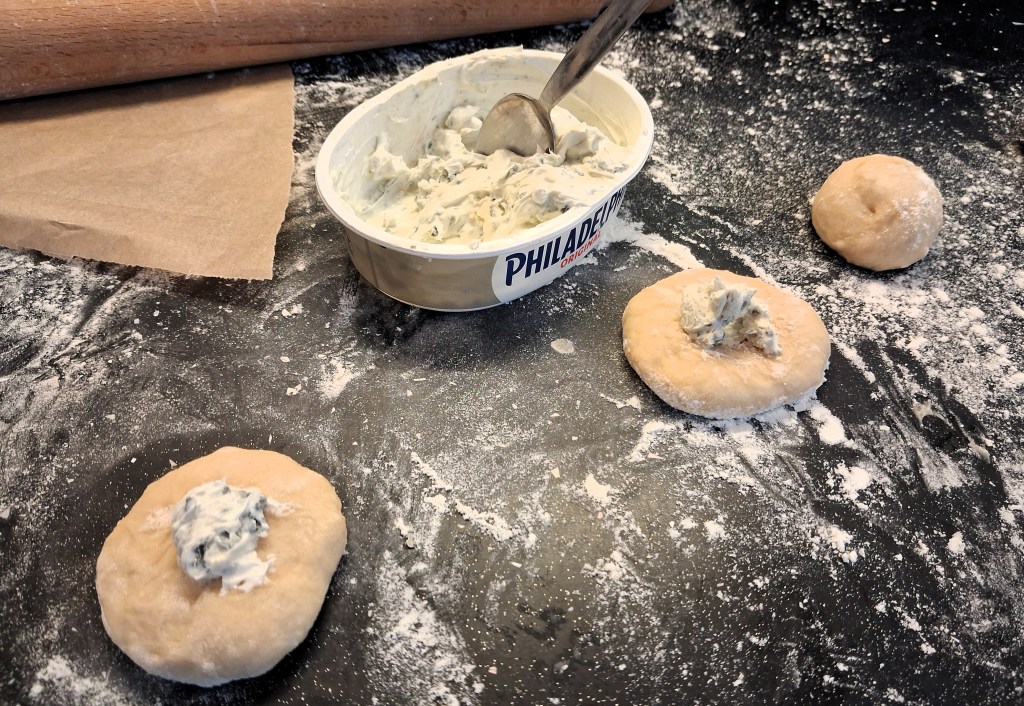
- Some cheese/ham/salami/sun-dried tomatoes etcetera. Take your pick.
- I like a mixture of Mascarpone or full fat cream cheese with some creamy, but tangy, blue cheese such as St Agur. (Yes, I know it’s French, not Italian, but I like it.)
Method
1. Stir the yeast into the lukewarm water. Leave for a few minutes.
2. Combine the flour, sugar and salt in a (stand mixer) bowl and mix well. Stir in the egg and olive oil and mix well into a dough.
3. Knead for about 8 min. in a stand mixer, longer by hand. Place in an oiled bowl, cover and leave to rise.
4. Meanwhile prepare your fillings and line a 20cm cake tin with baking parchment.
4b. An alternative to using a tin is to put a piece of parchment on a baking tray to set the balls on.
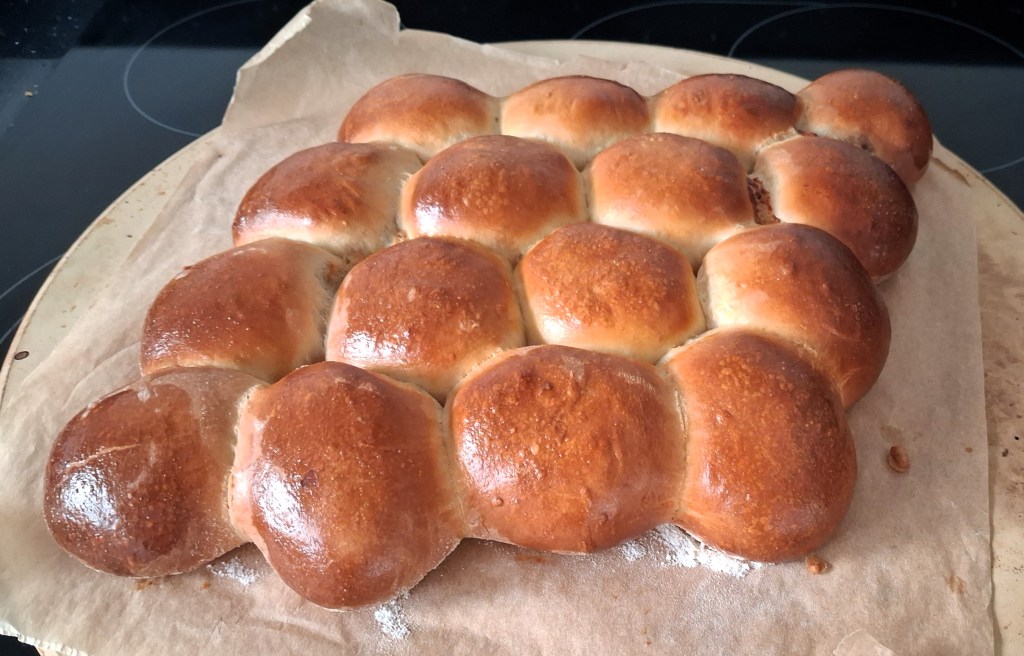
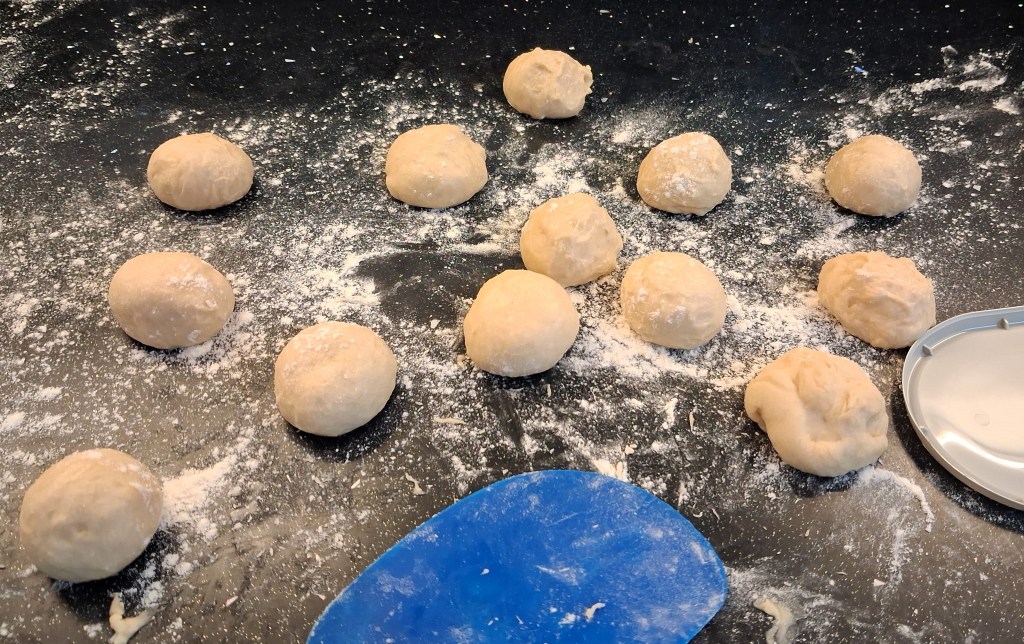
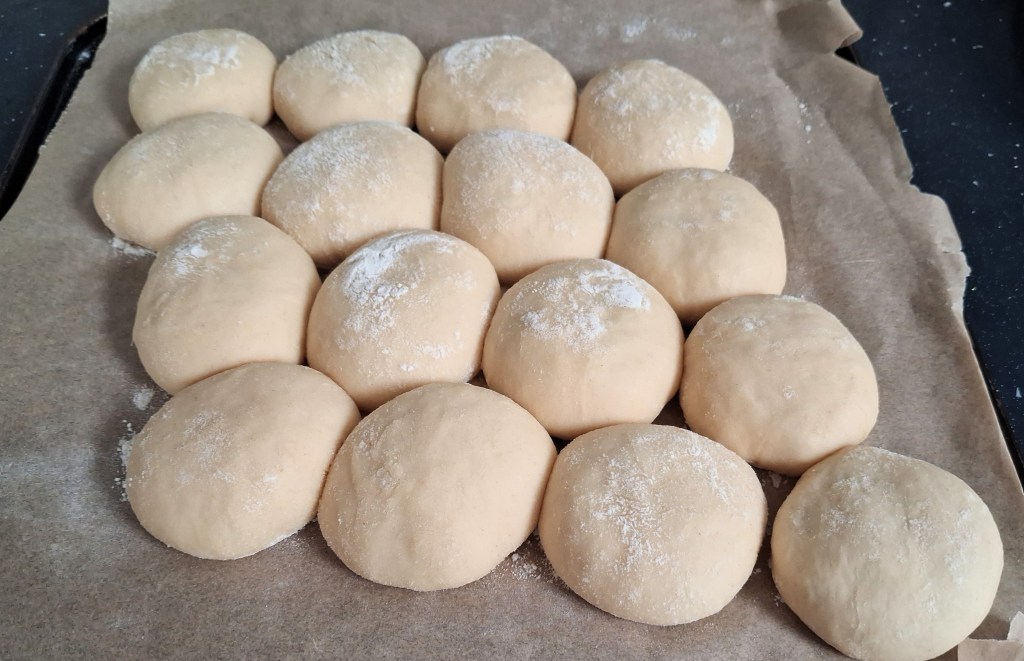
5. Weigh the risen dough and divide into equal pieces. (15 to go in the 20cm tin or 16 if using a baking tray.
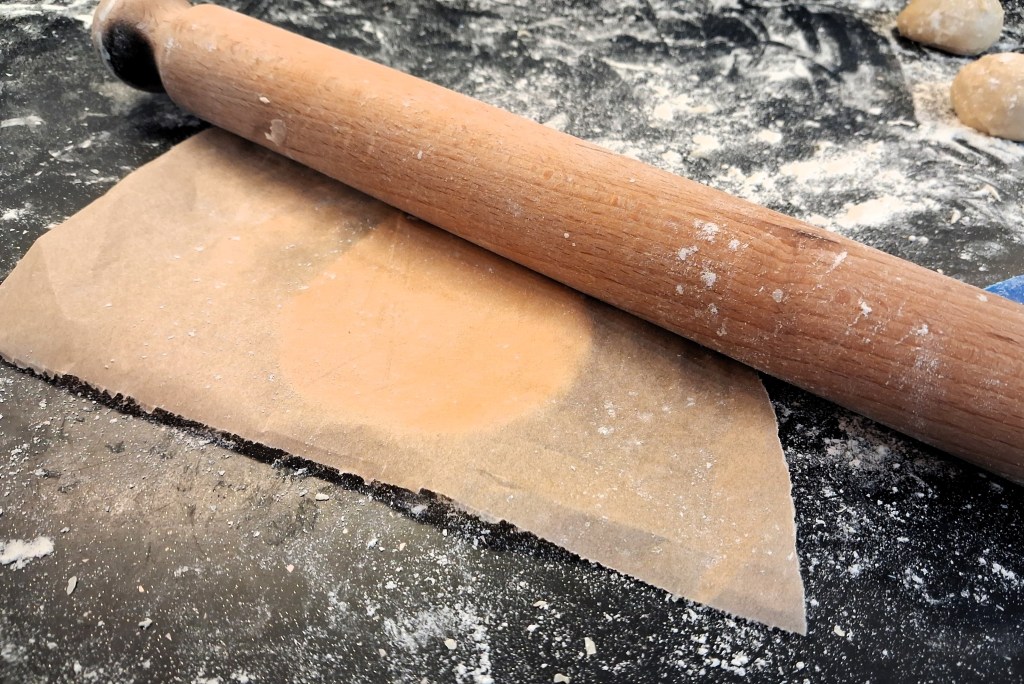
6. Shape roughly into balls and roll them flat. Add in the filling and form back into balls, pinching together the joint underneath. Then place in the prepared tin or on the baking tray. (Make a central line of 4 then go 3 – 2 – 1 on each side of the line. See picture below.) Cover and leave to rise again, or place inside a large swing bin liner, fill with air, then fasten the neck.
7. Preheat the oven to 180°C / fan 160°C / 350°F / Gas 4.
8. Brush the risen balls with beaten egg and bake for 22 – 27 min. Check after 10 – 12 min. You may need to turn the tray/tin around or cover with foil if the balls are darkening too much.

N.B. For batch baking it’s always a bit of guess work how far apart you set the balls of dough. You want them to join together, but still able to be torn into individual balls. If your first prove has been quick and easy, I’d say your gap should be about the width of a forefinger. If the prove has been slow and difficult then put them nearer – the width of a little finger maybe. (Be warned though – I’m not a very scientific baker!)
Gallery 1 (Filling the balls)
Gallery 2 (setting out and egg washing)

This bake is a bit of a faff, but the end product is worth the time spent, so I hope you have a go and enjoy both the process and the end product.
To see more of my bread recipes click this link or have a look at my site for lots of other great recipes, both sweet and savoury. Below are a few that I’d love you to try:


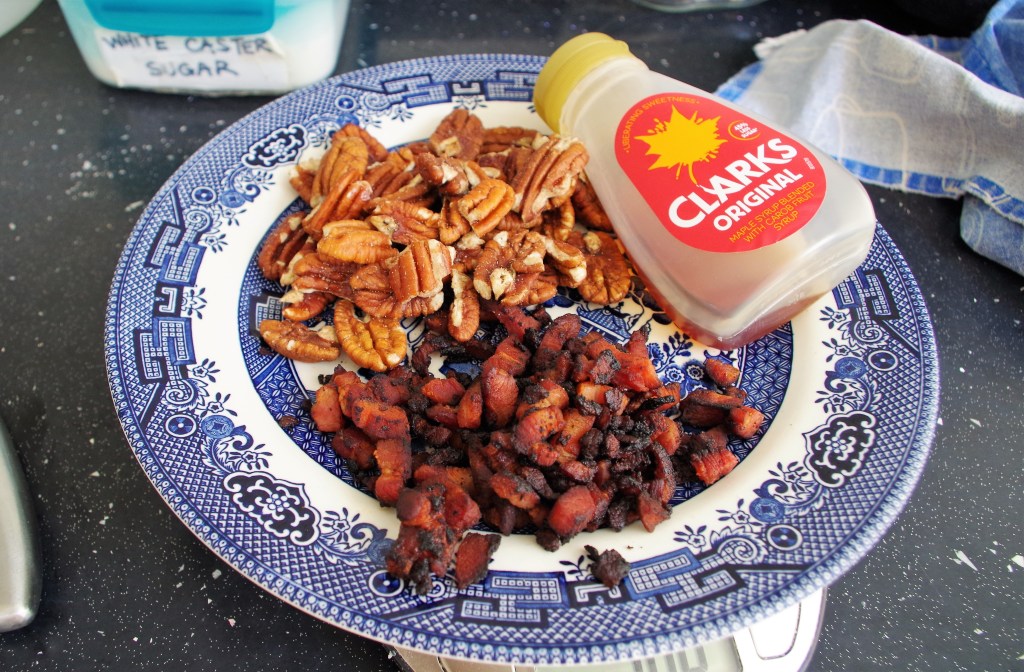
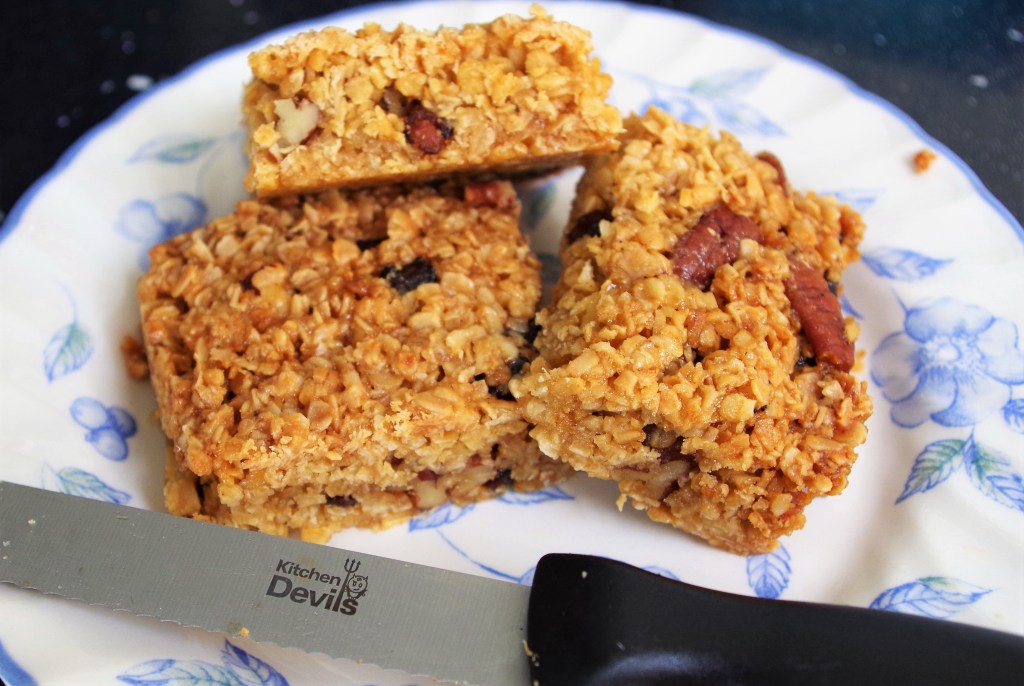
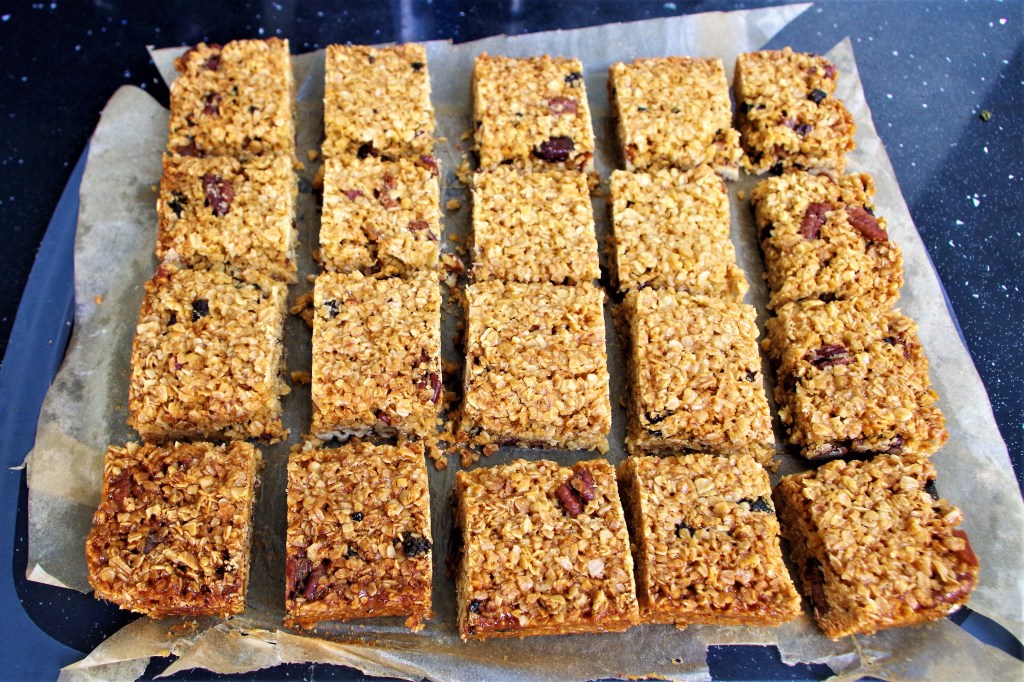
Maple, Bacon and Pecan Flapjacks

To make a comment or ask a question please go to the contact page. Click here for the home page.
Happy Baking
Ian

