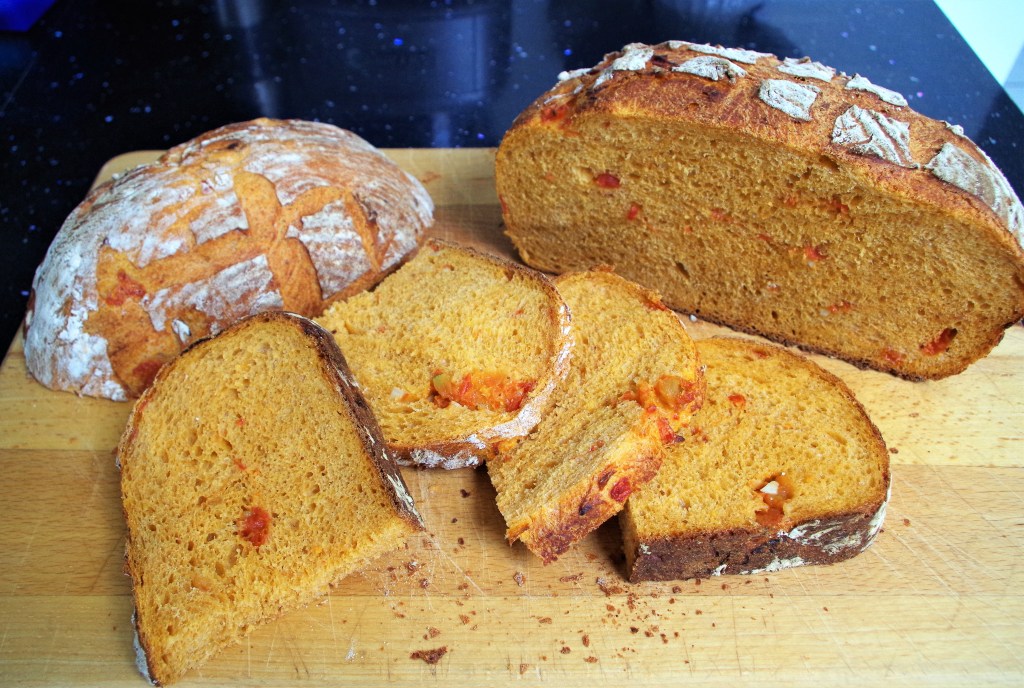
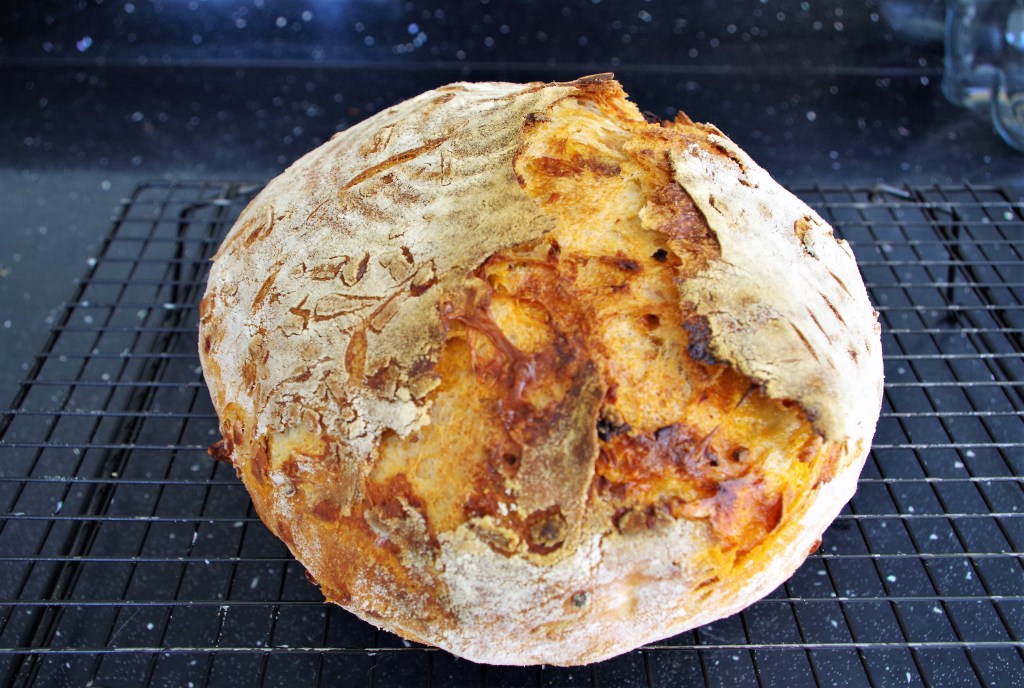
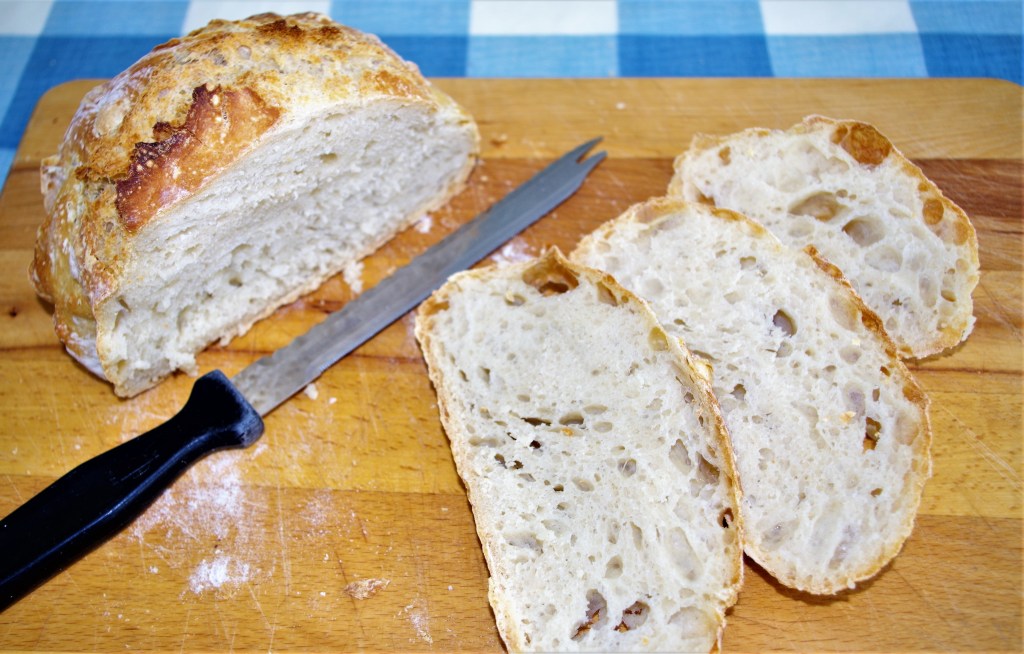
I like to experiment with my baking. Occasionally the result can be a disaster, but usually something really good occurs. It certainly did with this loaf. I began with a good basic Crusty Cob recipe then made a few tweeks, the most significant being ….well read on and I’ll explain.
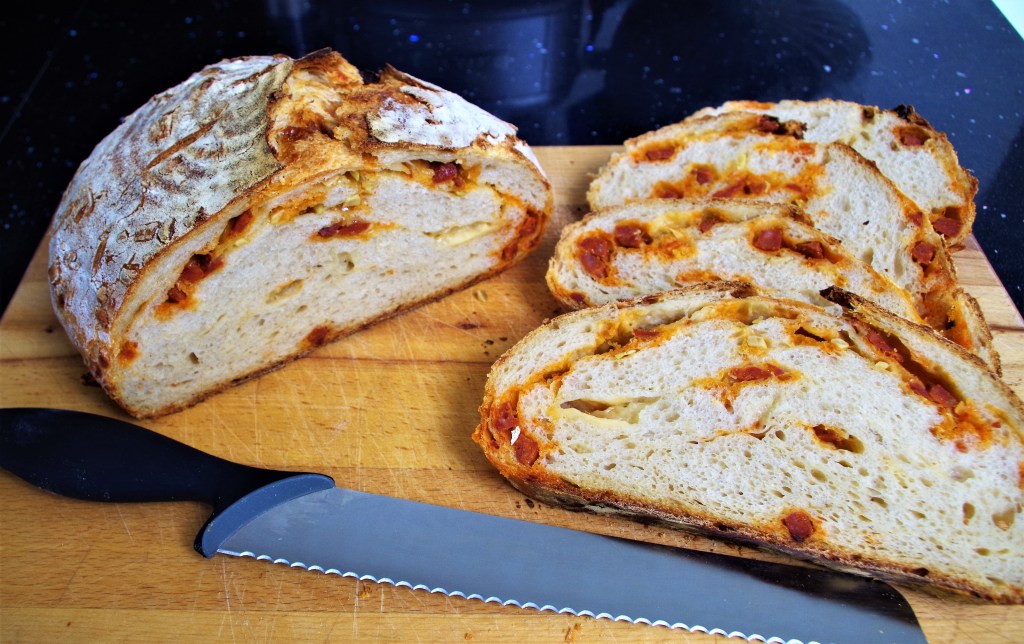
Makes: One large loaf (about 12 – 15 slices)
Level: Easy
Time: hands on time around 20 minutes, but proving times will vary depending on room temperature – anything up to 90 minutes for the first prove, nearer to 30 for the second. Baking time will be around 60 minutes if using the cold start method
Need: I used my stand mixer and the second prove was in a banneton then I baked in a Dutch oven. If you have these, great; if not, you can still make the loaf.
Ingredients
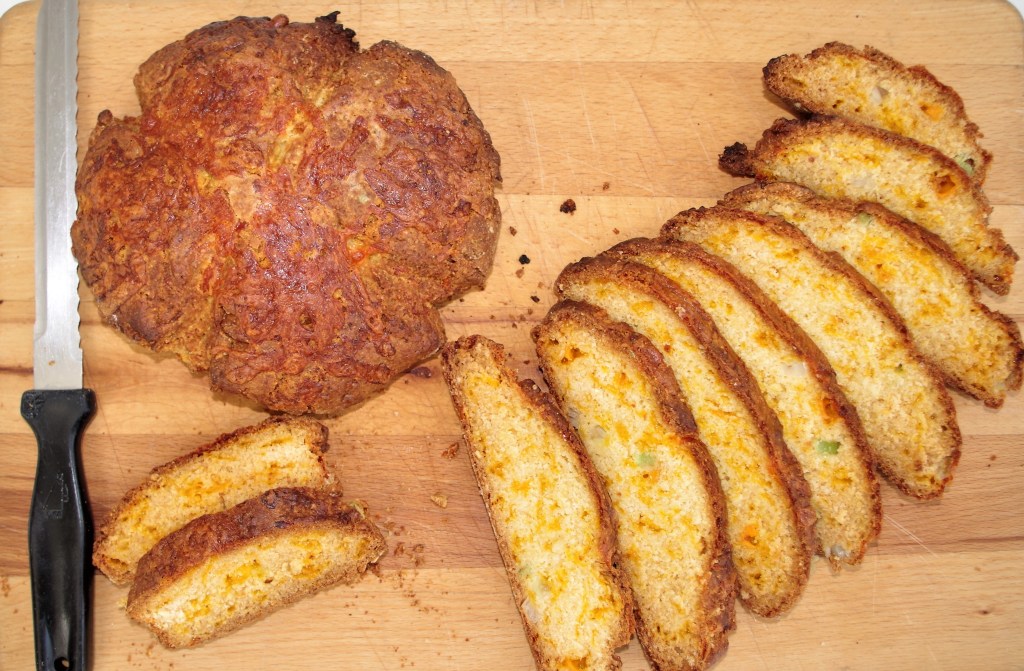
- A 400g/14oz tin of chopped tomatoes
- 500g/1lb 1oz strong white bread flour
- 40g/1½oz soft butter
- 10g/1½ sachets fast action dried yeast
- 10g/2 tsp fine salt
- A little olive oil or sunflower oil
- 3 – 4 cloves of garlic, crushed or finely chopped (optional)
Method
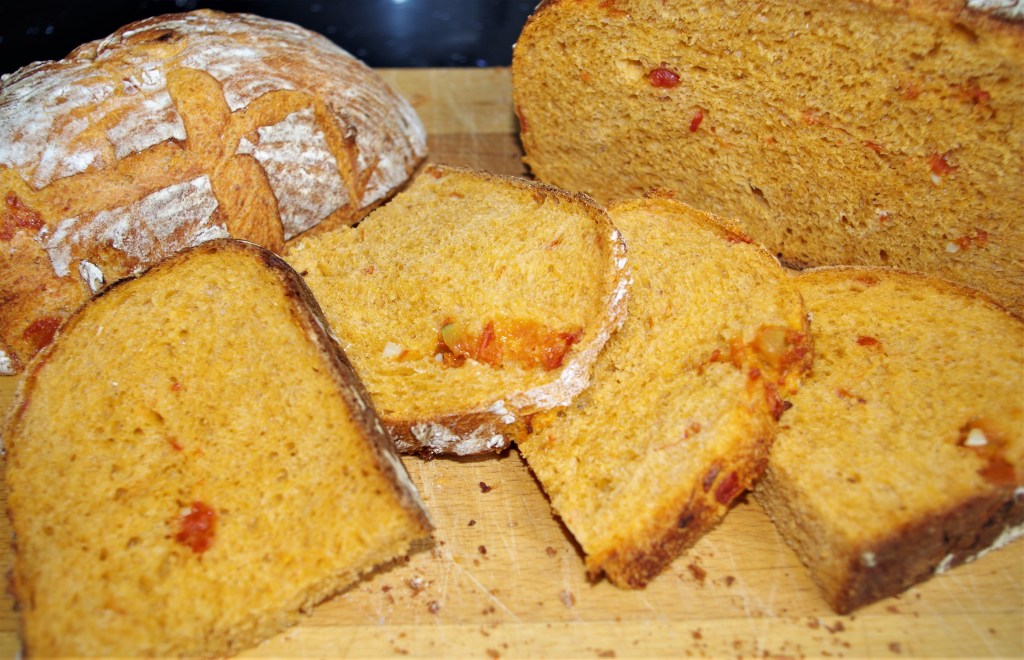
Prep: Push the tinned tomatoes through a sieve and save the liquid. You will need around 300ml/10fl oz, slightly warmed. You have the option of retaining the more solid pieces of tomato and adding into the mixture later, but be prepared to work with very wet, sloppy dough.
1. Put the flour into a large mixing bowl. Add the yeast to one side of the bowl and the salt to the other. Stir to combine. Mix in the butter
2. Add most of the liquid and turn the mixture round with your fingers. Continue to add liquid a little at a time, combining well, until you’ve picked up all of the flour from the sides of the bowl. You may not need to add all of the liquid, or you may need to add a little more – you want a dough that is well combined and soft, but not sticky or soggy.
3. Lightly oil the stand mixer bowl. Put the dough in and knead with the dough hook until it forms a springy ball of dough – probably about 7 – 8 minutes. (or knead by hand on a lightly floured surface for about 12 – 15 minutes.)
4. Transfer to an oiled bowl and cover. Leave until risen. Meanwhile flour the banneton (or a bowl).
5. Knock back the risen dough and shape into a round cob*. Place it in the banneton (or back into a medium sized bowl.) then put it in a proving bag. (I use a black bin liner.)
* It’s at this stage that you can add in the tomato “solids” and garlic if you decide to use either.
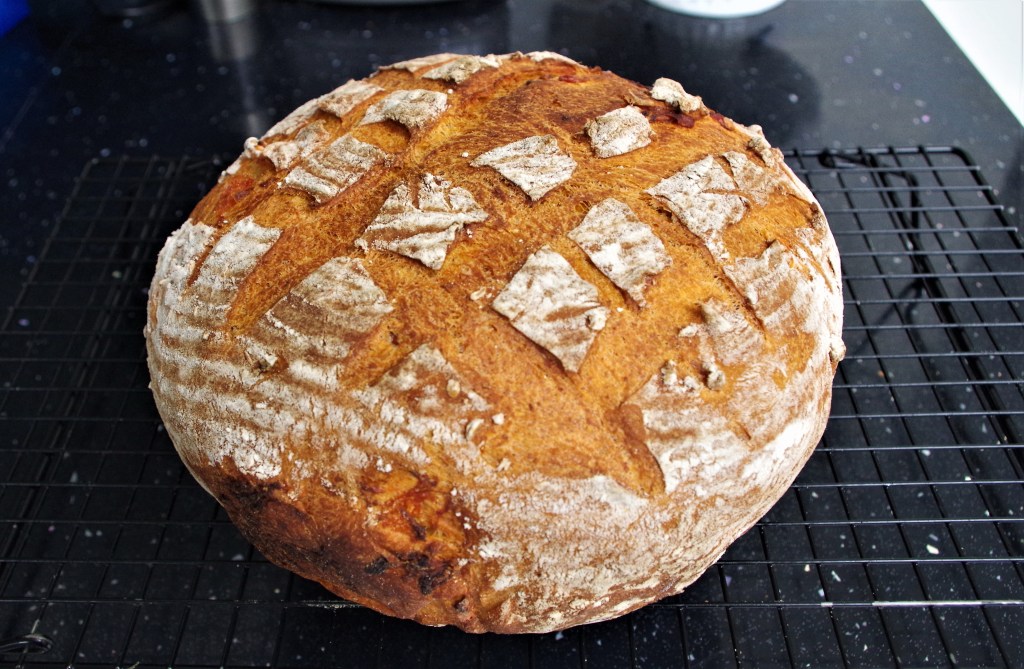
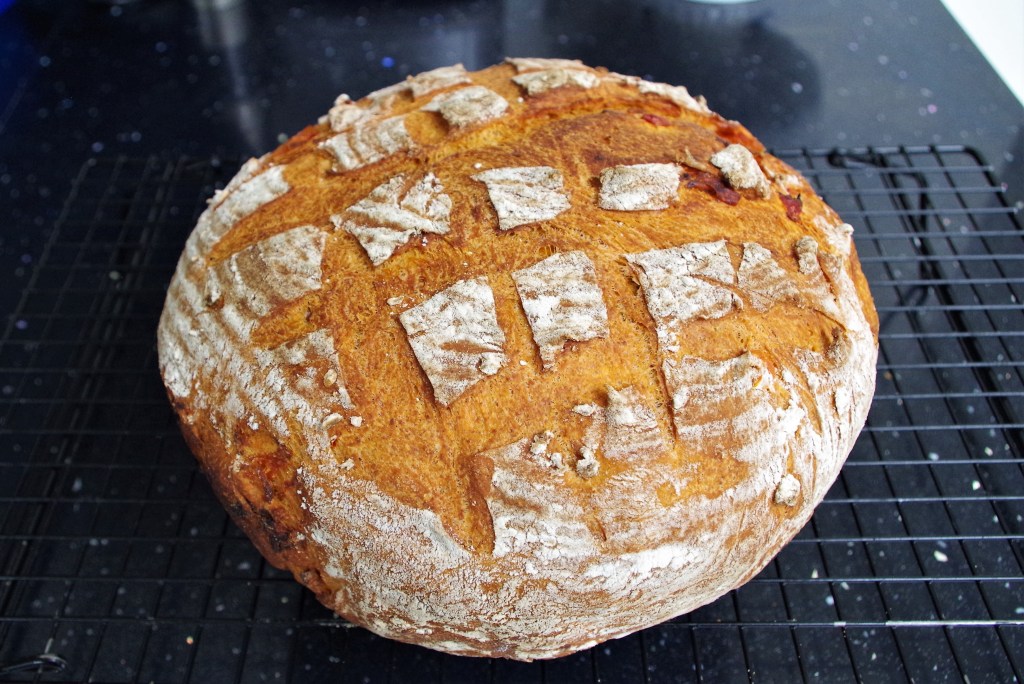
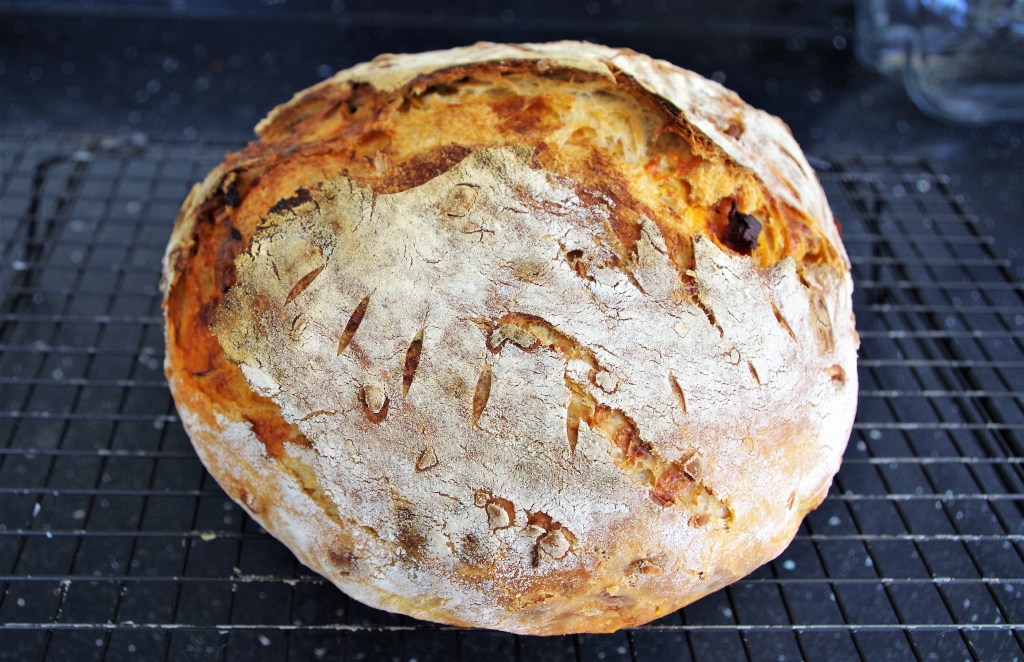
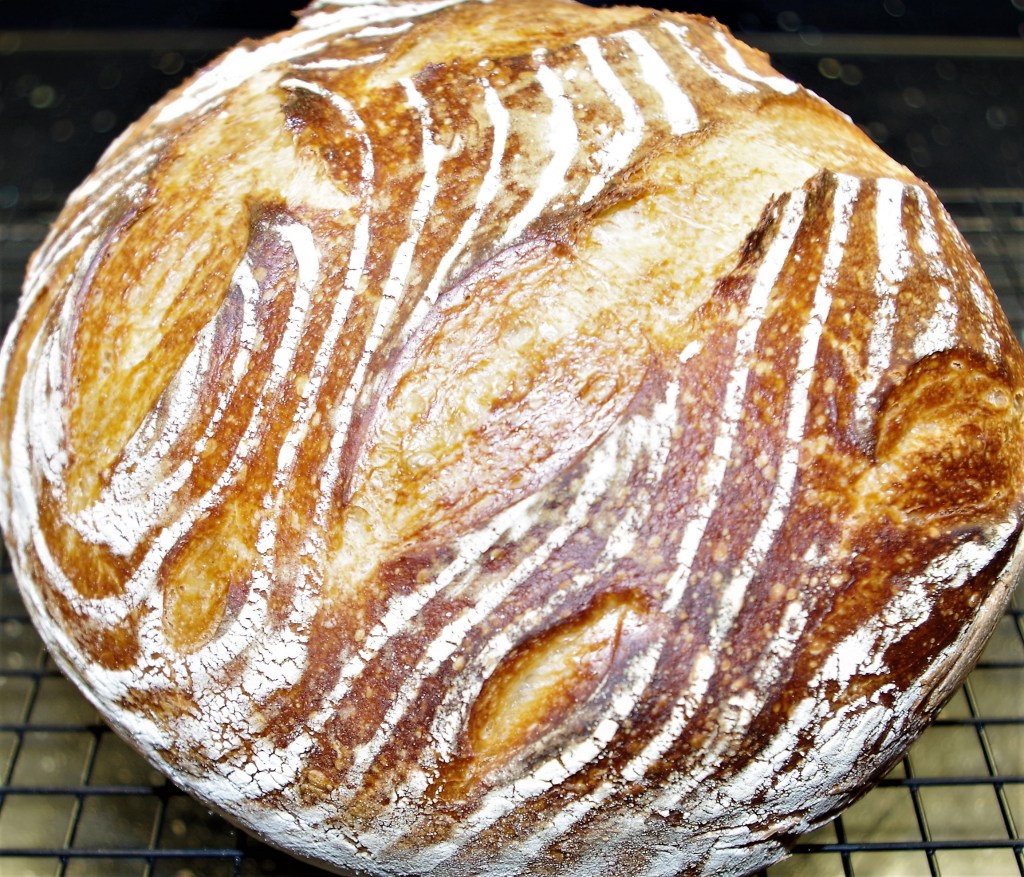
6. Remove the risen dough from the banneton/bowl onto a sheet of parchment. Dust and cover with flour. Rub it in gently. Place into a Dutch oven (or onto a lined baking sheet) and use a razor blade to make shallow cuts about 1cm deep across the top of the loaf to create a diamond pattern.
7. Put the covered Dutch oven (or baking sheet) into the oven. Turn the oven on to 230°C / 210° Fan / 450°F/ Gas 8. (This is the “Cold start” method that I use.)
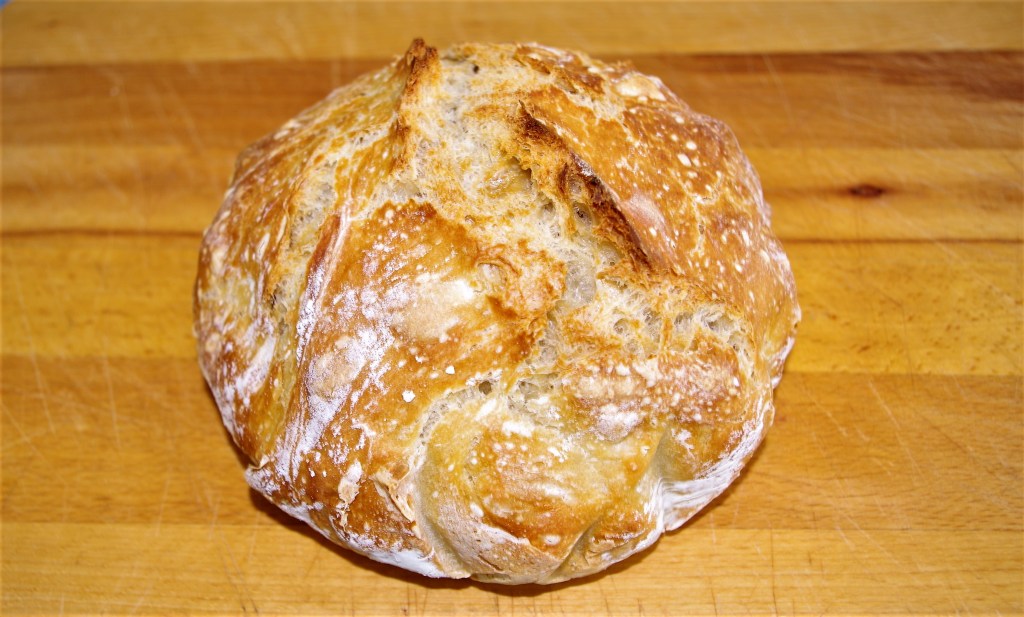
8. Bake for about 50 mins. with the lid on. Remove the lid, turn the oven down to fan 190°C and bake for about another 10 mins. Tap the bottom to test if it has baked. You need to hear a firm, hollow sound.
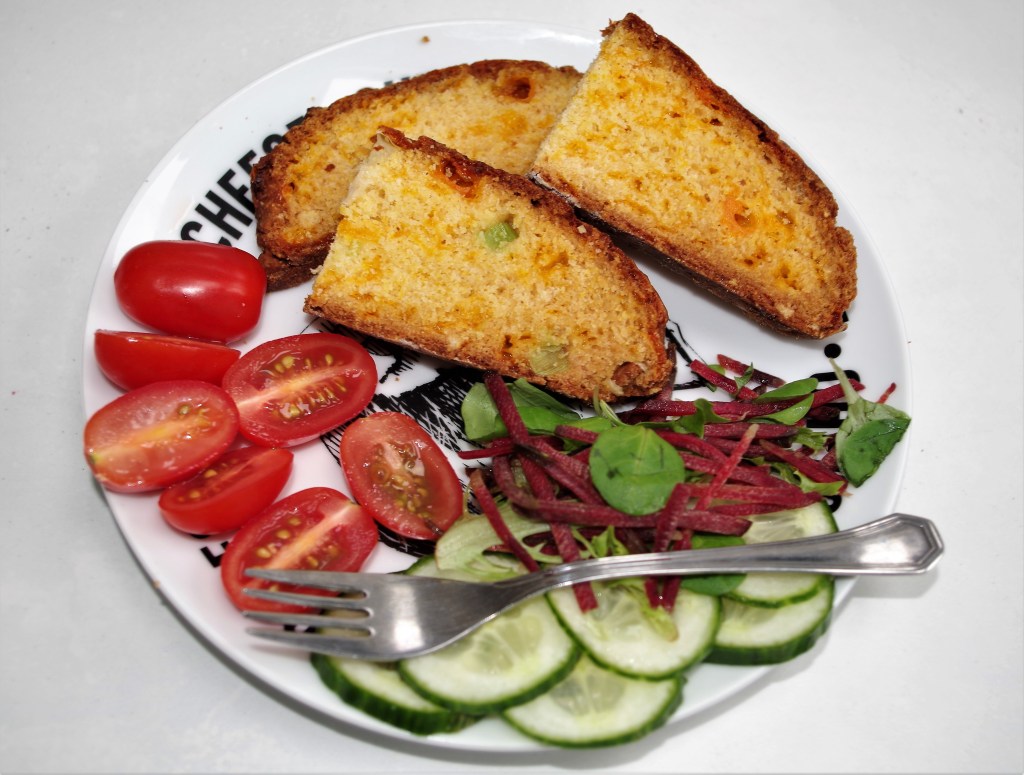
I wish you every success with your bread making. I hope you have a go at this one and enjoy making and eating a lovely loaf. If you want to see more of my bread recipes click this link.
Here are some quite different breads that you might want to try:
Khorazan Sourdough with Chorizo, Manchego & Garlic
Ridiculously easy No-knead bread
Rye & Wholemeal Apricot English Muffins


If you’d like to make a comment or ask a question please do, via the contact page.
