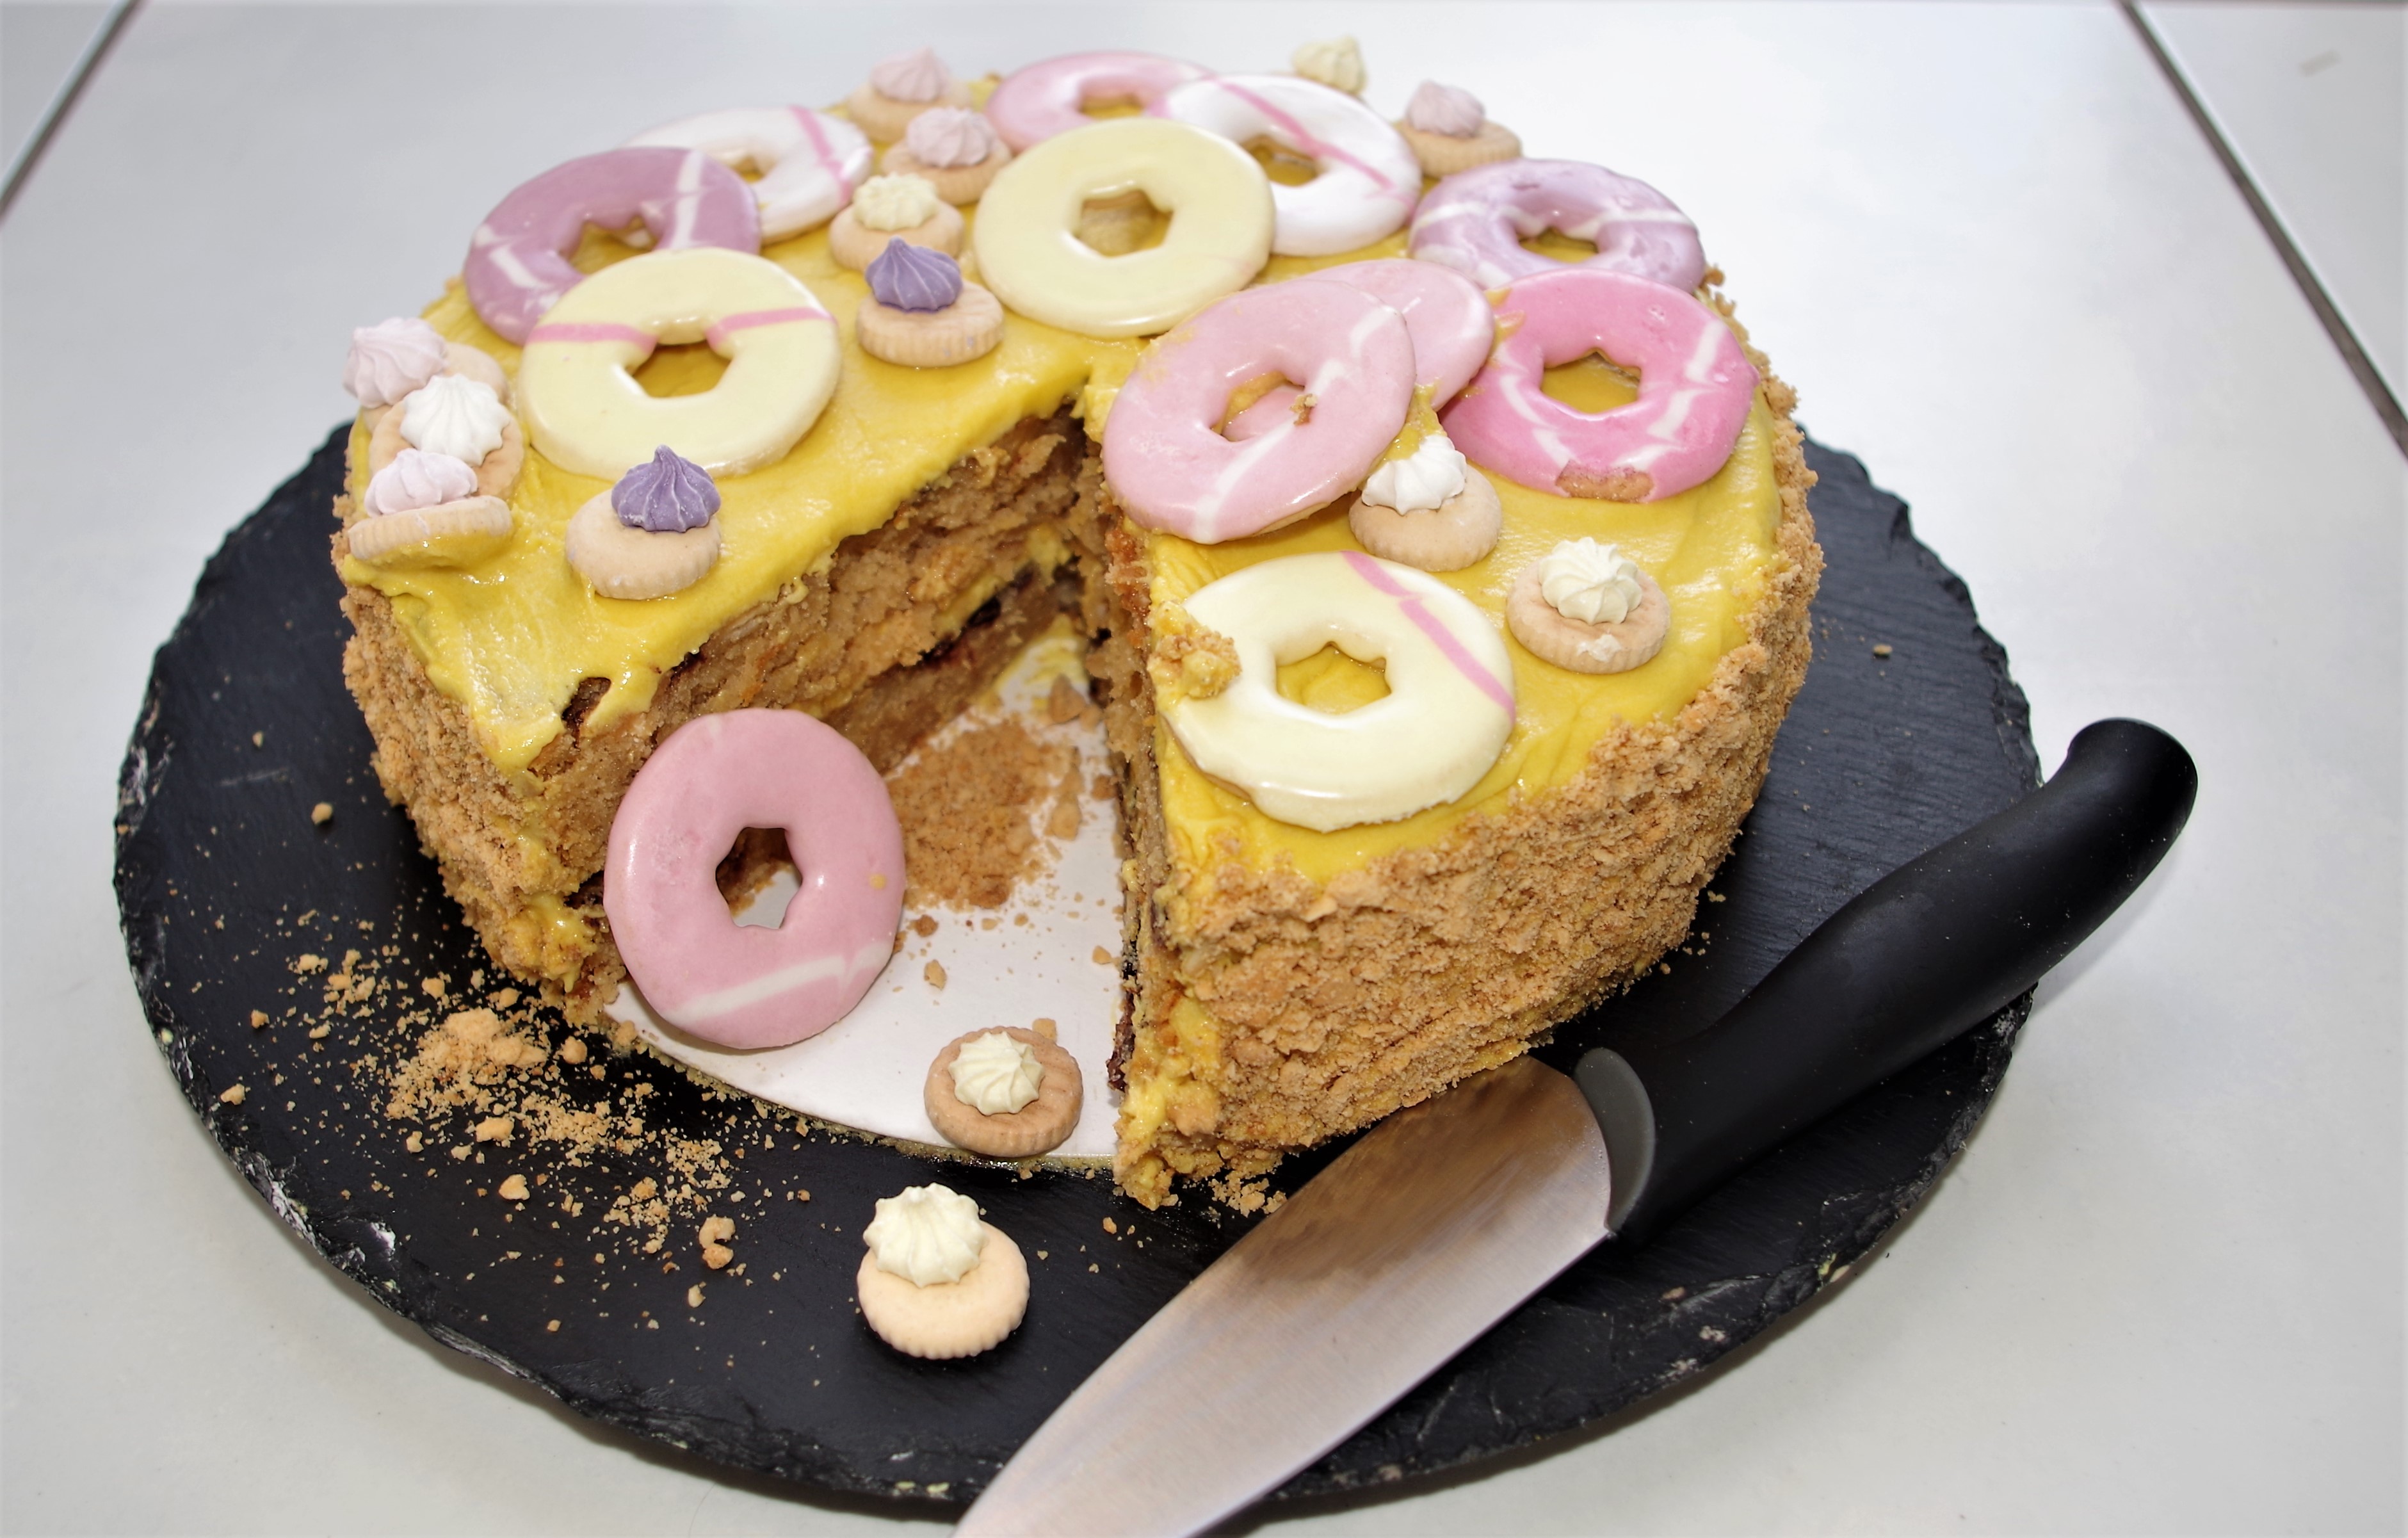
Here’s a cake that’s a feast for the eyes (and the stomach.) It’s also wonderfully retro. The “Bikkies”, (AKA biscuits) can be replaced by others of your choice, but I don’t know of many that are as attractive as these “Memory Lane” bites.

Serves: 12 – 15
Time: Around 1hr 45 min
Level: Quite straight-forward
Equipment: 2 x 20cm/8” round, loose-bottomed cake tins
Credits: This is my adaptation of a “Blondies Kitchen” recipe found via Sainsbury’s magazine. I’ve made a few small changes.
Ingredients
For the cake
- 250g/9oz unsalted butter
- 250g/9oz golden caster sugar
- pinch of salt
- 5 eggs
- 250g/9oz self-raising flour
- 100ml/3.5fl oz buttermilk
- 100g/3.5oz malted milk powder
- 200g/7oz chocolate chips (dark, milk or white, or a mixture)
For the filling/coating
- 125g/4.5oz unsalted butter, softened
- 125g/4.5oz full fat cream cheese (at room temperature)
- 500g/1lb 2oz icing sugar
- 100g/3.5oz malted milk powder
- 1 tsp vanilla extract
- 1 – 2 tbsp milk
- Food dye (Any suitable colour of your choice if using)
For the decoration
- About 10 – 12 biscuits, for “crumbing” the sides (malted milk are an obvious choice, but others also fine)
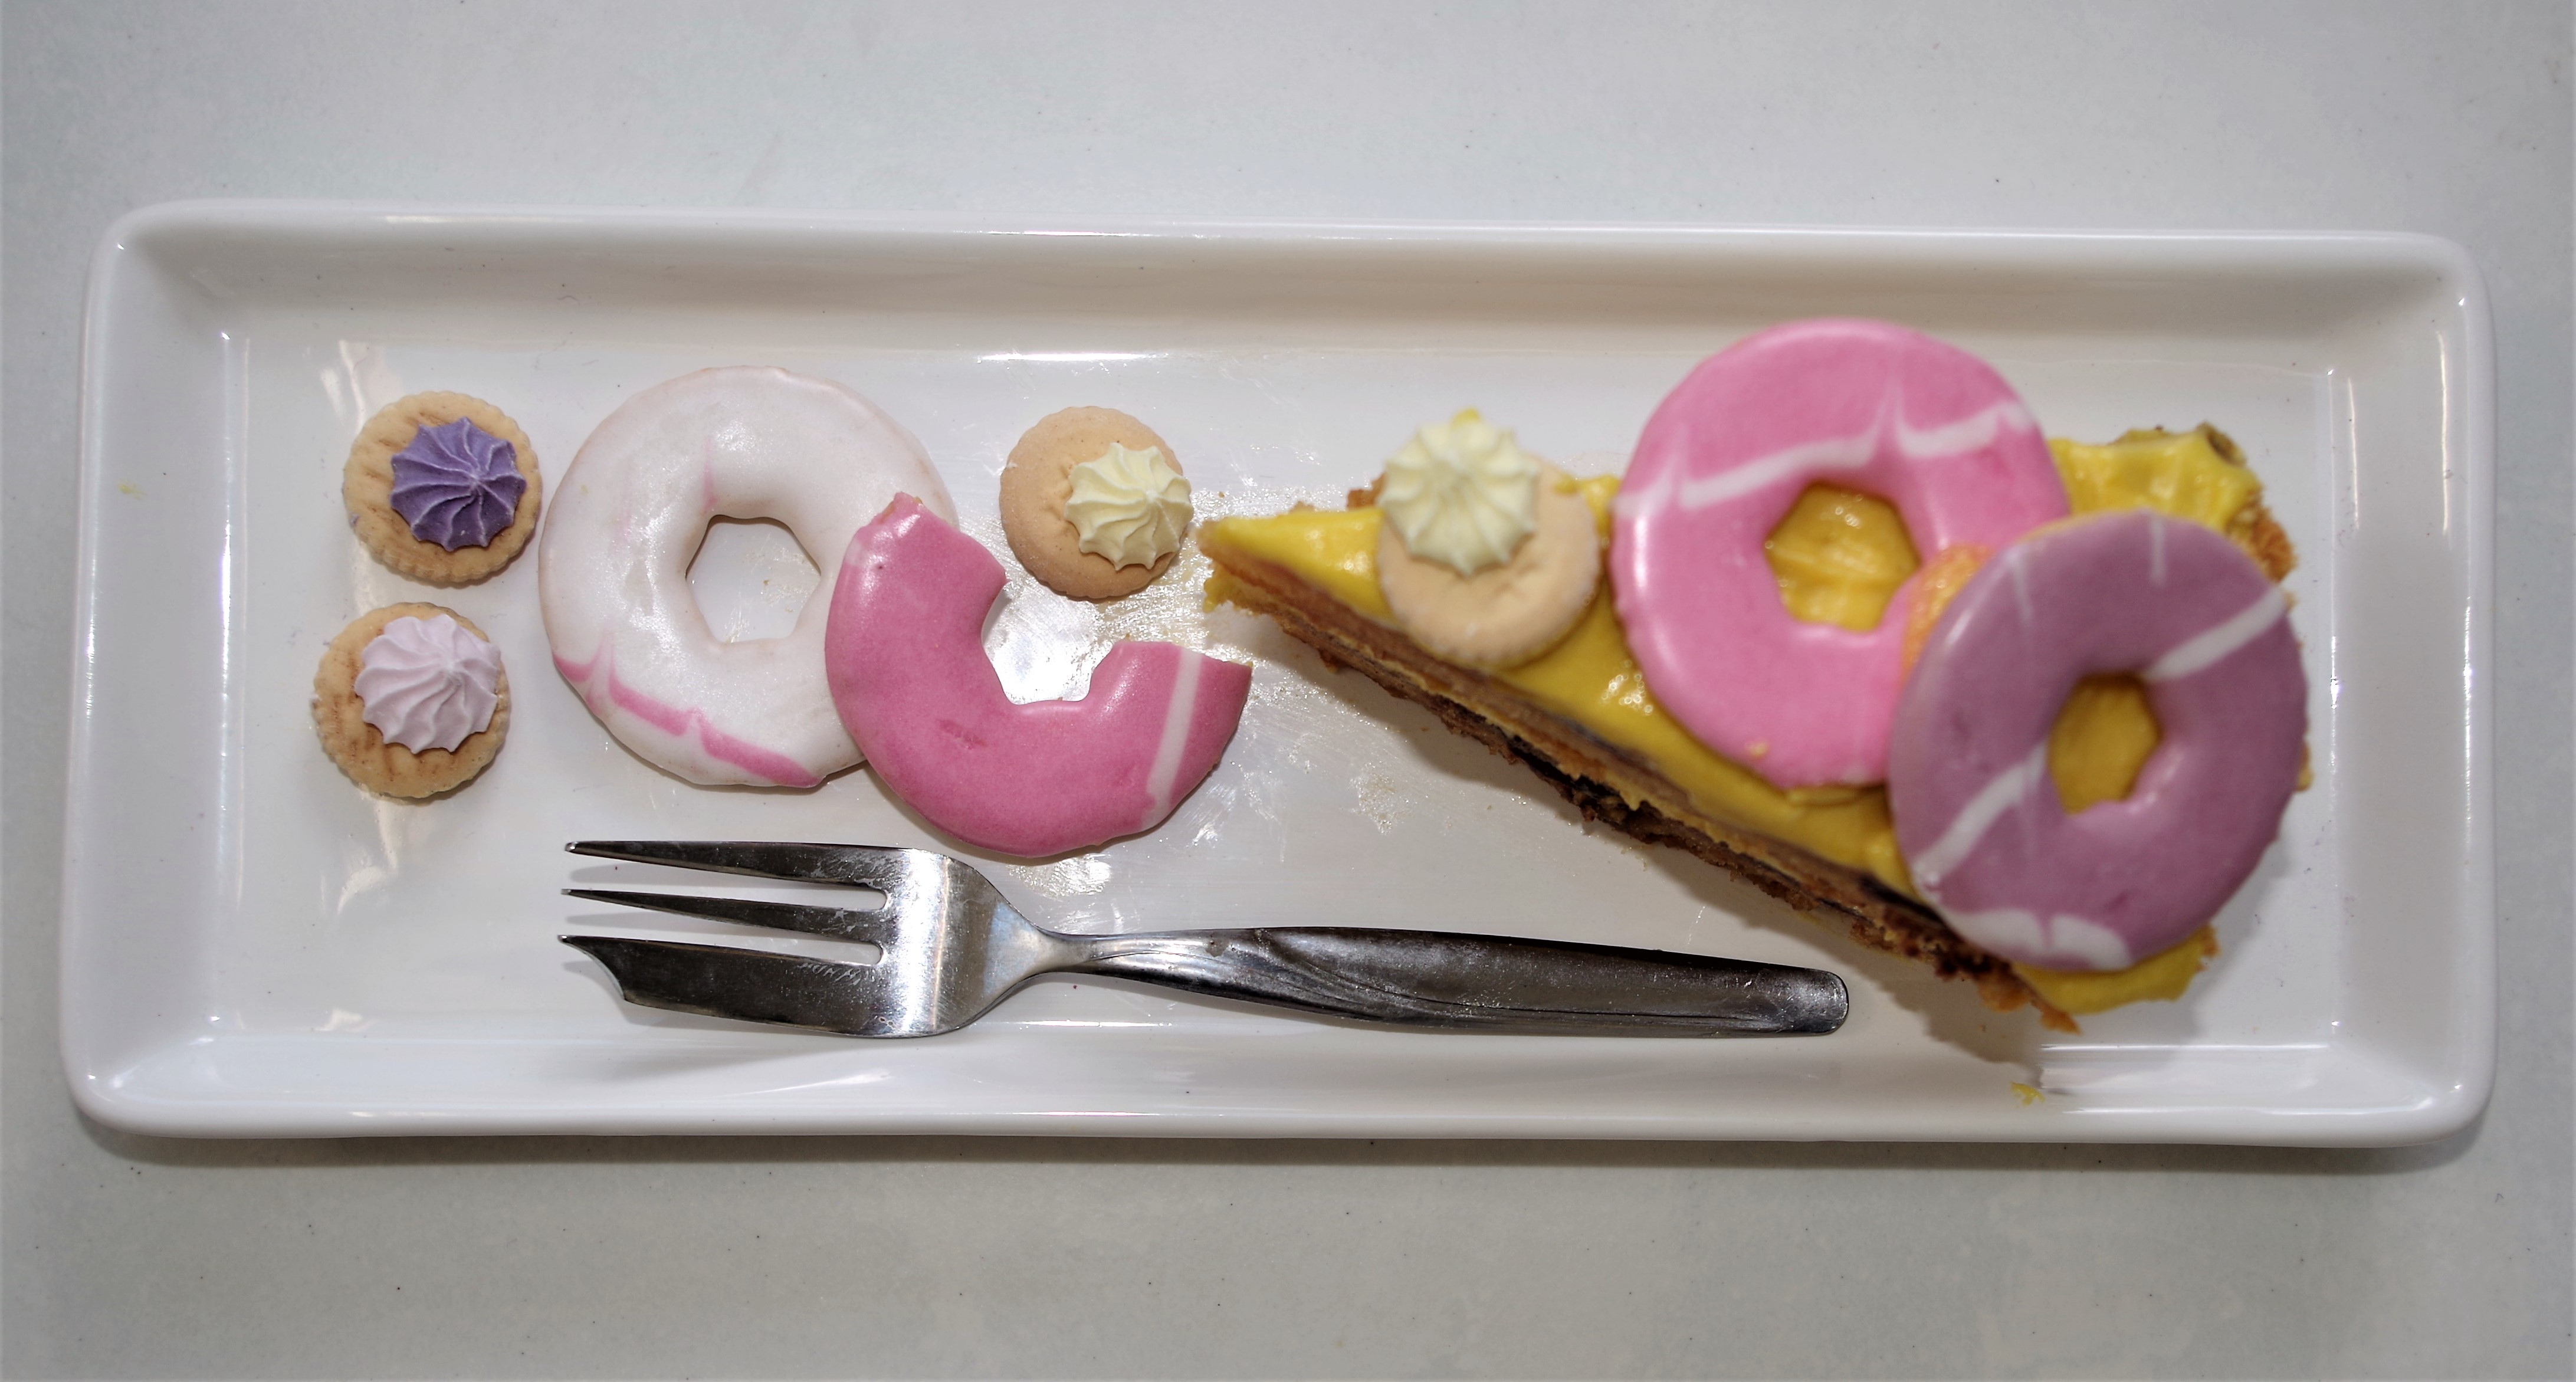
- A packet of party ring biscuits
- A few bags of mini iced gem biscuits
Method
1. Preheat oven to 180C/fan 160C/Gas 4. Grease and line the base of the two cake tins.
2. Beat the butter, sugar and salt together until pale and fluffy. Gradually, add the eggs, one at a time, until fully mixed in. Add in a tsp of flour with each egg to avoid curdling.
3. Beat in the buttermilk, then sift in the flour (minus the amount added earlier) and the malted milk powder. Beat briefly, until it’s all combined. Stir in the chocolate chips.
4. Divide the mixture equally between the two tins. (Weigh if necessary. It will be about 650g of mixture per tin.) Bake for 30 – 40 minutes, until well risen and pulling away from the inside of the tins, or use a skewer inserted in the middle. If comes out clean, the cake will be ready. Leave the cakes to cool in the tins for 10 minutes then turn out onto a wire rack to cool fully.
5. To make the filling/coating, beat the butter until smooth and creamy then add in the cream cheese and continue beating until well combined. Sift in half the icing sugar. Mix gently at first then beat more vigorously. Repeat with the rest of the icing sugar plus the malted milk powder, vanilla extract and half the milk. Beat until smooth. If it’s very thick add in the rest of the milk.
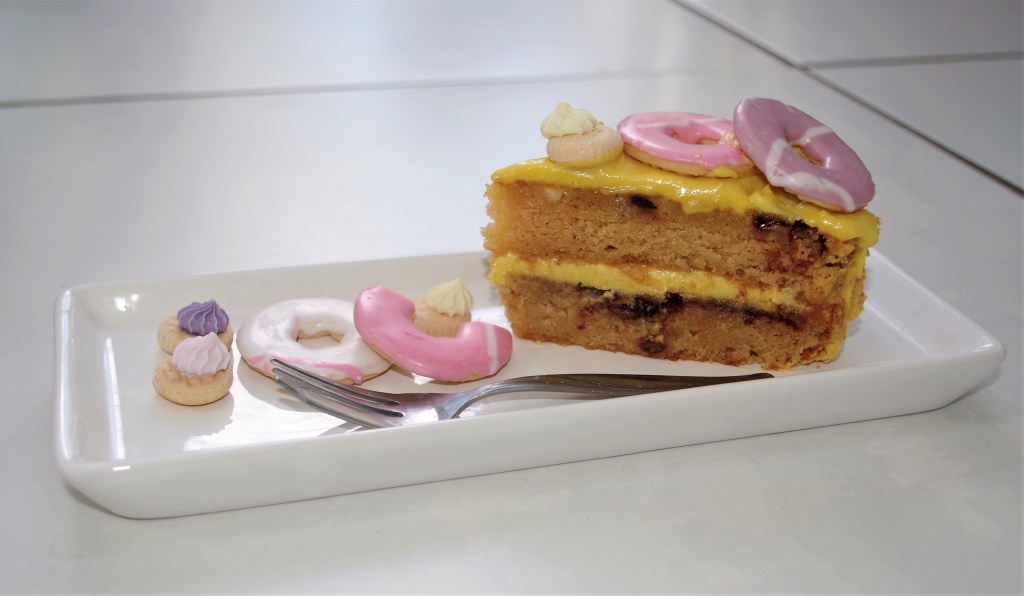
6. Use a little blob of the mixture to attach one of the cakes to a cake board and/or a rotating cake decorating unit. Sandwich the two sponges with a generous amount of the mixture, having selected the flattest surface to be uppermost. Don’t worry if any mixture “splurges” out the sides as the next step is to crumb coat the whole cake. Once that’s done, put it in a fridge for at least 30 minutes.
7. Meanwhile take the biscuits and either crush them with a rolling pin or, better still, whizz them in a food processor to create fine biscuit crumbs.
8. When the crumb coat is firm, take the cake from the fridge and apply a thicker second coat using a palette knife, crank-handled spatula or any similar chosen “tool”. Cover the sides by spooning the biscuit crumbs from the top edge downwards, pressing the mixture firmly but carefully into the coating.
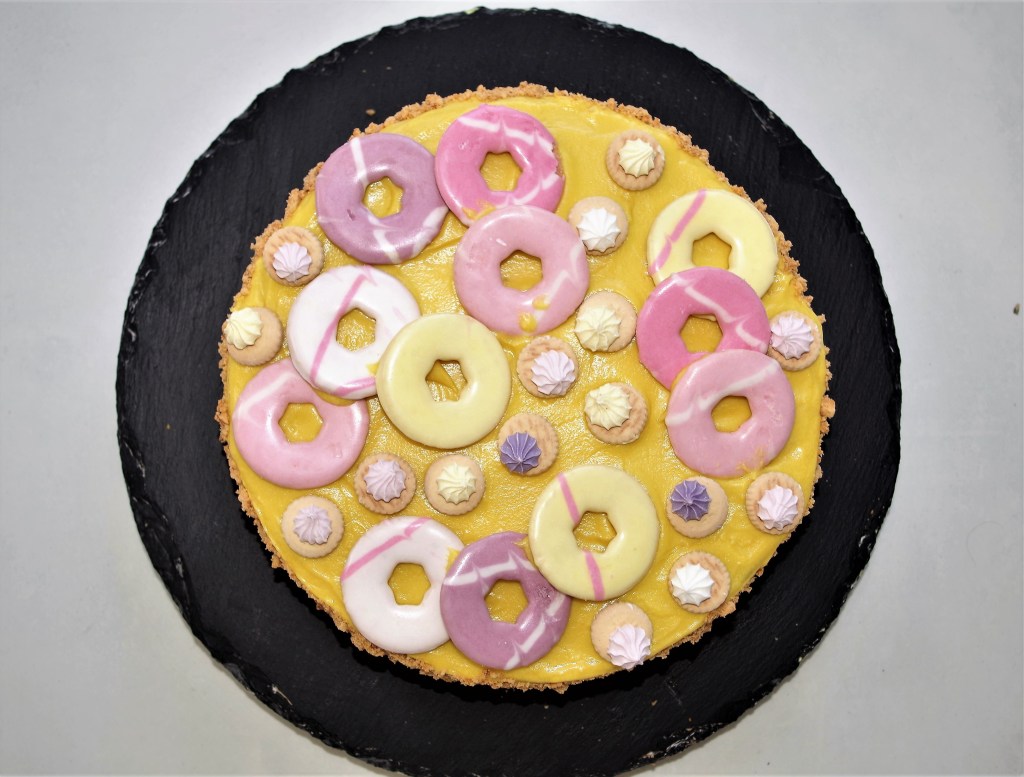
9. Decorate the top of the cake with your chosen biscuits*.
*Tip 1: use a 20cm cake board to lay out your biscuits in a pleasing design then simply transfer them to the actual cake.
*Tip 2: If your design has overlapping biscuits, use any remaining mixture to “glue” them together.