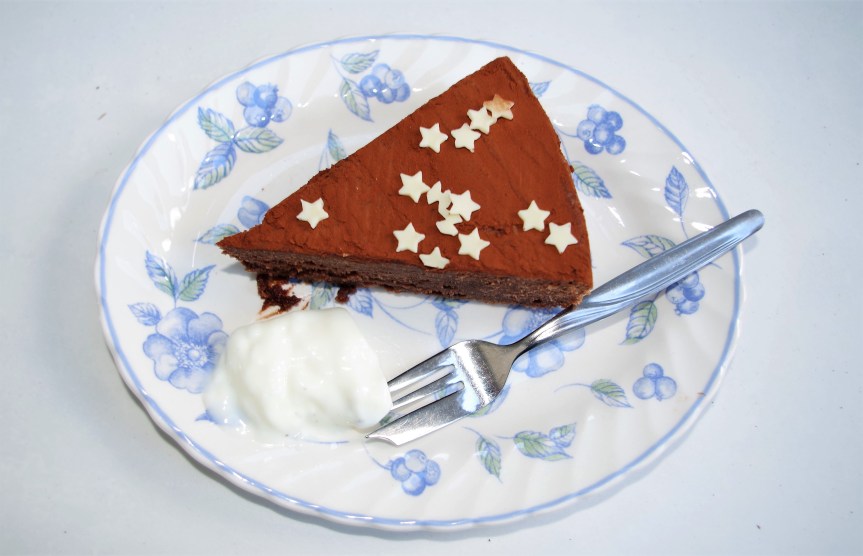
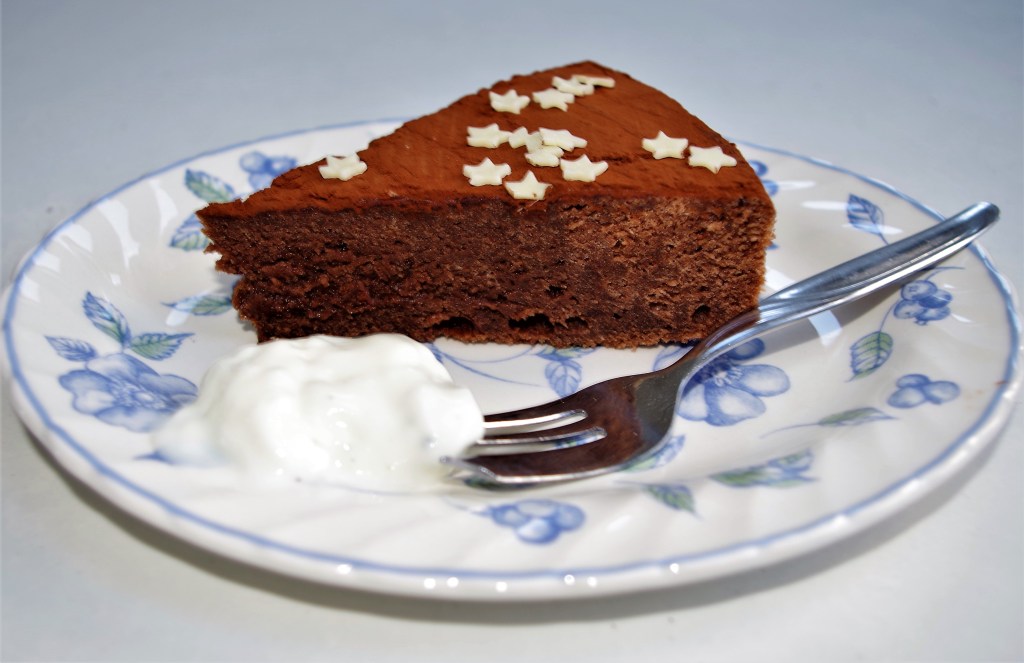
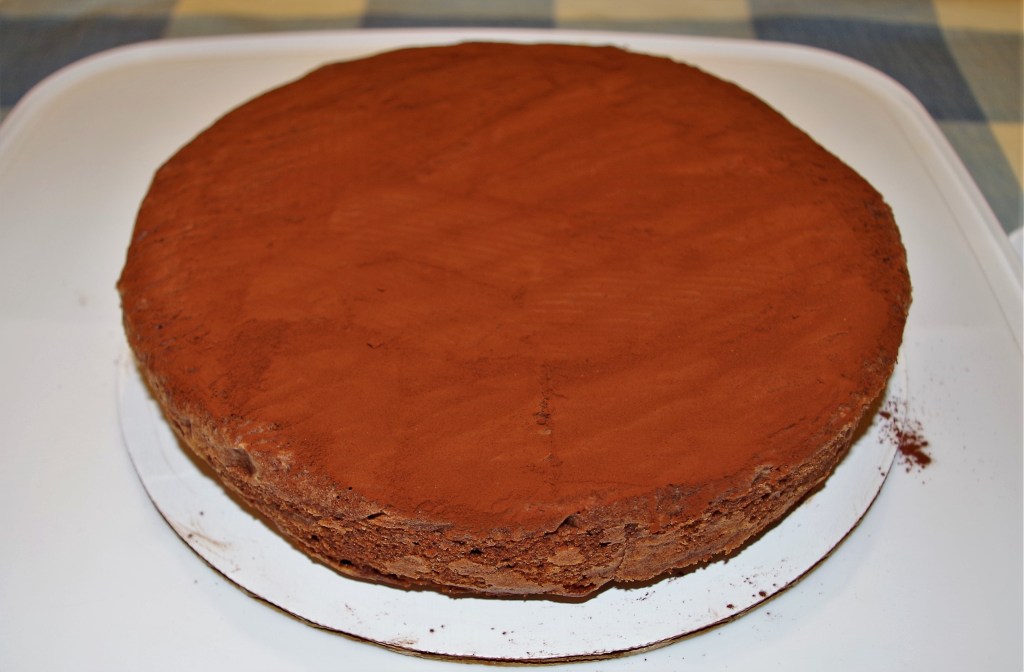
Will Shakespeare almost said, “a torte by any other name would taste as good”. This isn’t exactly a torte, but it certainly tastes good. I actually called it a butter cake because I drew my inspiration from the Brittany Butter Cake.

Makes: 10 – 12 slices
Time: Hands on 40 minutes + baking 35 minutes + cooling. 10 – 15 minutes to decorate.
Level: Easy
Equipment: A 20cm/8” round tin with a loose bottom
Ingredients
- 175g/6oz butter, softened + a little to butter the tin
- 4 eggs, separated
- 175g/6oz caster sugar
- 175g/6oz plain flour
- 25g/1oz cocoa powder + more for dusting (or/and use icing sugar)
- Pinch of salt
- 3 – 4 tbsp milk or buttermilk
- 1 tsp vanilla extract
- Sprinkles for decorating (optional)

Method
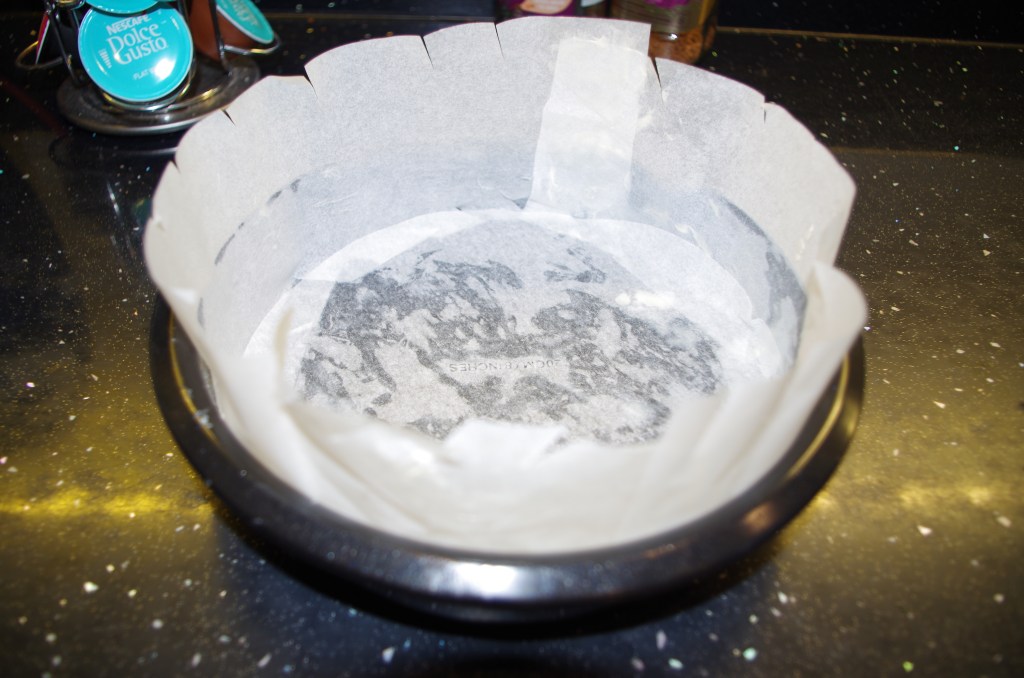
1. Butter the tin and line the base and sides with baking parchment. (Cut the sides so that they stand above the edge of the tin; the cake might rise quite high. Turn the oven on to 180°C / Fan 160°C / 350°F / Gas 4.
2. Separate the eggs, making sure the four whites go into a spotlessly clean bowl. (Glass or metal, not plastic)
3. In a large bowl, whisk the softened butter and sugar together until light and fluffy.
4. Sift the flour, cocoa powder and salt into another bowl.
5. Add the egg yolks into the butter/sugar mixture gradually, beating between each addition and adding a tsp of flour mixture each time. Stir in the milk/buttermilk and vanilla extract.
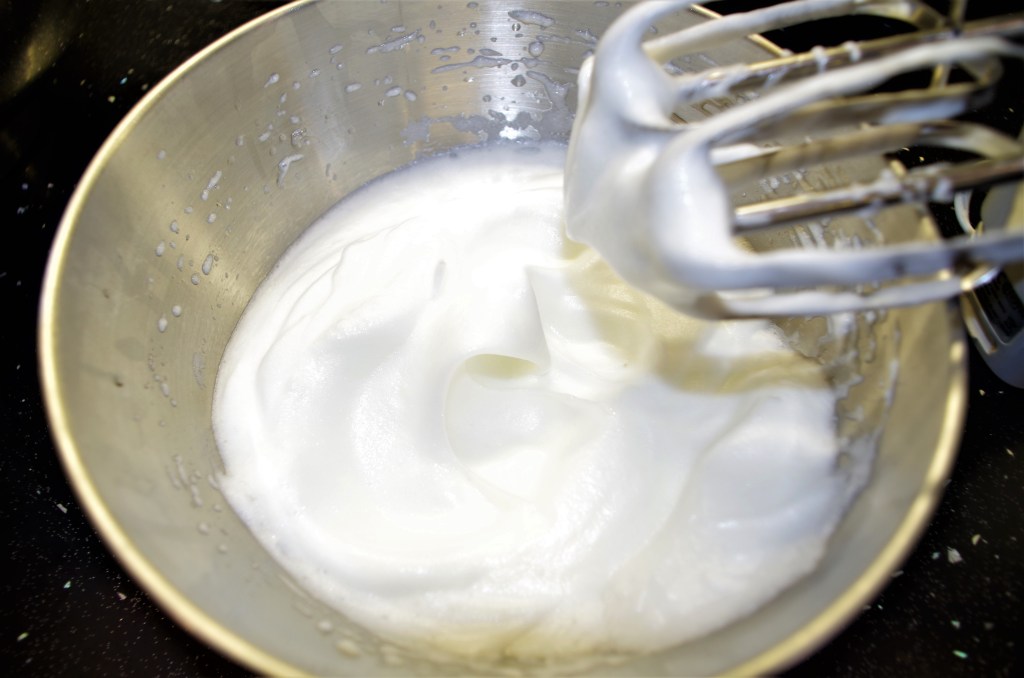
6. Whisk the egg whites until around soft peak stage.
7. Gently stir or fold the flour mixture into the main mixture until fully incorporated.
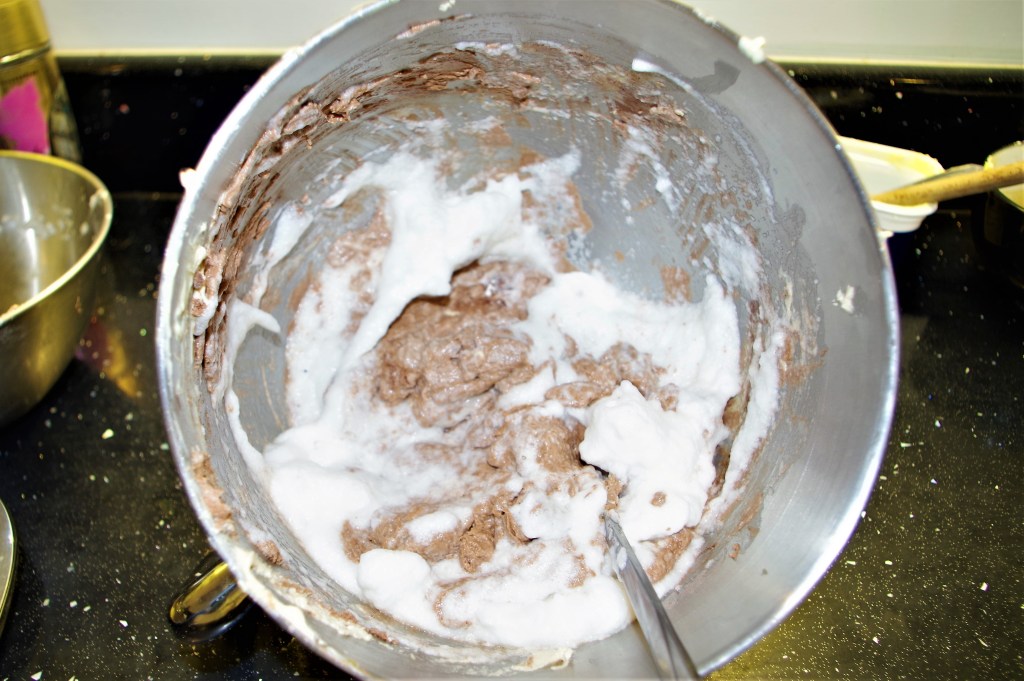
8. Loosen the mixture by adding about a quarter of the whisked whites, then fold in the rest using a large metal spoon or spatula.
9. Spoon the mixture into the prepared tin and level the surface.
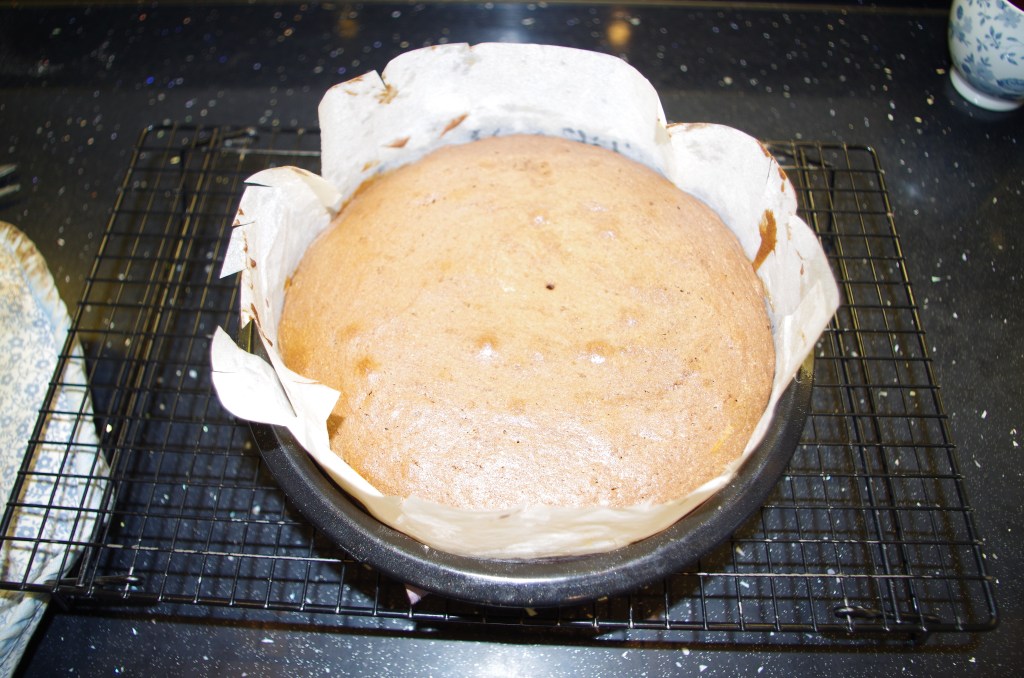
10. Bake for 30 – 35 minutes then test with a skewer. Once baked, leave in the tin for 5 – 10 minutes then turn out onto a wire rack to cool fully.
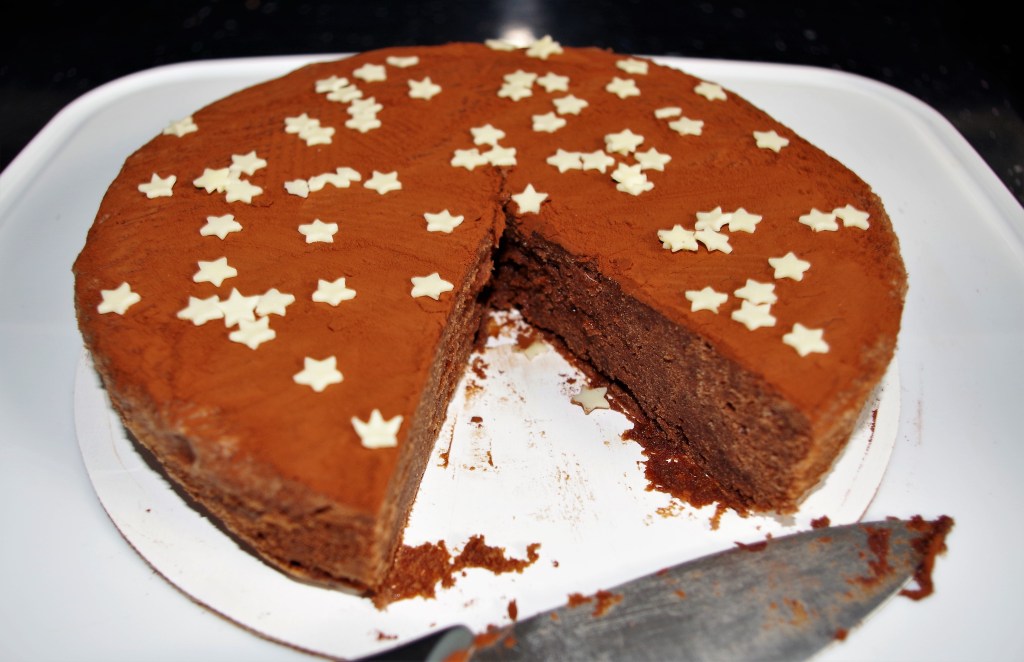
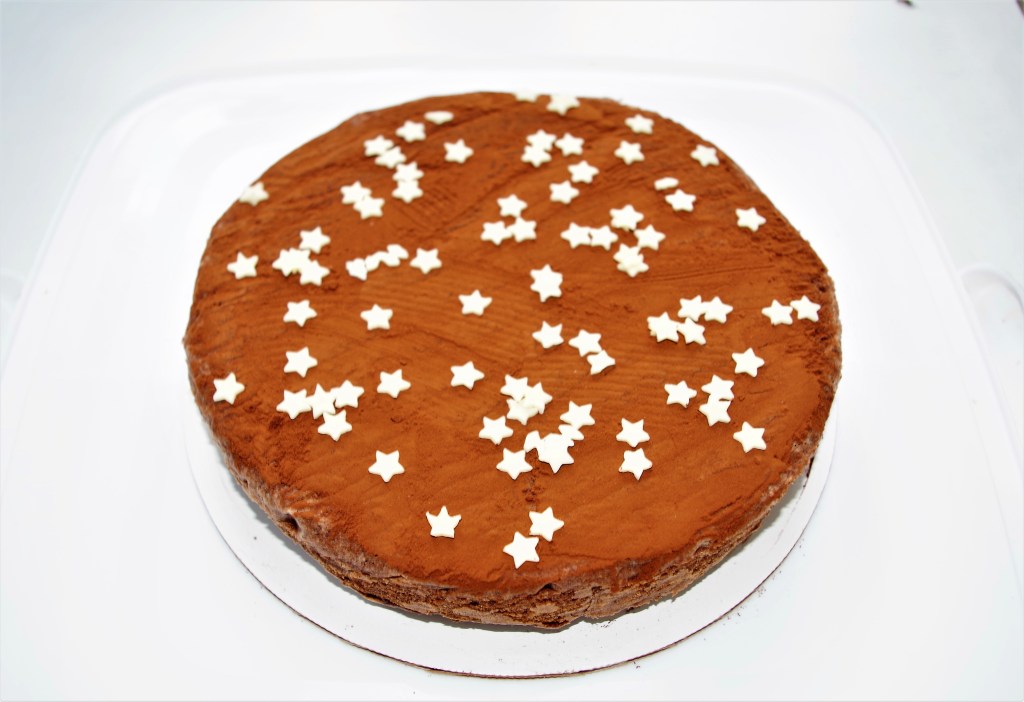
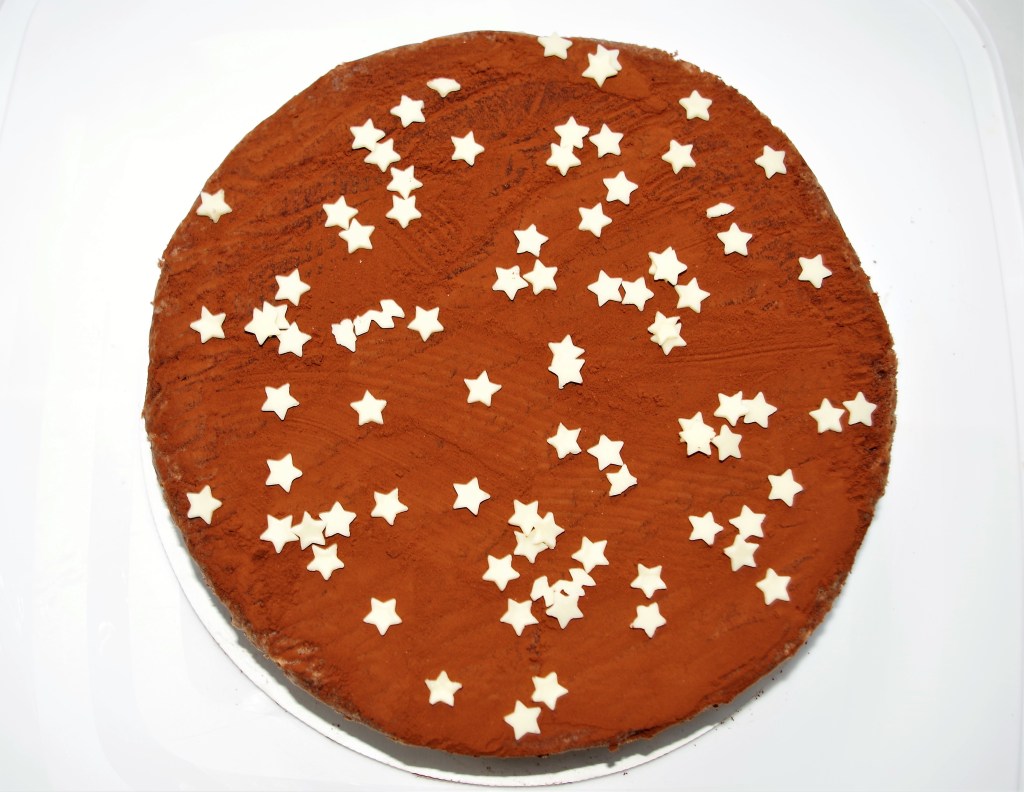
11. To decorate, I simply sprinkled and brushed cocoa powder over the cooled cake then added a few sprinkles.
12. Another decorating option that I tried was to lay a paper doilie over the cake and sprinkle cocoa powder or icing sugar into the gaps to create a pattern. However, I found the outline wasn’t as sharp as I’d hoped, so abandoned that idea. You might do better than me. If I attempt this again I think I’ll pin the doilie to the cake so it’s in closer contact and held more firmly.

I hope you make this cake and enjoy the process and the product – i.e. eating it. If you want to see more chocolate cake recipes then click here or for other cakes have a look here.