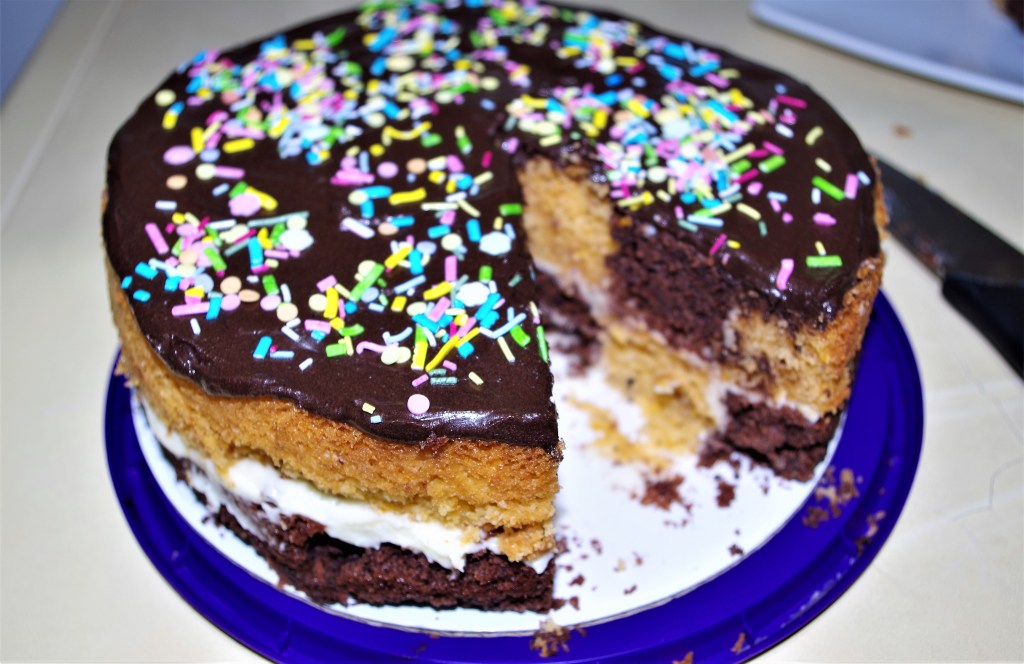
This tasty cake is impressive but quite easy to make. And for simplicity, you’ll love the “all-in-a-saucepan” method as shown below.

Makes: 10 – 12 slices
Time: Prep: less than 30 min. Baking: 35 min. + cooling. Cutting, filling & decorating: 25 – 30 min.
Level: Easy
Need: A large saucepan, 2 x 20cm/8” loose bottomed round cake tins
Cake Ingredients
- 215g/7½oz unsalted butter
- 200g/7oz caster sugar
- 3 eggs
- 200g/7oz SR flour
- 1 tsp baking powder
- A pinch of salt
- 15g/½oz cocoa powder dissolved in 25ml/1fl oz warm milk
- 1 tsp vanilla extract
- 100g/3½oz dark chocolate, chopped
- 1 orange – zest + 25ml/1fl oz juice
- A few drops of orange extract/flavouring (optional)
- Orange food colouring
Filling/topping ingredients
- 50g/1¾oz – 75g/2½oz butter, softened
- 50g/1¾oz – 75g/2½oz full fat cream cheese, also softened
- 1 tsp vanilla extract
- 150g/5½oz – 200g/7oz icing sugar
- 10ml/¼fl oz hot water
Method
1. Melt butter in a large saucepan on a low heat.
2. Butter & line the base of the tins. Turn the oven on to 180°C / Fan 160°C / 350°F / Gas 4.
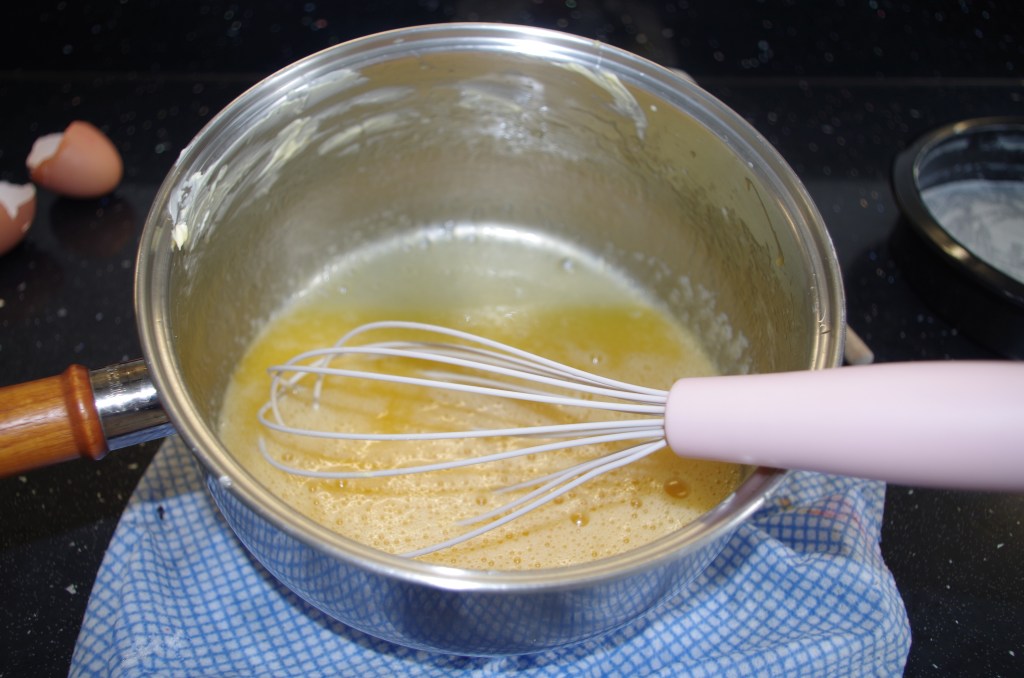
3. Take the saucepan off the heat and add sugar into the melted butter then mix to a paste. Allow it to cool a little.
4. Add in eggs one at a time and whisk. (You can use an electric whisk, but a hand whisk is fine.)
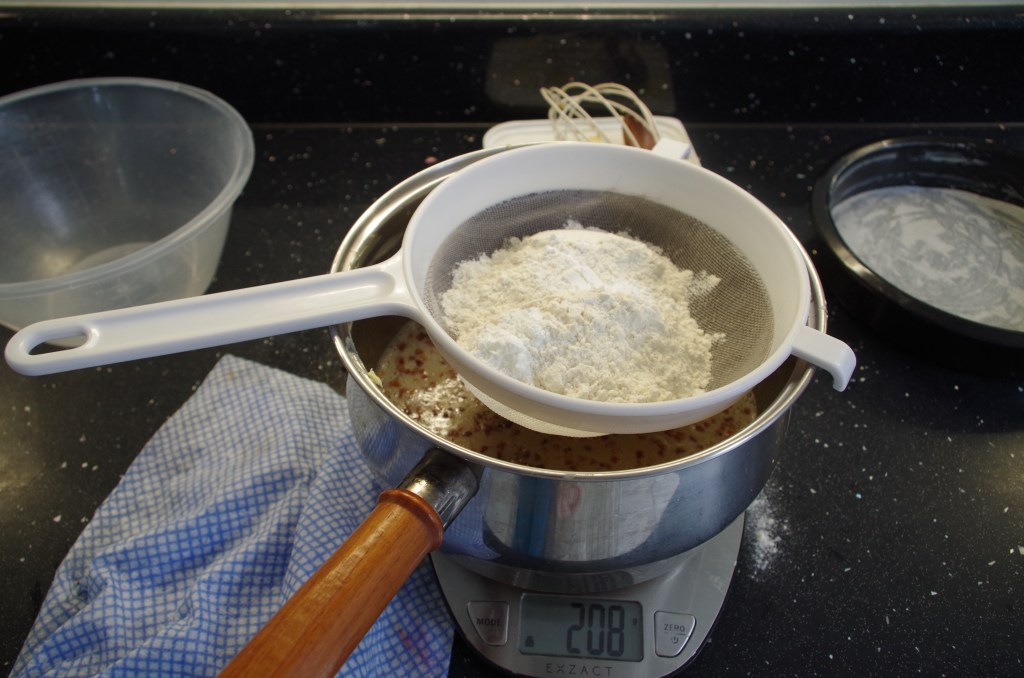
5. Sift in the self-raising flour, baking powder and salt then mix well.
6. Divide the mixture equally into two bowls.
7. Into the first bowl, add the cocoa powder mixture, the vanilla extract and half the chocolate pieces. Stir well, making sure the cocoa powder hasn’t “clumped” together.
8. Into the second bowl, add the orange zest, juice and flavouring (if using) plus the rest of the chocolate pieces. Stir well. Stir in enough orange food colouring to create the colour you want. (The photos show that mine was a little pale; next time I’ll be braver and squeeze more in.)
9. Pour each mixture into a tin and bake for around 33 – 36 minutes. Check by inserting a skewer into the centre. The cake has baked if it comes out clean and dry.
8. Leave in the tins for 10 min then turn out onto a wire rack to cool fully.
9. Meanwhile, beat together the butter and cream cheese. Stir in the vanilla then sift in the icing sugar. Stir gently at first to incorporate then add in a little of the hot water and beat more vigorously, adding more water only if necessary. Whisk or beat until smooth, creamy and lump free.
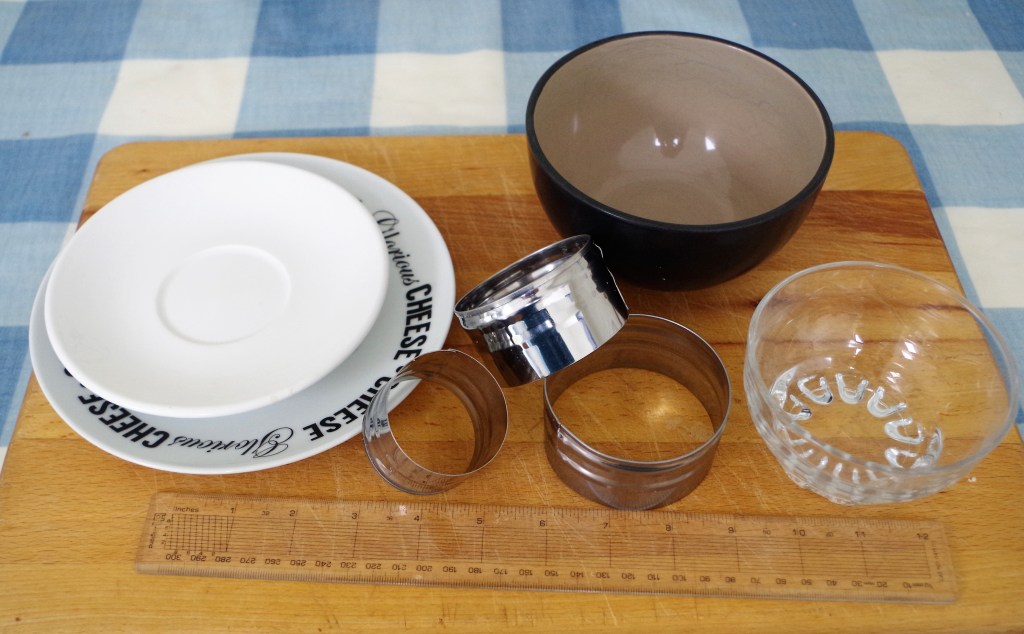
10. When the cakes have cooled completely they can be cut into rings. If you have metal rings of appropriate size that’s fine, but circular plates or bowls are also OK as long as you cut neatly and vertically round them. You need to create two rings and a small solid inner circle. Try to make the rings equal in width, with the solid middle double the width. That should give you equal squares when the cake is cut.
11. Place the six pieces on your work surface or wire racks. If possible use a large cake lifter as the rings could easily break. (If they do, don’t panic, the butter cream filling is a good glue.) Smear the inside of the large chocolate ring with a little butter cream and place the orange middle ring inside. Next, use a little more butter cream to glue in the chocolate centre piece. Repeat this procedure with the top layer, which will be Orange-chocolate-orange. Use more butter cream to attach the two layers.
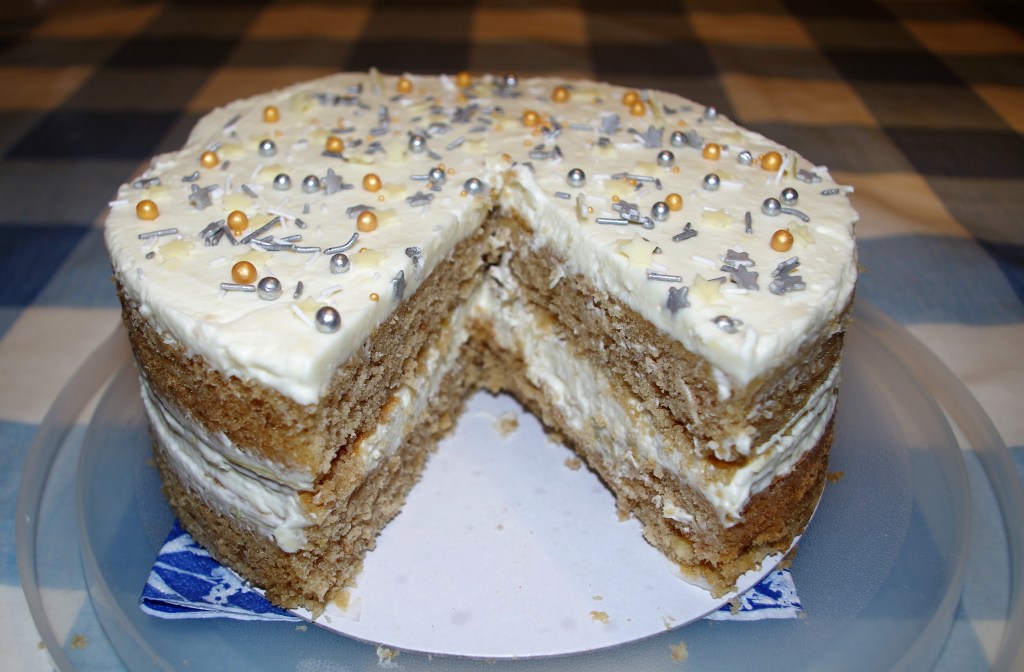
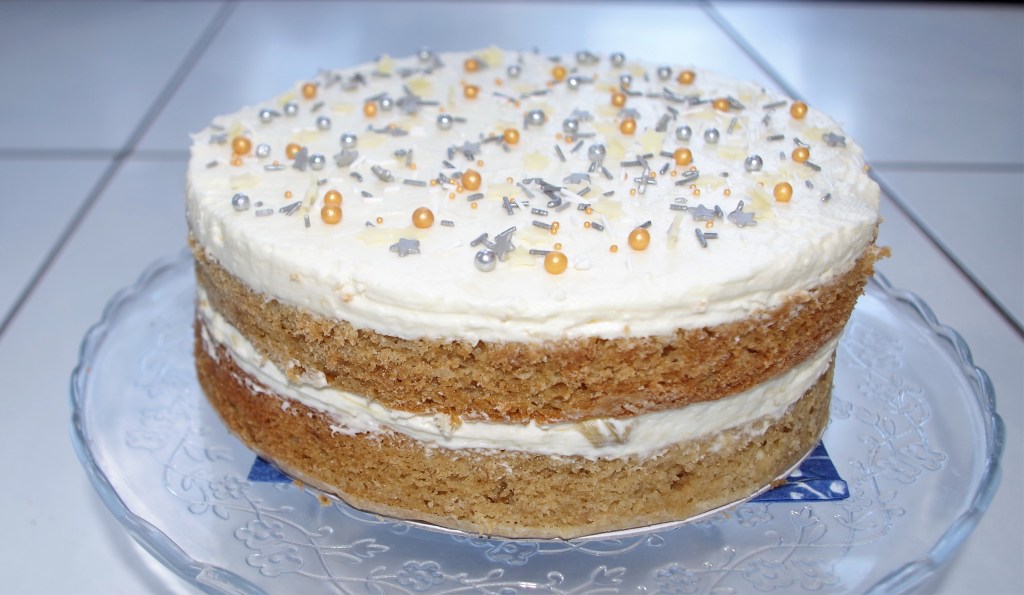
12. Depending on how much butter cream you have left you could cover the top of the cake with it or create a ganache and add sprinkles etcetera.
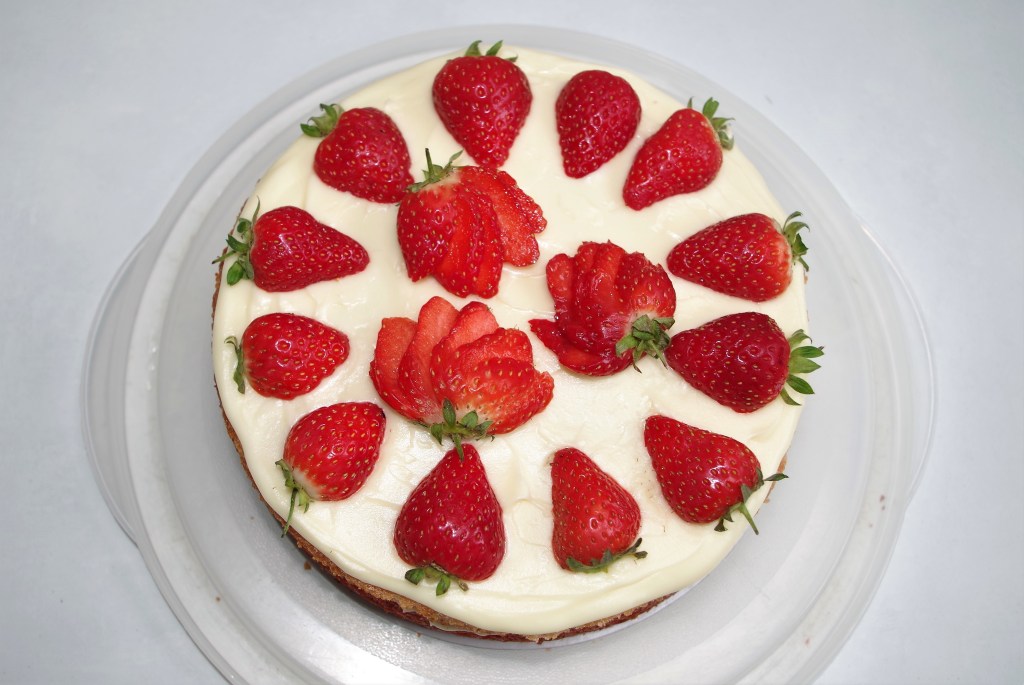
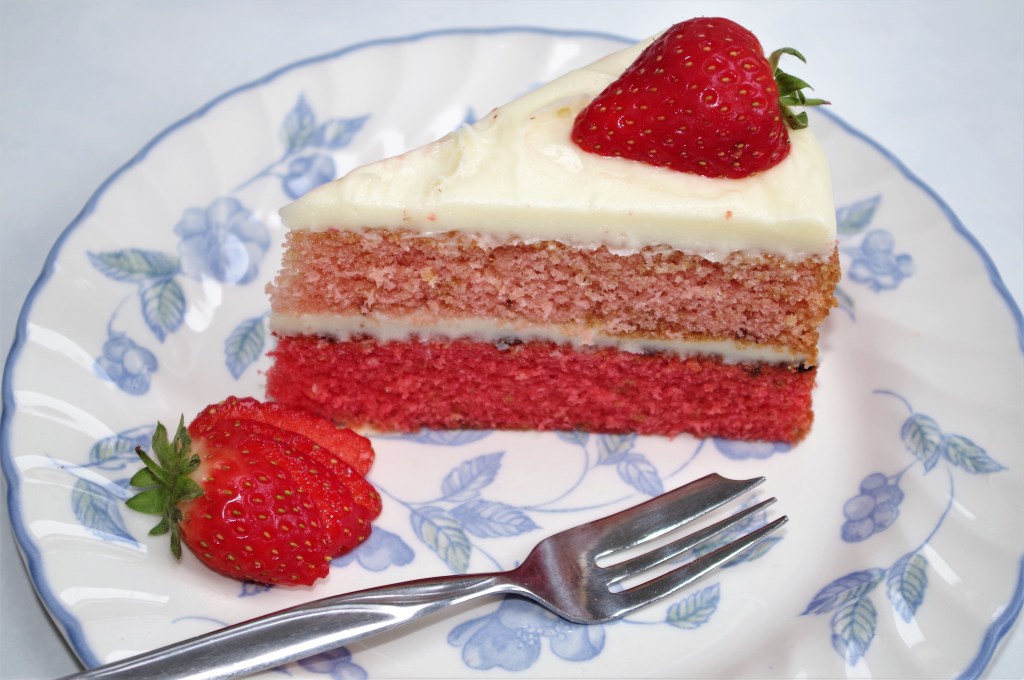
Gallery


I hope you enjoy this lovely cake. If you want more cake recipes click this link, or have a look at my site for lots of other great recipes, both sweet and savoury.
Here are three of my current favourites that you might also want to try:
Rhubarb, Almond and White Chocolate Cake


To make a comment or ask a question, please go to the contact page.
