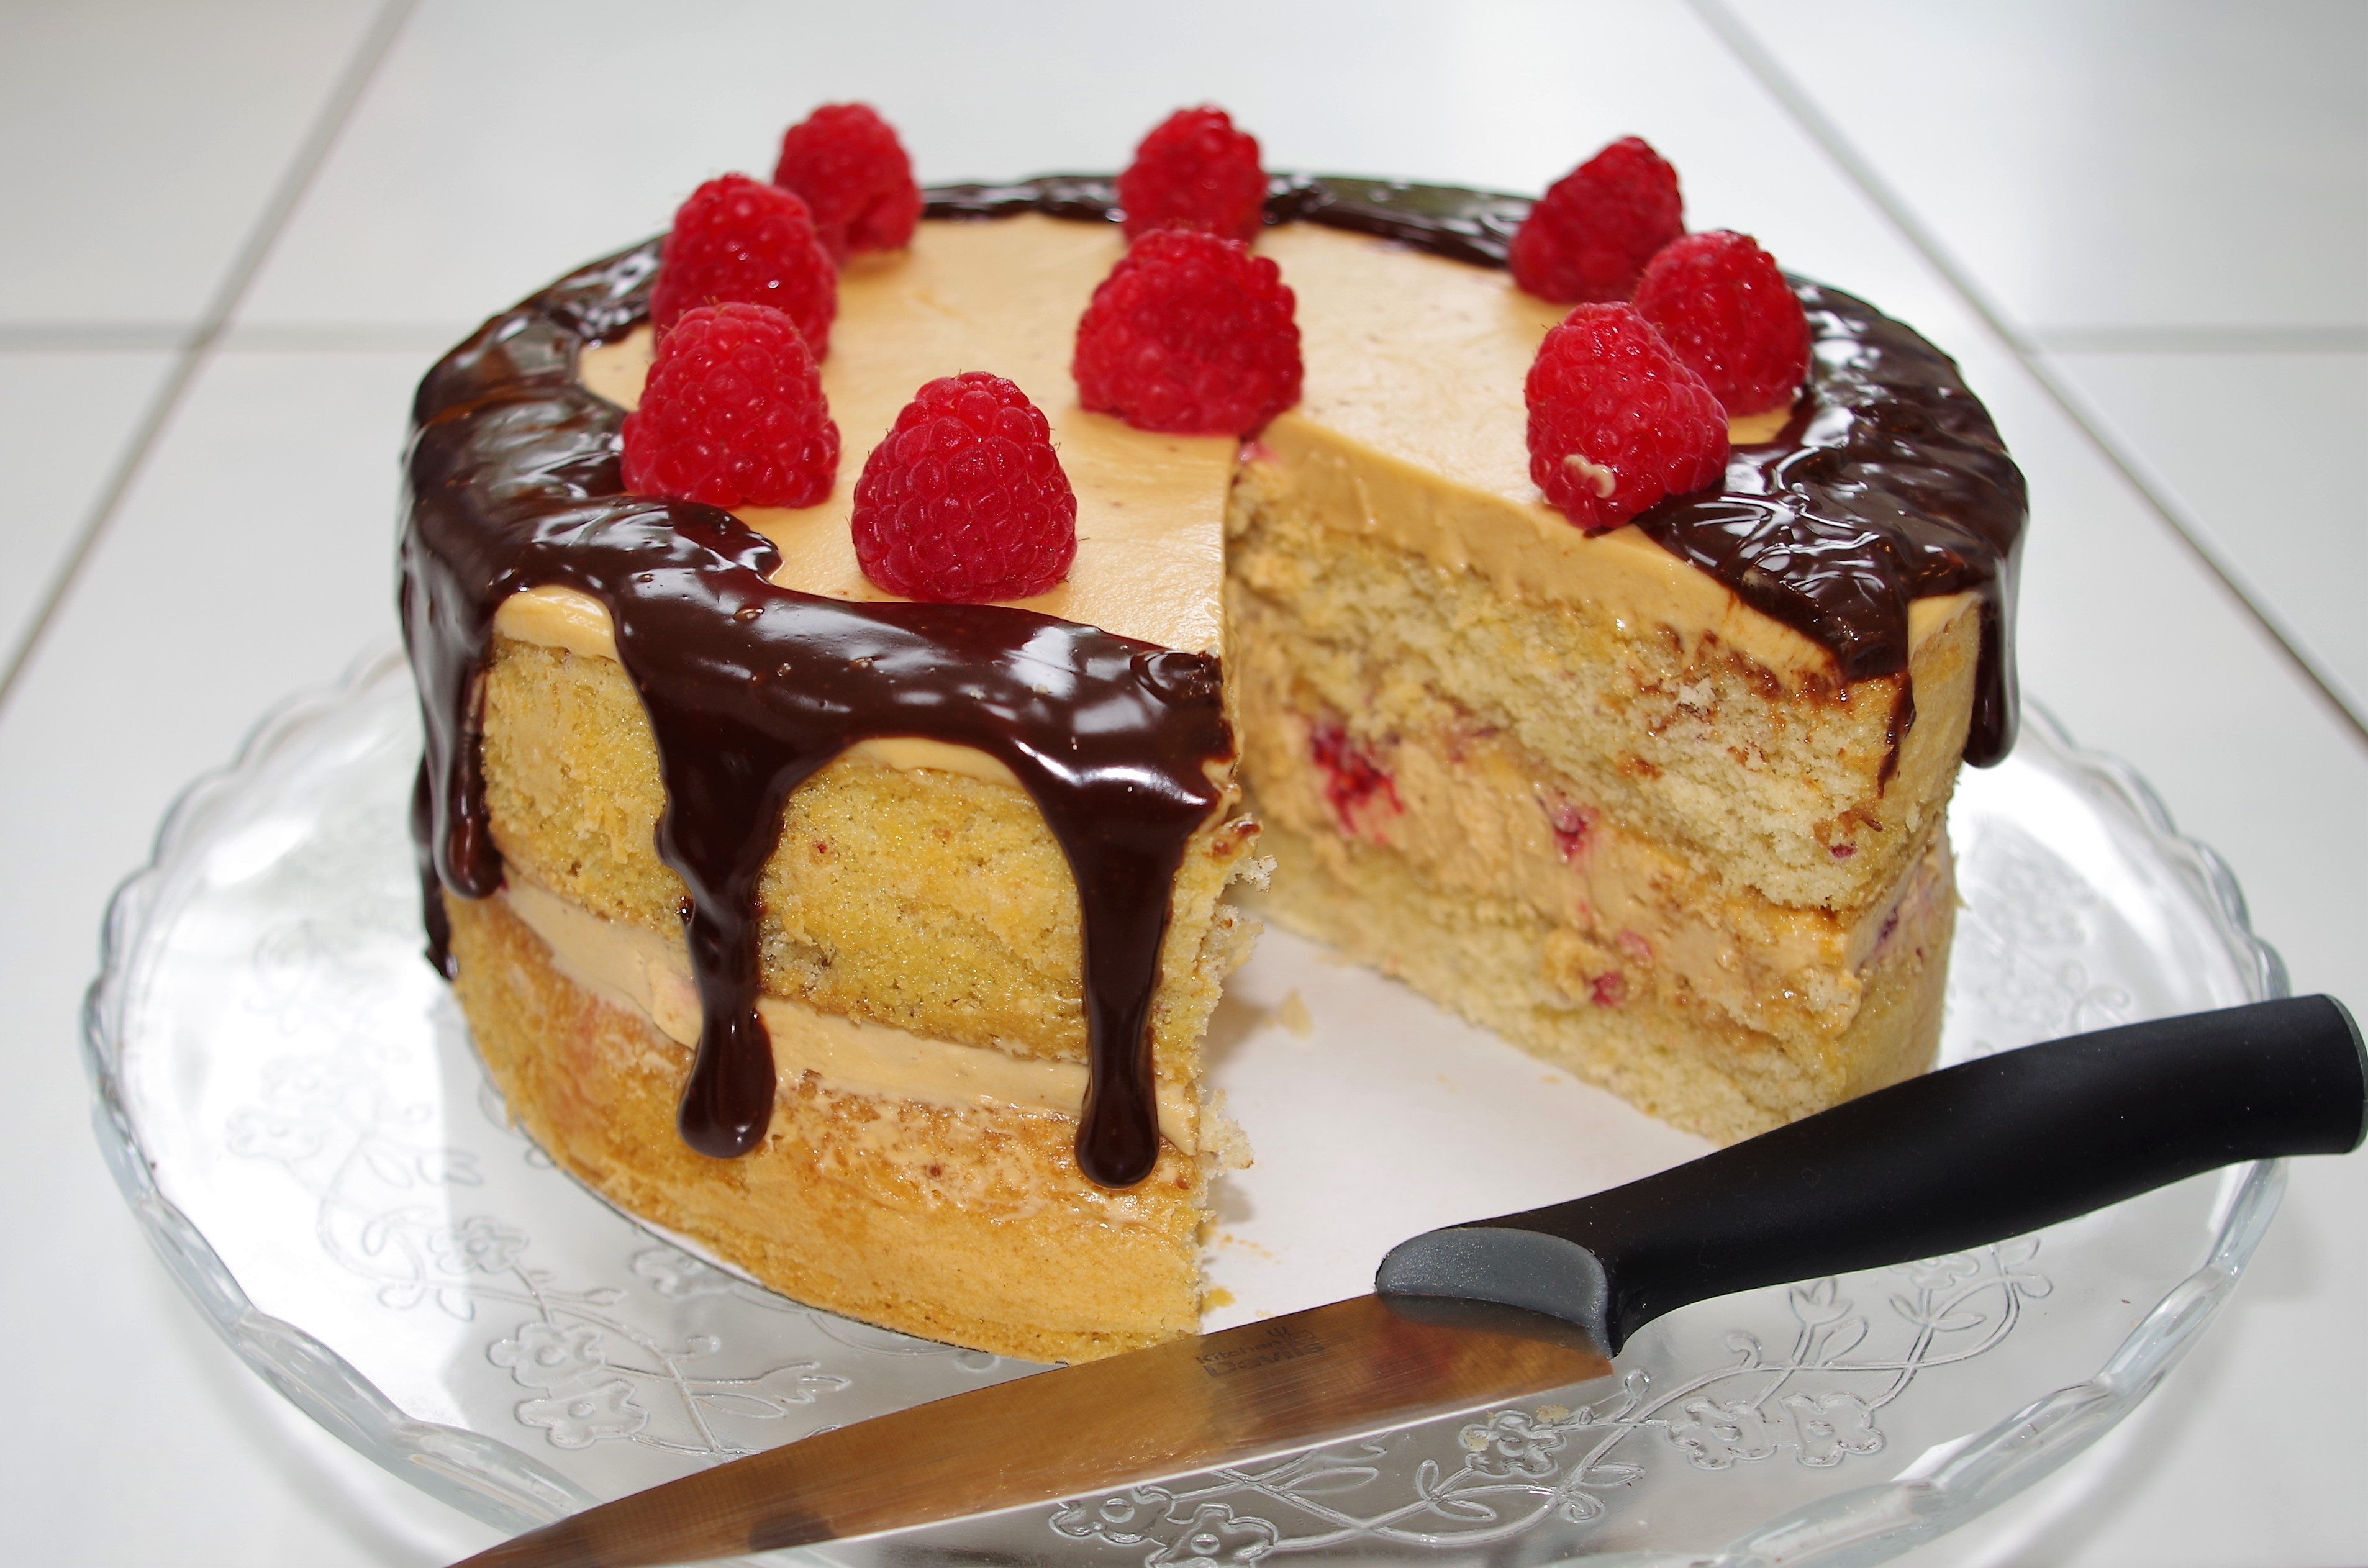
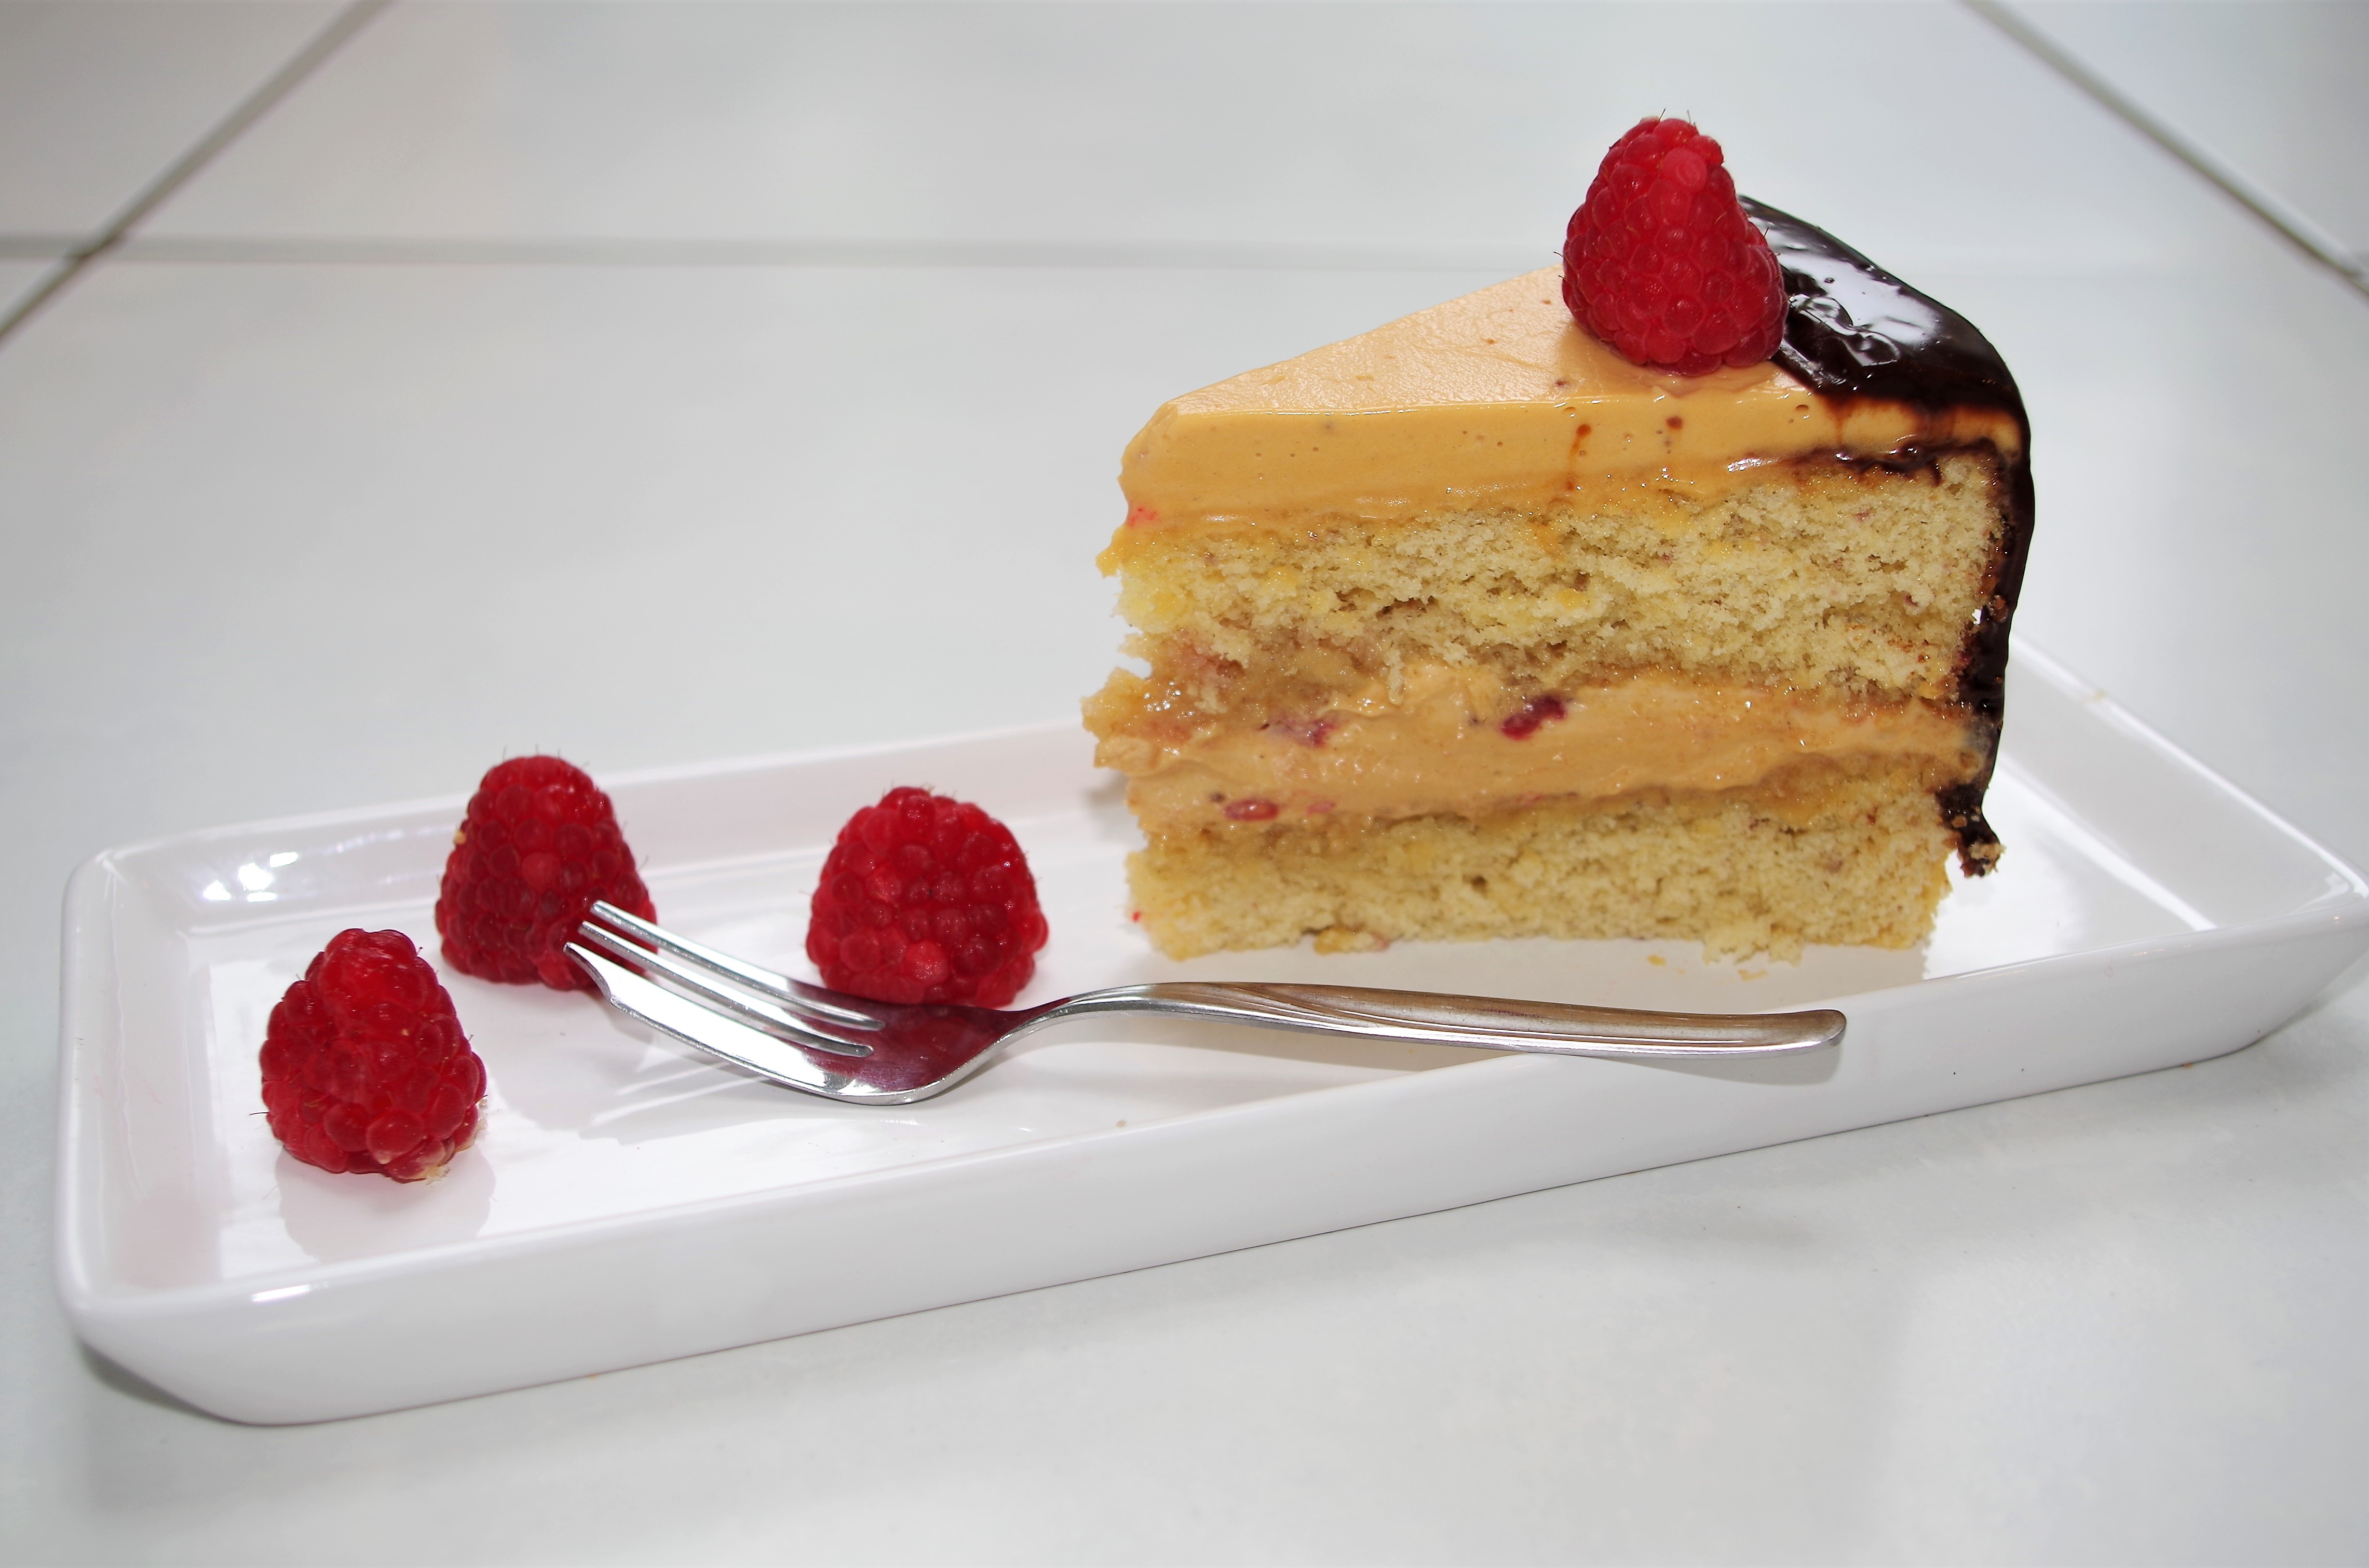
Here we have soft, delicate sponges with a sumptuous filling and topping. Add to that the mild sharpness of fresh raspberries and a dense chocolate ganache. It’s got to be a winner.
Makes: 12 – 15 slices
Time: 60 – 90 min. for caramelising; 60 min. for other prep; 30 min. baking; 30 min. “fridge” time
Level: Moderate
Equipment: 2 x 20cm/8” loose bottomed round tins
Calories: Approx. 4,600 total. 383 per slice (of 12), 306 per slice (of 15)
Credits: Adapted from a recipe by Martha Collison in her excellent book, “Crave”
Ingredients
For the caramelised White Chocolate*
- 200g/7oz good quality white chocolate, broken into small pieces
For the sponges
- 50g/1.75oz butter + some to grease the tins
- 6 eggs
- 200g/7oz golden caster sugar
- 200g/7oz plain flour
- ½ tsp baking powder
- ½ tsp freeze dried raspberries
- ½ tsp raspberry flavour (optional)
Filling and topping
- 200g/7oz full fat cream cheese
- 125g/4.5oz softened butter
- 150g/5.5oz icing sugar
- 100g/3.5oz caramelised white chocolate, melted
- 25ml/1fl oz double cream
- 100g/3.5oz fresh raspberries, quartered
- 100g/3.5oz fresh raspberries, whole or halved
For the ganache
- 50ml/1.75fl oz double cream (or 60ml if adding dark chocolate)
- 85g/3oz – 100g/3.5oz caramelised white chocolate
- 50g/1.75oz dark chocolate (this is optional, use it if you want a ganache with contrasting colour.)
* Caramelised white chocolate is a flavour to treat your taste buds, but if you want to skip this process you might achieve a similar result by melting 200g of Galaxy chocolate, or – if you can find it in the shops – 200g of Caramac.
Method
1. To caramelise the white chocolate, heat the oven to 140C / Fan 120C / 275F / Gas 1. Put the chocolate pieces on a non-stick baking tray and bake for 10 minutes.
2. Stir the chocolate and return to the oven. Repeat this procedure for about an hour, stirring the chocolate every 15 minutes. The chocolate will change texture and colour, possibly even appearing lumpy or grainy, but that’s OK. As it caramelises it will become smoother. When it’s golden brown and smells caramel-like it should be ready. Remove from the oven and pour the caramelised chocolate into a heat proof bowl and leave to cool. (If it’s too thick to pour, don’t worry, it will still mix in later.)
3. To make the sponges, turn the oven up to 180C/Fan 160/Gas 4. Line the base of the two cake tins with baking paper and grease the sides with butter.
4. In a small saucepan, melt the butter for the sponges. Continue to cook the butter over a medium heat until it starts to foam and smell nutty then remove from the heat. (Don’t worry if some parts have gone a little brown.)
5. Put the eggs and sugar in a large bowl and whisk until tripled in volume (about 10 minutes with an electric mixer).
6. When the mixture is very pale and thick enough to hold a trail, carefully sift the flour and baking powder over it, then gently fold them in using a large metal spoon or spatula. Take care not to knock out the air. Scrape the bottom to ensure all the flour has been fully mixed in.
7. Drizzle all the browned sugar down the edges of the bowl and stir in gently until fully incorporated. Also stir in the freeze dried raspberries and raspberry flavouring (if using). Divide the mixture equally into the two tins.
8. Bake the sponges for 25 – 30 minutes, until golden and shrinking away from the sides of the tins. Remove from the oven and leave in the tins to cool for 10 minutes then turn out onto a wire rack to cool fully.
9. For the filling, whisk the butter and cream cheese together then sift in the icing sugar and beat well.
10. Stir in half of the cooled caramelised white chocolate and the double cream then whisk for a few minutes. (If the caramelised chocolate has solidified, give it a few short blasts in the micro-wave, stirring well after each time, or loosen it on a bain marie.)
11. Put one of the cakes on a turntable and cover it with half the filling mixture. Dot it with the quartered raspberries, pushing them in to keep the surface flat then secure the second cake on top. Fill in any small gaps around the side with a little of the remaining mixture then put the cake in the fridge for 30 minutes at least.
12. Once out of the fridge, cover the top with the remaining mixture. If necessary, return to the fridge for 30 minutes.
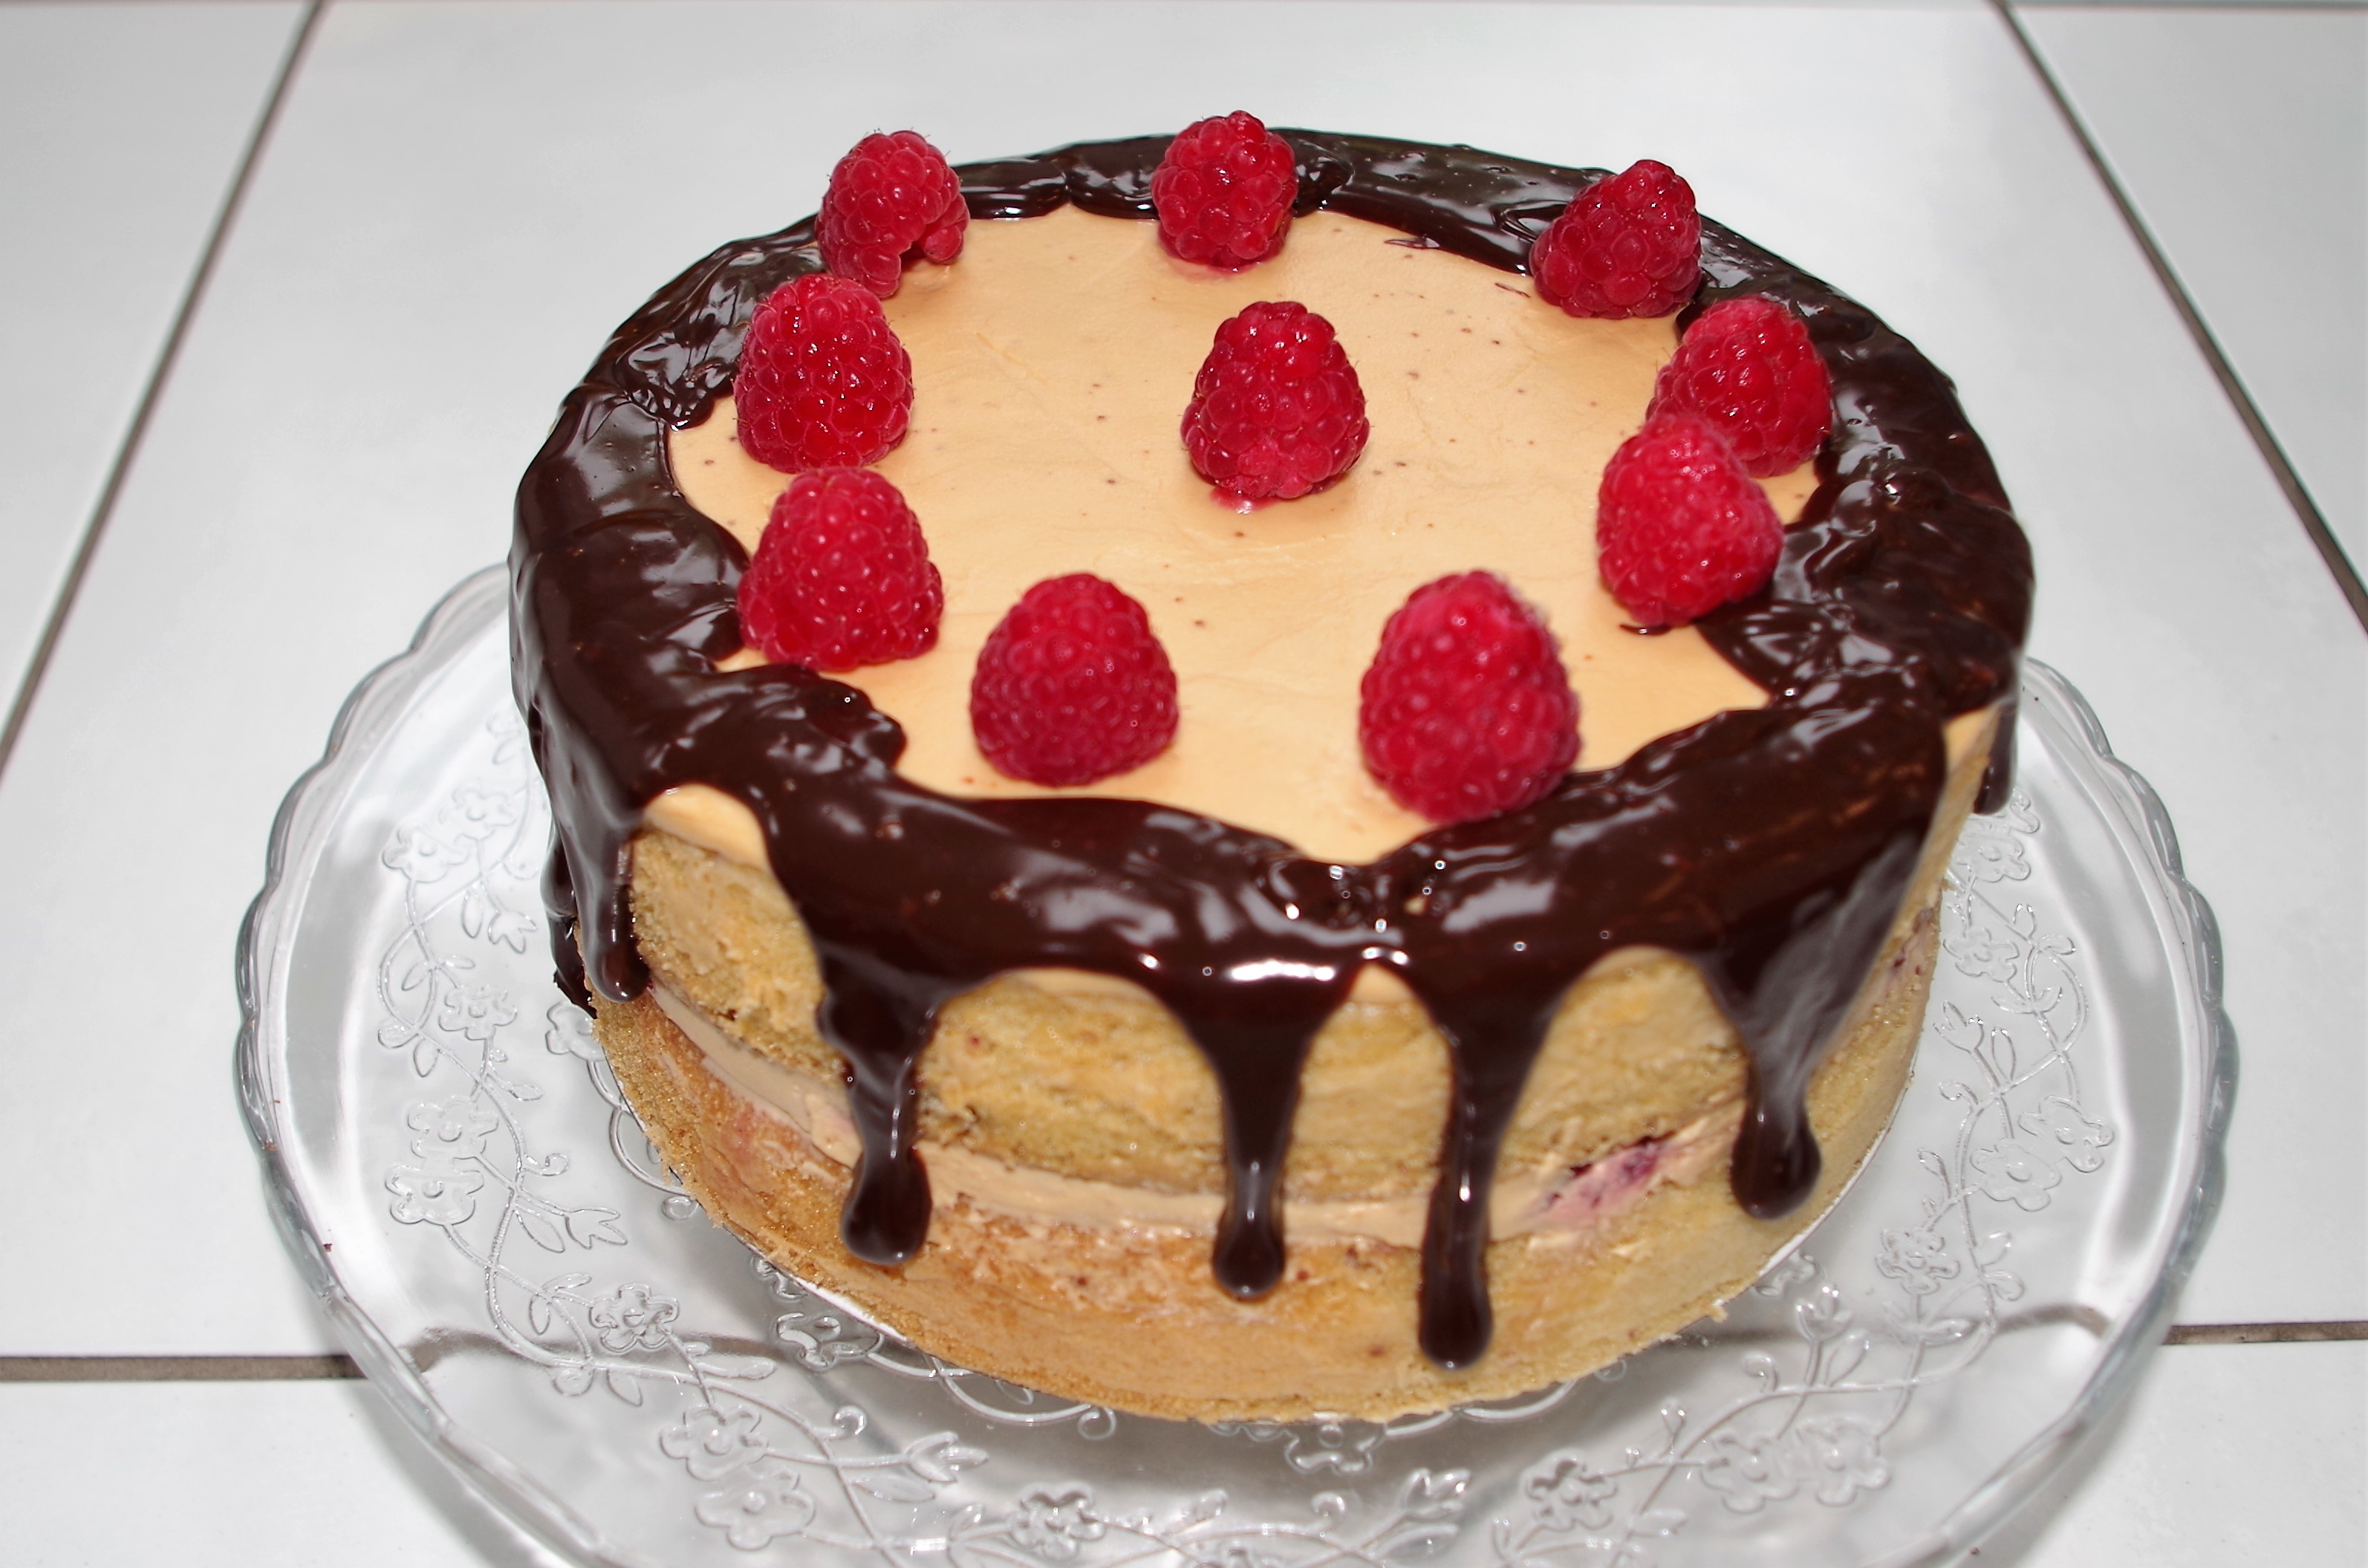
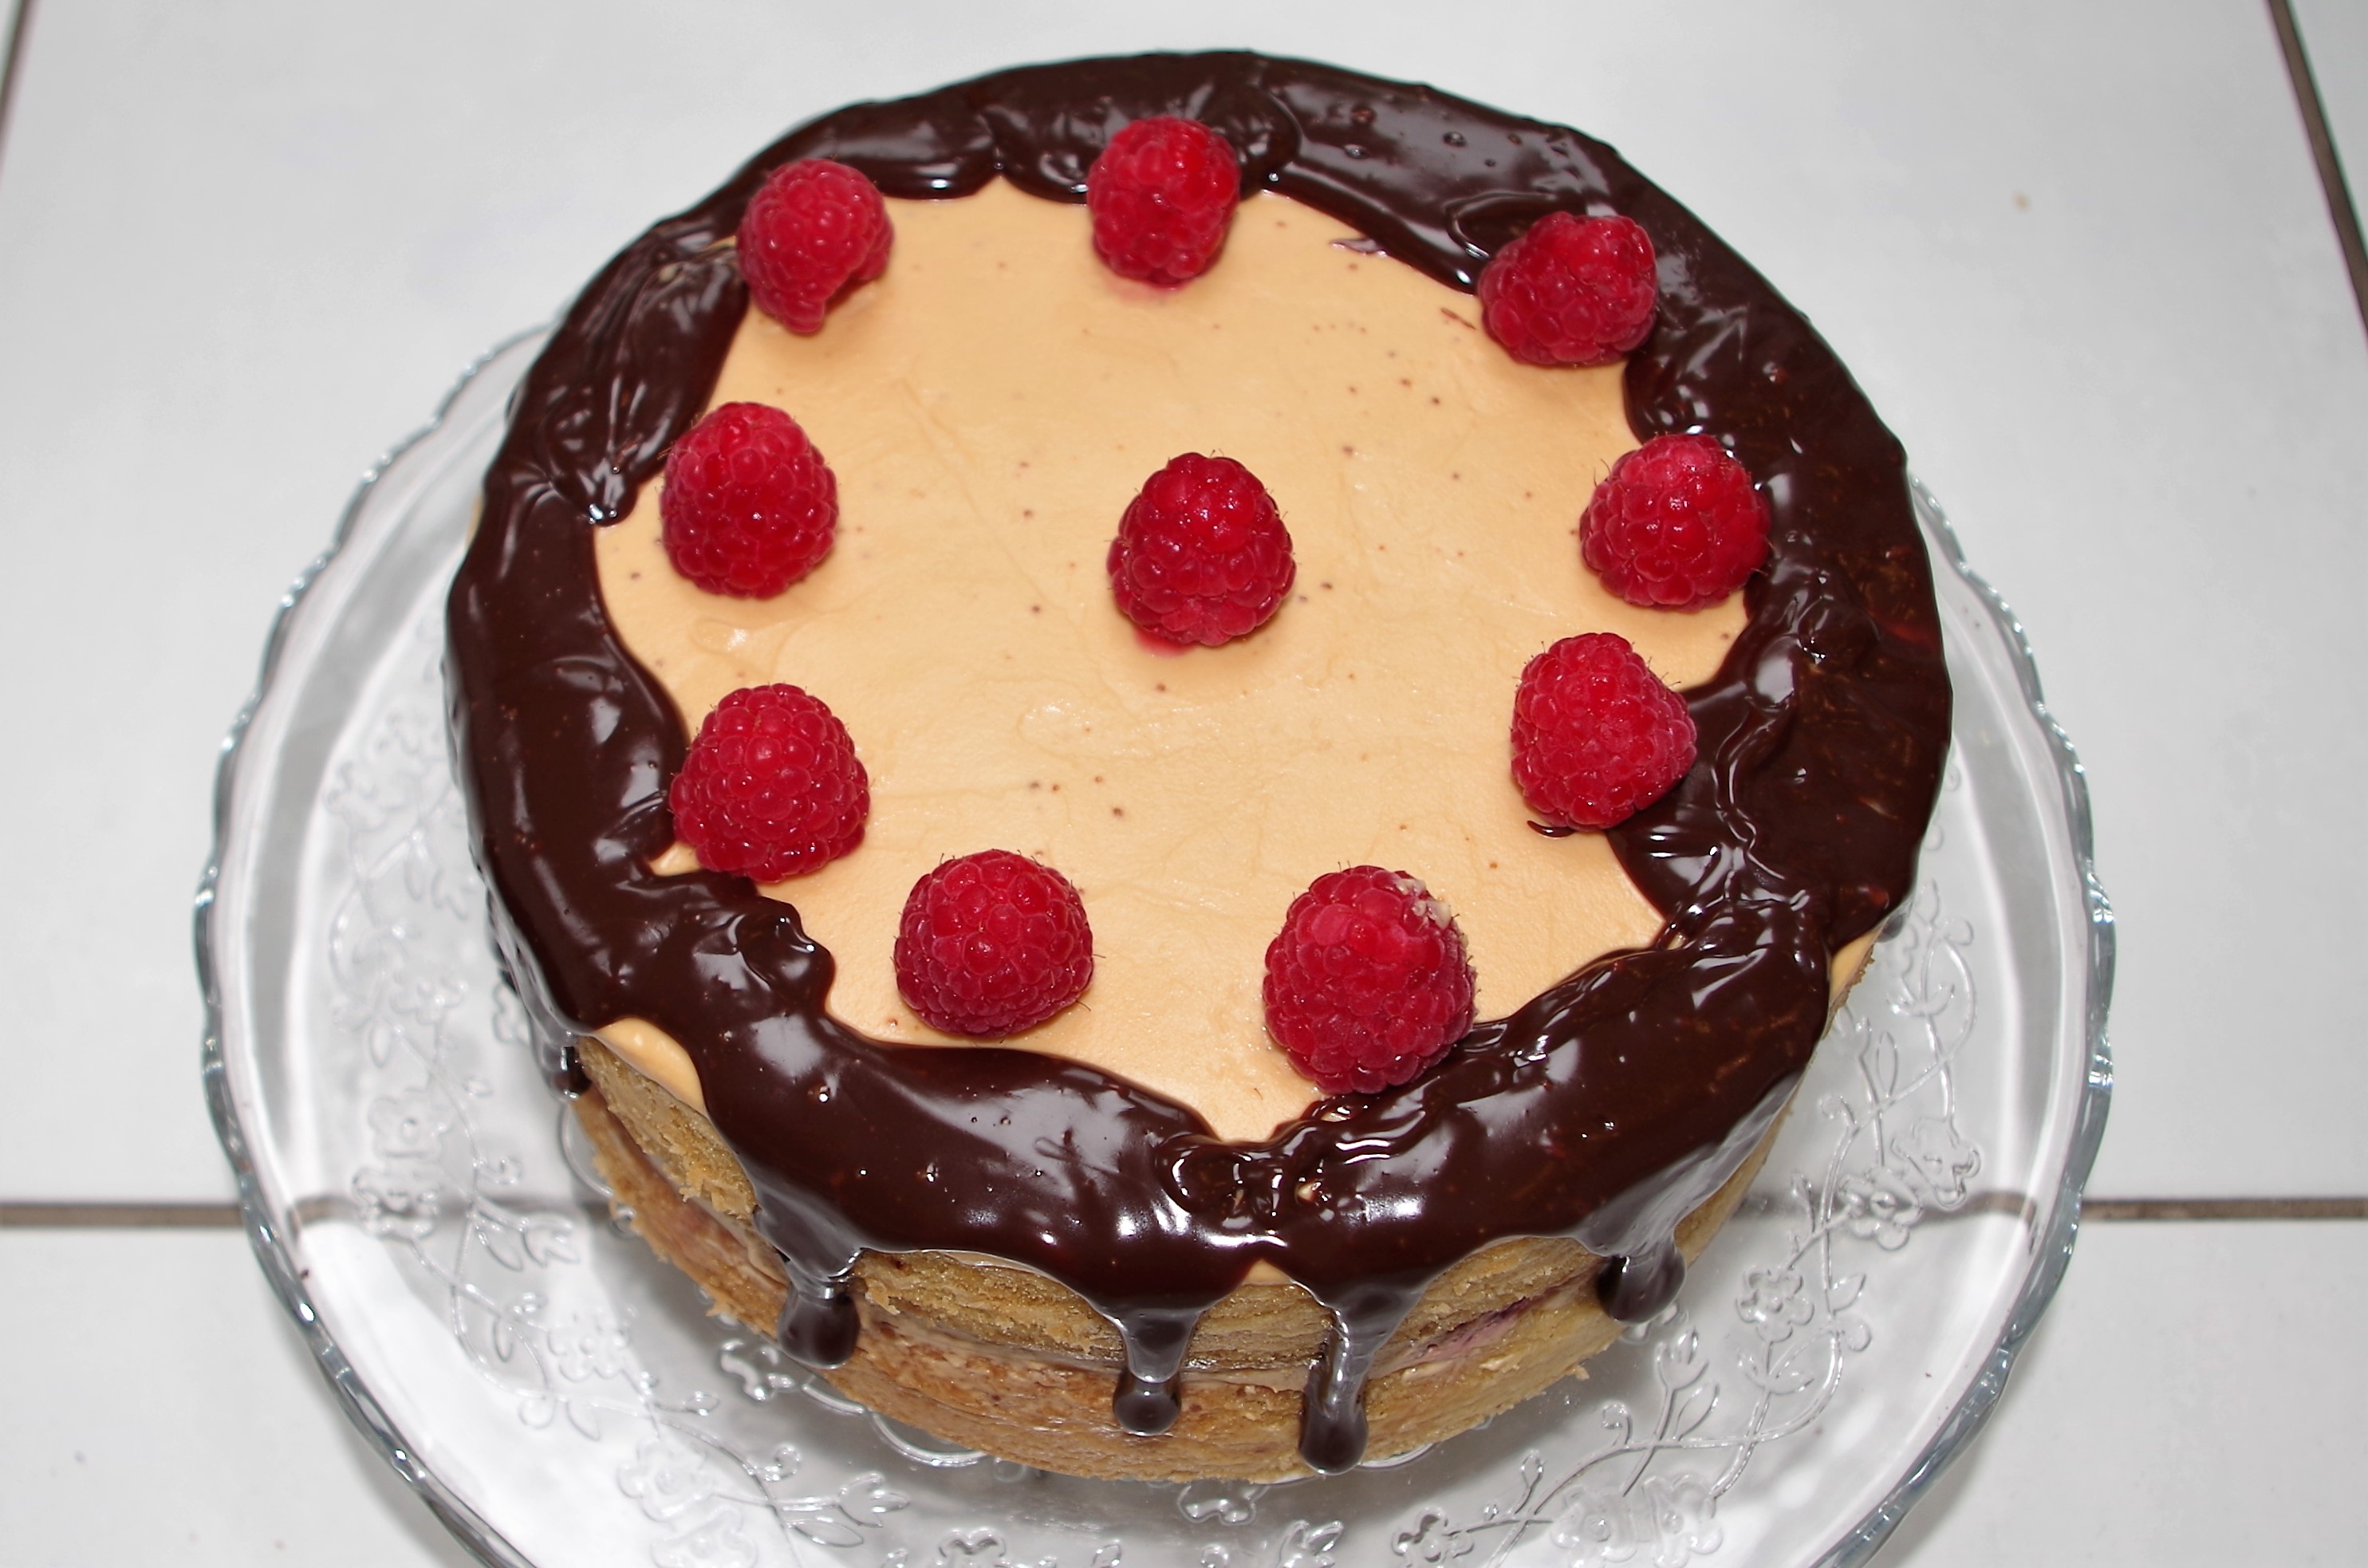
13. To make the ganache, heat the cream in a small saucepan until almost boiling then pour it over the remaining caramelised white chocolate (and dark chocolate, if using) Stir together to make a smooth ganache. Allow it to cool, but not set. Either spoon or pipe the ganache onto the cake then decorate with the remaining raspberries.
I hope you make this cake and enjoy the process, also the product – i.e. eating it. If you’d like to see more lovely chocolate cake recipes then click here.
Of course, you might fancy a non-chocolate cake. Yes, people do occasionally, don’t they? Or maybe some other baked beauty. If so have a look here.