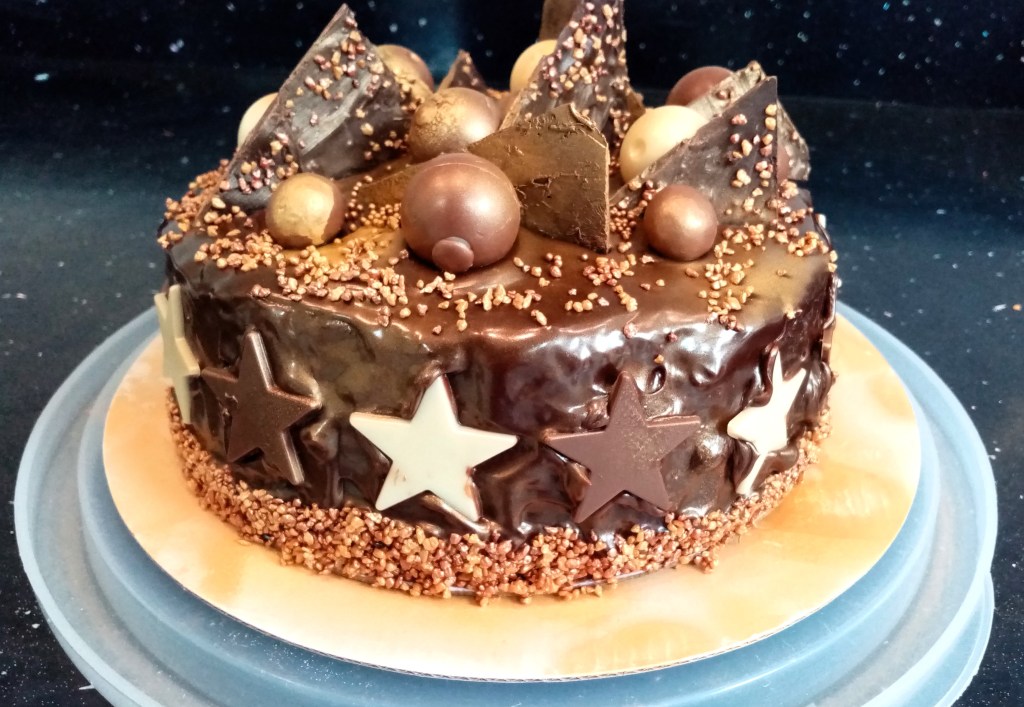
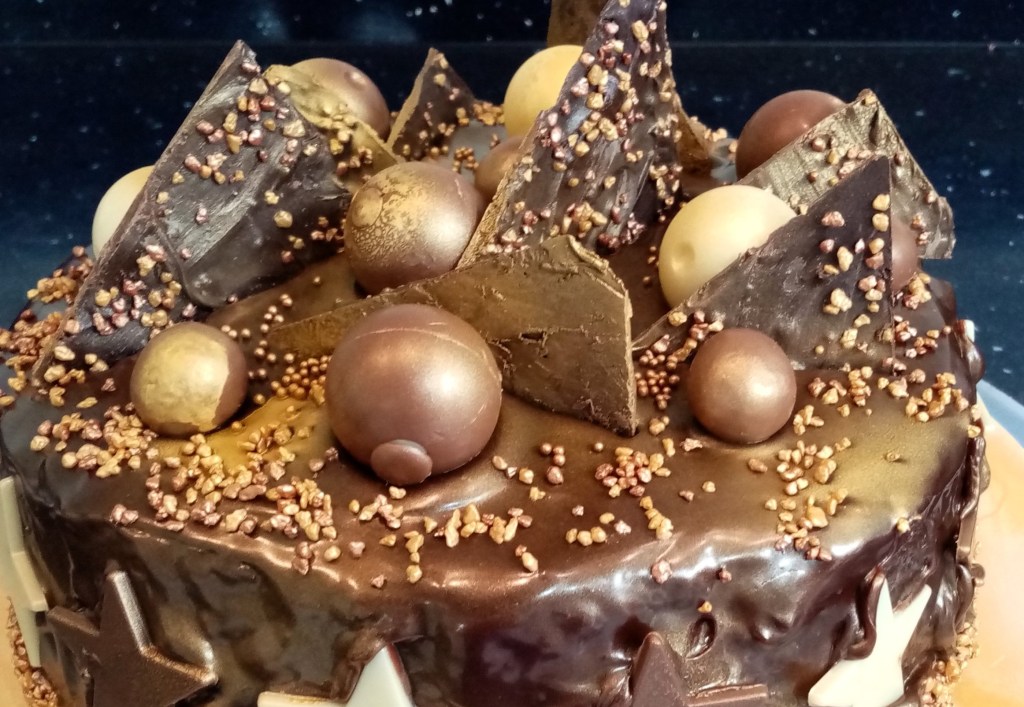
You could call this cake “rich” and “decadent”. Maybe, but I prefer “tasty” and “unctuous”. All are true. I’d also call it an “occasion cake”. It’s not difficult to make; it can easily be gluten free if that’s what you want but – this bit won’t surprise you – it has millions of calories….. just like every other delicious cake.

Makes: A moderately large cake, providing 12, maybe 15, slices
Level: Fairly easy
Time: Prepping the cake 30 min; baking 25 – 30 min. At least 50 minutes to fill and decorate the cake, plus time in the fridge.
Need: Usual normal stuff: bowls, wooden spoon etcetera. An electric mixer is really handy, likewise, a small crank-handled spatula is useful.
Cake Ingredients
- 4 large eggs
- 140g/5oz caster sugar
- 1 – 2 tsp vanilla extract
- 125g/5oz gluten free self-raising flour (use normal S.R. it not going Gluten free)
- Pinch of salt
- 1 tsp xanthan gum powder (omit if non-GF)
- About 40g/1½oz desiccated coconut
- 60g/2oz unsalted butter, melted and cooled
Filling and topping Ingredients
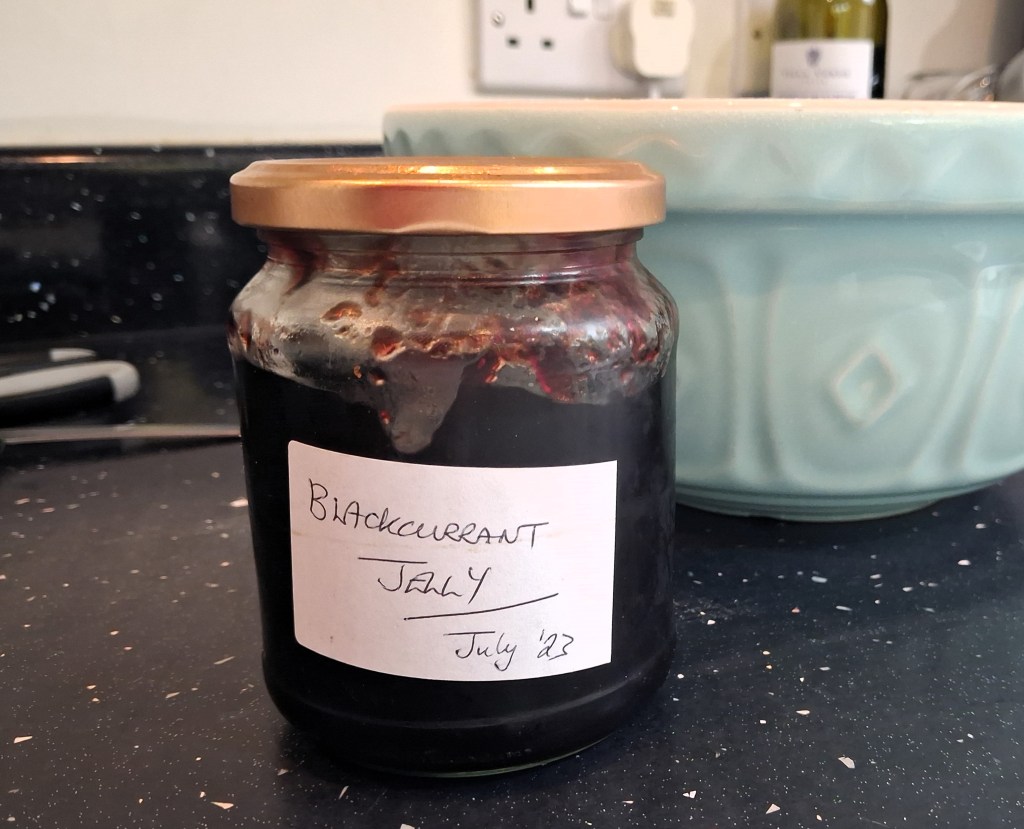
- 200g – 250g (7 – 9oz) blackberry jam
- 50g/2oz unsalted butter
- 500g (1lb 2oz) mascarpone or full fat cream cheese such as Philadelphia
- About 150g/6oz Icing sugar
- 1 – 2 tsp vanilla extract
- 125g/5oz white chocolate, melted
- About 75g/3oz desiccated coconut
- Some food colouring
- A few drops of milk
- 2 – 3 tsp caster sugar (optional)
Method
1. For the cake, pre-heat the oven to 200°C / fan 180°C / 390°F / Gas 6. Melt the butter and leave to cool.
2. Heat a large, heavy frying pan without any oil then scatter in the desiccated coconut. It will only take a few minutes before they begin to darken. Keep them moving all the time. Tip onto a plate to cool for use later. (This is worth doing; it enhances the flavour.)
3. Whisk the eggs, sugar and vanilla extract in a large heatproof bowl until well combined. Place the bowl over a pan of simmering water and continue whisking until pale in colour and thick enough to leave a trail when the whisk is lifted. Remove the bowl from the pan and continue to whisk until thick and cool.
4. With a large metal spoon, carefully fold in half of the flour, salt and xanthan gum powder (if using). Pour the cooled melted butter around the edge of the bowl and fold in gently until fully incorporated, then fold in the remaining flour.
5. Divide the mixture equally between the two prepared tins. Bake for 25 – 30 minutes or until a skewer inserted in the centre comes out clean. Leave to cool in the tins for about 5 minutes, then turn out onto a wire rack to cool fully. Take care, the sponges could be quite delicate.
For the filling and topping
My original plan was to obtain some blackberries, puree half and reserve the rest to put on top of the cake as decoration. This might have worked a few months ago when I could pick blackberries from the nearby hedgerows, or if our small local supermarkets had any available. But no, I had to be adaptable, so what you have here is my plan B, using blackberry jam and cunningly coloured desiccated coconut. If you have some “real” blackberries, go ahead and use them.
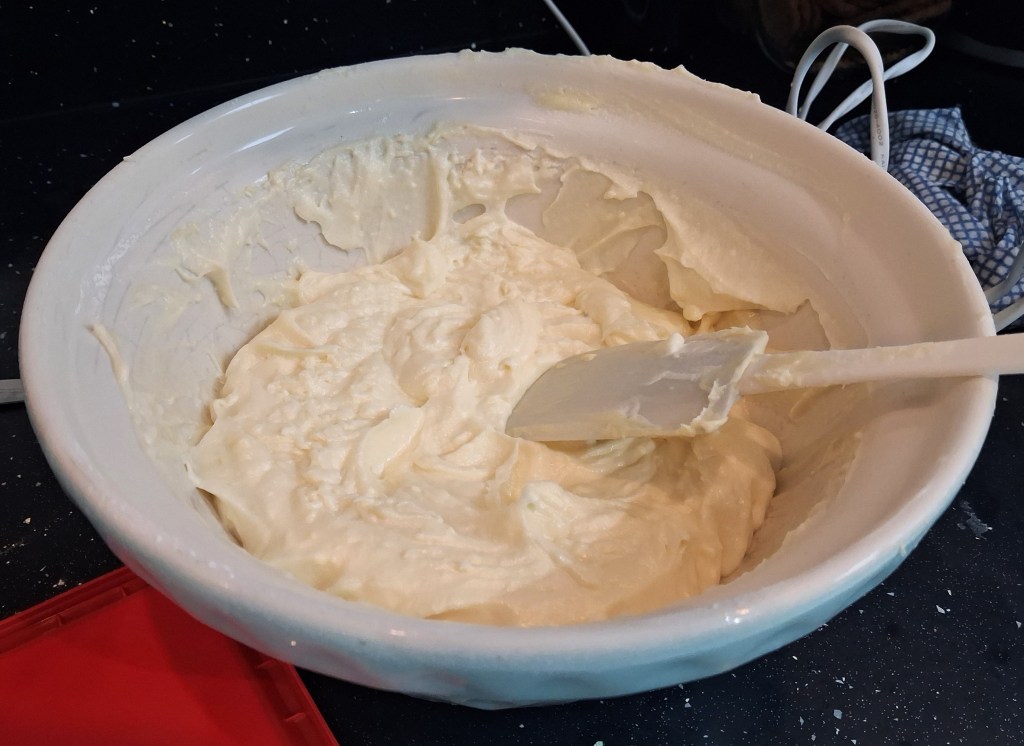
6. Soften the butter and the mascarpone/cream cheese then beat vigorously or use an electric hand mixer. Stir in the vanilla extract then sift in the icing sugar. Stir it in gently then beat more vigorously.
7. Melt the white chocolate using a bain marie on a low heat. Allow it to cool a little then stir it into the mascarpone mixture. At this point you may feel you need a little more icing sugar. It depends on your taste and the thickness that you want.
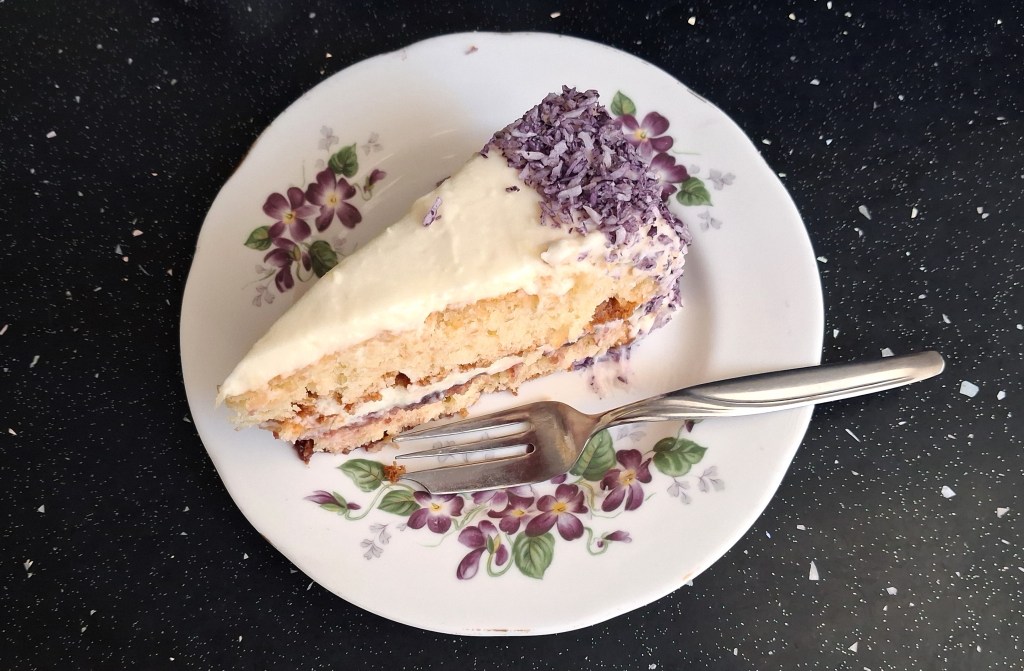
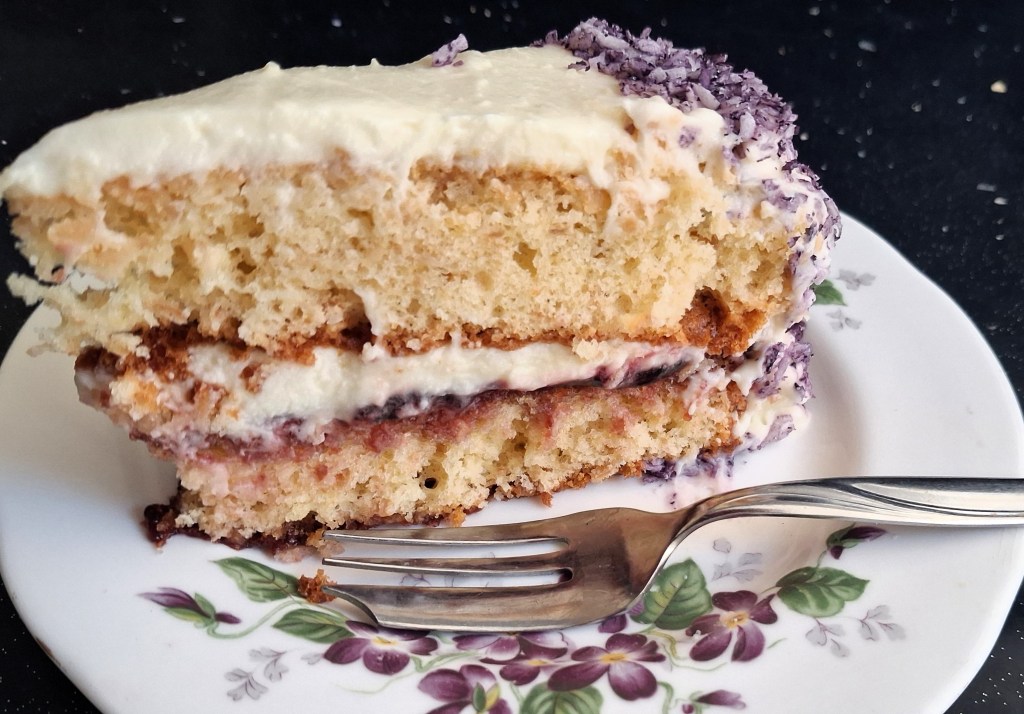
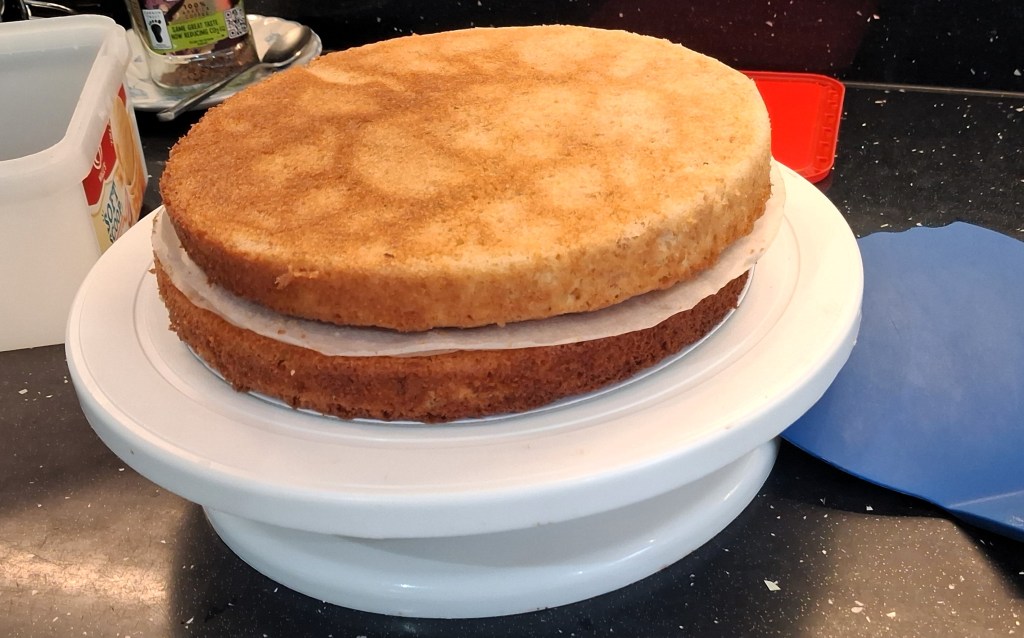
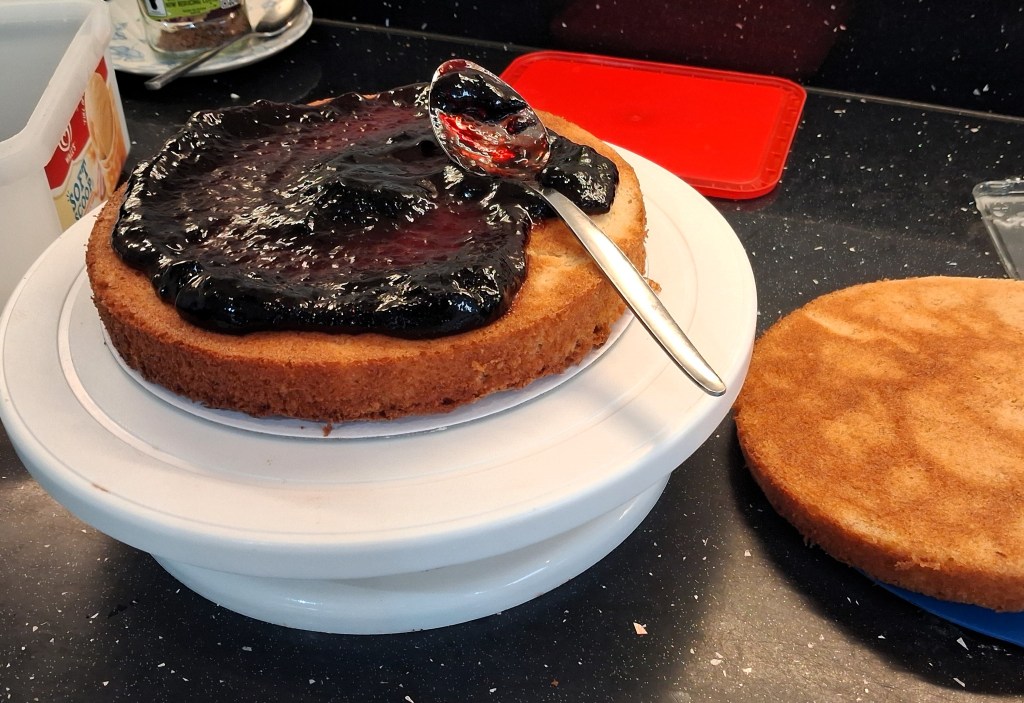
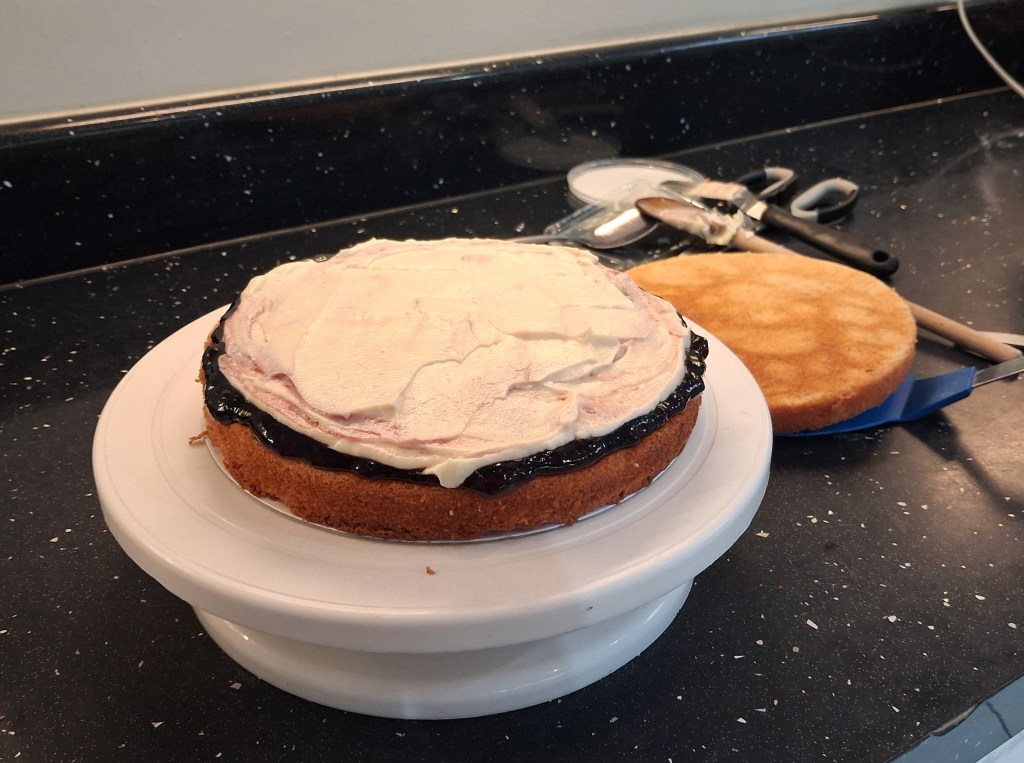
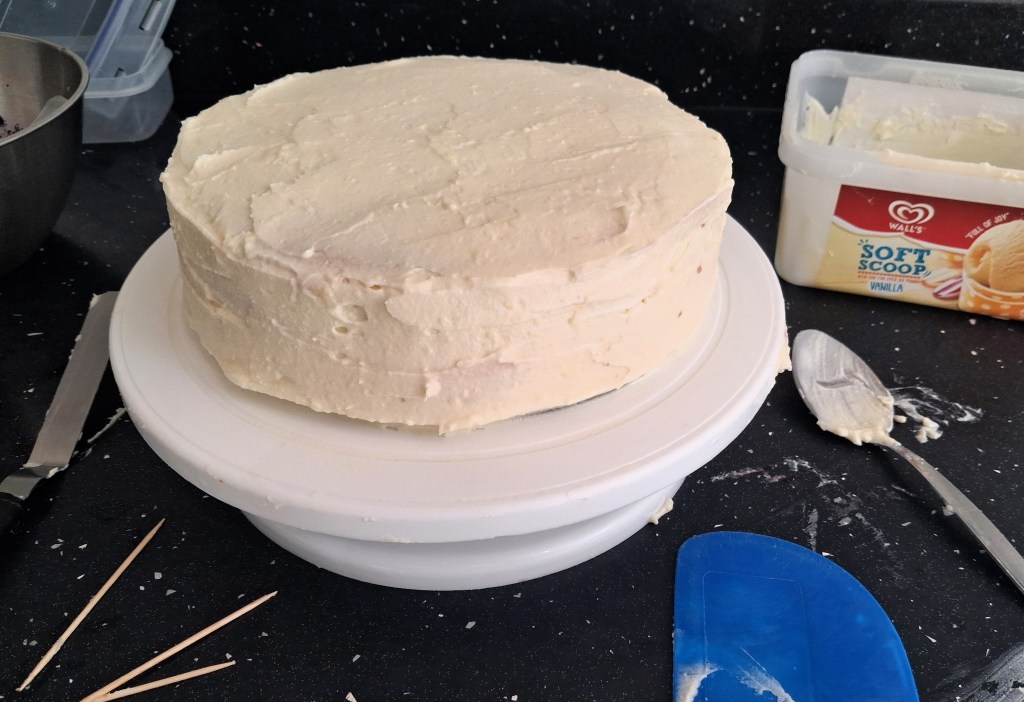
8. Select the cake with the flatter surface and set it aside. Put the other cake on a board or plate and then on a turntable if you have one. Dollop on some blackcurrant jam and spread it evenly with a crank handled spatula. Follow this with about a quarter or third of your lovely mascarpone mixture. Carefully put the other cake on top. Now use a small amount of your mixture to crumb coat the cake and place it in the fridge for a while. Also put the remaining mascarpone mixture in the fridge to thicken a little.
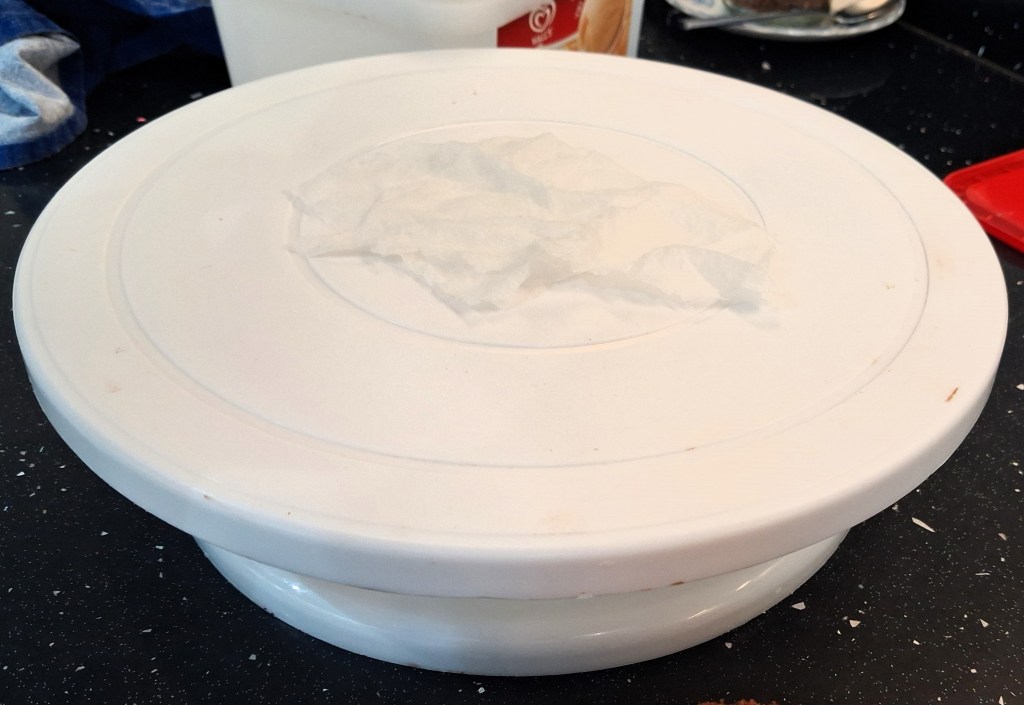
Tips: i. A damp piece of kitchen paper under the cake board or on the turntable helps to keep things stable while you’re working.
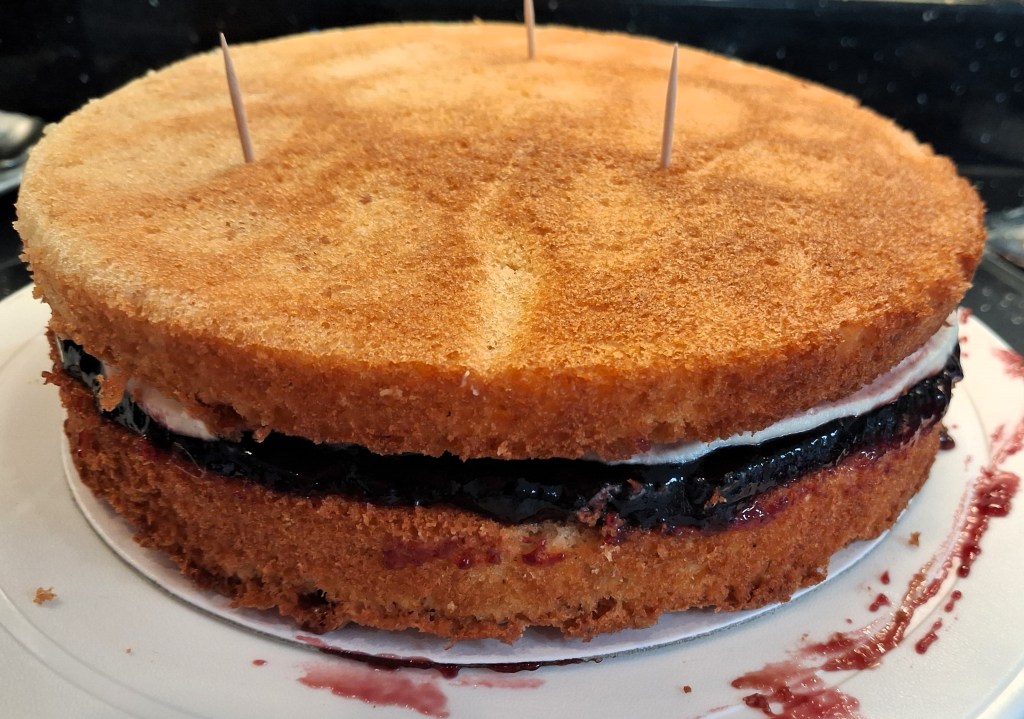
ii. If your cake filling is a little loose the two layers of cake may be wobbly, so stick in three cocktail sticks to stabilise them while in the fridge. (Make sure they stick out high enough so to be easily removed later.)
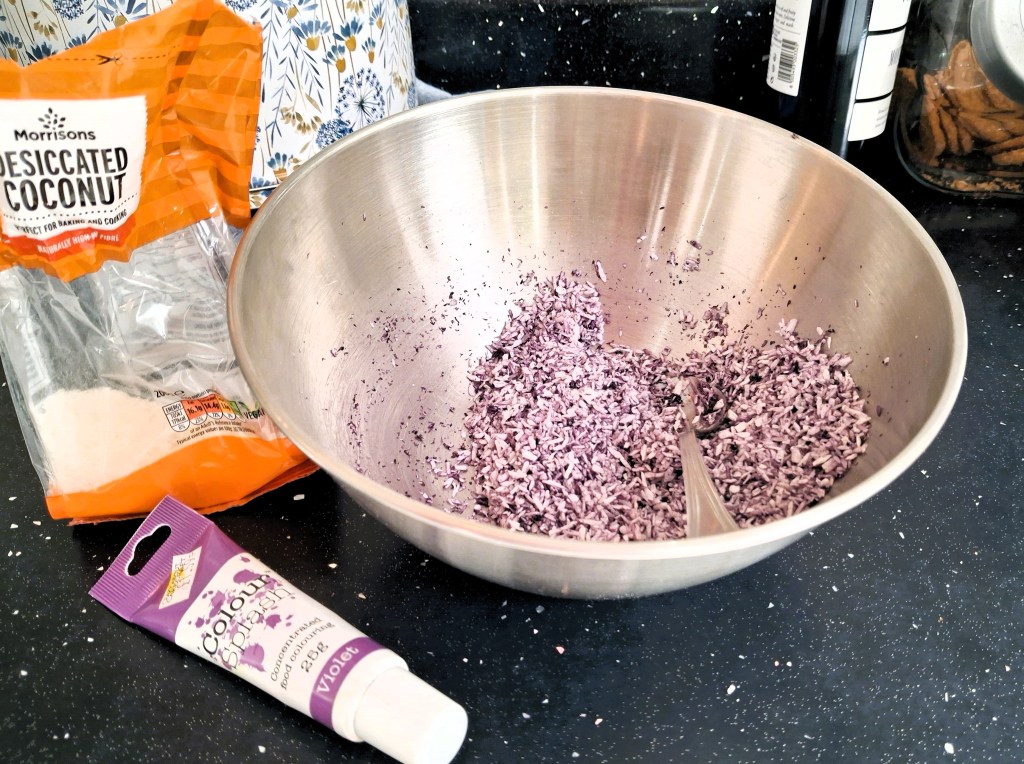
9. This is where I experimented. I wanted some colour on the cake, but had no blackberries, so I coloured the remaining desiccated coconut. (This meant I wasn’t able to roast it as before – pity.) I put half my remaining coconut in a metal dish and added a few drops of food colouring. (I used “Colour Splash” violet) I stirred it with a spoon and it was OK, but had a few small clumps of colour. I added the rest of the coconut and scooped out a small circle to which I added a small amount of milk and more food colouring. This worked better. I also stirred in a few teaspoons of sugar, but I don’t think it improved things – probably made it a bit too sweet.
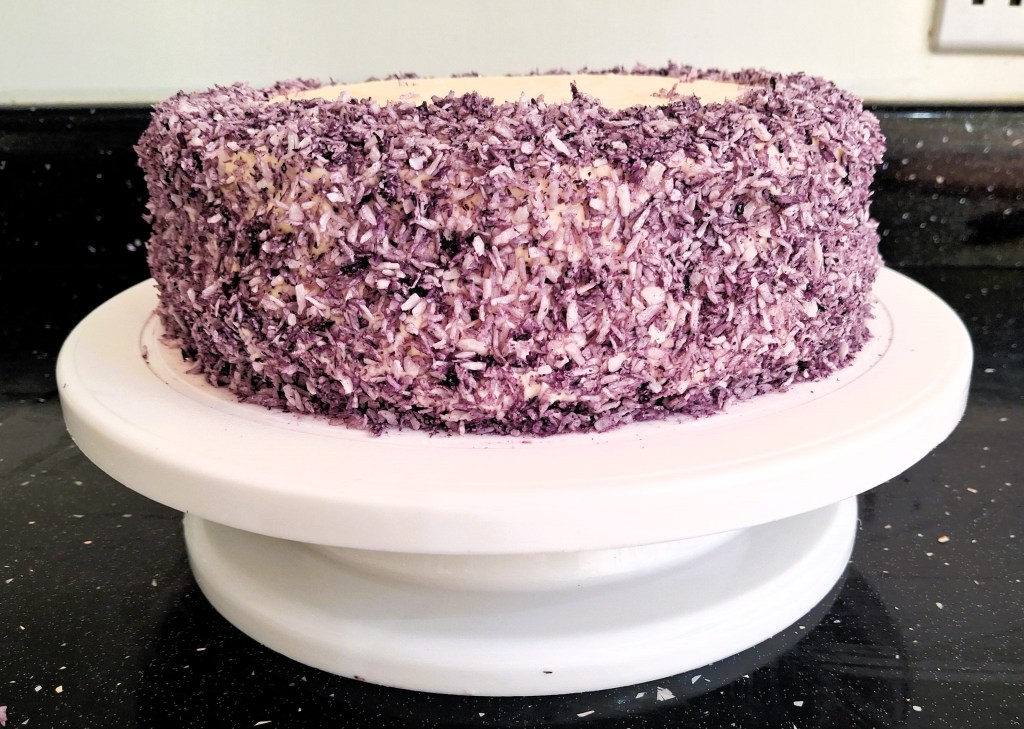
10. Next I put the cake back on my turntable and covered it with the remaining mascarpone mixture. Had I been more patient I would have put it back in the fridge for a while, but decided to crack on regardless. Using a teaspoon and a small plastic dough scraper I covered the sides of the cake with the violet desiccated coconut. I had plenty left so decided to go round the top edge of the cake too. As you can see, I’m not the neatest person in the world, but I think the end product looks reasonable.
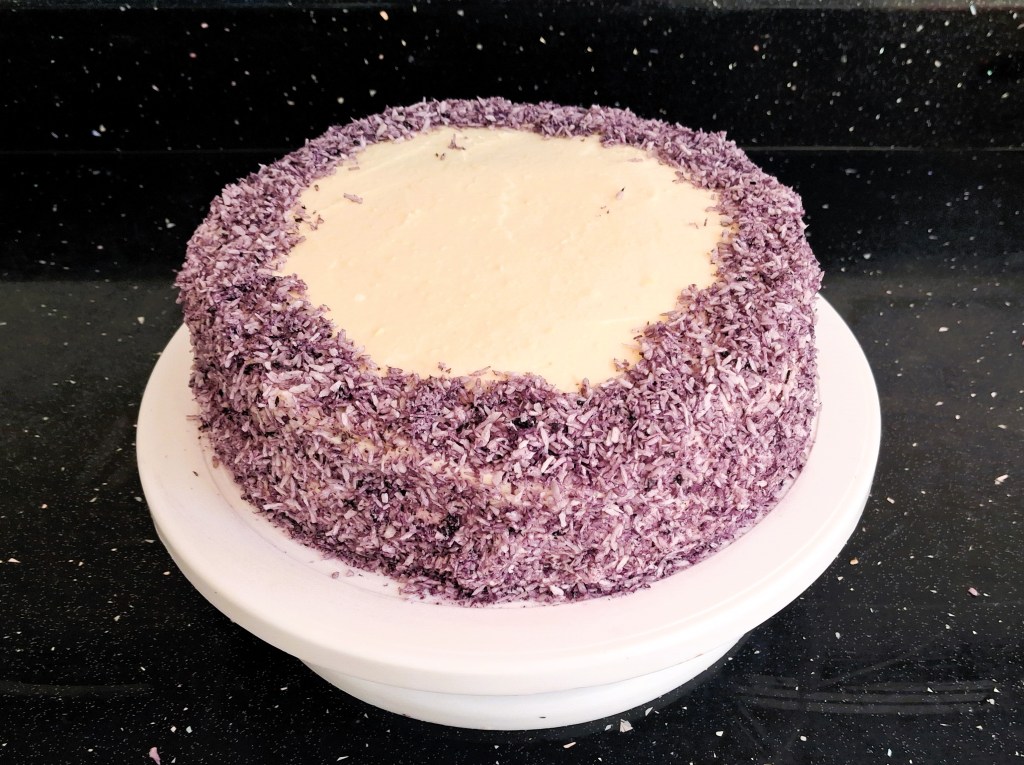
Process gallery 1
Process gallery 2
Process gallery 3

Process gallery 4

I hope you enjoy this lovely cake. If you want more cake recipes click this link, or have a look at my site for lots of other great recipes, both sweet and savoury. Below are a few that I’d love you to try:

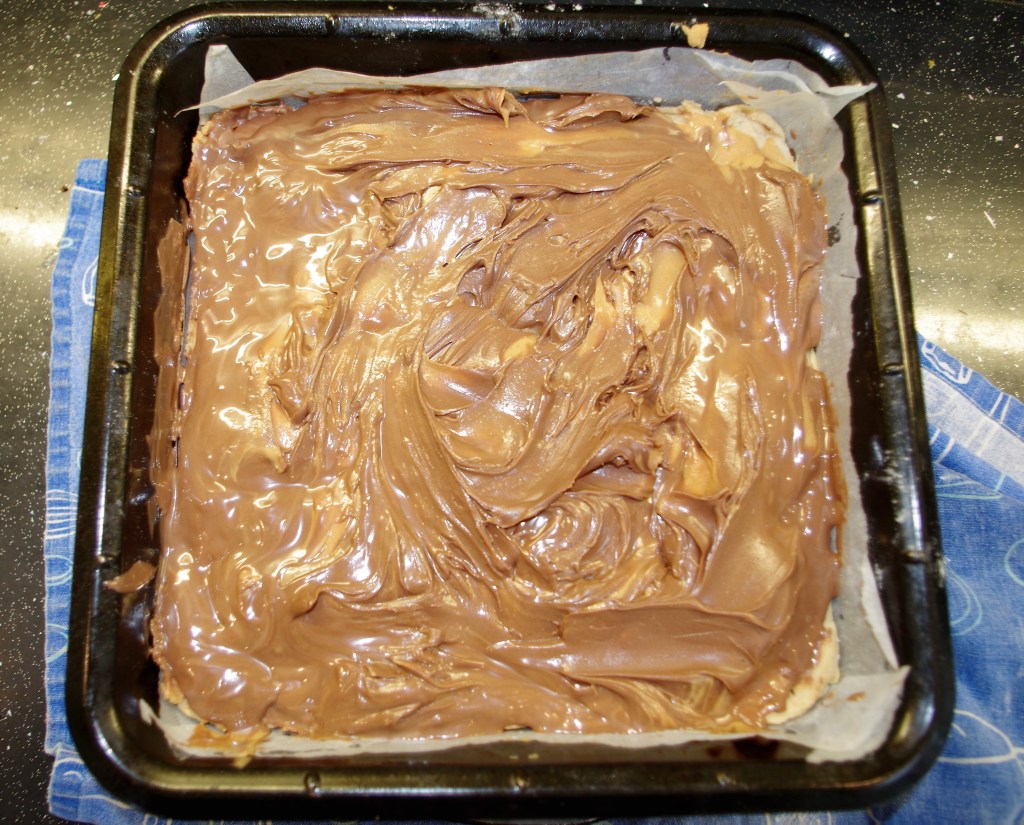
Peanut Butter & Chocolate Shortjacks


To make a comment or ask a question please go to the contact page. Click here for the home page.
