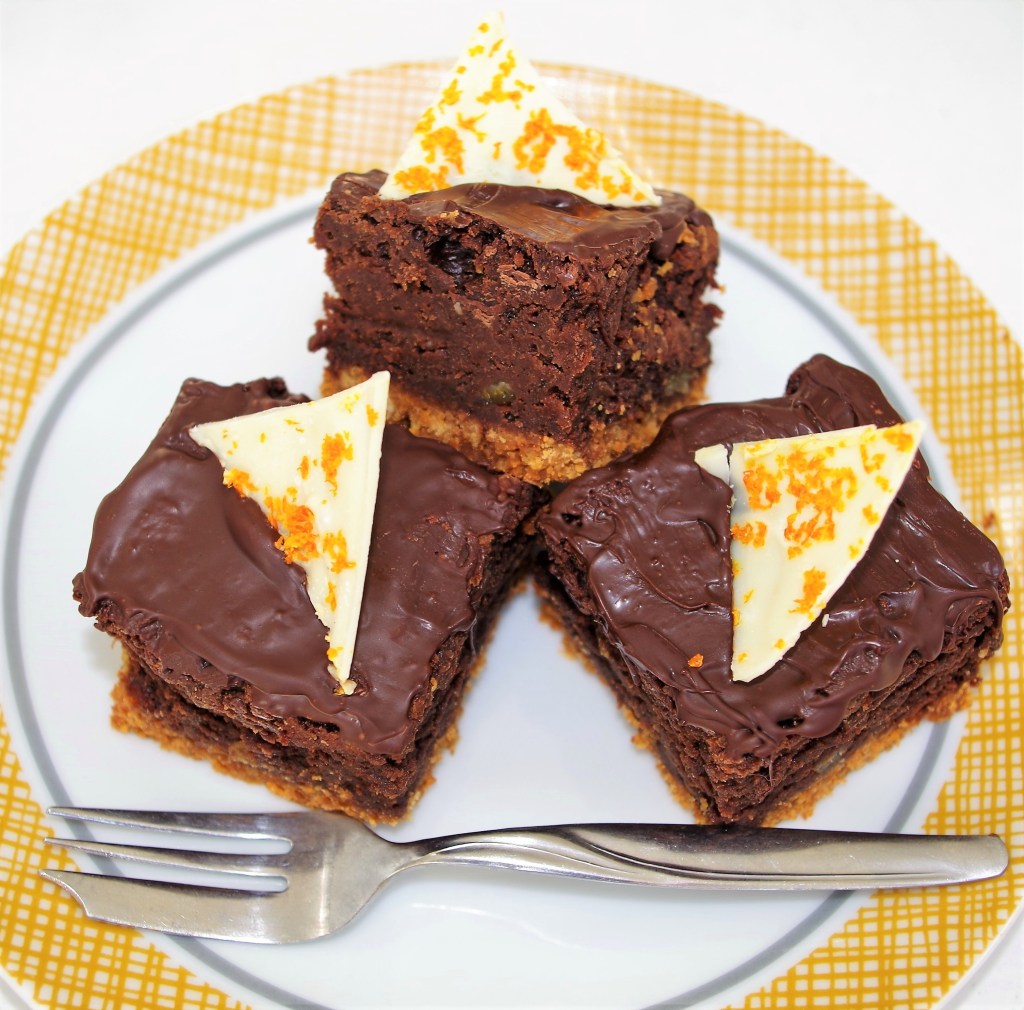
These are mega brownies: big, bold and delicious, ideal for all, but especially any serious brownieholics. There’s a chunky biscuit base then a lusciously dense orange-chocolate mid layer topped with even more chocolate. Go on, be indulgent.
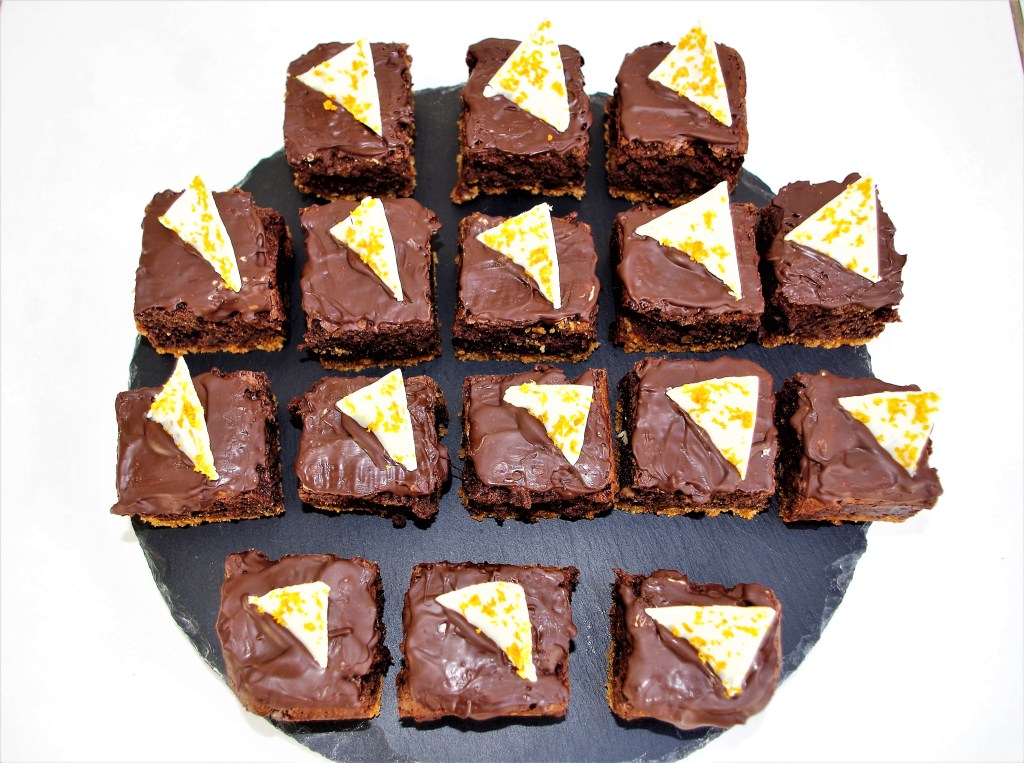
Makes: 16 pieces
Time: Biscuit base: 15 min. Main prep: 40 min. Baking: 40 – 50 min. + cooling time. 15 min. for chocolate topping. Approx. 40 min to make and attach decorations as shown.
Level: Mainly easy, but the decorations might be a challenge
Equipment: A 20cm (8”) square baking tin, ideally loose bottomed
Ingredients
Base
- 200g/7oz digestive biscuits (or other biscuits of your choice)
- 75g/2.5oz melted butter
- 25ml/1fl oz golden syrup
- Orange food colour (optional)
Mid-layer
- 1 or 2 large oranges
- 100g/3½oz unsalted butter
- 250g/9oz golden caster sugar
- 75g/2½oz golden syrup
- 300g/10oz dark chocolate, broken into pieces
- 4 medium eggs
- ½ tsp orange extract (optional)
- 75g/2½oz plain flour
- ½ tsp salt
- 30g/1oz candied peel, chopped into small pieces if not already
Topping
- 100g/3½oz Dark Choc
- 20g/¾oz Butter
Decorating option
- 50g/1¾oz white chocolate
- Zest from a small orange or a Satsuma
- You will also need 2 or 3 acetate strips
Method
1. Butter & line the tin with baking parchment.
2. For the base, crush or whizz the biscuits to breadcrumb consistency or smaller. Melt the butter and golden syrup together in a saucepan, but don’t allow it to come to a boil. Stir in enough orange food dye* (if using) to achieve the colour you want.
* I wanted a bright vivid orange, so used quite a lot of (good quality) food colouring, but even then it wasn’t quite what I wanted, so I probably won’t bother next time.
3. Mix the crushed biscuits with the melted butter, making sure it’s all coated. Press the mixture into the base of the prepared tin and leave in the fridge until needed.
4. Preheat the oven to 160°C / fan 140°C / 325°F / Gas 3. Put the broken chocolate pieces into a large bowl and set aside.
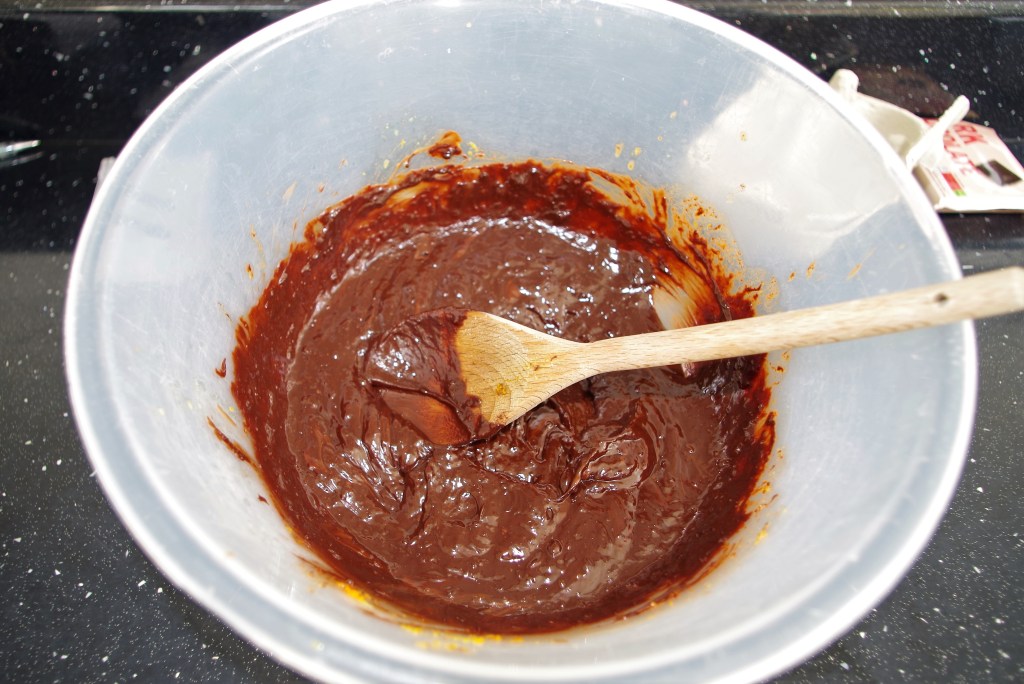
5. Zest the oranges into a medium saucepan and add in their juice. Bring to a boil and maintain a rolling boil until the liquid has reduced and become thicker. Pour onto the chocolate pieces. Leave for a few minutes then stir to mix. (If there isn’t enough liquid to melt all the chocolate then finish off this process by putting it on a bain marie or give it a few short bursts in a micro wave. Make sure you stir often.)
6. In another saucepan, melt the butter, sugar and golden syrup until smooth. Remove from the heat and add into the orange chocolate mixture. Stir or beat well.
7. In another bowl, whisk the eggs and orange extract (if using). Pour into the chocolate mixture and beat again. Now sift on the flour and salt. Fold in with the candied peel.
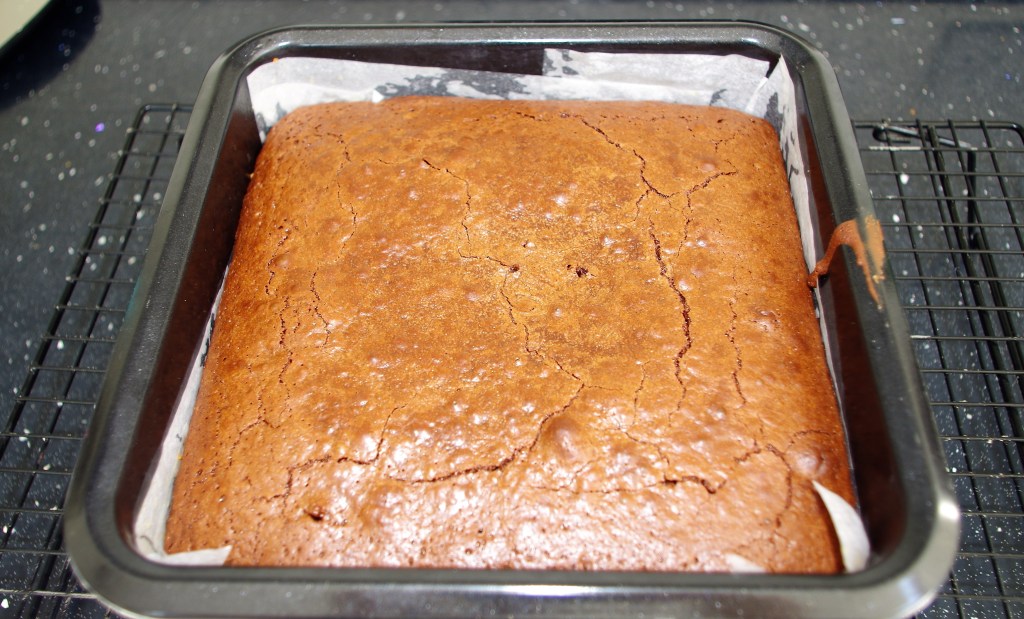
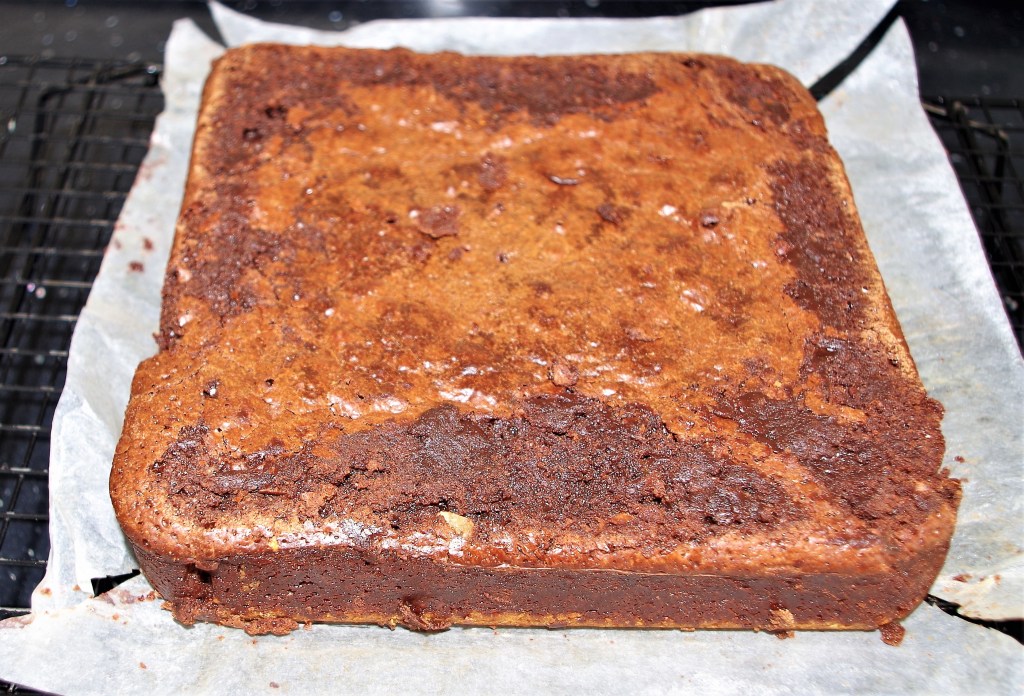
8. Pour into the tin, over the biscuit base. Bake for about 40 – 50 minutes, but check it earlier. (It needs to be slightly wobbly when baked.)
9. Remove from the oven, cool then refrigerate, ideally overnight.
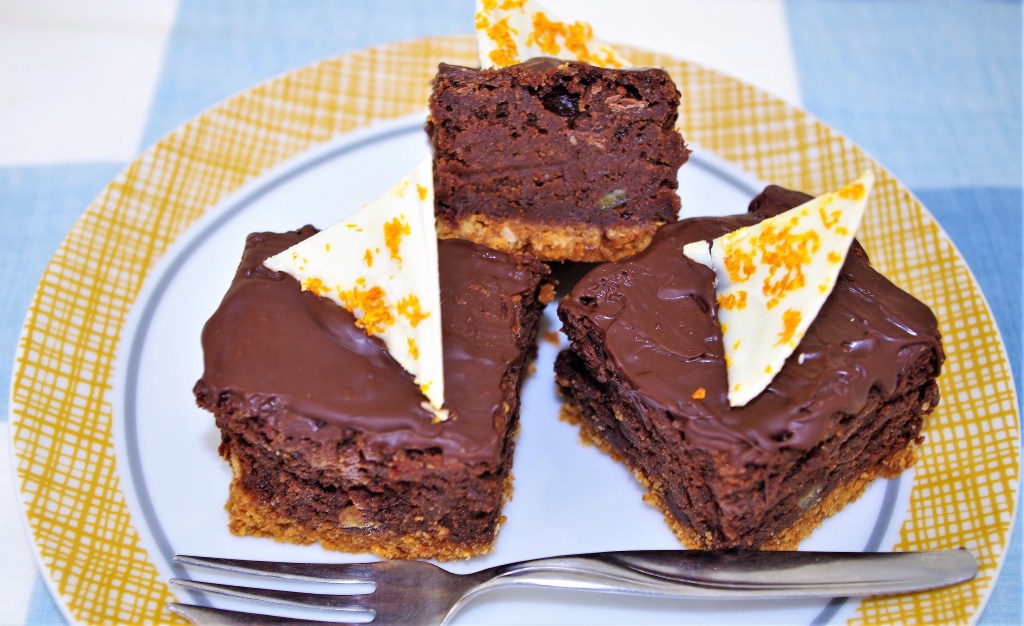
9a. If you want to add any decorations, such as the white chocolate triangles, now is a good time to make them, while the brownies chill overnight. See below for the method.
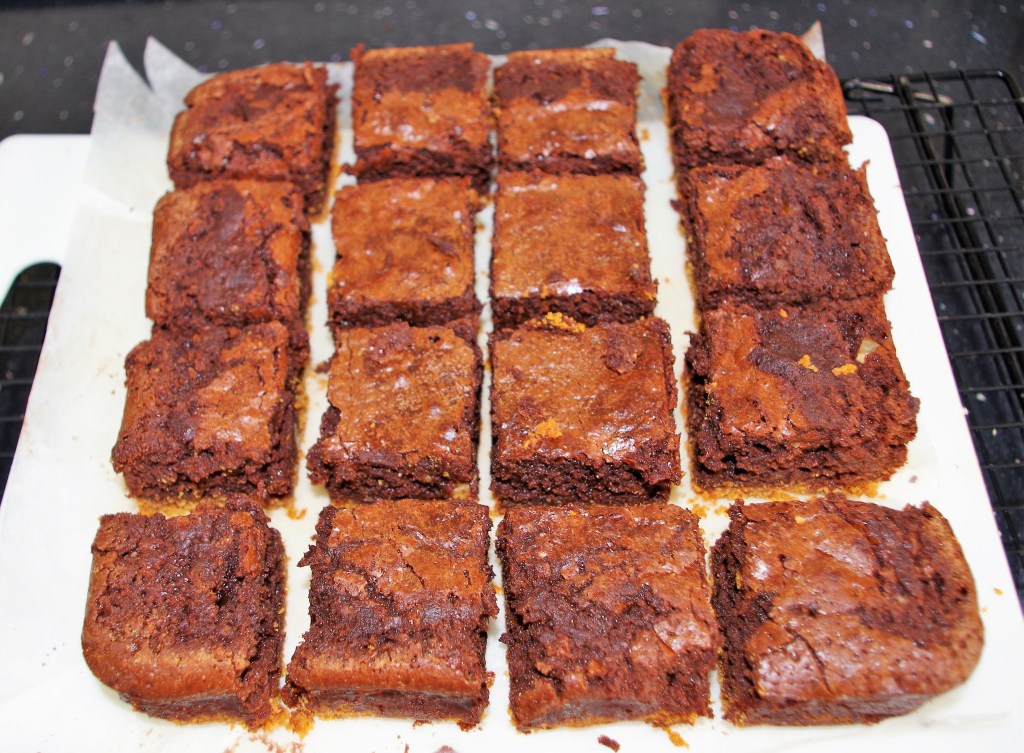
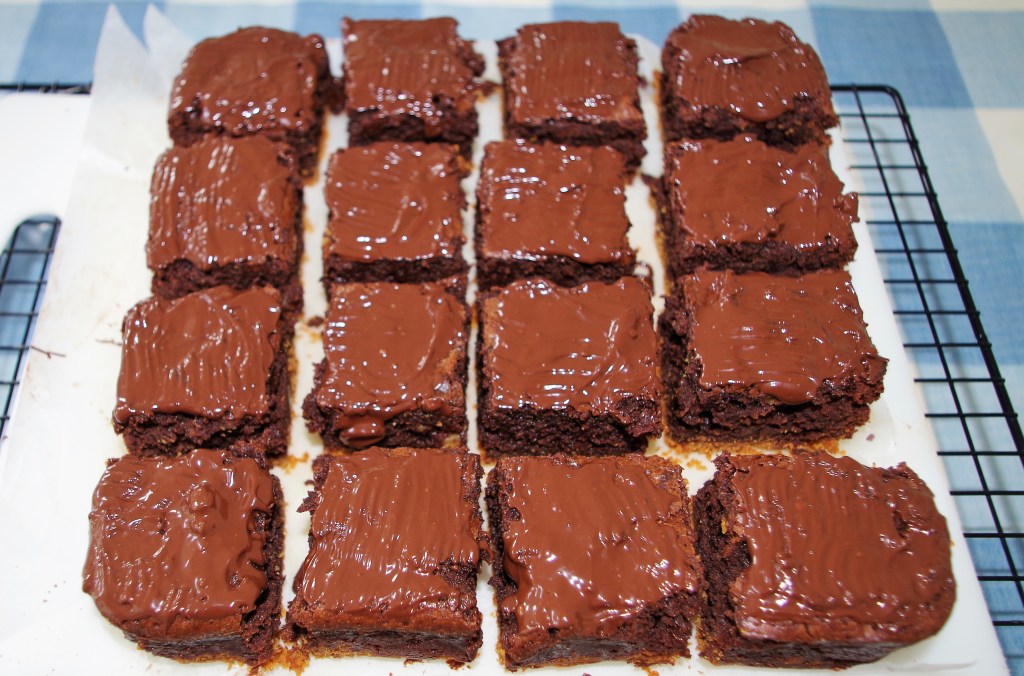
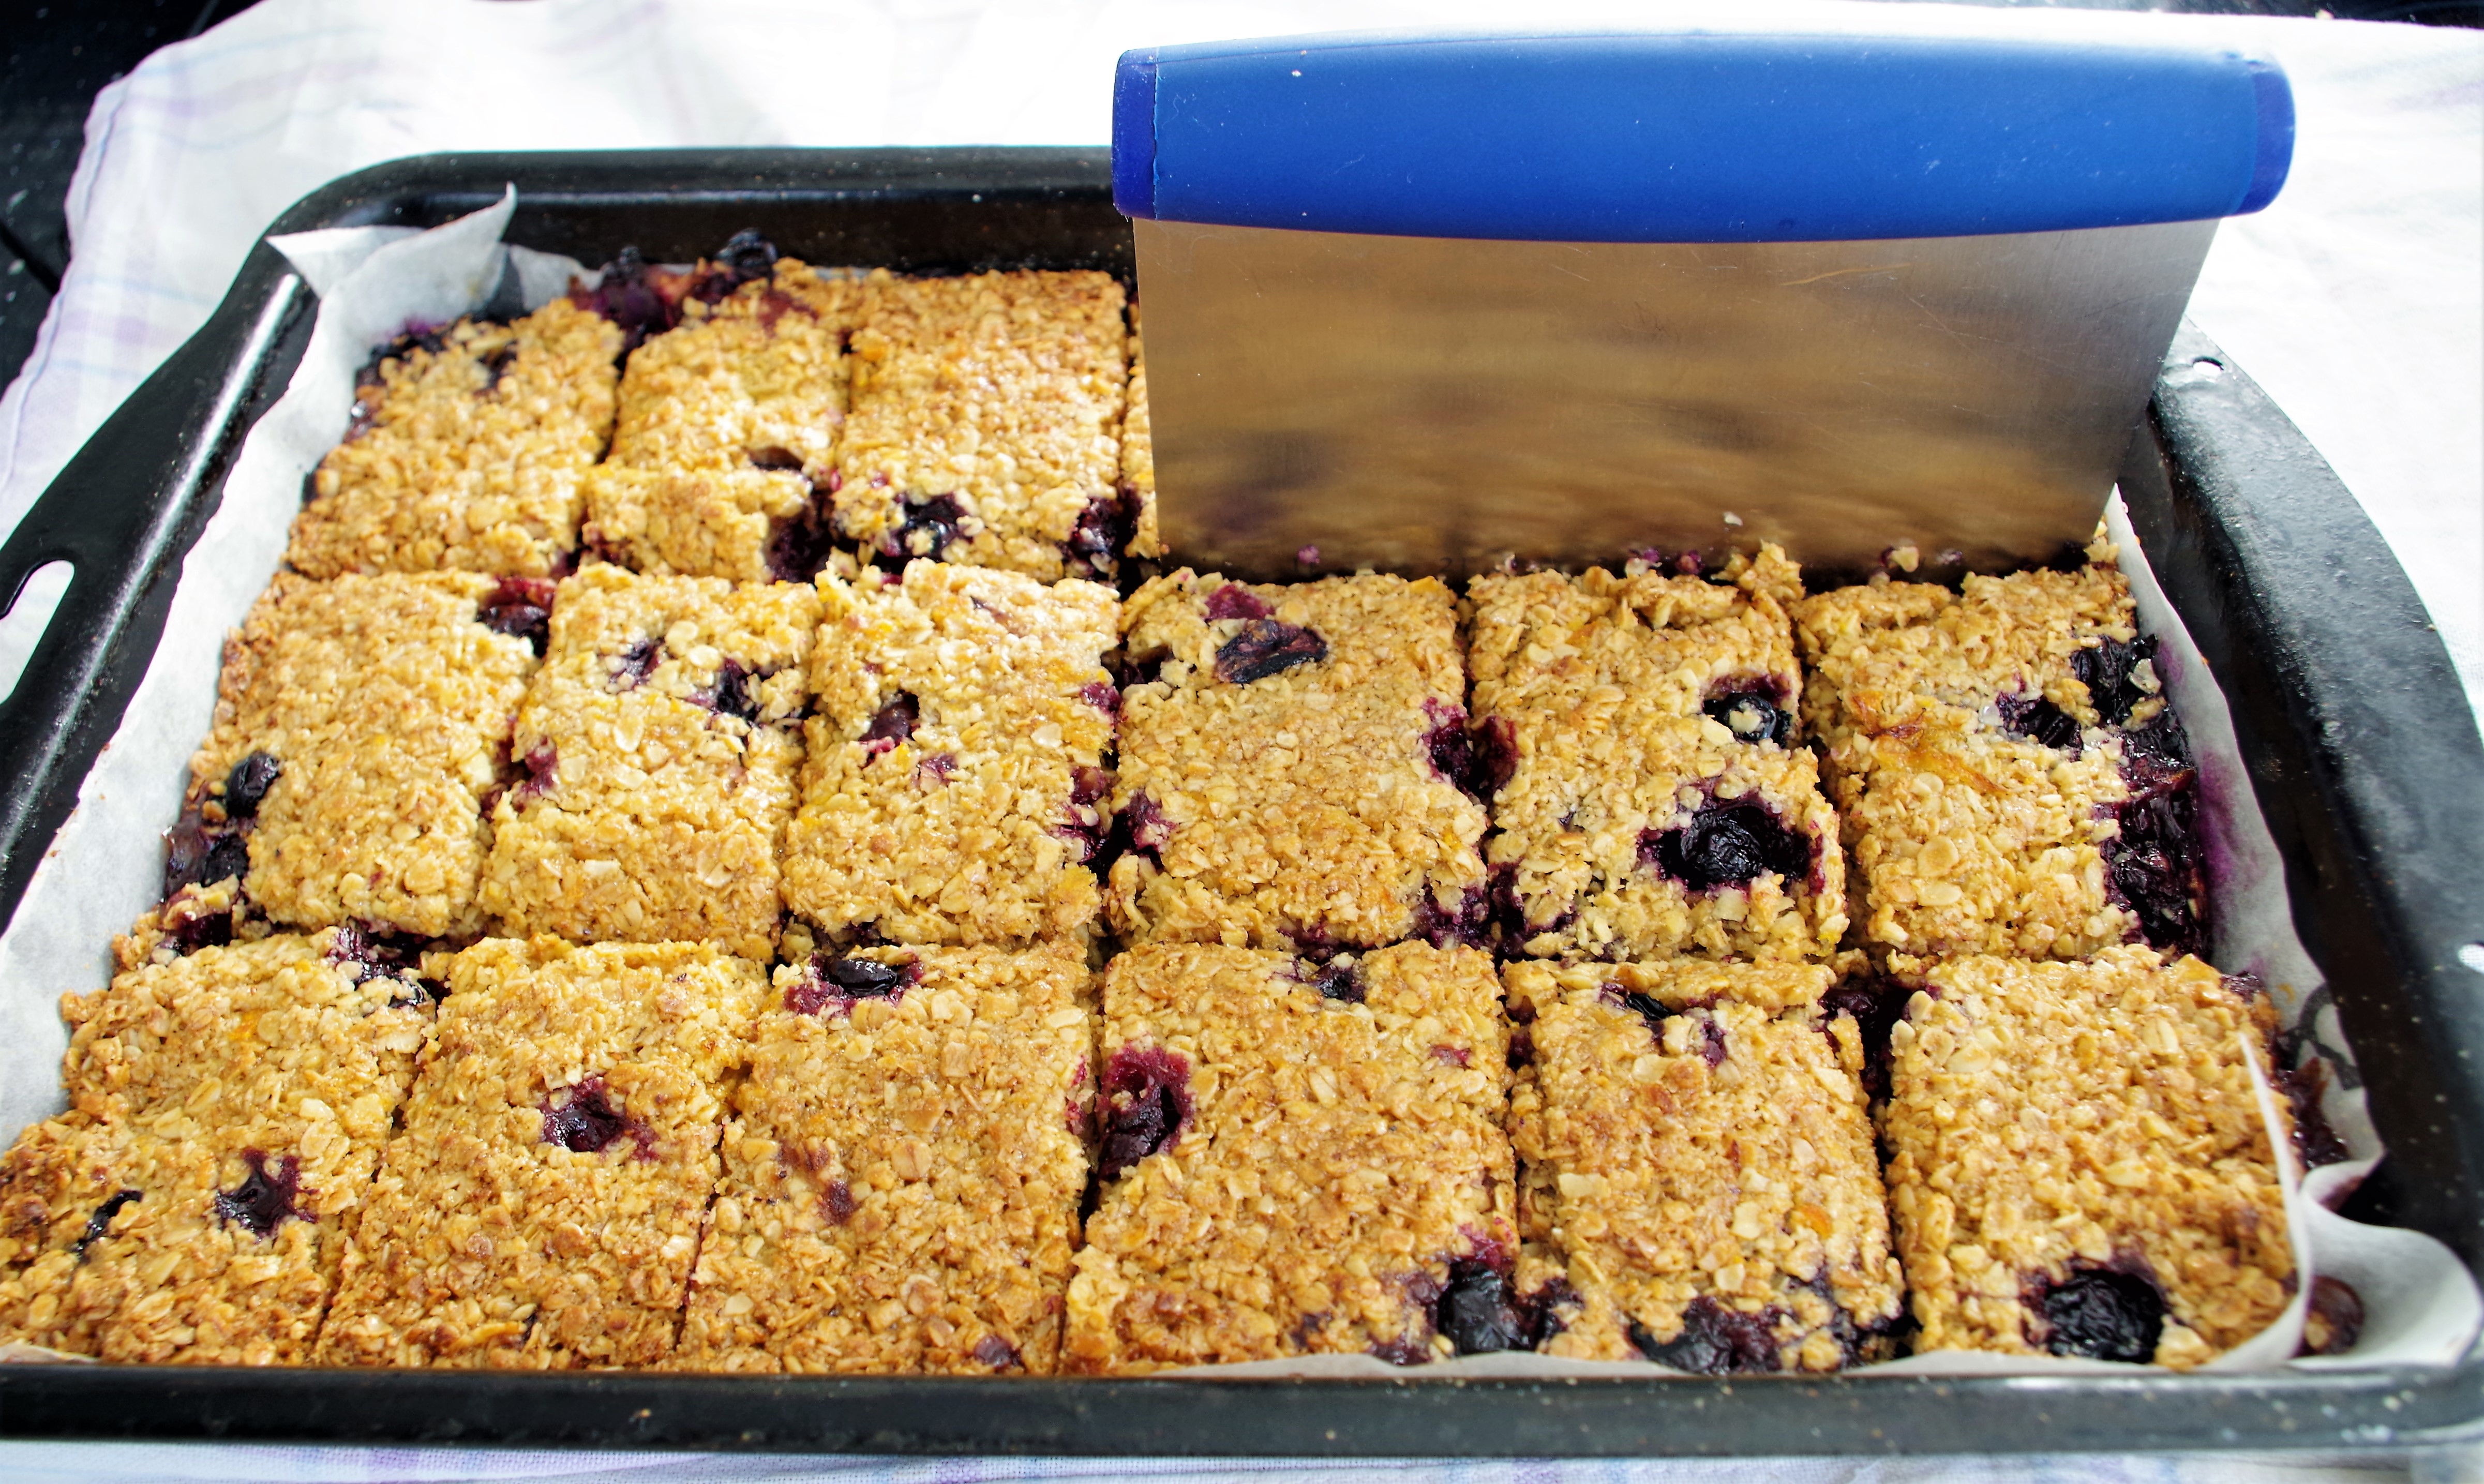
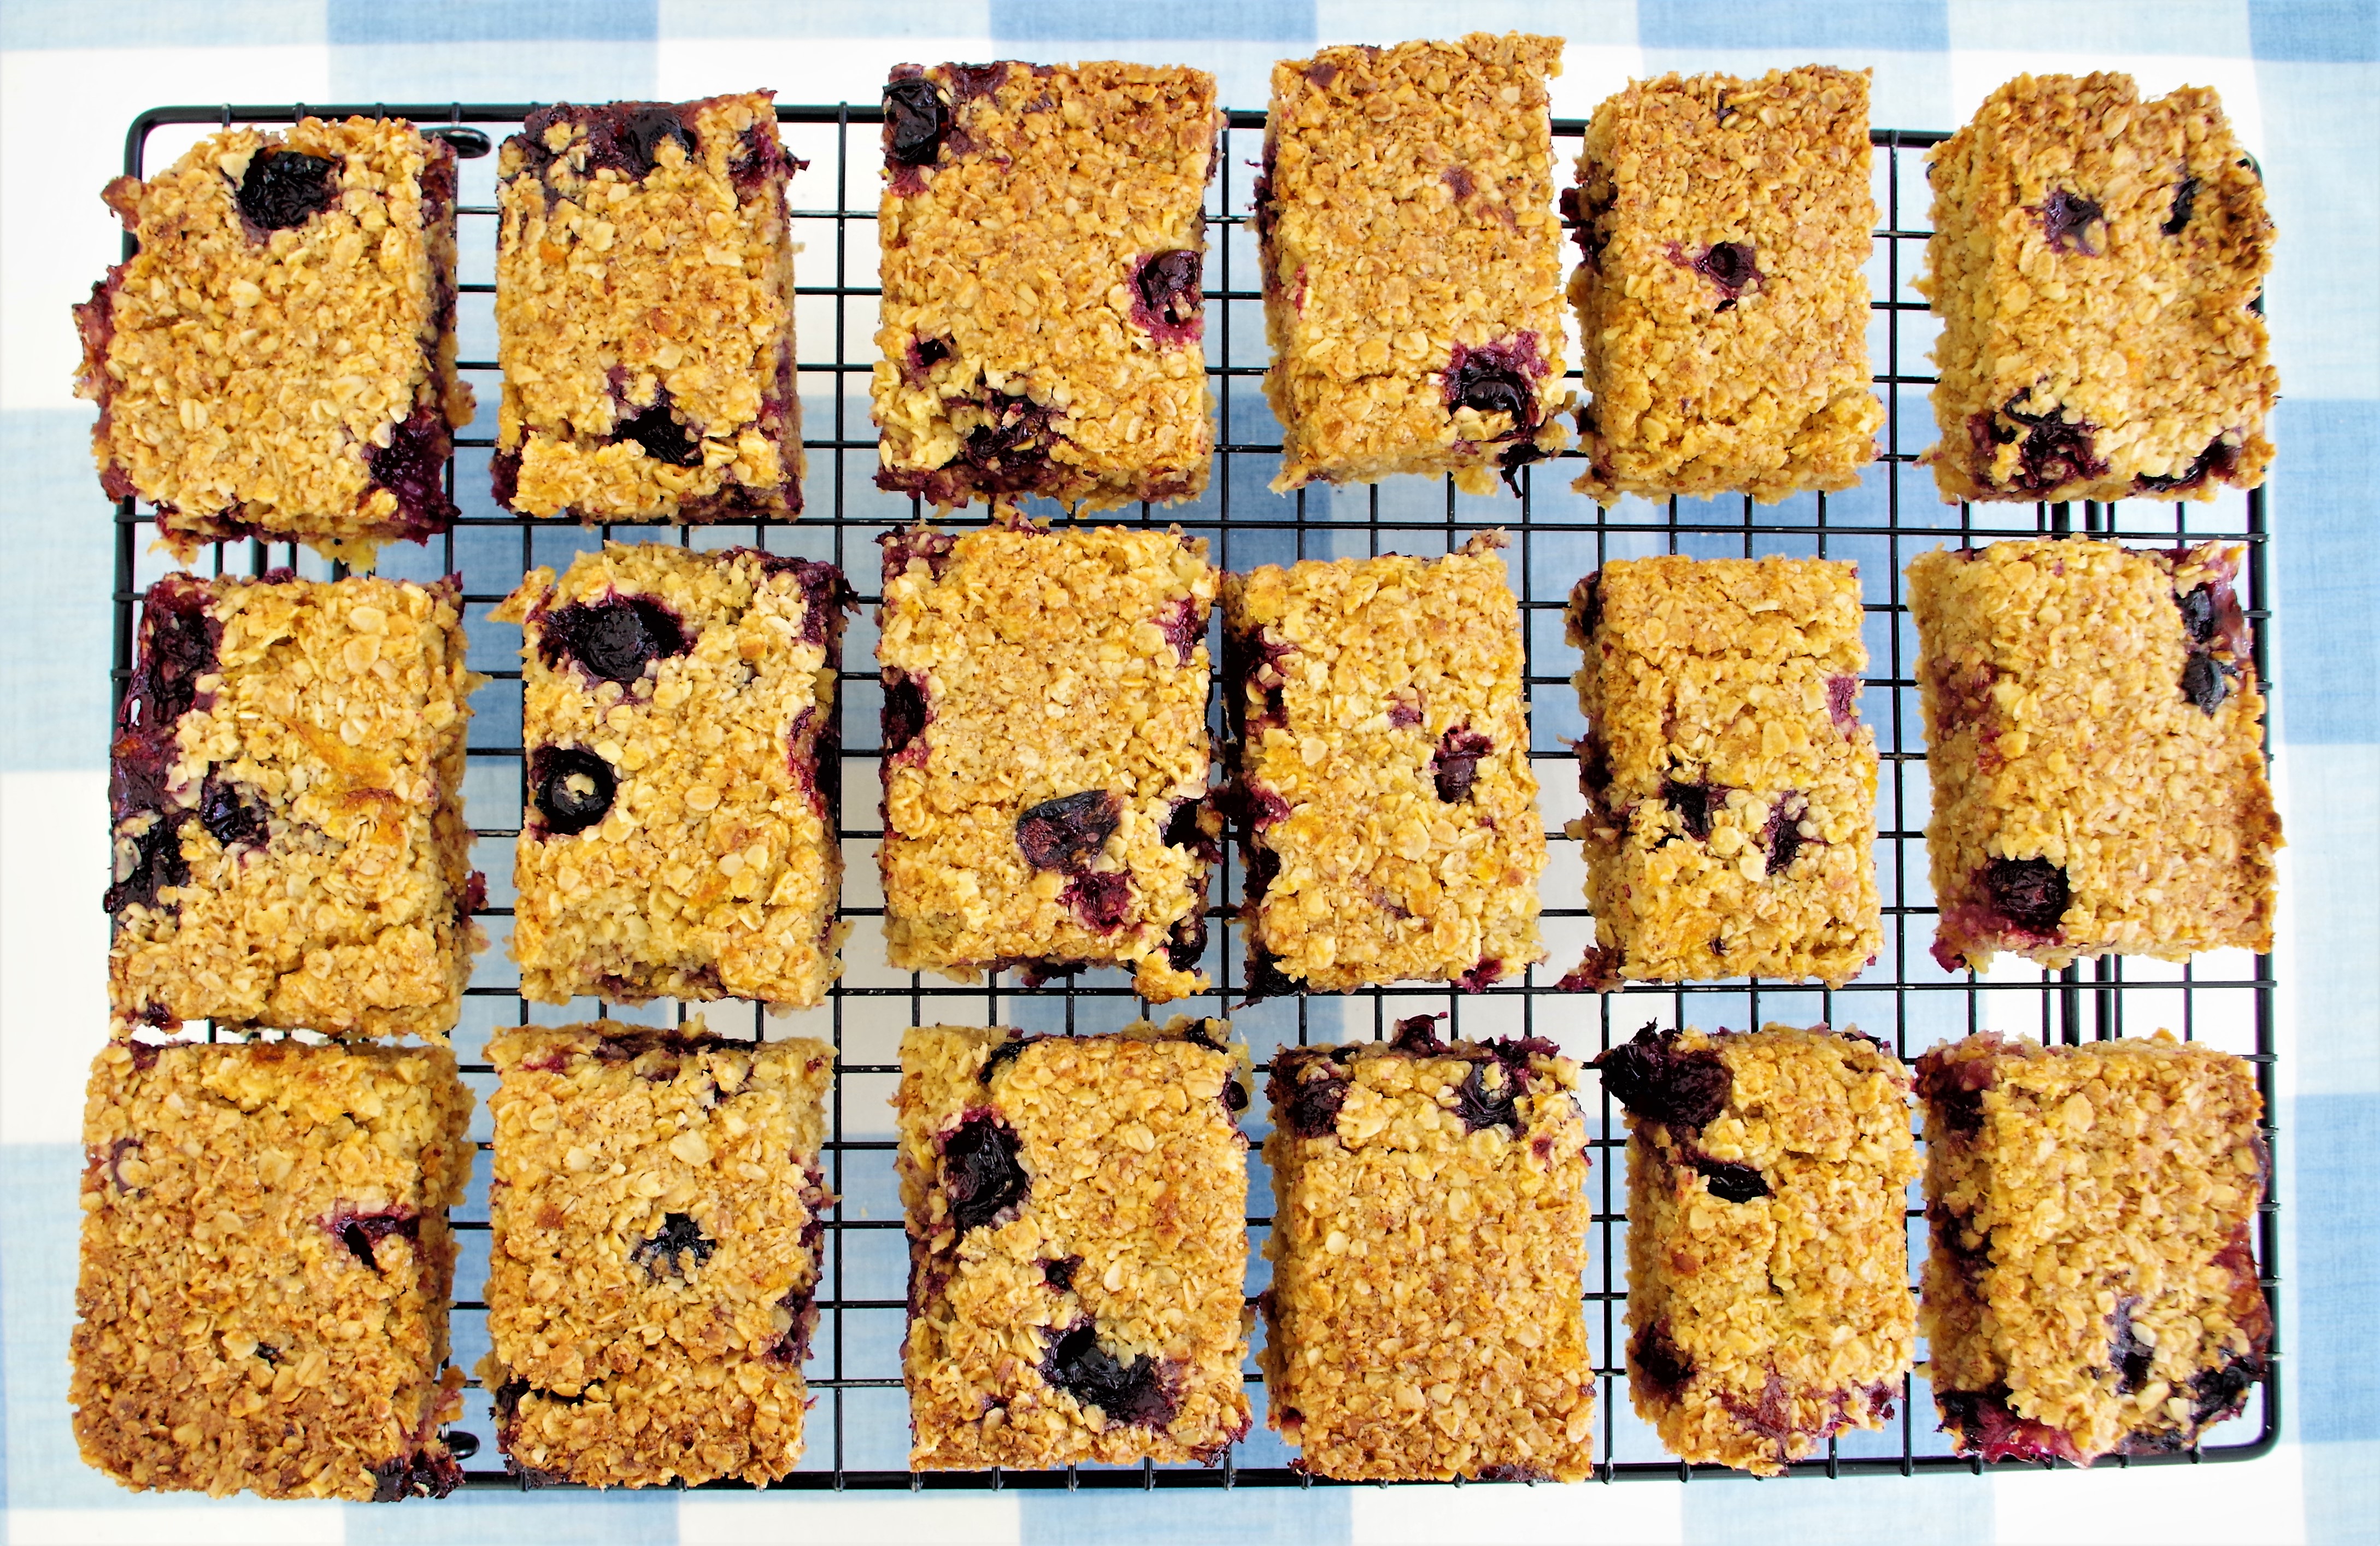
10. Turn out of the tin, remove the paper and trim the edges off the brownie. Using a sharp knife or a metal dough scraper, cut it into pieces. (Or, cut it while still in the tin and remove piece by piece)
11. For a chocolate topping, melt the chocolate and butter in a bain marie and either dip in the cut brownies or brush on the chocolate*. Then add the decorations.
* They can be quite crumbly, so I put on two “coats” of chocolate, the first one acts like a crumb coat. Chilling the brownies between coats is worthwhile.
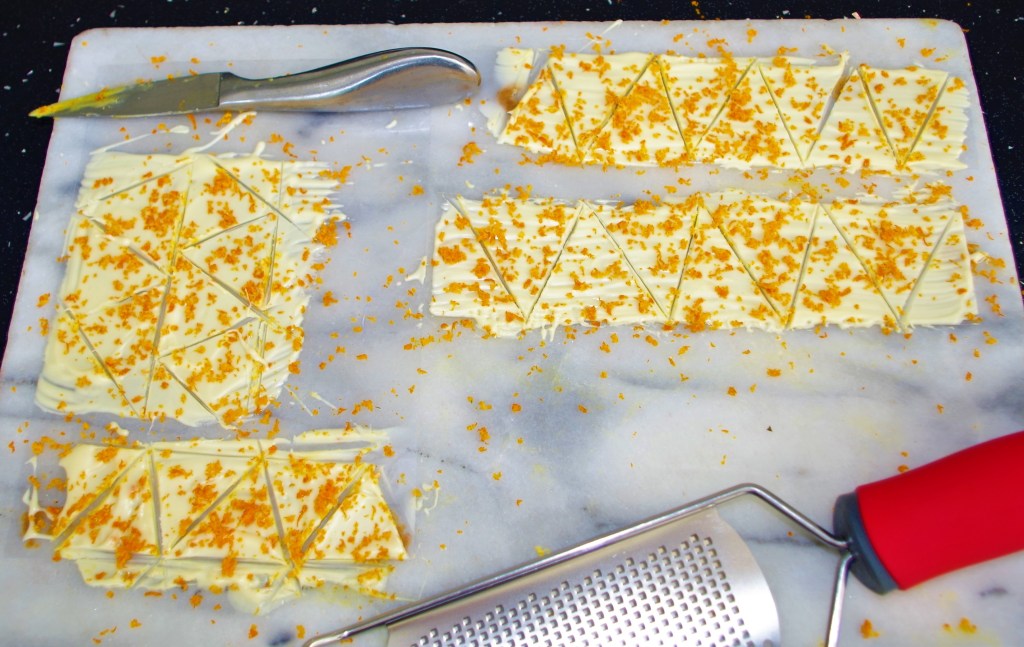
12. To make the white chocolate triangles, you will need to lay out several acetate strips. Stick them to a flat surface (I used small blobs of peanut butter, just because I had a jar to hand). Melt the white chocolate in a bain marie and brush or pour it onto the strips, smoothing it with a small offset spatula.
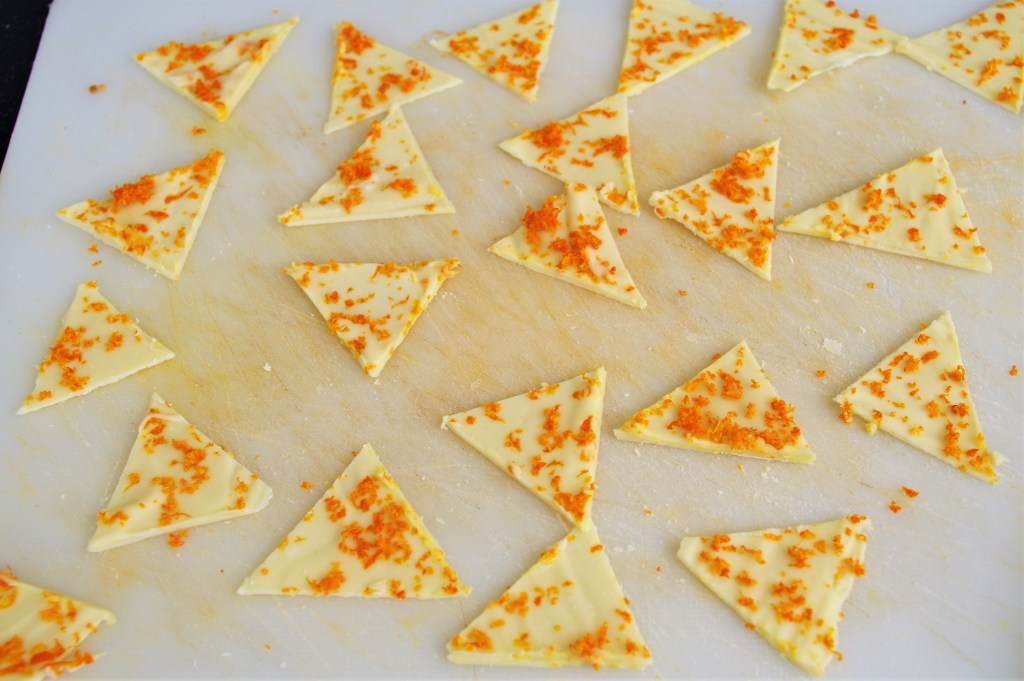
13. Before it sets, grate over the zest of an orange or a Satsuma (which tend to be a brighter orange colour). When the chocolate has almost set, mark it into triangles with a sharp non-serrated knife. Chill in the fridge then break gently into pieces.
Gallery 1

Gallery 2
Gallery 3

I hope you enjoy making (and eating) these great brownies. If you love brownies and blondies have a look at my tray bake recipes by clicking here.
Below are some of my personal favourite traybakes that I think you’ll love too.
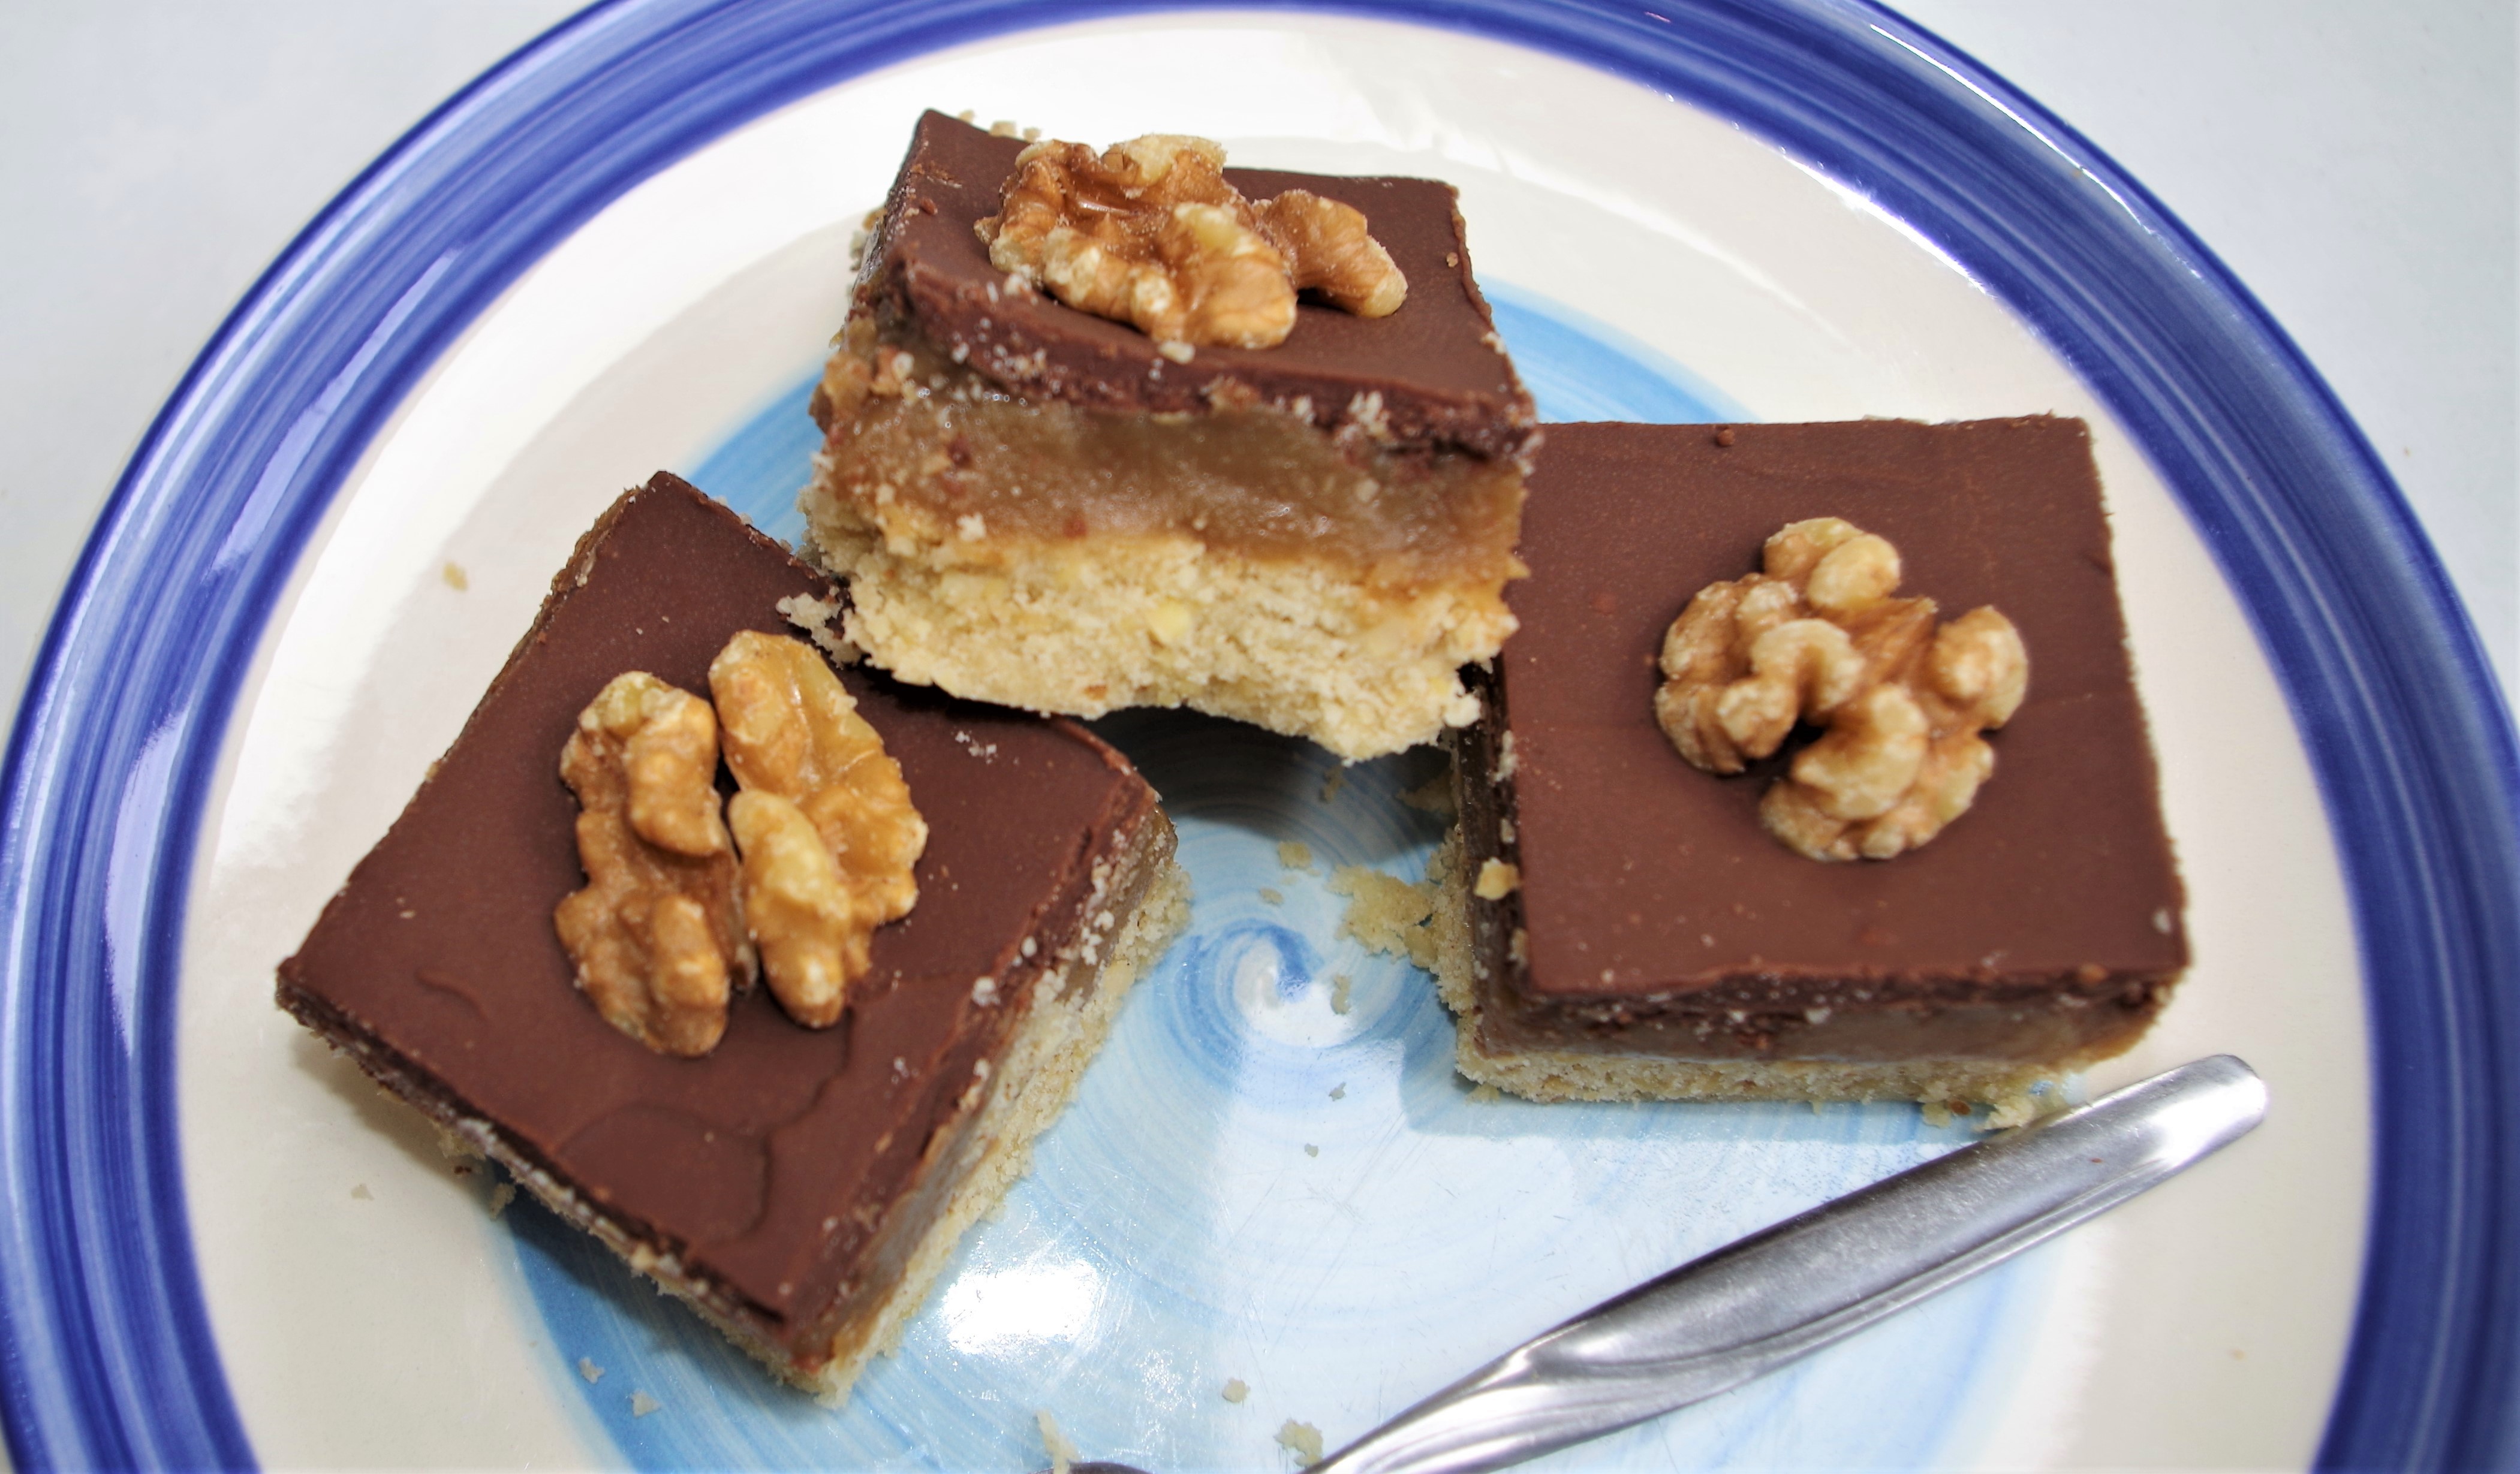
Coffee and Walnut Millionaires Shortbread


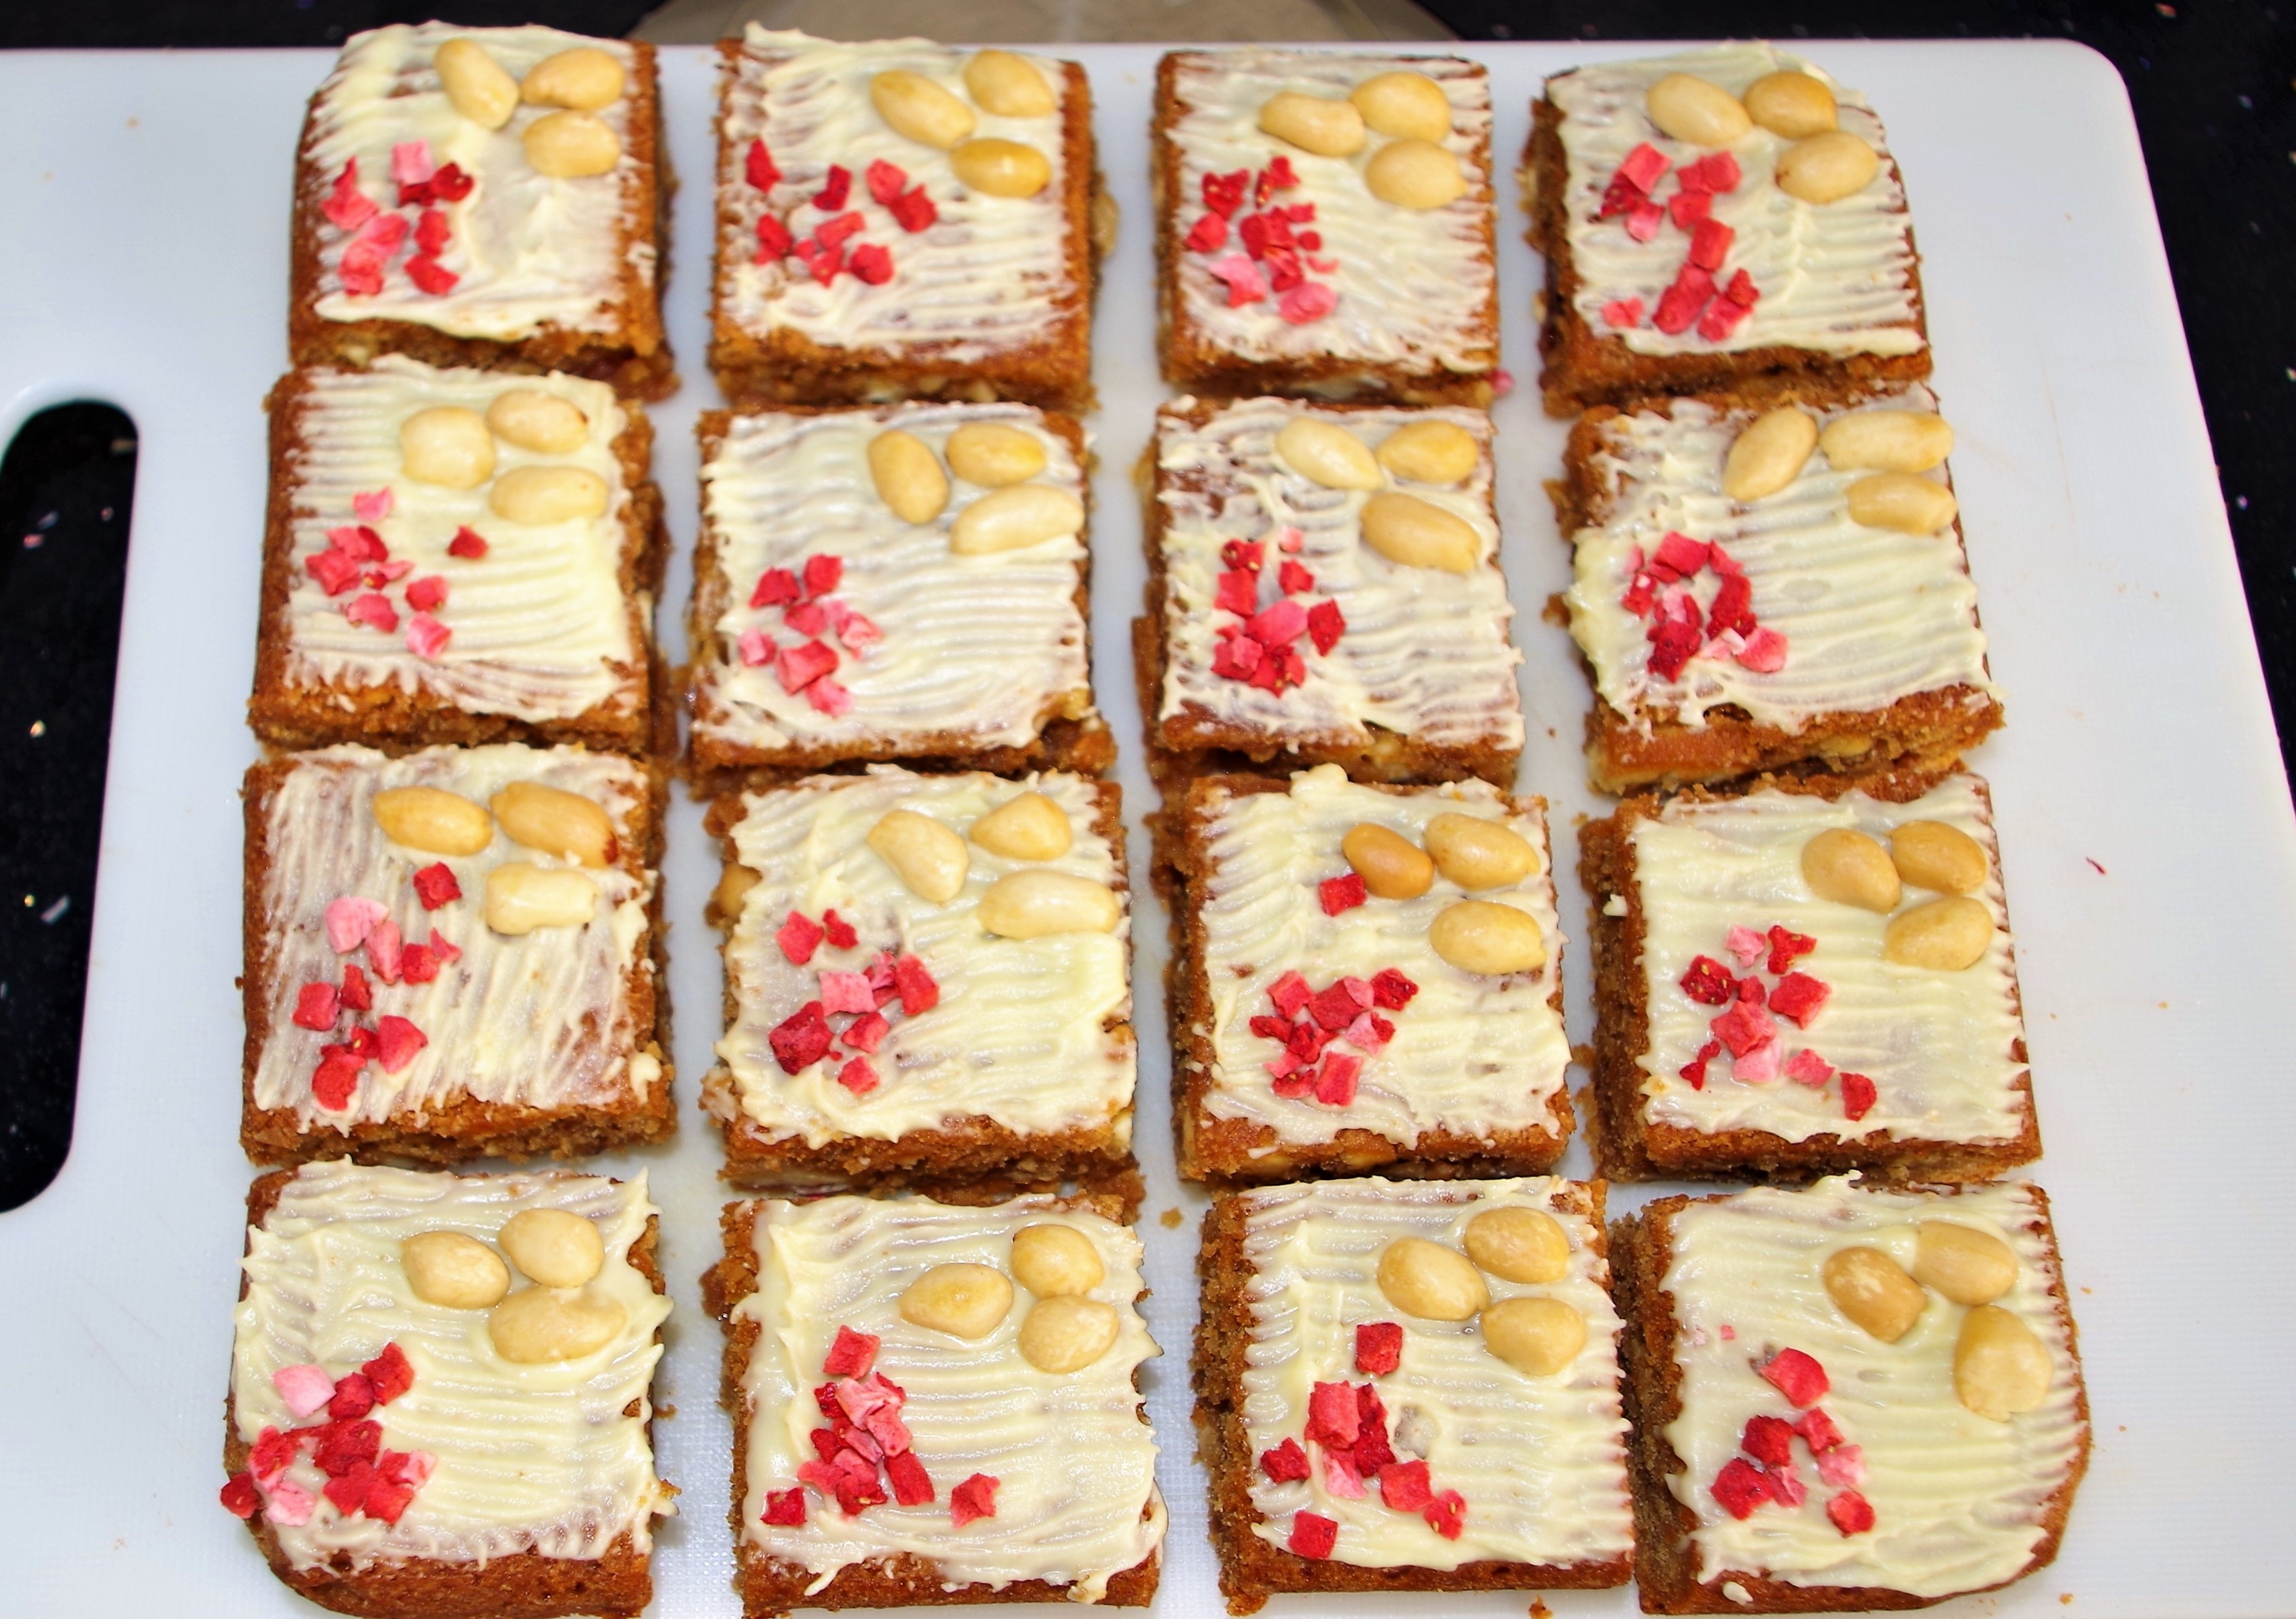
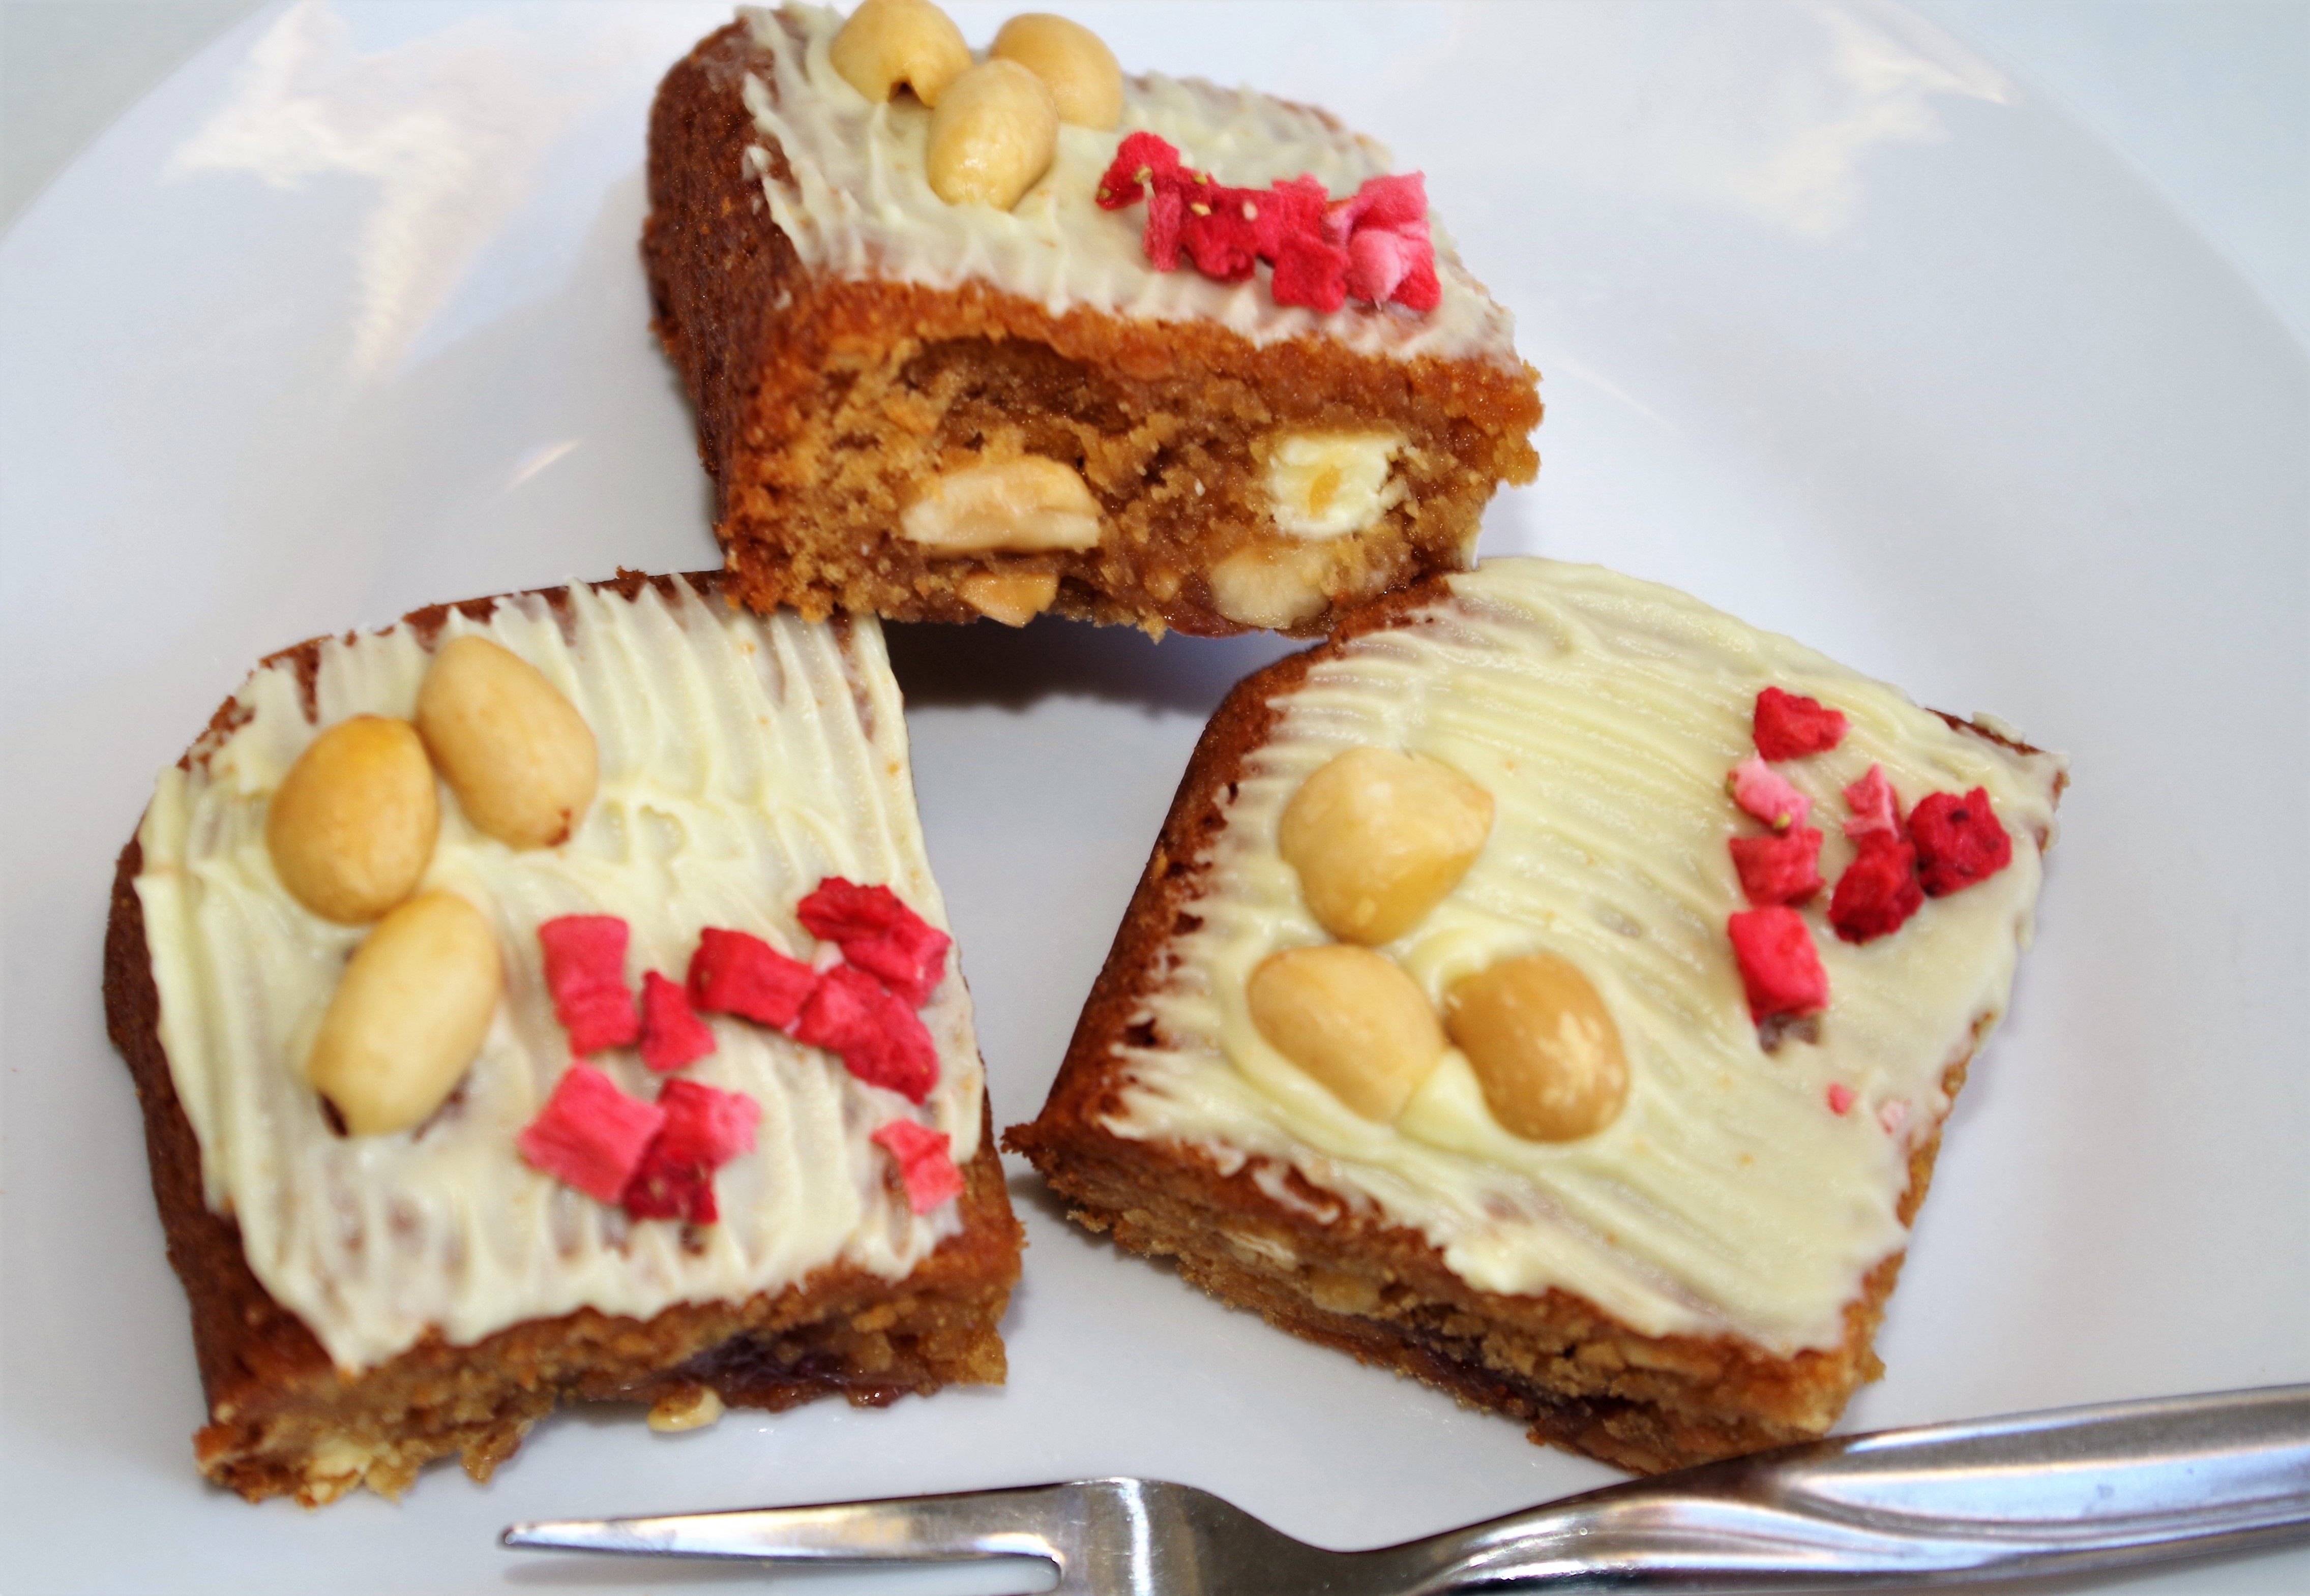
Peanut Butter and Strawberry Jam Blondies

If you’d like to make a comment or ask a question please do, via the contact page.
