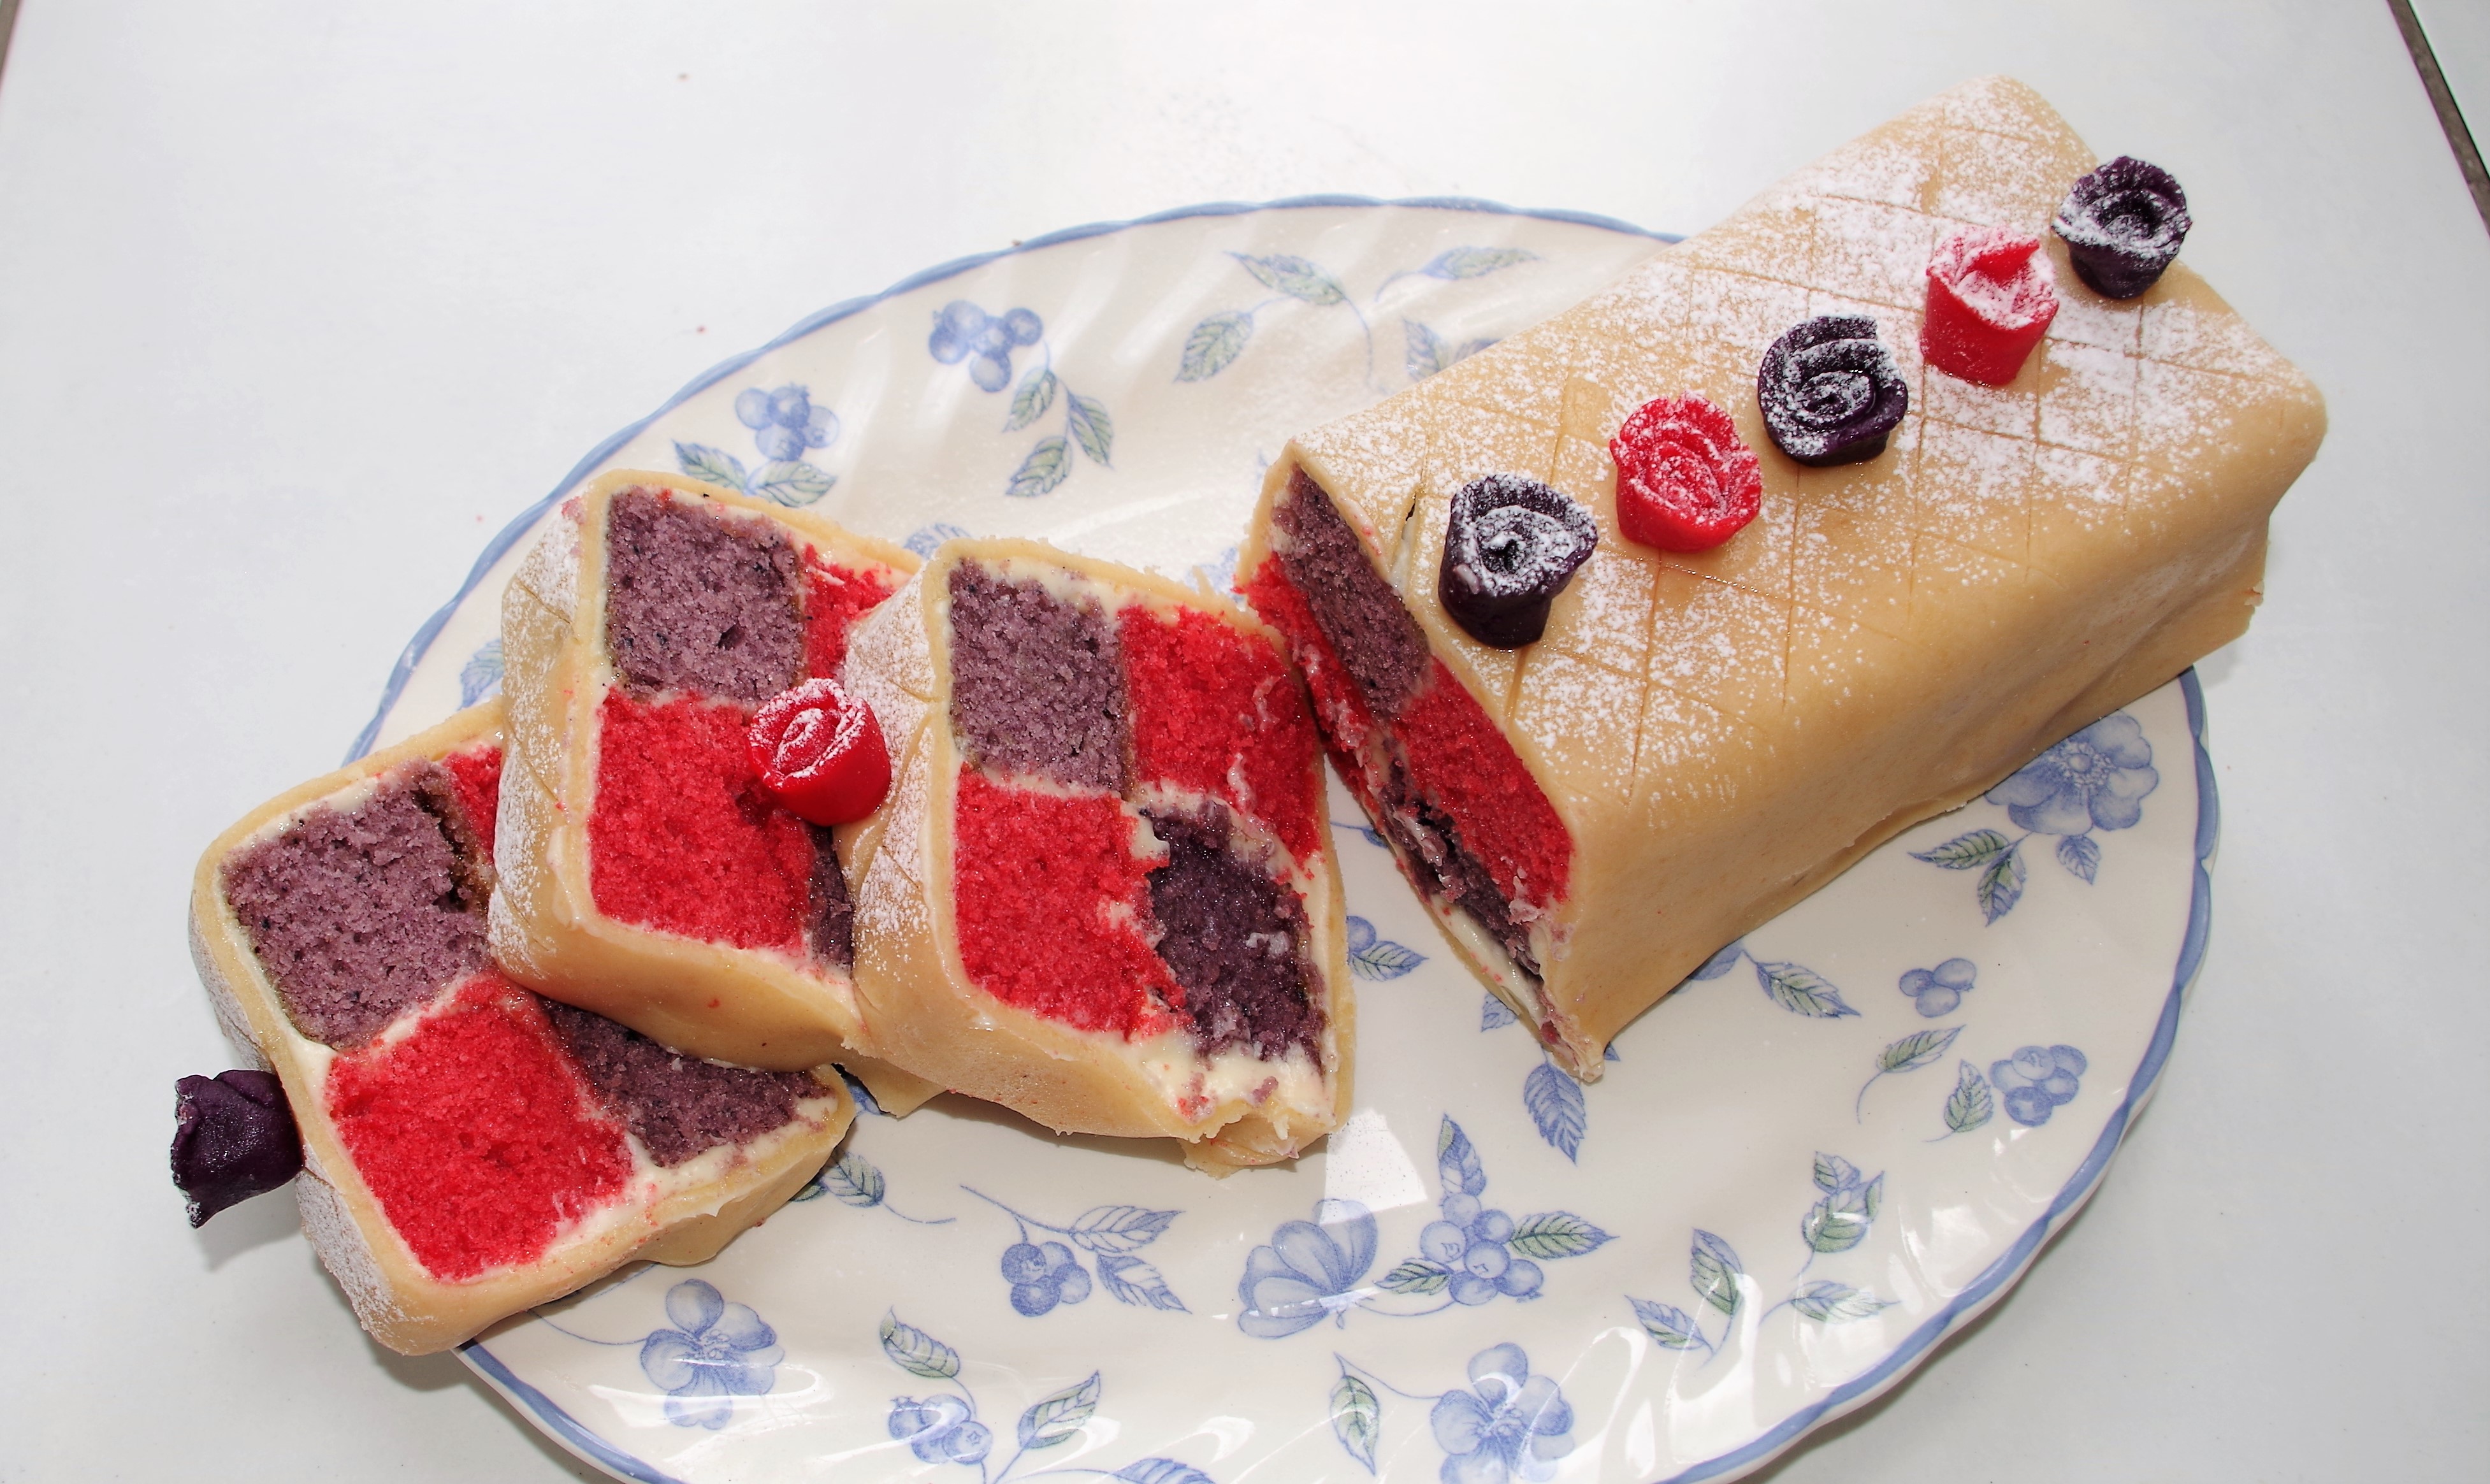
This variation of a classic cake adds some vibrant colours and different flavours but still retains the traditional look.

Serves: 10 – 12
Time: Prep: 30 minutes. Baking: about 30 minutes + cooling. Assembly and decoration: 20 minutes + chilling time (for the cake and the baker).
Level: A small step-up from “easy”.
Equipment: A 20cm/8” square cake tin or a purpose made, compartmentalised, Battenberg tin.

Ingredients
For the sponges
- 225g butter, softened + extra for greasing the tin
- 225g caster sugar
- 240g Self-raising flour
- ½ tsp salt
- 4 eggs
- 60g ground almonds
- 50g Raspberries (blitzed and strained)
- ½ tsp raspberry flavouring (optional)
- red & purple food colourings (I like the “Colour Splash” range)
- 50g blueberries (blitzed and strained)
- ½ tsp blueberry flavouring (optional)
For the filling/decoration
- 75g butter, softened
- 75g full fat cream cheese at room temperature (e.g. Philadelphia original)
- 250g – 300g icing sugar + more for dusting
- 2 tsp warmed lemon juice
- 500g block of marzipan

Method
1. Preheat the oven to 180C / fan 160C / 350F / Gas 4. Butter the tin and line it with baking parchment, making sure two edges come higher than the sides of the tin. Divide the space in the tin into two equal halves by pulling up the centre of the parchment and creating a straight pleat. It must be in the centre. (*for a more detailed method see below.)
2. Sift the flour and salt into a bowl and stir in the ground almonds.
3. In another bowl, cream the butter and sugar together using an electric mixer, until pale and fluffy. Beat in the eggs one by one with a teaspoon of the flour each time.
4. Gradually add in the rest of the flour and almond mixture. Mix to just incorporate – don’t over mix. (Each half will be mixed again when colours are added.) Separate the mixture equally into two bowls.
5. Into one portion stir the raspberry puree, raspberry flavouring (if using) and a small “blob” of red food colouring. (Add a little more later, if necessary) Into the other portion, stir in the blueberry puree, blueberry flavouring (if using) and a small amount of purple food colouring. Mix each until the colours are incorporated.
6. Spread the two mixtures into the two sections of the prepared tin and level them. Bake for 25 – 35# minutes. Allow the cakes to cool in the tin for 10 – 12 minutes then turn out carefully onto a wire rack to cool fully. (#This is quite a wide “time window”, but the addition of fruit can play havoc with normal timings. Towards the end of the baking time check regularly.)
7. With a sharp serrated knife, trim off the darkened cake edges then divide each cake into two equal strips. The width of each strip must be the same and also the same as their height. All four strips must have four equal sides- i.e. must be square when seen end-on.
8. To make the lemon filling beat the softened butter and cream cheese together then sift over the icing sugar. Add the warmed lemon juice and stir to mix then beat more vigorously, either by hand or with an electric mixer. (It needs to be spreadable, but firm enough to “glue” the pieces together.)
9. Lay out the cake strips. Use the lemon filling to combine one red strip with one purple strip. Use more filling to stick the other two strips on top, alternating the colours. These two should also be stuck together. (If necessary put it in the fridge for 30 minutes to firm up. You could even wrap it tightly in cling film first to make sure it “sets”. )
10. Lightly dust the work surface with icing sugar and roll out the marzipan into a large rectangle approximately 18 x 20cm. It needs to be as wide as the length of the cake and a little longer than the sum of the four sides.
11. Put a layer of filling on the marzipan and set the cake on this. Cover the top and sides of the cake with more filling then tightly roll the cake and seal together the long ends of marzipan. Trim off any excess then turn the cake over so that the joint is underneath.
12. Trim off the end pieces so that the cake is neat and even. You could crimp the top corners for a decorative look and/or add a neat pattern of lines on top. Also, you could use the marzipan offcuts to create rose shapes.** Dust the finished cake lightly with icing sugar before serving.
**Create rose shapes by cutting thin strips of marzipan. Roll these and trim to make roses. The marzipan can also be coloured for red or purple roses.
*To make the central fold in the baking parchment: first measure and cut a strip of parchment that is the correct width (20cm/8”) to fit the tin. It also needs to be about 330cm/13” in length.
Fold the full length in half (i.e. 165cm/6½”) Make a firm crease. From this half way crease measure back about 40cm/1½” (or whatever is the interior height of the sides of the baking tin) and make a parallel fold using a ruler. Repeat this on the other side, again using a ruler to firmly put the crease in.
This will give you a strong pleat. Now simply set this in place in the tin, making sure that the “dividing wall” is central.
PS – I made a valuable personal discovery while decorating this cake. Red and purple marzipan taste as good as uncoloured marzipan. (NB I love marzipan.)
For many more lovely recipes click on this link. And if you’d like to make a comment or ask a question that would be great, just go to the contact page. Click here to return to the home page.
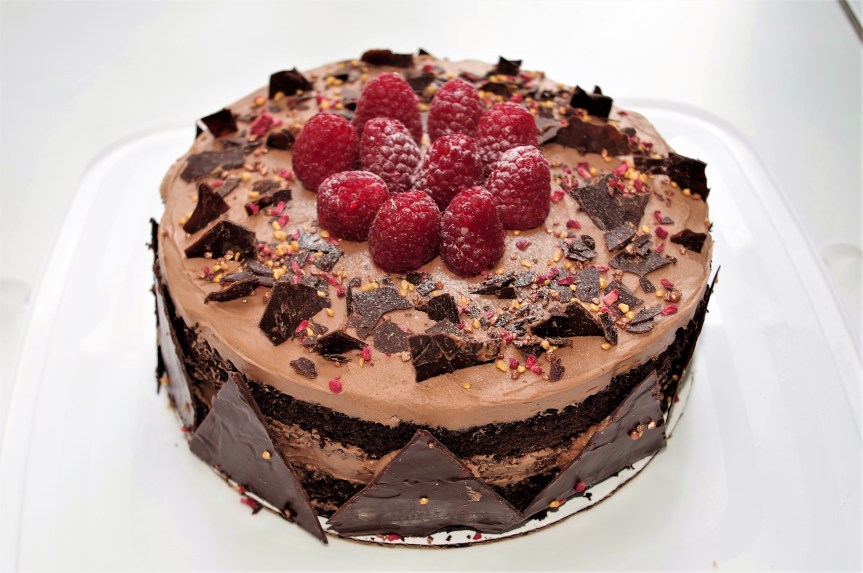
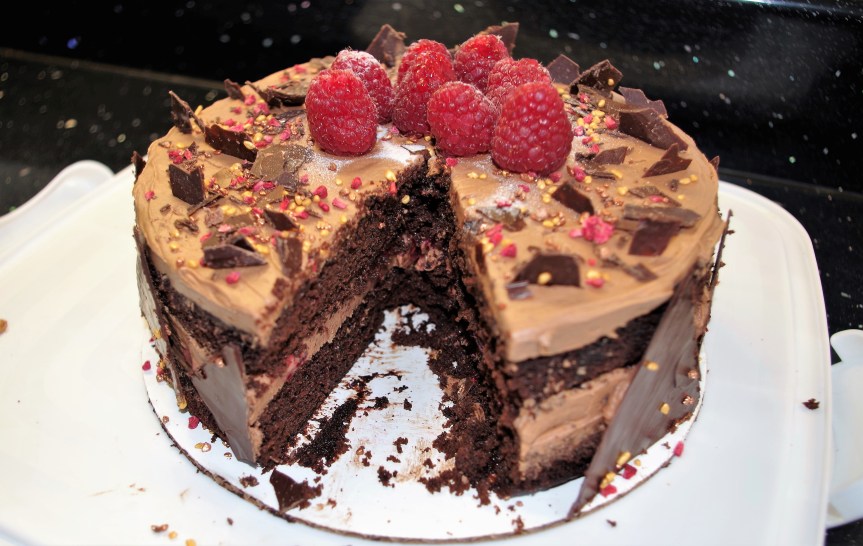
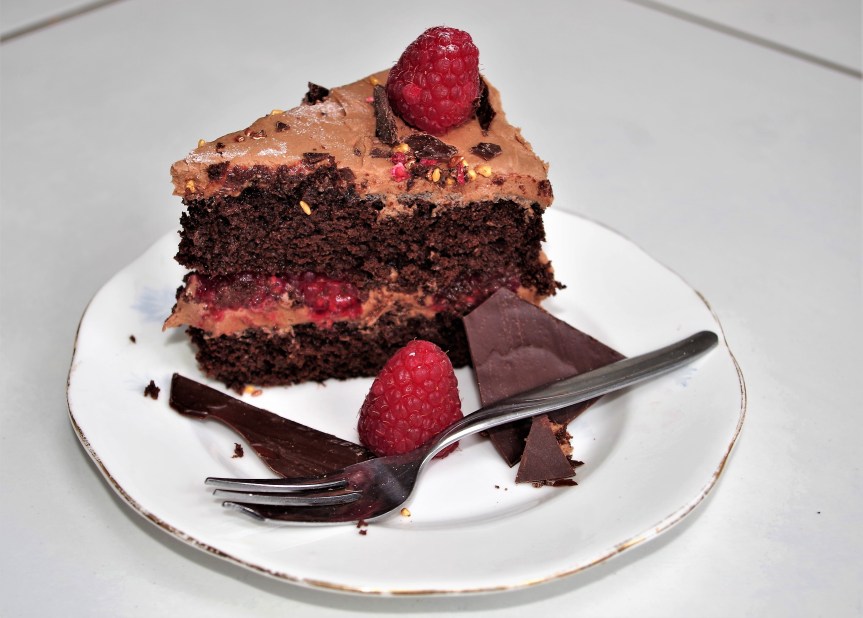
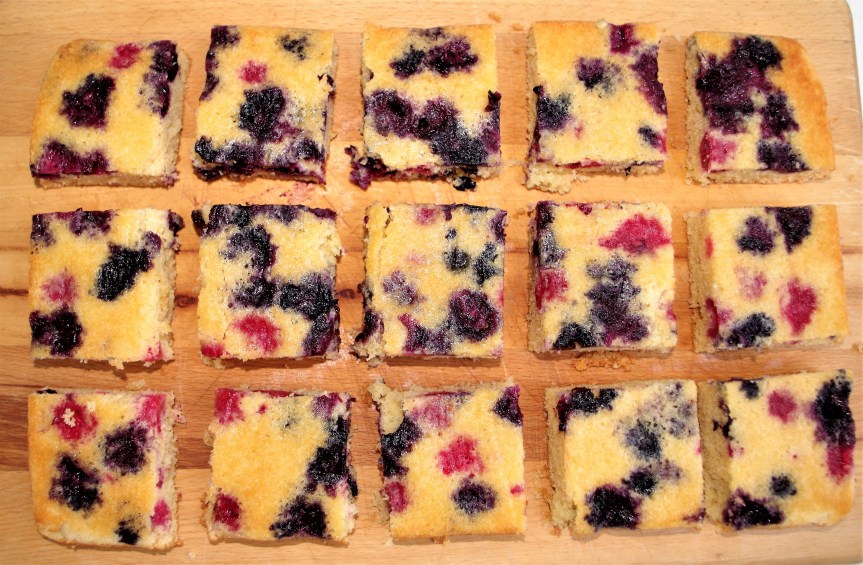
If, like me, you love berries then here are a couple of suggestions with links for you: First is my Raspberry and Chocolate Cake which is quite rich and impressive. For a quicker, easier tasty berry bake it’s hard to beat my Double Berry Tray Bake.