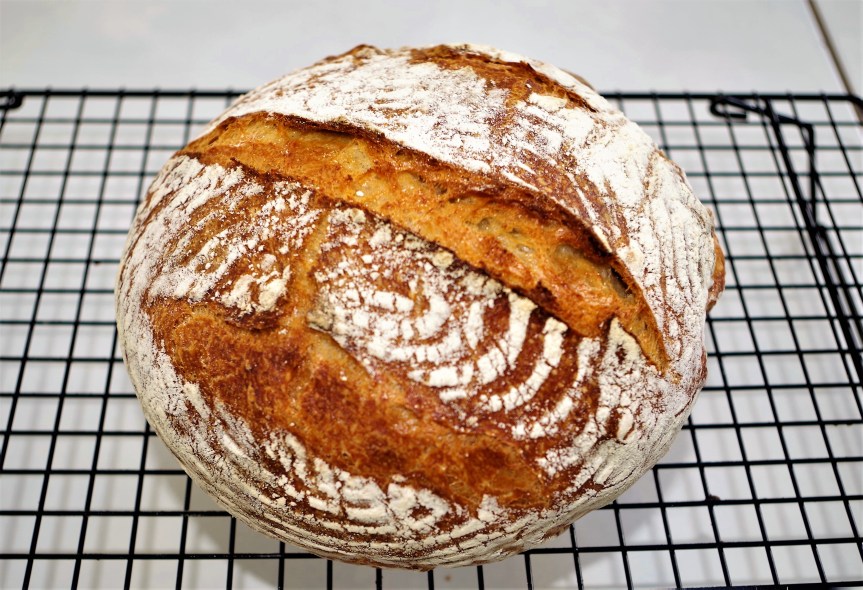
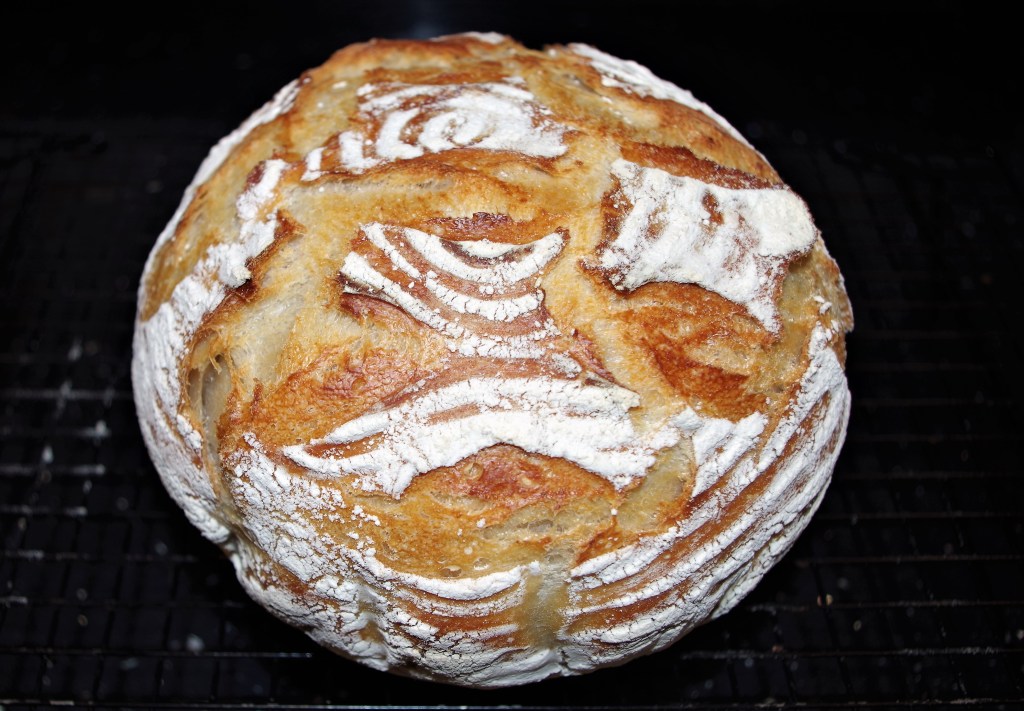
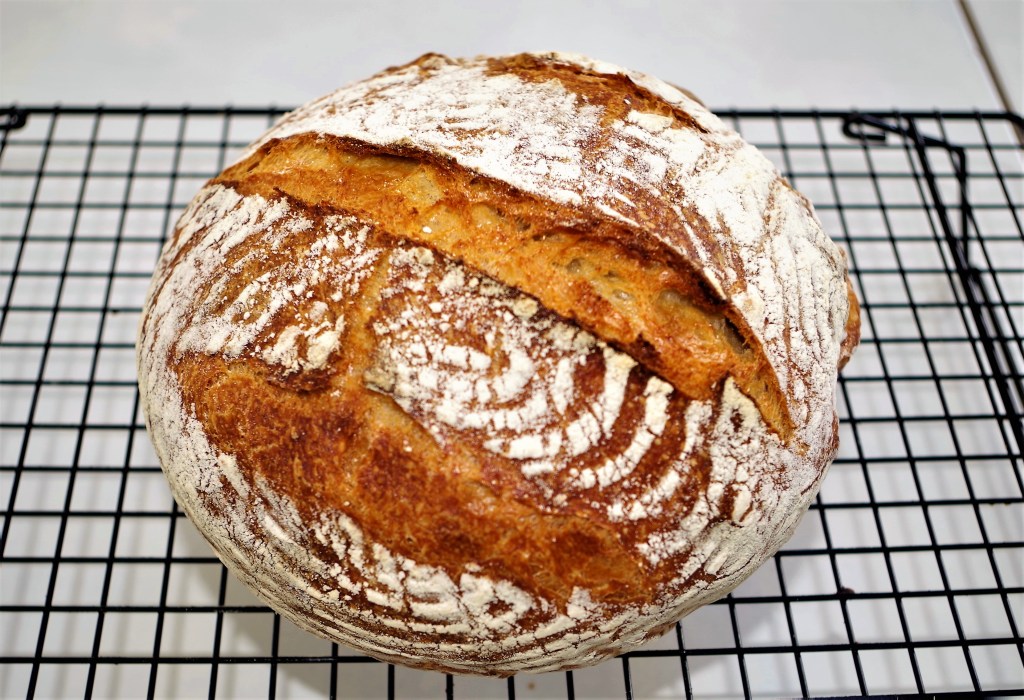
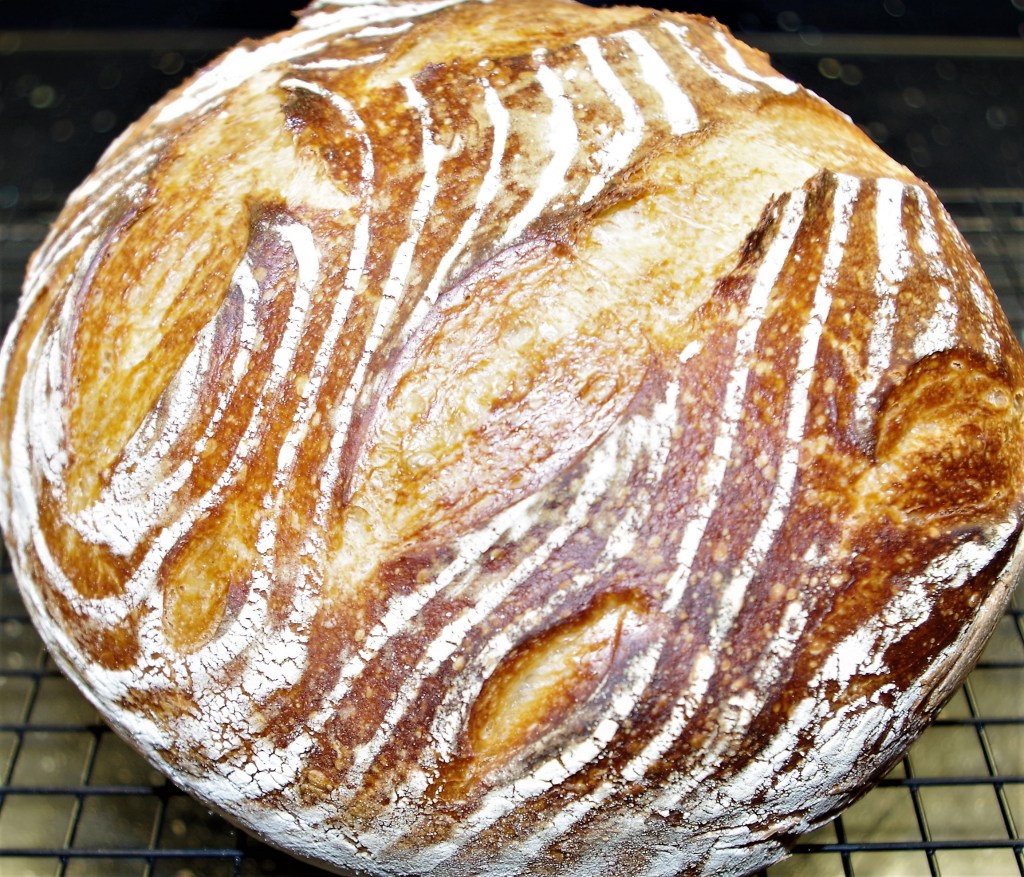
I’m not claiming to be a sourdough expert – far from it – but here’s what I’ve been doing reasonably successfully for the past few months. The loaves I’ve made each week have had a lovely soft crumb (inner) and a crisp, crunchy crust (outer). And they always taste very good.
The instructions below make a few assumptions:
1. That you have, or will have, a starter mixture. (If not see further down the page for how to create a starter)
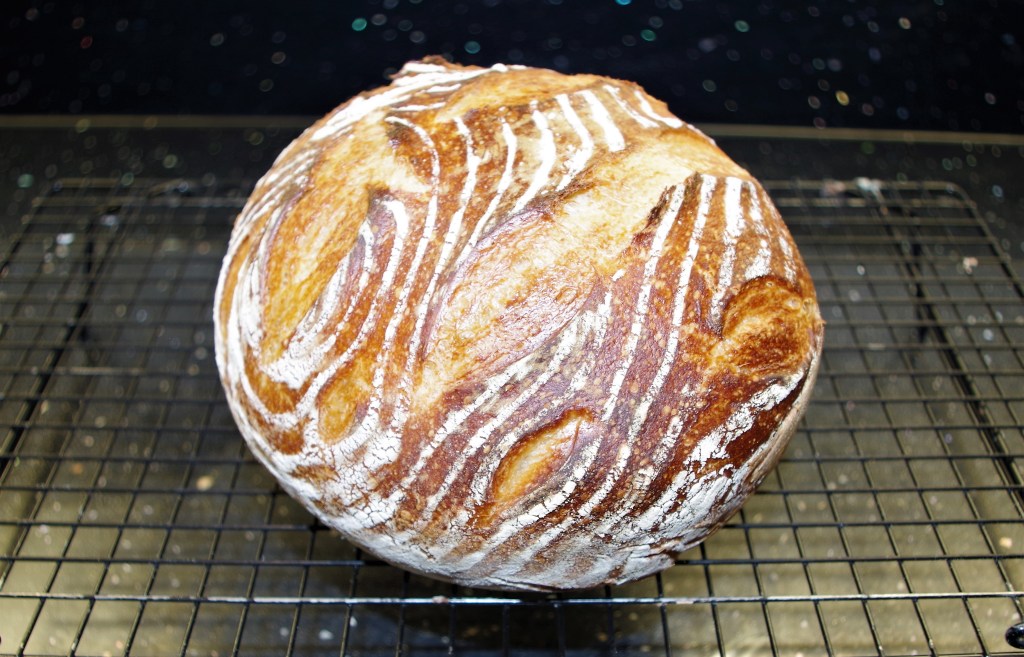
2. You have a large round banneton (A wicker proving basket.) You can use 1kg loaf tins or similar instead, but won’t get the attractive pattern achieved by using a banneton.
3. You have a Dutch oven or a lidded casserole dish that you can use as a Dutch oven.
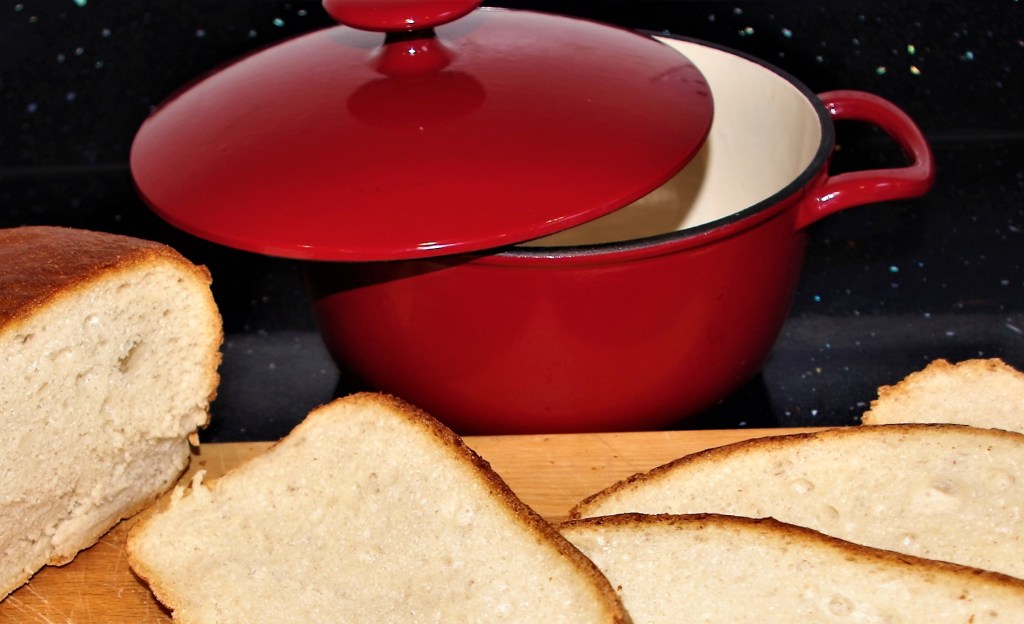
The ingredients and method that follow will make a medium/large loaf that will give you about 12 large slices. The timing isn’t easy to predict for a variety of reasons. As no kneading is required, the actual hands-on time is reasonably short. There’s a lot of waiting, but you can leave the dough and get on with other things during these times.
Ingredients
- 150g starter (at room temperature)
- 300g warm water
- 450g strong white (bread) flour
- 10g fine salt
NB Due to differences in environment and flours used you may need a little more or less flour or water.

Method
The previous day or evening:
1. Whisk the starter and water together in a large bowl. Add the flour and salt. Combine and mix well to form a fairly stiff dough, It should feel dense and shaggy.
2. Scrape the dough into a lightly oiled bowl. Turn the dough over a few times to coat in the oil then gather some dough from underneath and stretch it up and onto the top. Repeat for a few minutes, turning the bowl as you go. Now cover the bowl and leave it overnight in a cool place. (I use an elasticated shower cap to cover my bowls and I leave my dough in the garage overnight, or longer sometimes.)
The next morning:
3. The dough should have increased markedly in volume, but may not have “doubled in size”. Don’t worry, coax the dough out and onto a lightly floured work surface and shape it into a round. As before, gently stretch the dough over toward the centre. Turn the dough slightly and fold over the next section. Repeat until you have come full circle.
4. Liberally, dust and line a banneton with flour. With floured hands, gently cup the dough and pull it toward you in a circular motion to tighten its shape. Carefully, place the dough into the banneton, seam side up.
5. Cover the banneton and let the dough rest for at least an hour. It’s ready when it looks puffy and has risen slightly. Once again, it may not have doubled in size.
6. Meanwhile, heat your oven to 230C / Fan 210C / 450°F. Put your Dutch oven (or casserole dish) in the oven to heat up.
7. When the oven comes up to temperature and the dough is ready, take out the Dutch oven and, in one speedy and confident movement, tip the dough from the banneton into the Dutch oven. If necessary shake the Dutch oven to seat the dough as centrally as possible. Traditionally, the dough is now scored with a sharp knife or a lame. However, if the dough is soft, even the sharpest knives tend to drag, so now I prefer to make several snips with scissors held perpendicularly.
8. Bake the dough for 30 minutes, covered. Remove the lid, and continue to bake for 20 more minutes. (If you want a shiny loaf then brush it now with olive oil or egg wash, but keep an eye on it in case it darkens too much or begins to burn.)
9. Finally, remove the loaf from the pot and bake directly on the oven rack for the last 5 – 10 minutes to crisp the crust. A well baked loaf will give a clear hollow sound when tapped with your knuckles. Leave on a wire rack to cool before slicing it, tempting though it will be to dive straight in.

Making a Starter
Day 1: Warm 175ml milk in a saucepan over a gentle heat. Place 75ml full fat plain yogurt into a bowl and stir in the warmed milk. Cover and leave in a warm place for 12-24 hours until thickened. Stir in any liquids that may have separated.
Day 2: Stir 120g strong white (bread) flour into the yoghurt, mixing evenly. Cover and leave in a warm room for two days. By now it should be full of bubbles and smell pleasantly sour.
Day 4: Add 180g flour to the mixture with 100ml water and 40ml milk. Cover and leave in a warm room for 12-24 hours.
Day 5: By day five the starter should be quite active with plenty of bubbles. Remove half of the starter and discard. Add 150g flour and 150ml of water to the remaining starter and mix thoroughly. Cover and leave at room temperature for 24 hours.
Day 6: By day six the starter should be ready to use. You can keep the starter at room temperature, but you will need to feed it daily. Combine equal parts of the starter, water and flour and mix thoroughly. You may have to discard some of the starter so that you do not end up with too much. Keep covered and use as needed.
If baking less often keep the starter covered in the fridge, feeding it once every four to five days. Simply pour away or use a set amount (e.g. 200ml) then mix back in the same amount of flour and water (i.e. 100g of each in this example).
I struggle with the idea of simply throwing away 200ml of starter every few days, so I tend to bake a loaf regardless and often give it away. I’m currently looking into other things I can bake with my discarded starter. If you have any ideas on this, I’d love to hear from you via the contacts page: https://retiredblokeonfoodnstuff.com/contact/
In the mean time, Happy Baking and Happy Eating.