Here’s a really good basic chocolate cake that everyone will enjoy just as it is, but it also lends itself to a whole range of extras. As I write this, my current favourite “extra” is cherries, but I’ve also added in pears which give moisture as well as extra flavour. I occasionally add in ground almonds for a hint of “nuttiness”. Make it as it is or experiment, you won’t be disappointed.
Makes: 12 – 16 slices, depending how hungry or greedy your friends/family are
Time: 30 – 40 min to prepare; 30 – 35 min to bake + cooling. Times for decorating vary. The more complicated options are best spread over two days
Level: Reasonably easy
Need: 2 x 20cm/8” tins, preferably loose bottomed
Ingredients for the sponges
- 225g/8oz unsalted butter (softened)
- 50g/1.75oz cocoa powder
- 175g/6oz self-raising white flour
- ½ tsp salt
- 225g/8oz golden caster sugar
- 3 medium eggs
- 2 – 3 tbsp milk
- 125g/4½oz – 150g/5½oz melted white chocolate
- 1 tsp vanilla extract
Ingredients for filling* and finishing
- 250g/10oz – 300g/10oz full fat Cream cheese
- 100g/3½ oz – 150g/5½oz softened butter
- 200g/7oz – 250g/9oz icing sugar
- 125g/4½oz – 150g/5½oz melted white chocolate
- Some orange food colour
- Some orange extract (optional) or use a little orange juice
- Zest from half an orange or a whole one if you want a stronger flavour
- 2 – 3 Tbsp apricot jam or apricot glaze
* Use more or less, depending how thick you want your filling
Ingredients for the optional chocolate ganache
- 225g/8oz dark chocolate
- 175ml/6fl oz double cream
- 30g/1oz butter
- Gold or silver lustre spray (optional)

Method
1. Butter and line the bottom of the baking tins with baking paper then dust lightly with cocoa powder. Preheat oven to 180°C / fan 160°C / 350F / gas mark 4.
2. Melt the white chocolate over a bain marie. (NB You could use dark or milk chocolate; I like the richness of white chocolate)
3. Sieve the cocoa powder, flour and salt together into a bowl and set aside.
4. In a separate bowl, beat the softened butter until smooth then add the sugar and beat again until light and fluffy. Add one egg at a time to the creamed butter and sugar with a little of the flour/cocoa mix, beating well after each addition.
5. Stir in the milk, half of the melted white chocolate & the vanilla extract. Fold in the remainder of the flour & cocoa – take care not to knock out the air. (NB Keep the remaining melted chocolate on the bain marie with the heat turned down or off.)
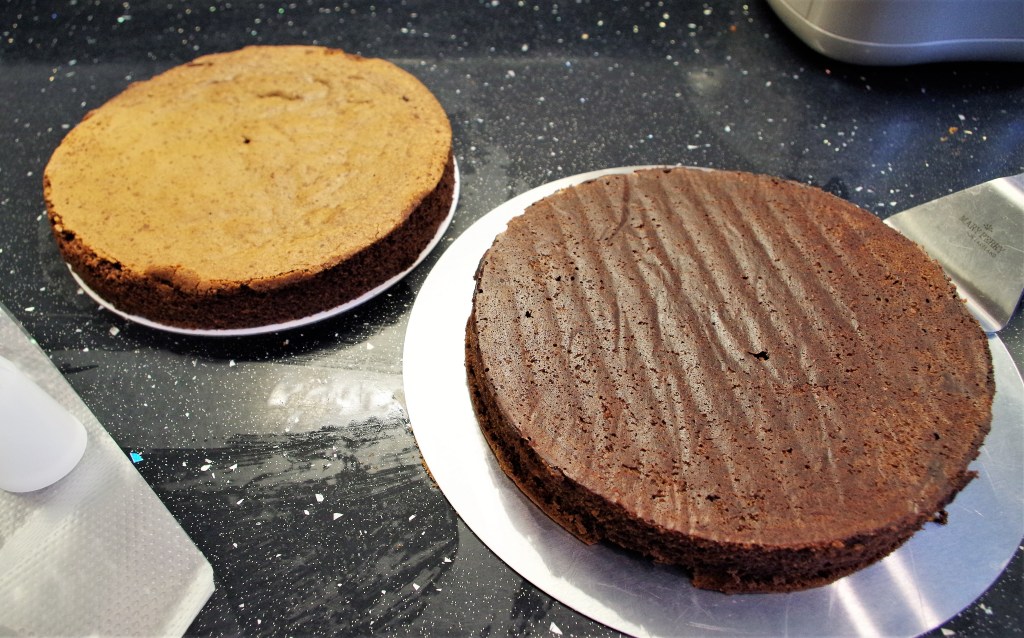
6. Pour the mixture equally into the lined cake tins and bake for 30-35 minutes. Leave in the tins for 5 – 10 minutes before turning out onto a wire rack to completely cool.
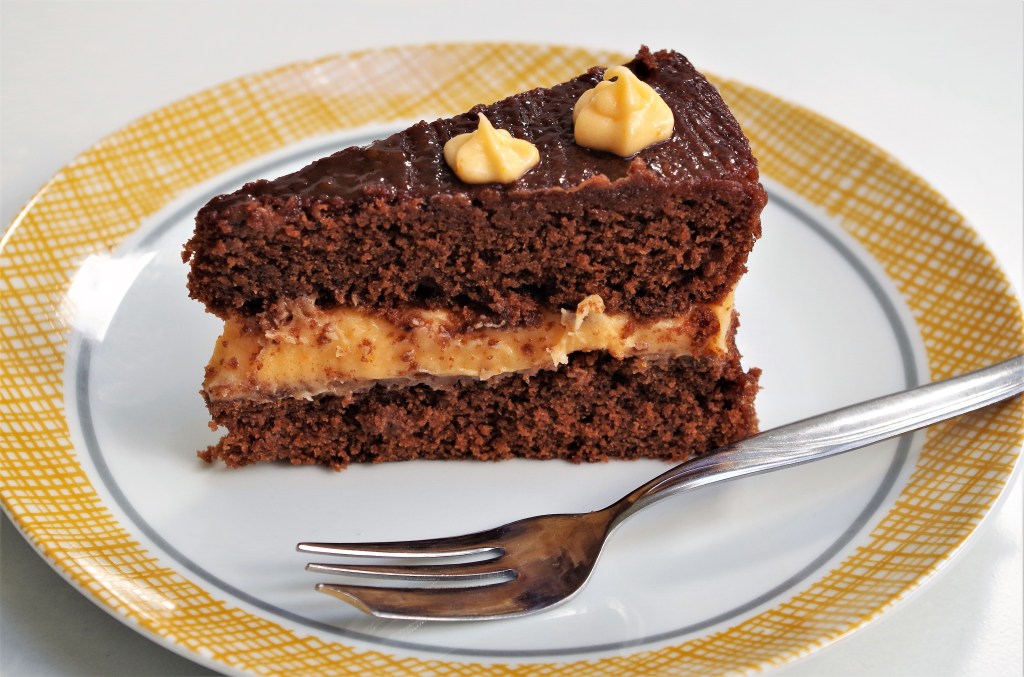
7. For the filling, beat the cream cheese and butter until smooth then sift in the icing sugar. Mix carefully at first then beat more vigorously. Add in the orange colouring, extract or juice and the zest. Take care not to thin the mixture too much.
8. Spoon this mixture into the remaining melted white chocolate and mix well, adding more orange food colouring if necessary.** If the mixture is a little “loose”, place in the fridge for 30 – 40 minutes to firm up.
** I used to pour the melted chocolate into the buttercream mixture, but I hated leaving so much chocolate behind. This way, none gets wasted.
9. While the filling is in the fridge, warm the apricot jam in the microwave with a little water then brush this over the sides of each cake***. Keep some back to brush over the top once the two cakes are sandwiched together.
*** You could brush the sides later, but it’s not easy to avoid mixing the jam with the filling. If you intend covering the whole cake with ganache it’s not an issue.
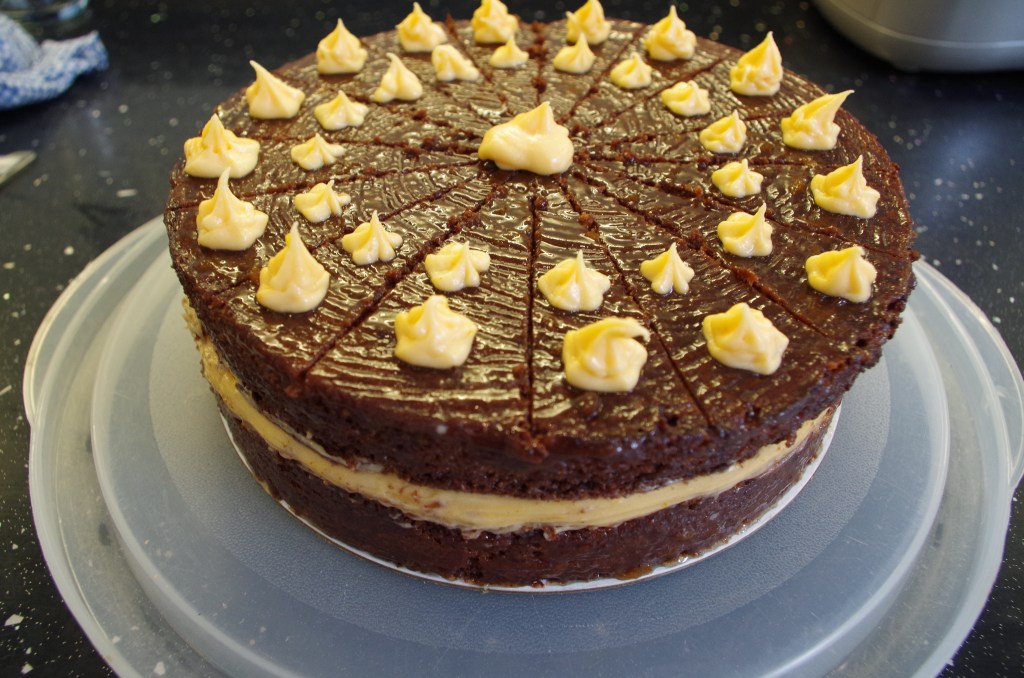
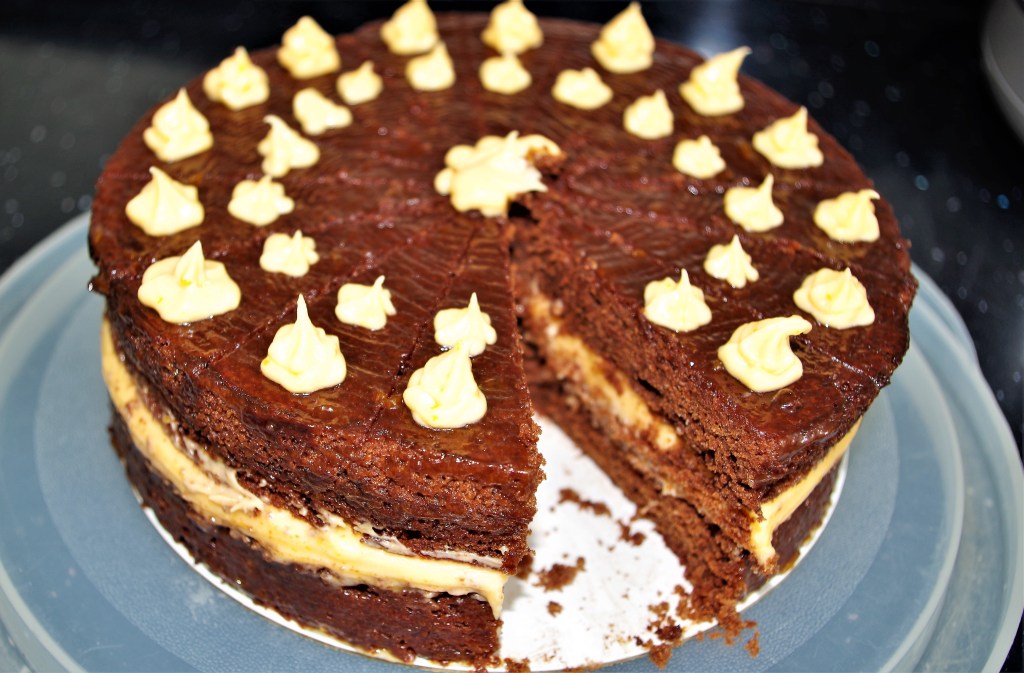
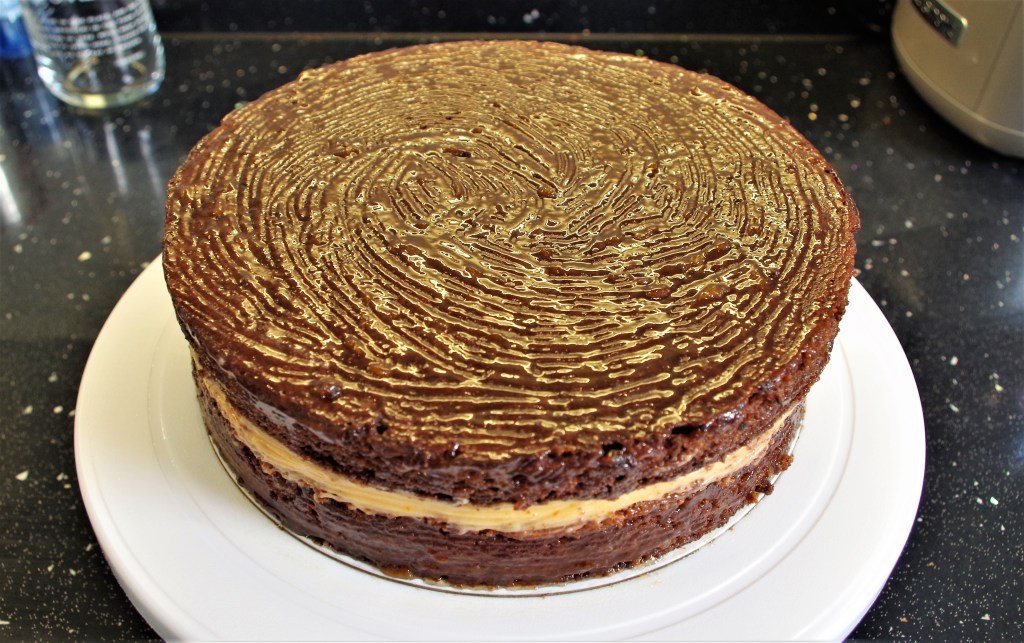
10. Sandwich the cooled sponges together using most of the filling. Place in the fridge for 30 mins to firm up the filling. Brush on the remaining apricot glaze and add a pattern with a fork if you want. After this you could pipe some or all of the remaining buttercream on top or simply dust the top with icing sugar. Another option is to cover the cake with a ganache as below.
11. To make the ganache, break up the chocolate and place in a bowl or jug with the butter. Heat the cream in a saucepan until almost boiling. Remove from the heat, wait a few minutes before pouring onto the chocolate. Allow it to melt a little then stir until the ganache thickens.
12. When the ganache has thickened, but still runny, place a tray under the wire rack and pour the ganache over the cake, encouraging it to run down the sides evenly. Lightly smooth the sides and top with a palette knife or similar.
13. Add any further decorations of your choice. I like making decorations such as chocolate shards, but shop-bought chocolates work really well too. A gold or silver lustre spray gives a lovely finish.
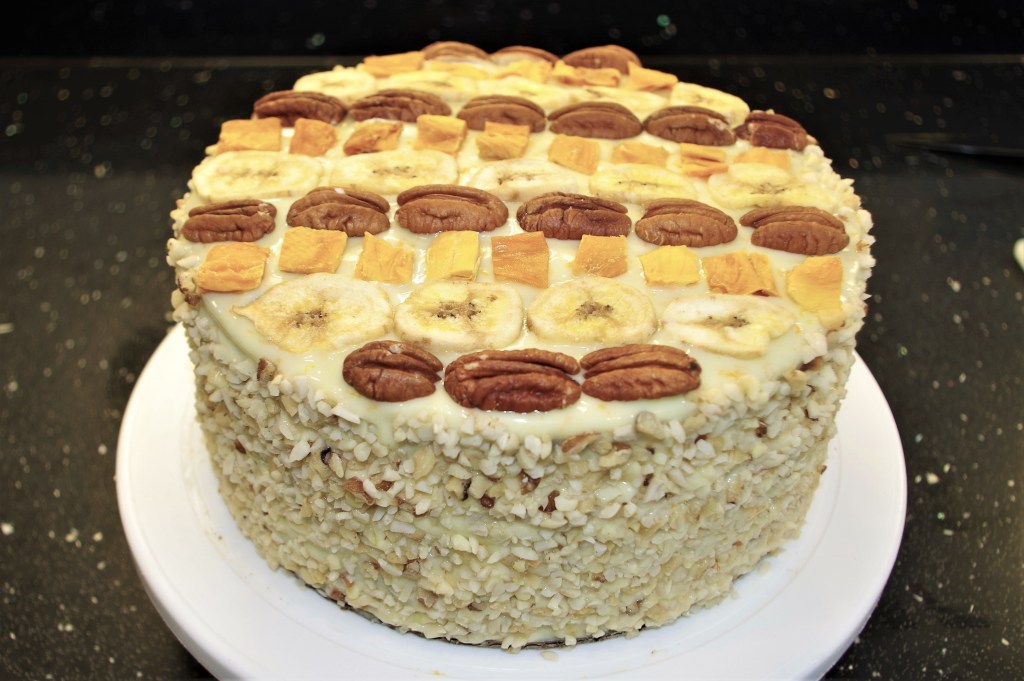
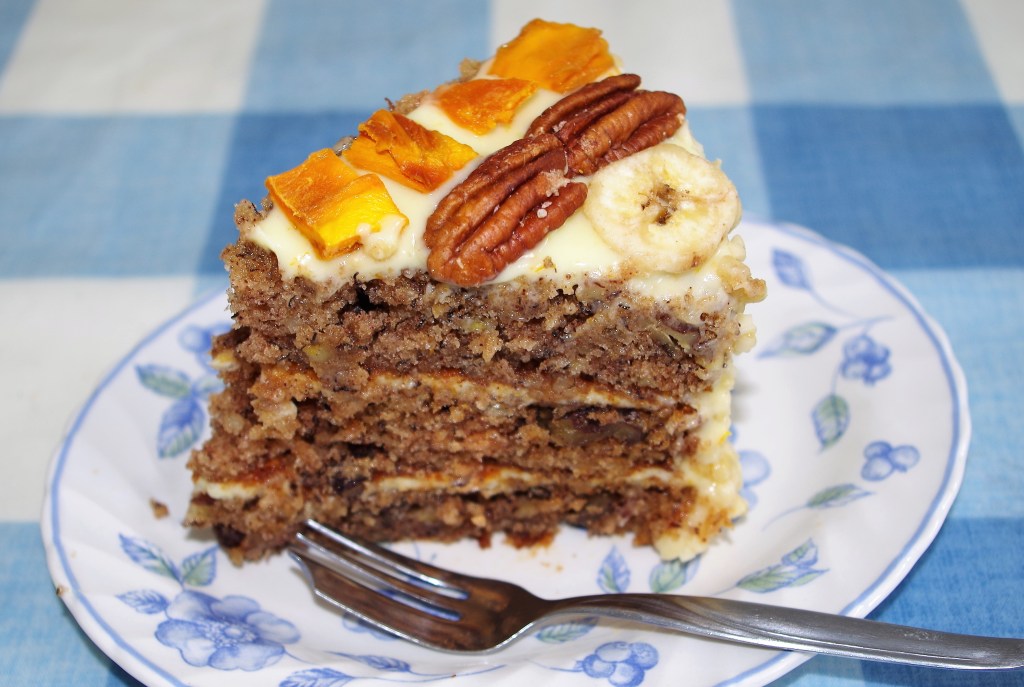
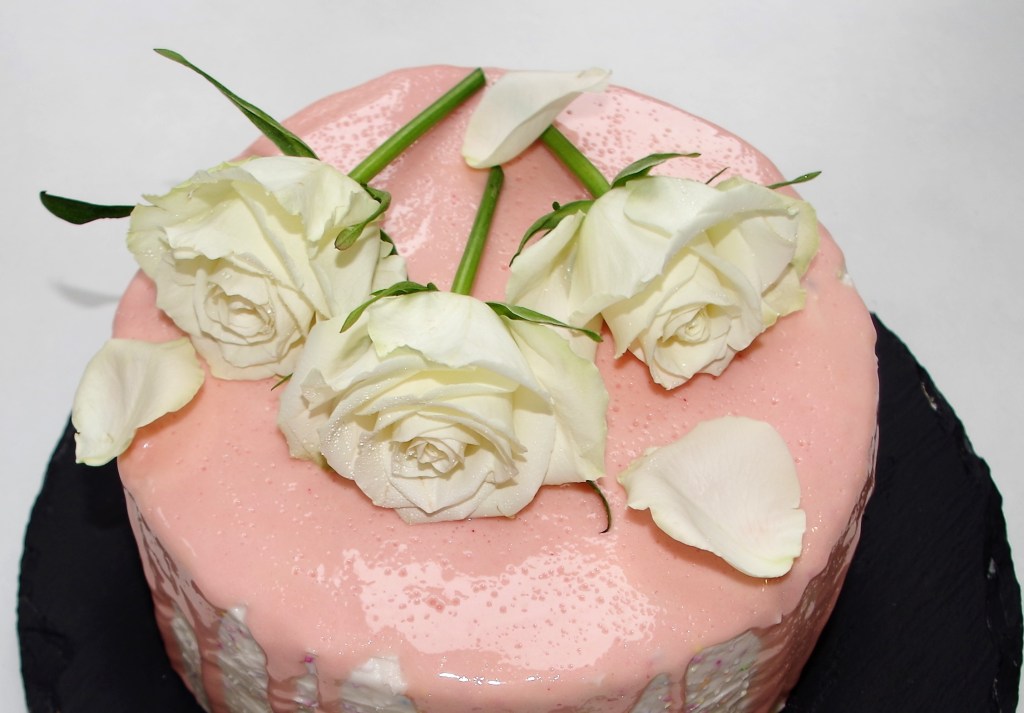
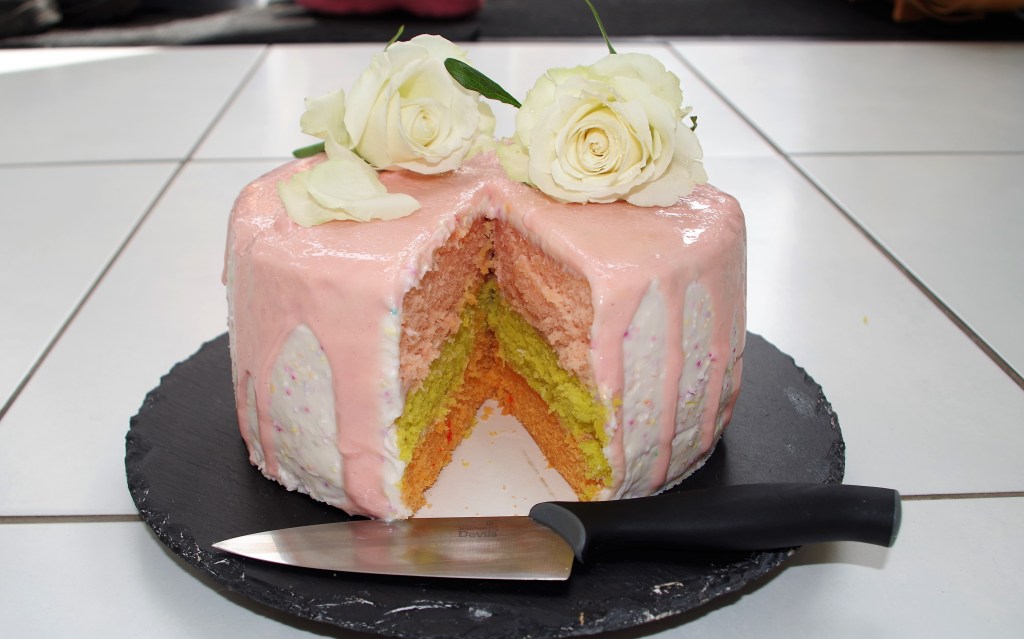
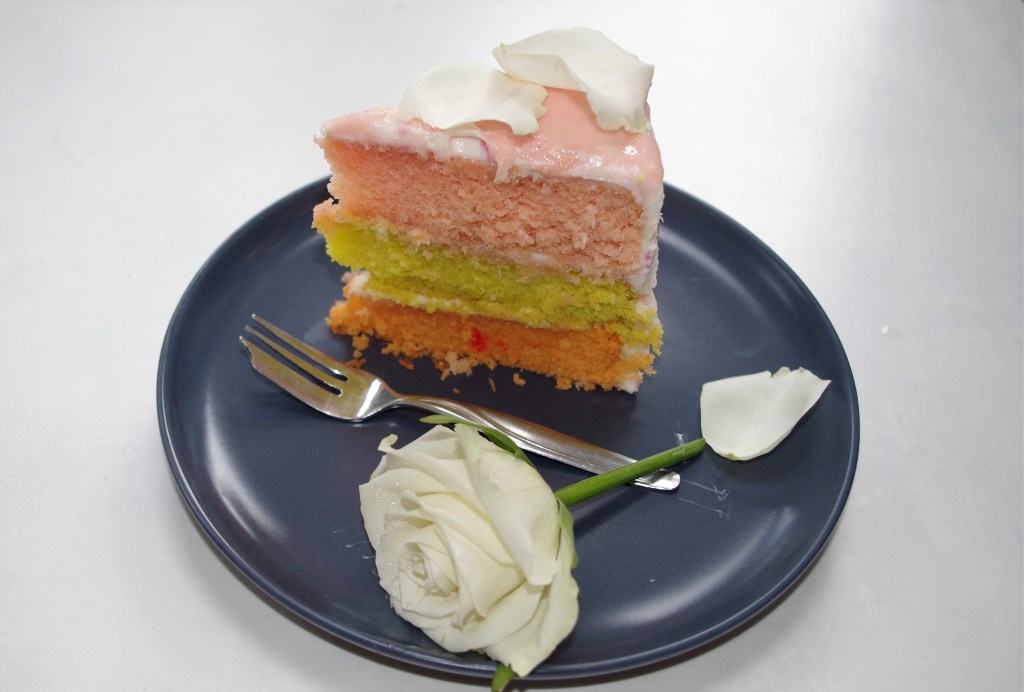
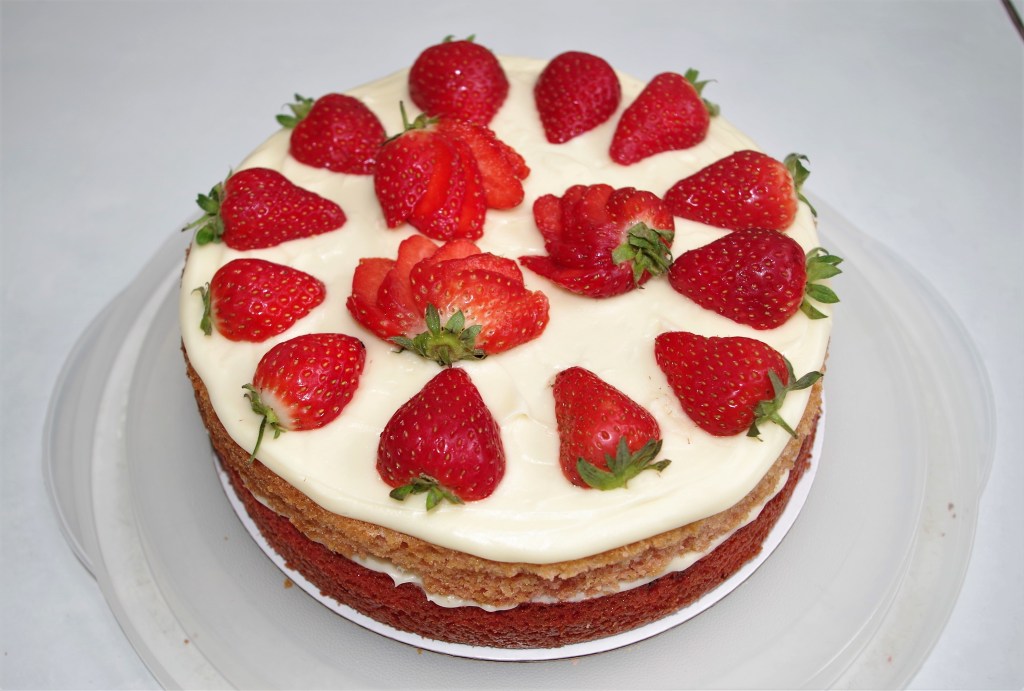
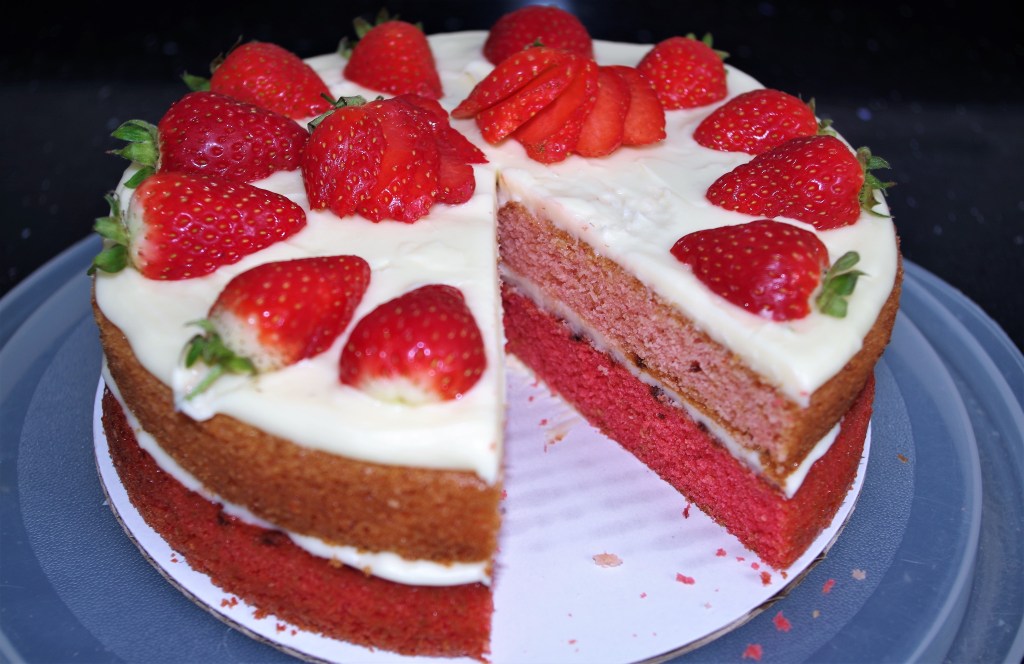
Gallery

I hope you enjoy this lovely cake. If you want more cake recipes click this link, or have a look at my site for lots of other great recipes, both sweet and savoury.
Below are a few that I’d love you to try:

To make a comment or ask a question please go to the contact page. Click here to return to the home page.

LATE ADDITON
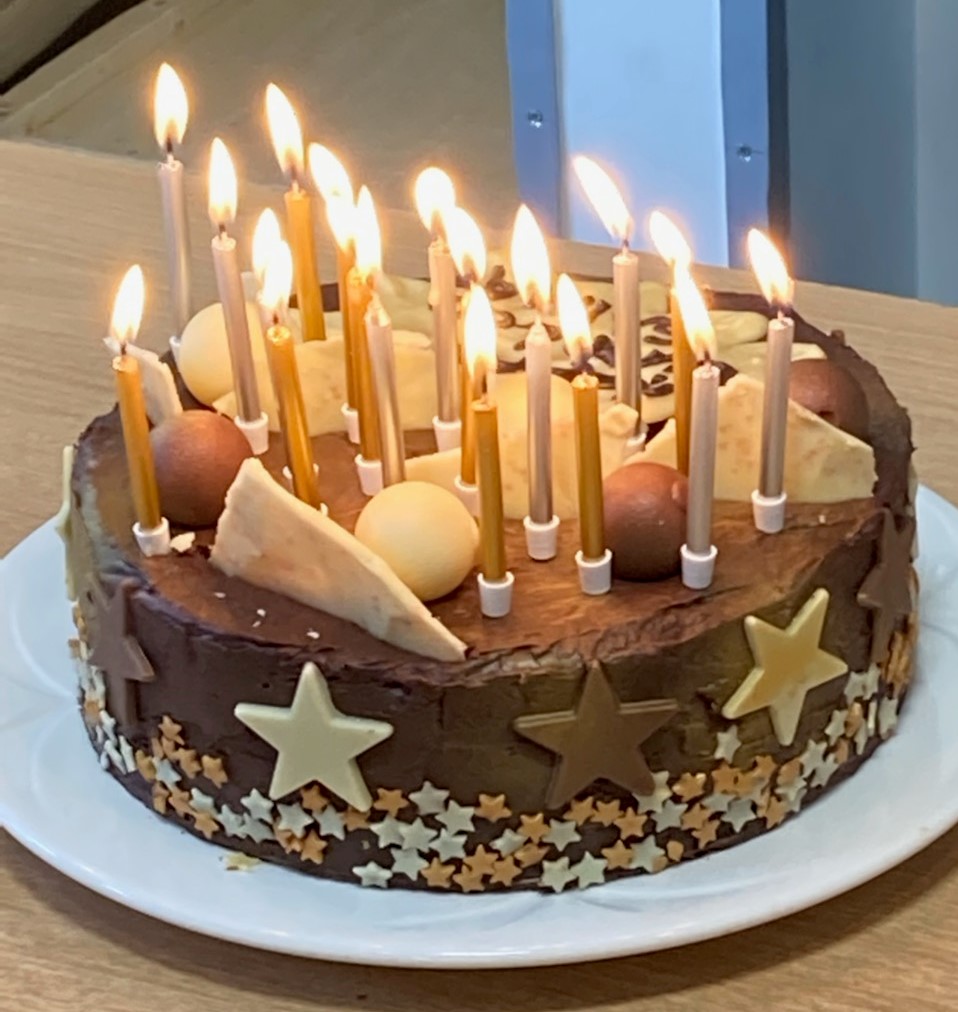
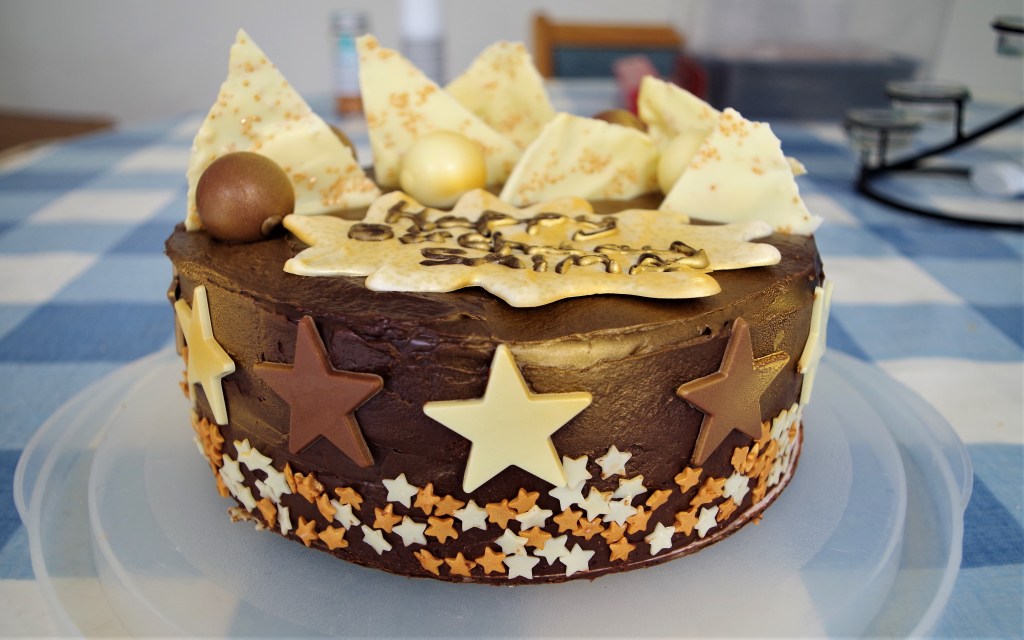
Since posting the above recipe I was asked to bake and decorate a birthday cake for someone who likes chocolate, so I’ve added this for anyone who might need some decorating help or ideas.
The day before ganaching and decorating, the cake needs to be sealed around the edges by brushing on warm apricot jam mixed with a small amount of water. A crumb coat is also helpful. I usually add a little milk to my “left-over” filling mixture and use that. Then the cake goes in the fridge for a while, ideally overnight.
Before starting to decorate your cake, it’s important to know exactly what you intend doing and have all you need ready to hand in order to complete the decoration before the ganache sets.
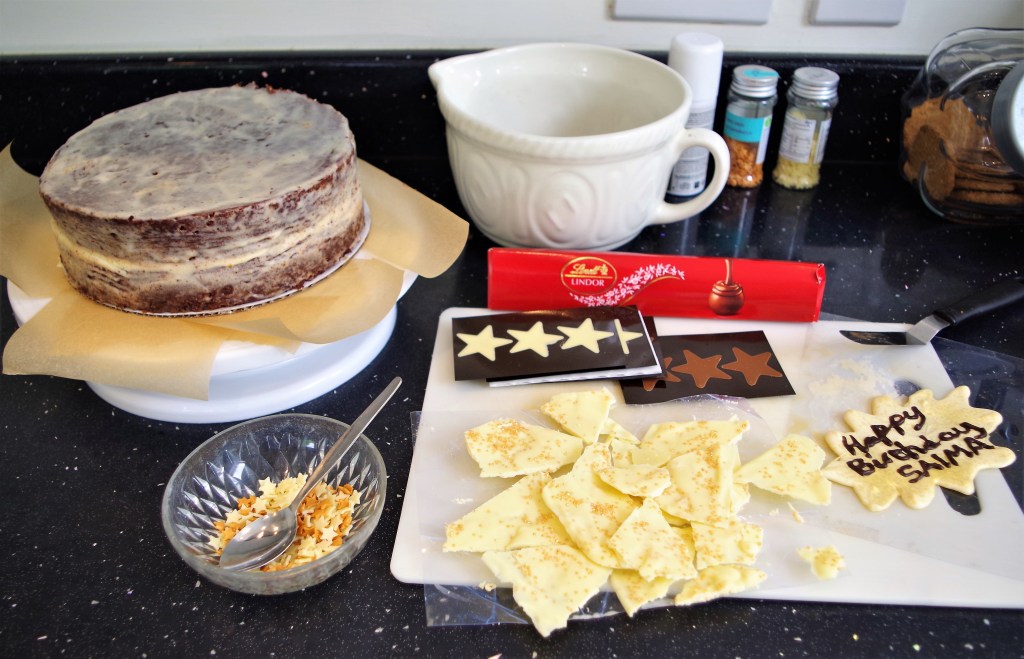

I combined shop bought items with home made. You may choose different items to decorate your cake, but here’s what I used:
- White and gold mini stars, which I mingled together in a shallow bowl
- 12 large chocolate stars, 6 white and 6 dark
- 5 – 6 Lindor chocolate balls
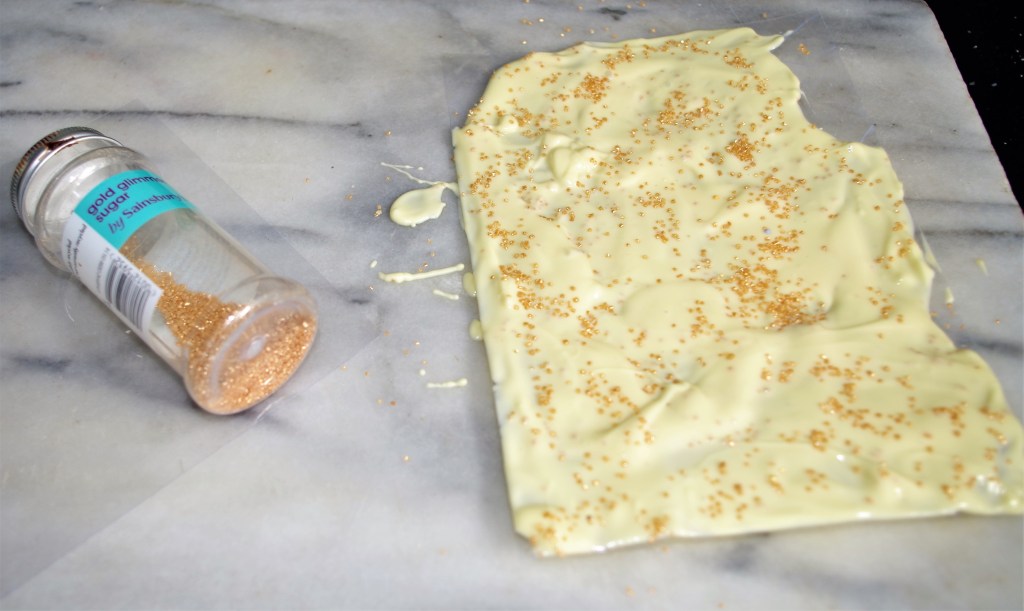
- Some homemade white chocolate shards
- A home-made white chocolate “plaque” + “Happy Birthday ????” piped on. (I did this because I wasn’t confident piping straight onto the cake, but it worked well.)
- Gold shimmer spray. (I think I overdid this a little.)

Here’s what I did. You may want to vary or ignore these ideas. No problem.
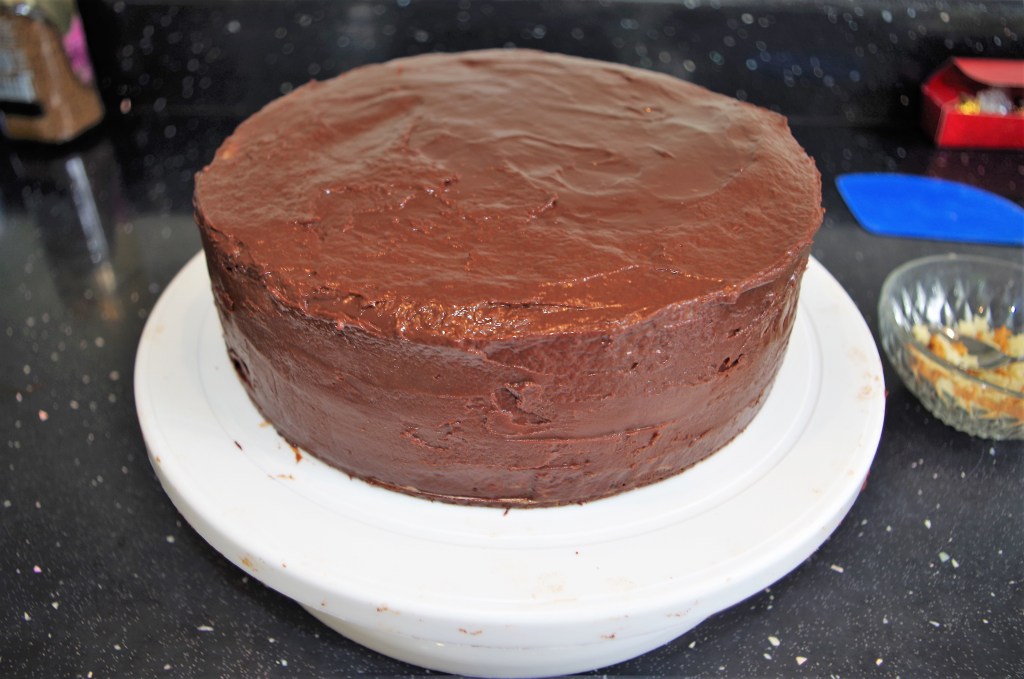
1. Create the ganache and leave to cool a little. It needs to thicken, but still be reasonably runny.
2. Assemble all the items you need + plenty of kitchen paper.
3. Place the crumb coated cake on a turntable if you have one, or on a wire rack.
4. Spoon or pour the ganache onto the cake. Use an angled spatula to draw it evenly down the sides. With a palette knife or a plastic bench scraper gradually smooth the surfaces.
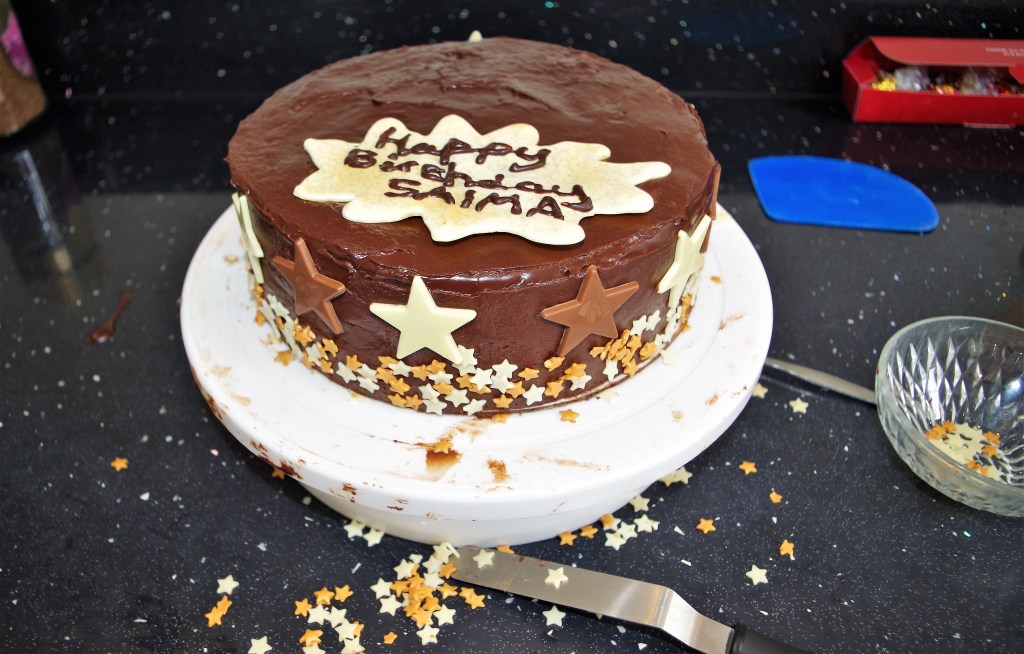
5. Working quickly, spoon the mini stars round the bottom of the cake.
6. Add the larger stars to the side of the cake.
7. If you have a plaque, position it on top, or pipe any required lettering or leave a space to pipe later.
8. Add the chocolate balls and shards.
9. Spray lightly with shimmer spray.