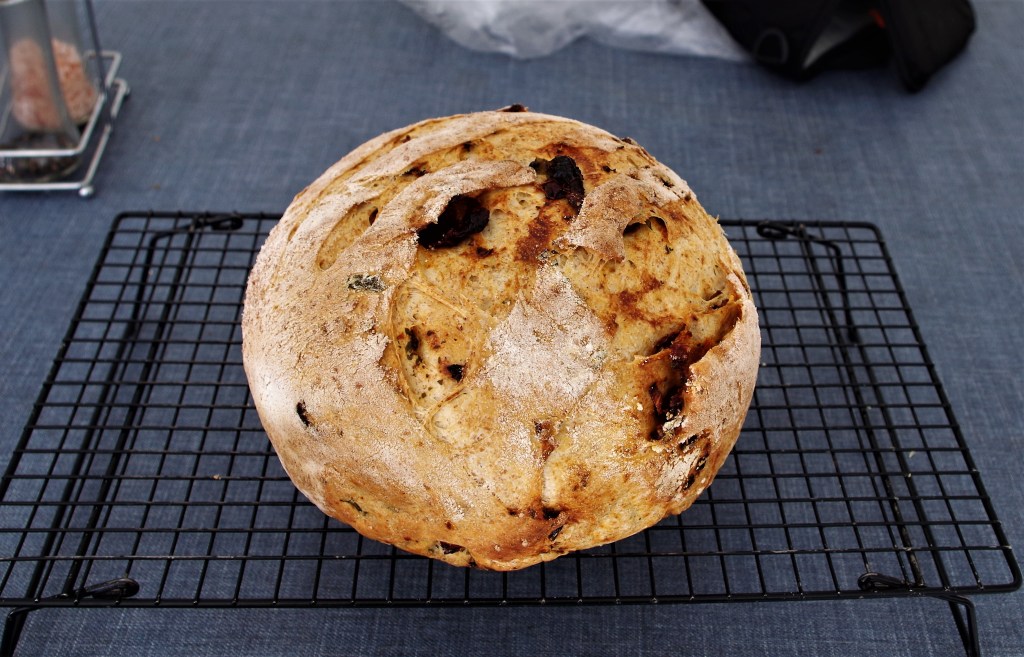
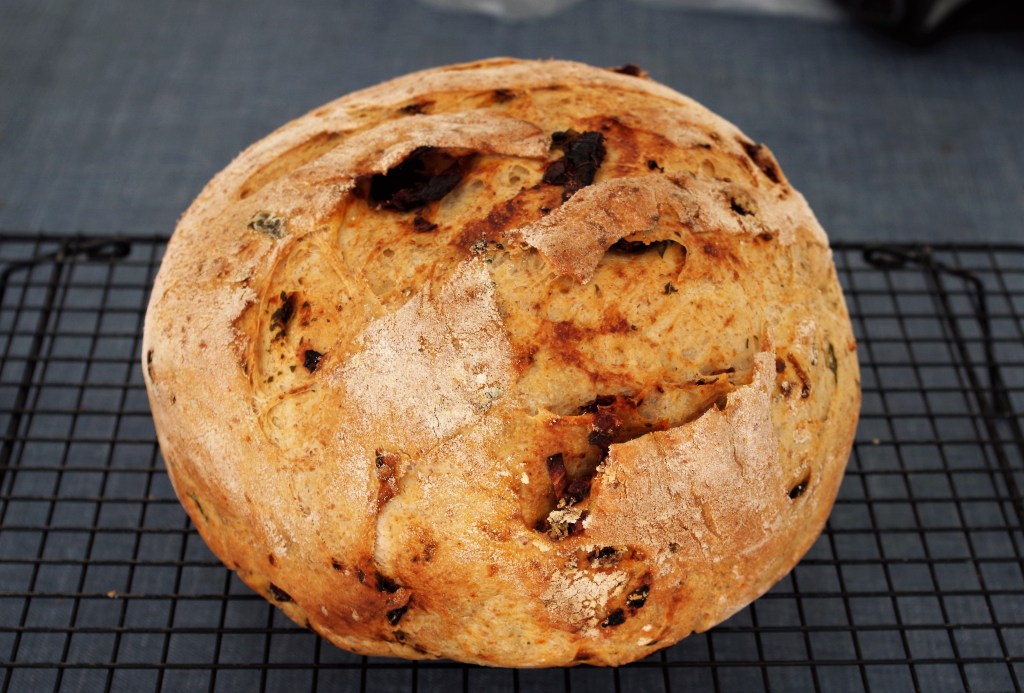
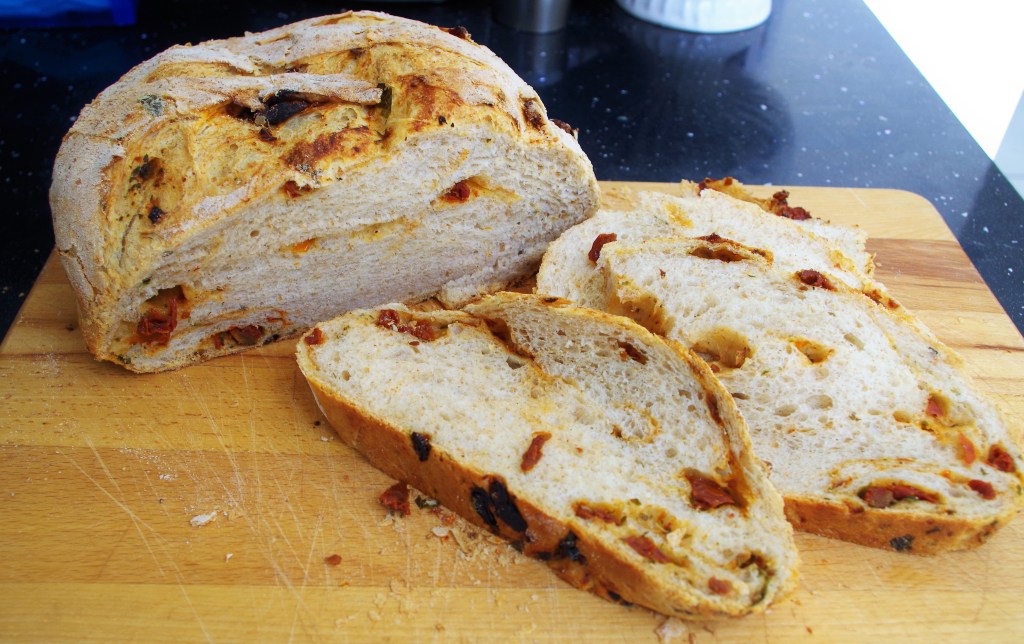
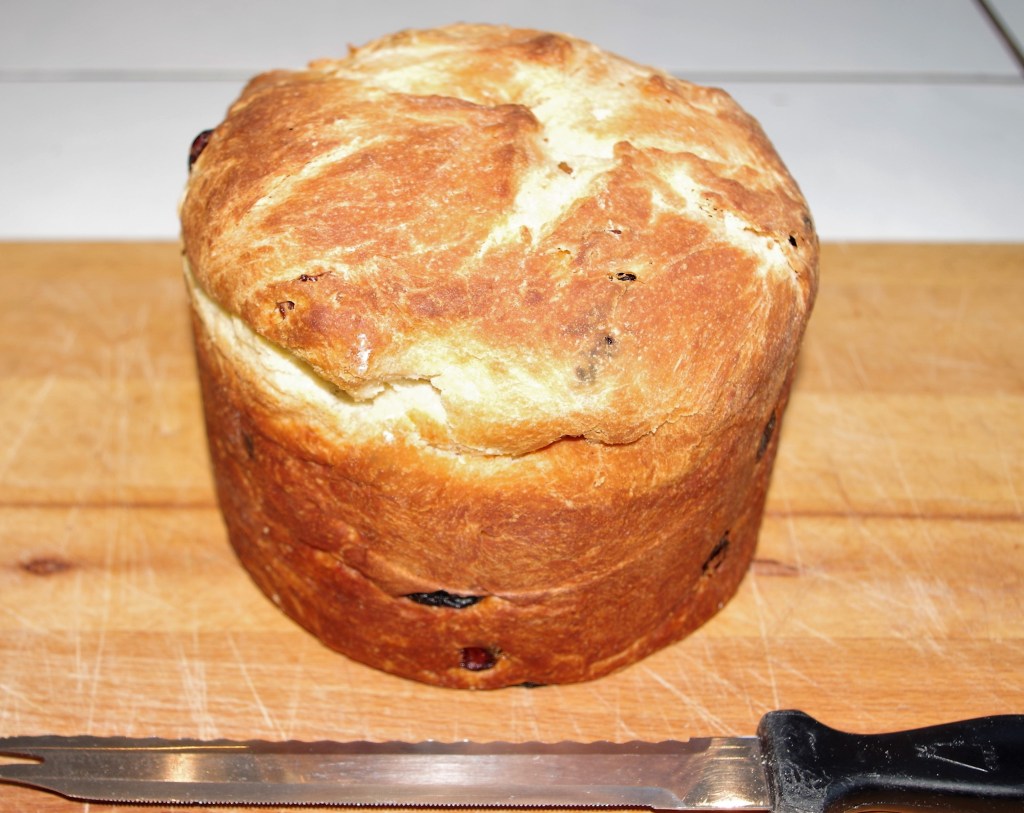
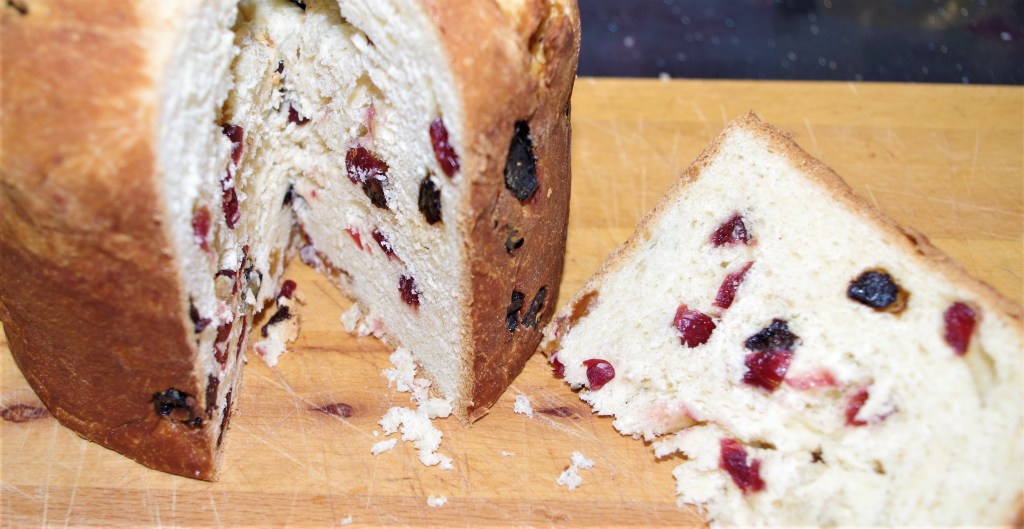
Here’s a really tasty loaf with a crunchy crust and a soft, fluffy crumb. It’s wonderfully filling too. I think of it as a Derbyshire-meets-Mediterranean masterpiece.
Makes: 1 large loaf (about 12 big slices)
Level: Fairly easy
Time: 20 minutes initial “hands-on”; up to 90 minutes for first prove; another 15 minutes “hands-on”; 30 – 40 minutes for second prove; 60 minutes baking (using the cold start method.)
Need: I use a stand mixer to knead, but you can do it by hand if you have time, patience and strong arms.
Ingredients
- 400g/14oz strong white flour
- 100g/3½oz strong wholemeal flour (or use 500g/16oz white)
- 10g/¼oz fine salt
- 7g sachet of instant yeast
- 60g/2fl oz olive oil or oil from the jar* (see below)
- 275ml/9½fl oz water
- A 280g jar of sun-dried tomatoes* (you will need about 75g/2½oz tomatoes)
- Up to 25g/1oz fresh basil
- 1 tsp dried oregano (this is an optional extra)
* Originally I’d planned to use olive oil, but I realised that I could use the oil from the sun-dried tomatoes jar. Not only was this an economic use of the oil, it also imparted lots of extra flavour. So, a darned good idea.
Method
Preparation: Dab the oil off the tomatoes and cut them into smallish pieces. Cut or tear the basil into pieces.
1. Mix the flours, salt and yeast in a large bowl. (i.e. the bowl of your stand mixer) Keep the salt and yeast well apart before mixing.
2. Make a well in the centre and add in the oil and water. Mix well and bring to a dough. Either tip out onto a lightly floured work surface and knead by hand or use your dough hook to knead in the stand mixer (About 10 – 12 minutes by hand; 7 – 8 in the mixer.) When the dough is a firm and stretchy “blob” it’s ready.
3. Put the dough into an oiled bowl and cover. (I use a shower cap.) Leave to prove until doubled in volume – about 60 – 90 minutes, depending how warm the room is.
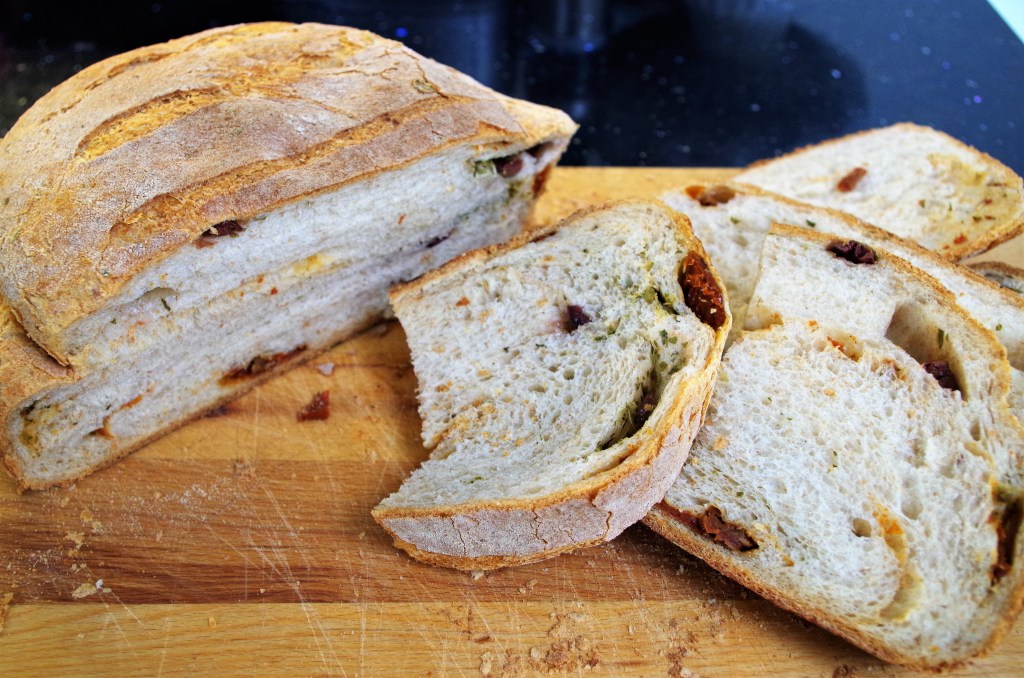
4. Tip out the risen dough onto a lightly floured surface. Knock out the air then stretch or roll it out. Spread on some of the tomato pieces with the basil and fold over the dough. (If you want to include some oregano, do it now.) Repeat and fold or roll the dough into a ball. Turn it over and use your hands to pull the outer surface taught. If possible avoid having large pieces of tomato sticking out of the surface as they’re likely to burn.
5. Place the dough ball “top side down” into a well floured banneton (proving basket) or use a bowl. Put it inside a large plastic bag to prove again – about 40 – 45 minutes in a reasonably warm room.
6A. “Cold start method” If you have a Dutch oven (or a lidded casserole dish), invert the banneton/bowl onto a sheet of baking parchment and ease out the dough ball. Use the parchment to lift the dough into the COLD Dutch oven. With a razor blade or sharp knife cut some slashes. Place the lid on the Dutch oven and put it in a COLD oven. Turn the oven on to 220C / Fan 210C / 425F / Gas 7. Bake for 50 minutes with the lid on, then remove the lid and bake for another 5 – 8 minutes to add colour. Cool on a wire rack.
6B. For a more conventional baking method, form the dough into a round as above, but then place it on a baking tray lined with baking parchment. Place the tray inside a large plastic bag and leave to prove again, as above. After about 30 minutes turn on the oven – temperatures as above – and put a baking stone or another baking tray inside to heat up. When the dough has risen, cut slashes and slide the tray onto the heated stone or tray in your oven. Bake for 30 minutes then test by tapping. A hollow sound indicates that it’s baked. Cool on a wire rack.
N.B. I baked this bread when we had visitors and – unsurprisingly – it “went” almost immediately. So, a couple of days later I simply had to make another one. BUT, I had less than half a jar of sun-dried tomatoes and no basil and in my part of Derbyshire the supermarkets are thin on the ground. Mmm, what were my options? We had olives in the fridge and plenty of dried oregano, so that was the answer. The loaf was still wonderfully soft and pretty good even though I’m not a great fan of olives. I’m just telling you about it in case you fancy having a go at this one.
I wish you every success with your bread making. I hope you have a go at this one and enjoy making and eating a lovely loaf. If you want to see more of my bread recipes click this link.
Here are some quite different breads that you might want to try:
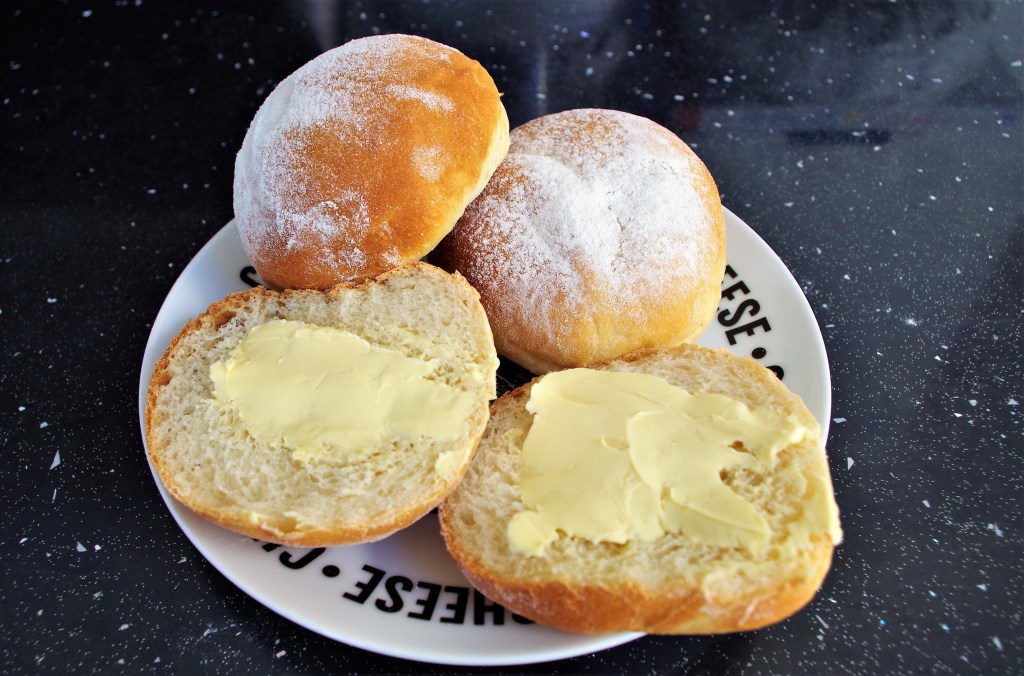

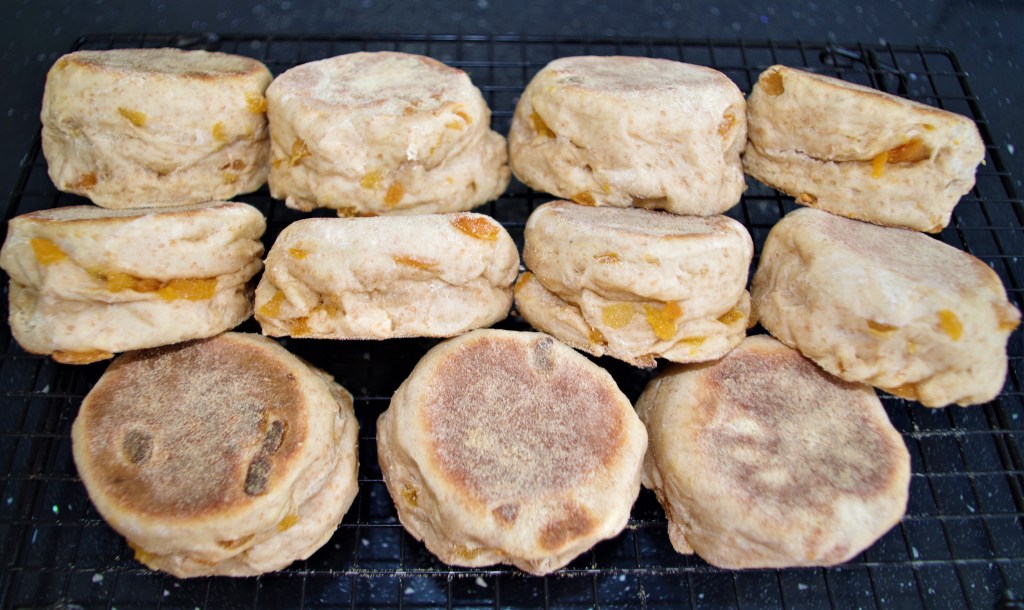
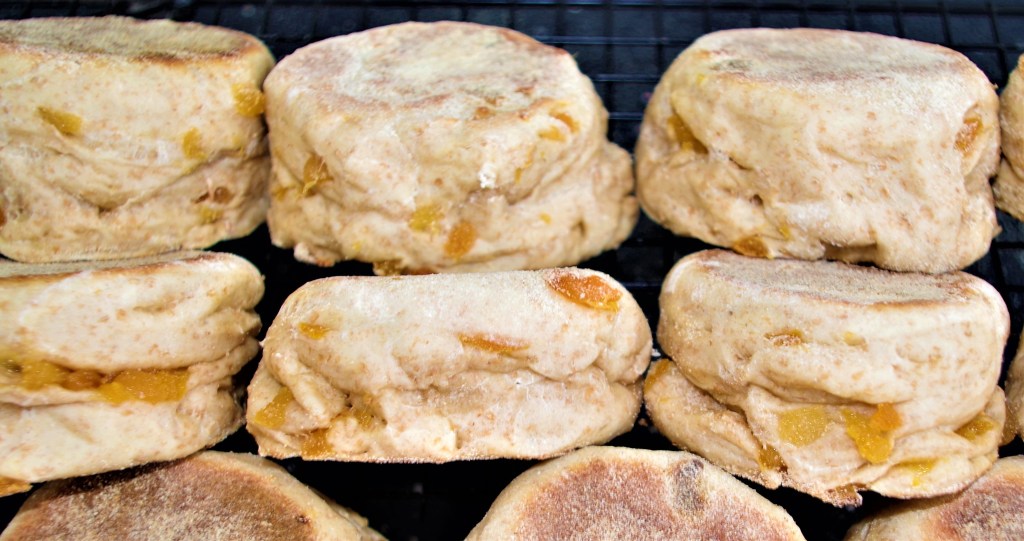
Rye & Wholemeal Apricot English Muffins

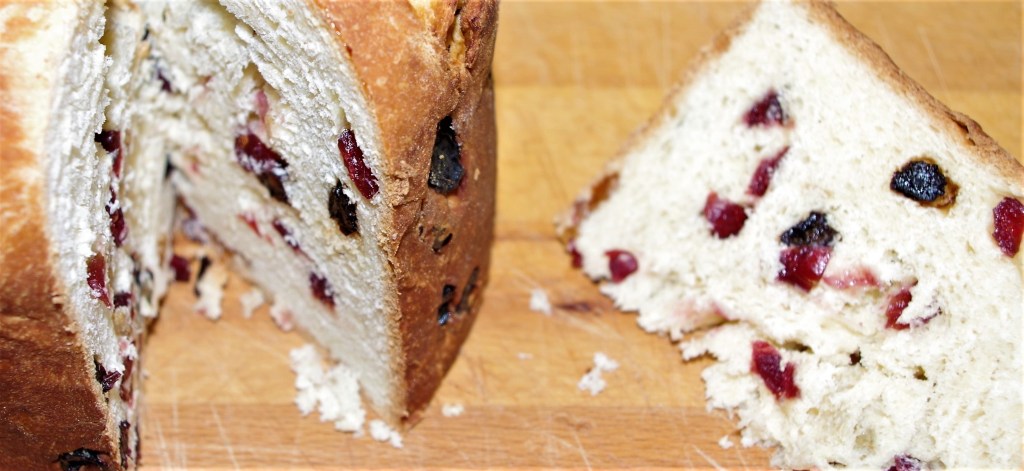
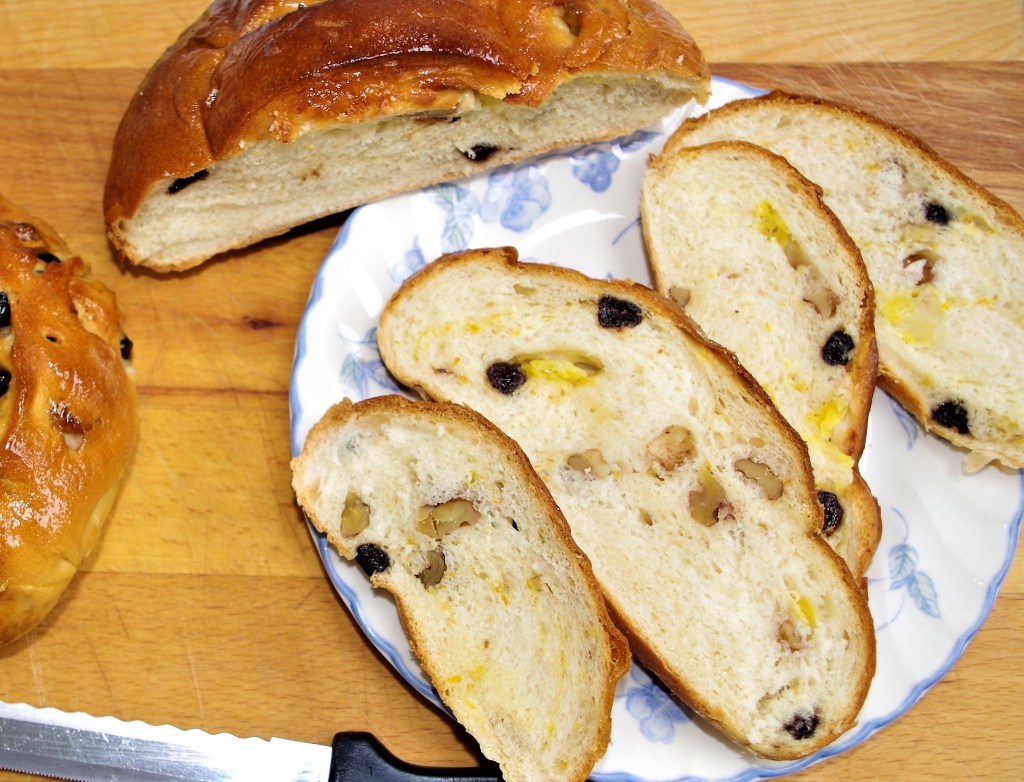
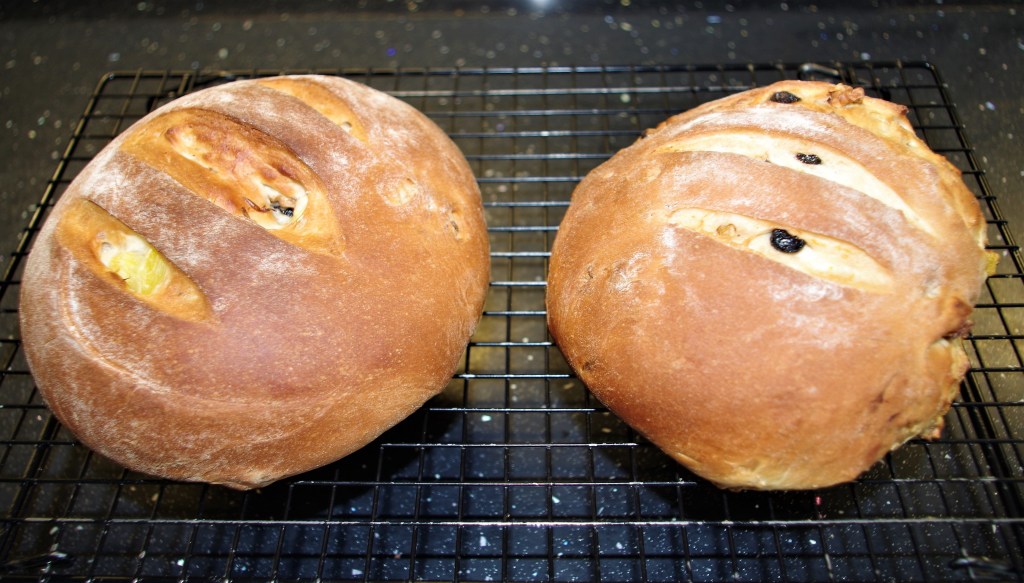
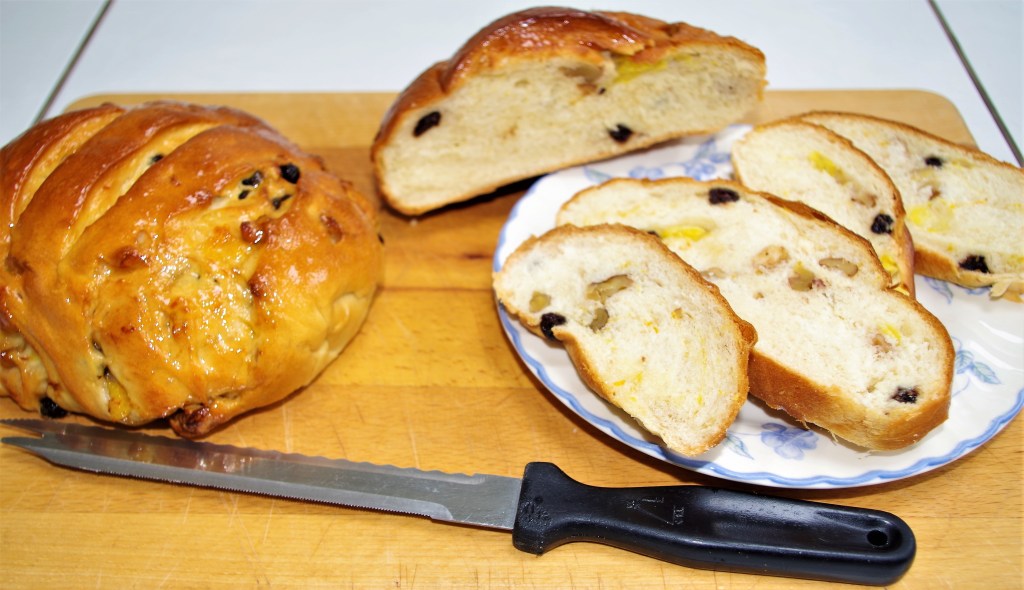
Blueberry Orange and Walnut bread