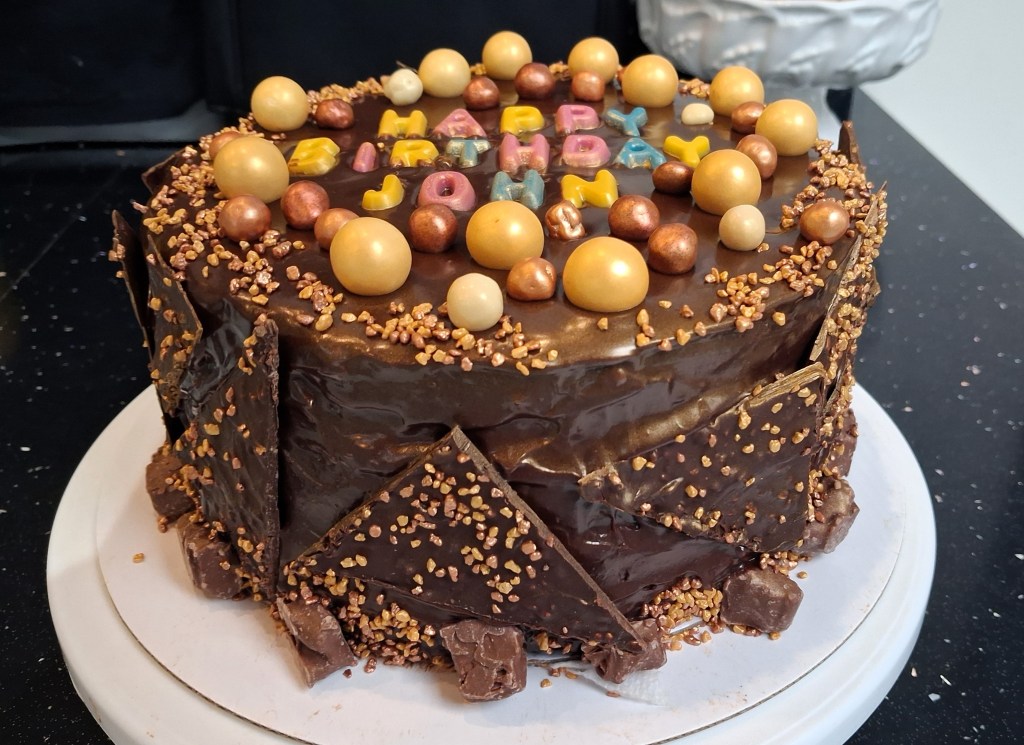
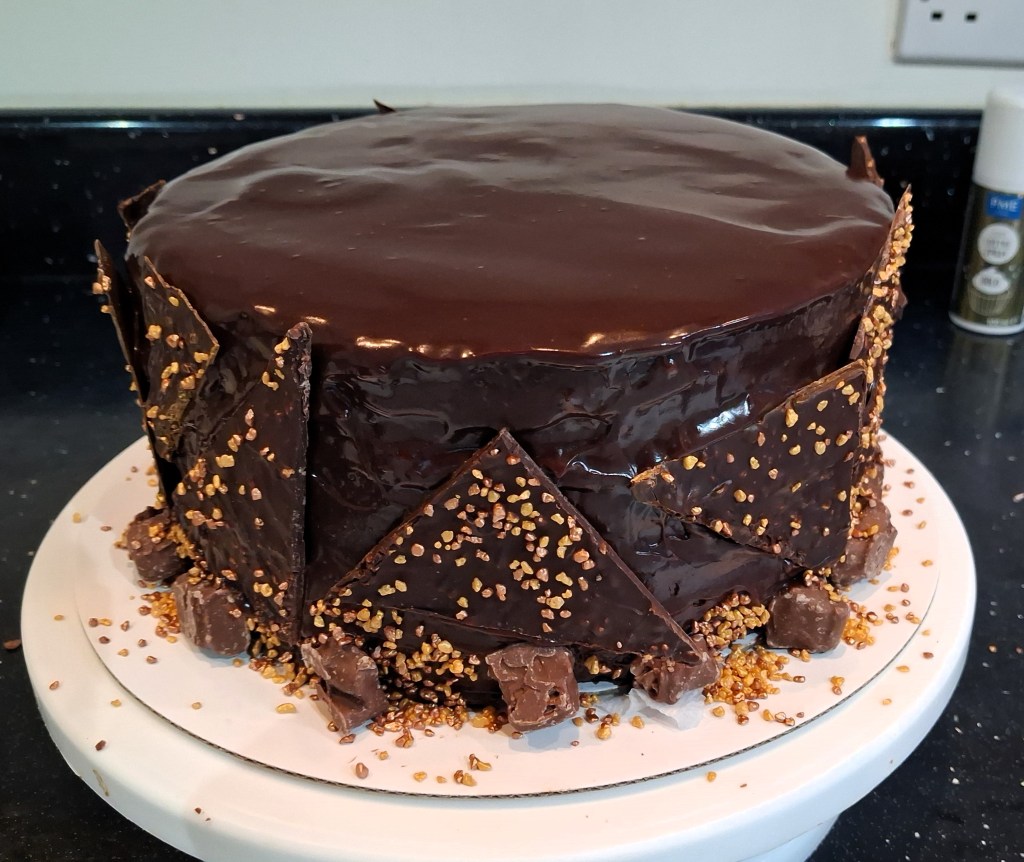
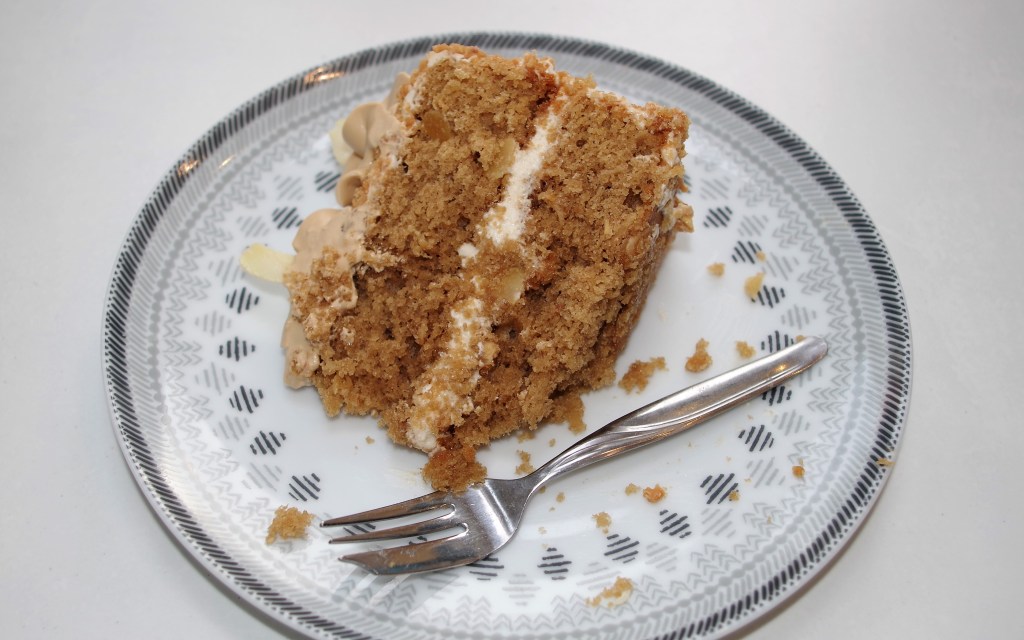
As the name says, this is a lovely rich and …. (I refuse to say “decadent”. It’s a cliche and it’s negative.) So I’ll just stick with “RICH”. It’s an ideal choice as a birthday cake. The one shown below I made for a friend’s party.

Serves: 15 – 16 quite large slices
Time: Prep: 40 min. Baking:35 – 42 min. Filling: 25 – 30 min. Fridge time: 30 min. Ganache topping: 30 min. Plus time to decorate.
Level: A small step up from easy.
Need: 3 x 20cm/8” round, loose bottomed cake tins. I use an electric stand mixer, but a hand held mixer will be OK.
Cake Ingredients
- 275g/8oz unsalted butter
- 225g/8oz light brown sugar
- 225g/8oz golden caster sugar
- 1- 2 tsp vanilla extract
- 5 eggs
- 325g/11oz plain flour
- 75g /3oz cocoa powder
- 3 tsp baking powder
- ½ tsp fine salt
- 300ml/10fl oz buttermilk
Filling
- 125g/5oz white chocolate, melted
- 250g/9oz mascarpone
- 50g/2oz icing sugar, sieved
- 1- 2 tsp vanilla extract
- Some apricot jam
Topping
- 150ml/6oz double cream
- 2 tbsp golden caster sugar
- 100g/4oz dark chocolate, chopped
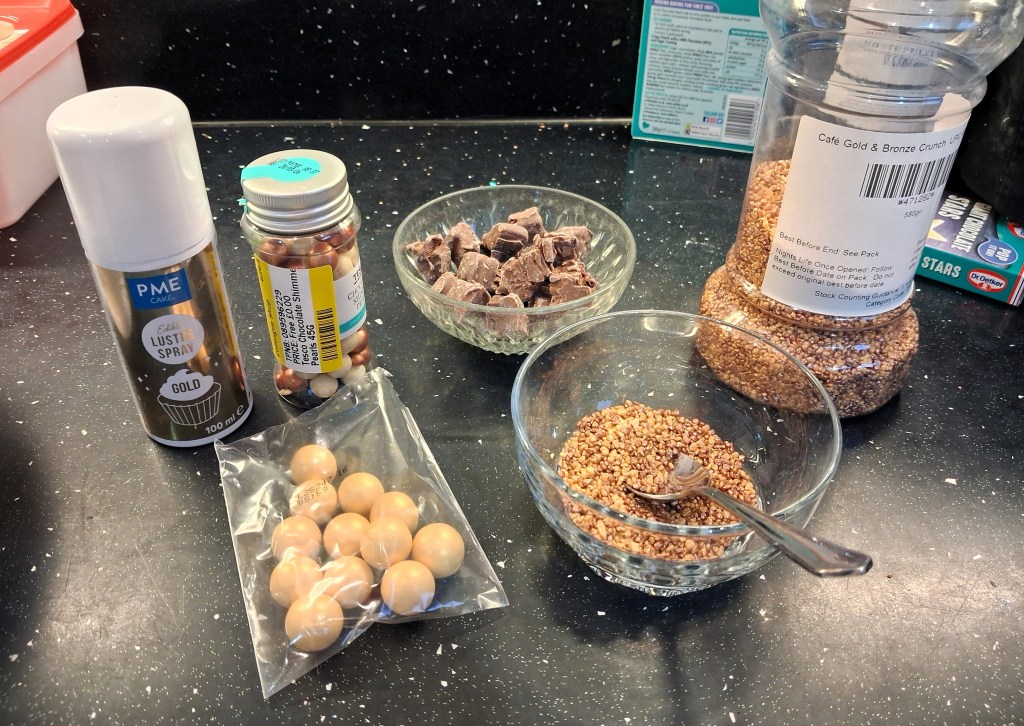
- Plenty of chocolate decorations
Preparation (some can be done the night before you bake the cake)
- Weigh and soften the butter
- Sift together the flour, cocoa powder, baking powder and salt
- Grease and line the base of the cake tins, dust very lightly with the floury mixture
- Put wetted “bake-even” bands around the tins (optional, but I like using them)
- Lightly beat the eggs in a small bowl and stir in the vanilla extract
- Take the buttermilk out of the fridge to come up to room temperature
Method
1. Pre-heat the oven to 180°C / fan 160°C / 350°F / Gas 4. Put softened butter & both sugars into a large bowl. Beat until light and fluffy.
2. Gradually add the eggs & vanilla mixture, beating well between each addition, plus 1 – 2 tsp of the floury mixture if it looks like splitting.
3. Add a third of the flour & cocoa mixture and a third of the buttermilk. Beat them well then repeat twice.
4. Spoon the mixture equally between the prepared tins.
5. Bake for 35 – 42 minutes – until the side of the cakes begin to pull away from the tin or when a skewer comes out clean.
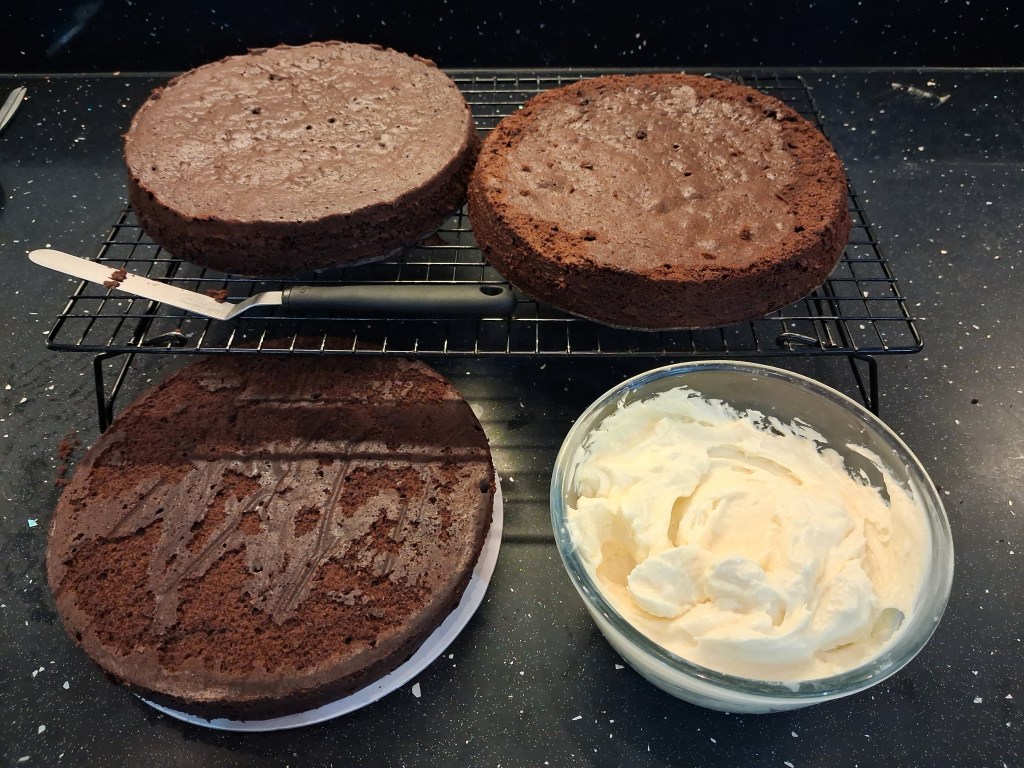
6. Cool in the tins for 10 – 12 minutes then turn out onto a wire rack to cool fully.
7. To make the filling, melt the white chocolate over a bain marie. Set aside to cool.
8. Stir together the mascarpone, icing sugar and vanilla extract then add in the cooled chocolate. Mix well, until smooth but firm.
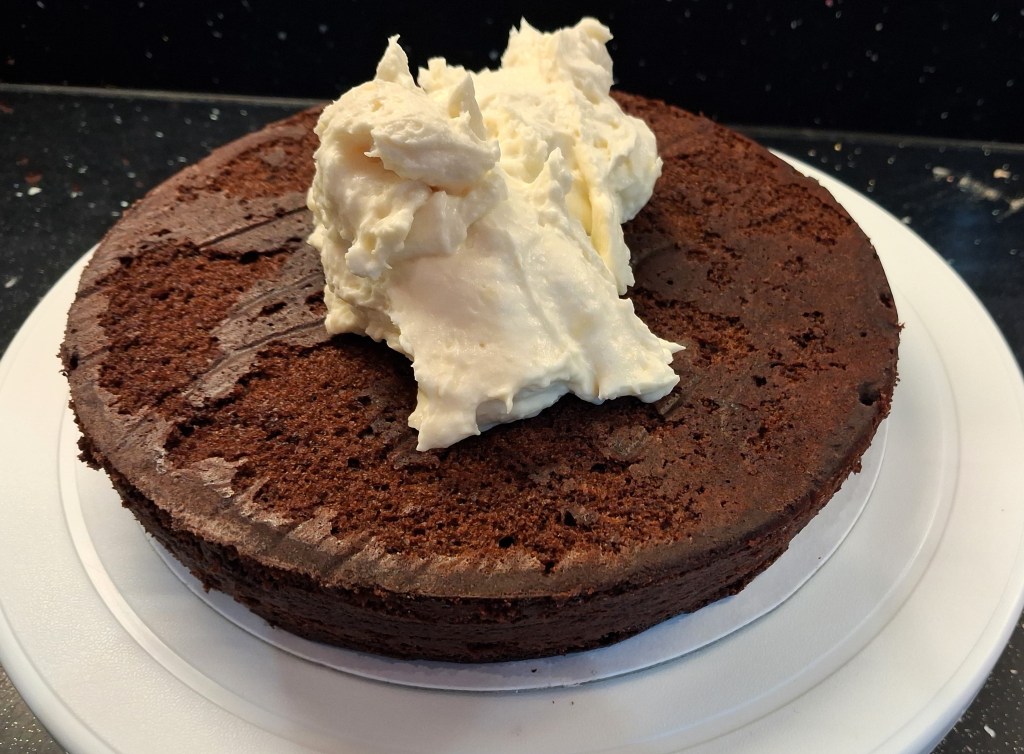
9. On a board, plate or cake turntable, stack the three cakes, using half the filling between each layer. If necessary trim the sides to make them level. Brush with melted apricot jam. Place in fridge.
N.B. Just 30 minutes in the fridge is OK, but I like to leave cakes overnight and decorate them on the following day.
10. For the chocolate ganache topping, warm the cream with the sugar. Add the chocolate pieces and stir to melt and combine. Stir until smooth then leave to cool and thicken a little.
11. Set the cake on a rotating turntable or a plate. Drizzle the ganache over the cake, allowing it to run down the sides. Use a crank-handled spatula or similar tool to smooth the sides. (I didn’t bother too much with this because I knew I could hide any “blotchy bits” with my chocolate shards.)
12. Arrange your chosen decorations on top or on the sides. (The ganache needs to be soft enough for them to adhere, but not so soft that they sink below the surface.)
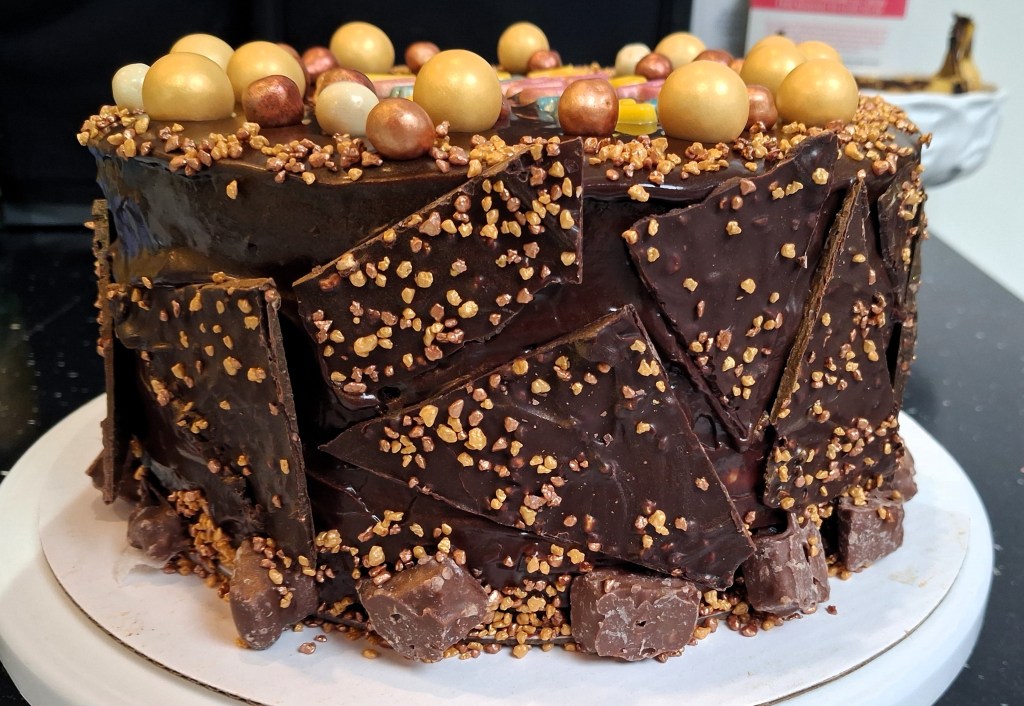
N.B. Most of the decorations I used were easily obtained and shop-bought. I say this quite unashamedly. I’m perfectly capable of making chocolate decorations (and also full puff pastry), but life’s short and what a faff. Well, I did actually make the chocolate shards. I was going to put them on top, but two things stopped me:
- I used them to hide a few rough bits on the side of the cake (Shhhh!)
- With the shards on top the cake wouldn’t fit into any of my cake boxes.
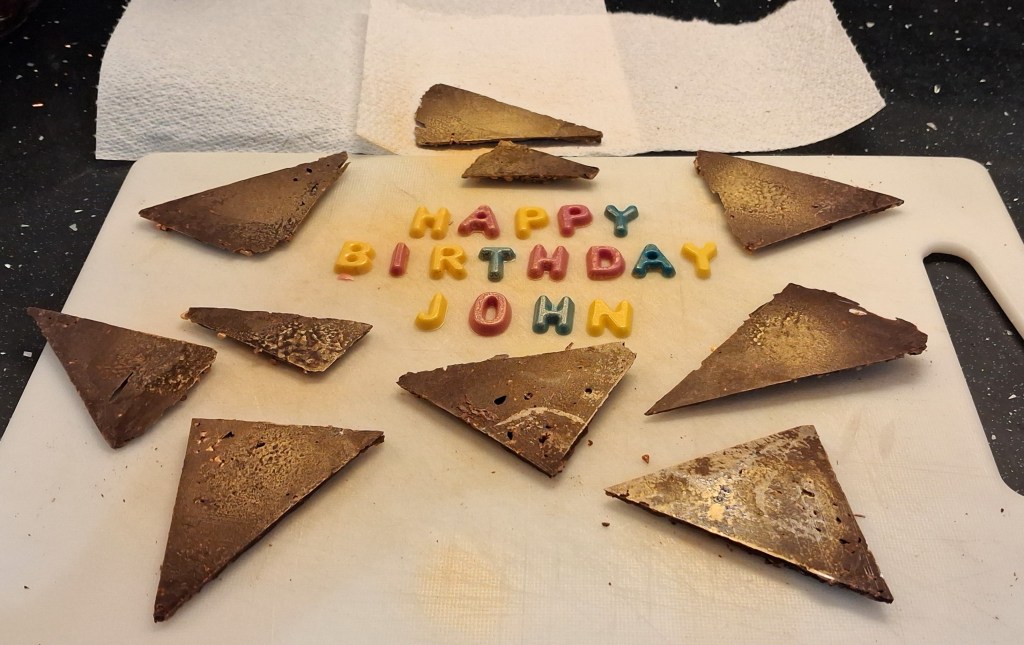
If you want to make some shards, it’s easy. Just pour some melted chocolate onto a sheet of acetate and smooth it out with a crank-handled spatula. (I often add sprinkles at this stage.) When it has almost set, press down with a sharp edge to create shapes, e.g. triangular. When it has dried fully, lift the shapes off carefully.
Gallery 1

Gallery 2
I hope you enjoy this lovely cake. If you want more cake recipes click this link, or have a look at my site for lots of other great recipes, both sweet and savoury. Below are a few that I’d love you to try:

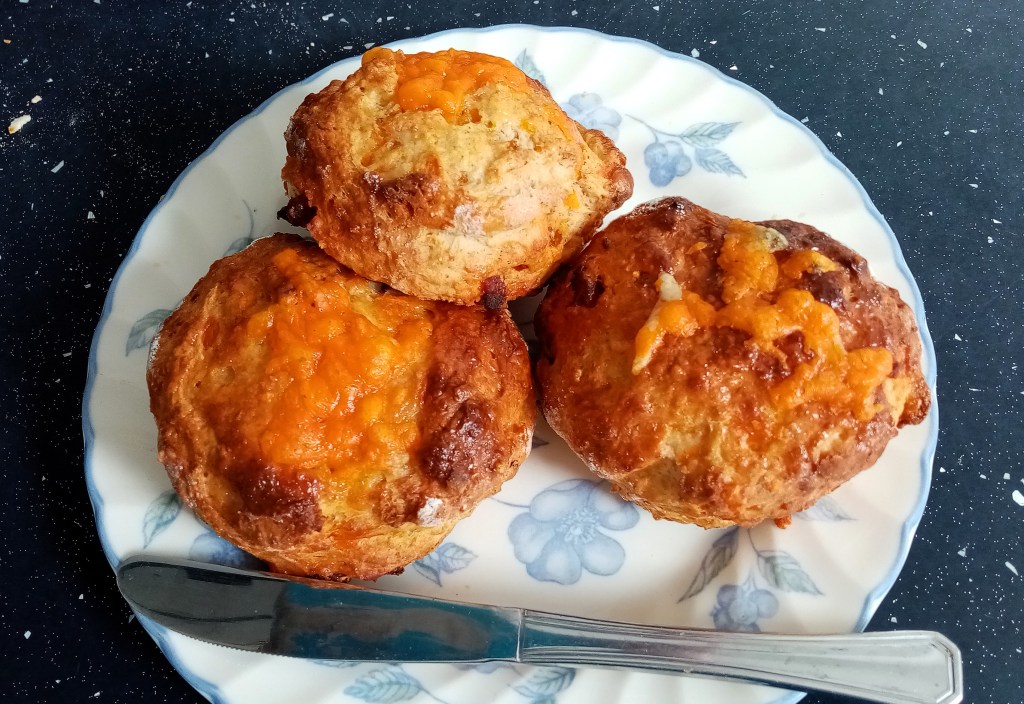
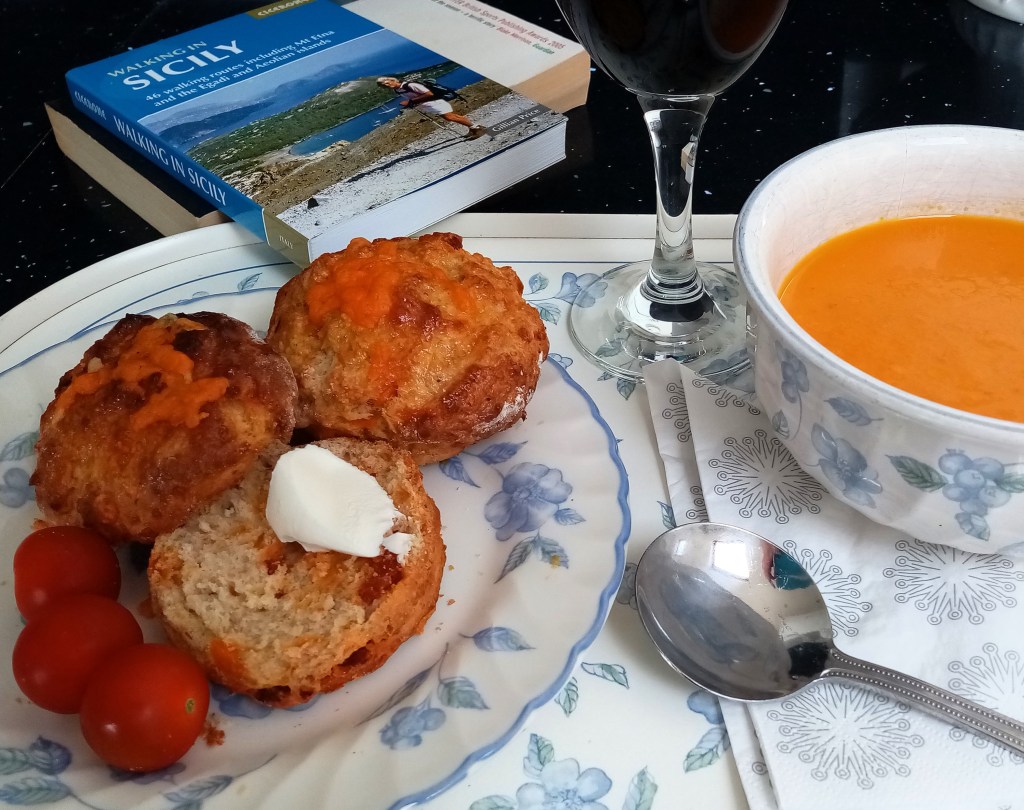
Red Leicester and Chorizo scones
To make a comment or ask a question please go to the contact page. Click here for the home page.

