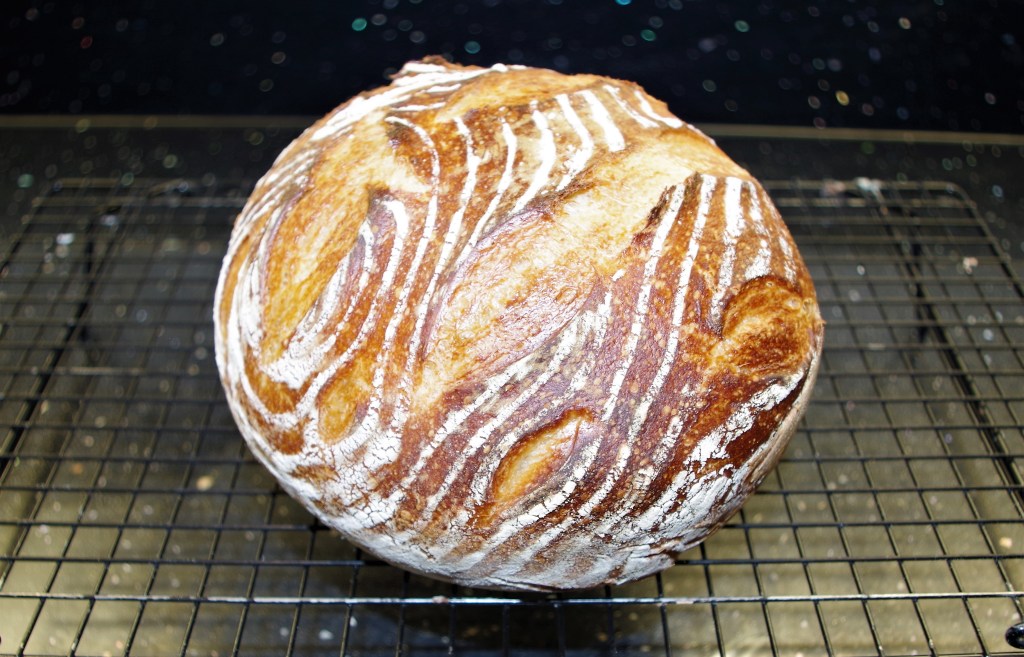
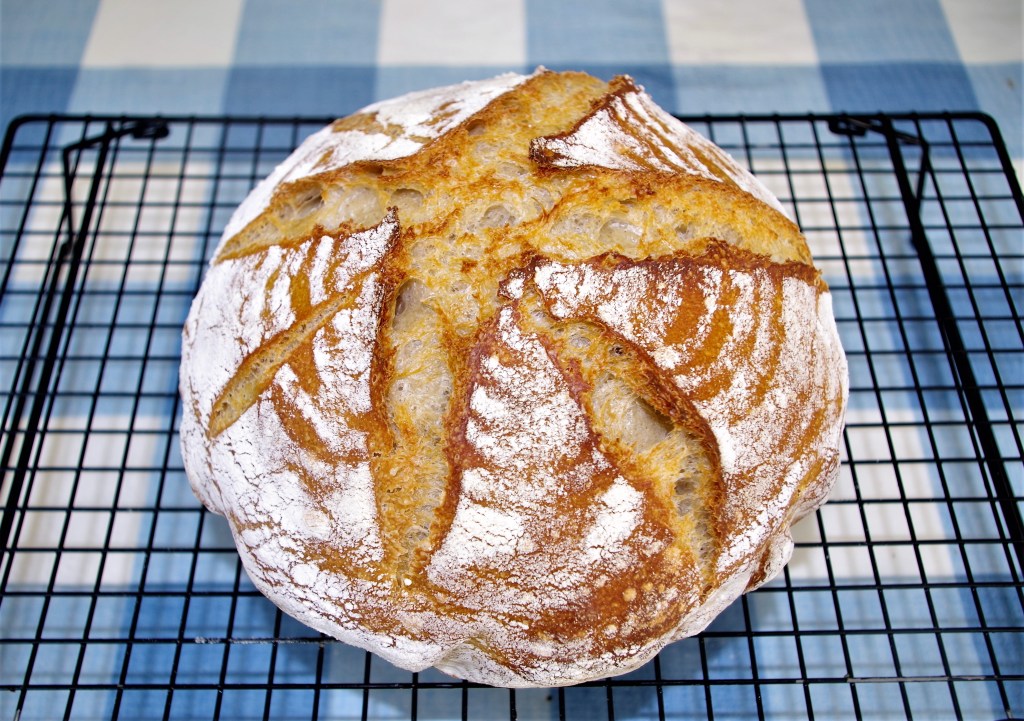
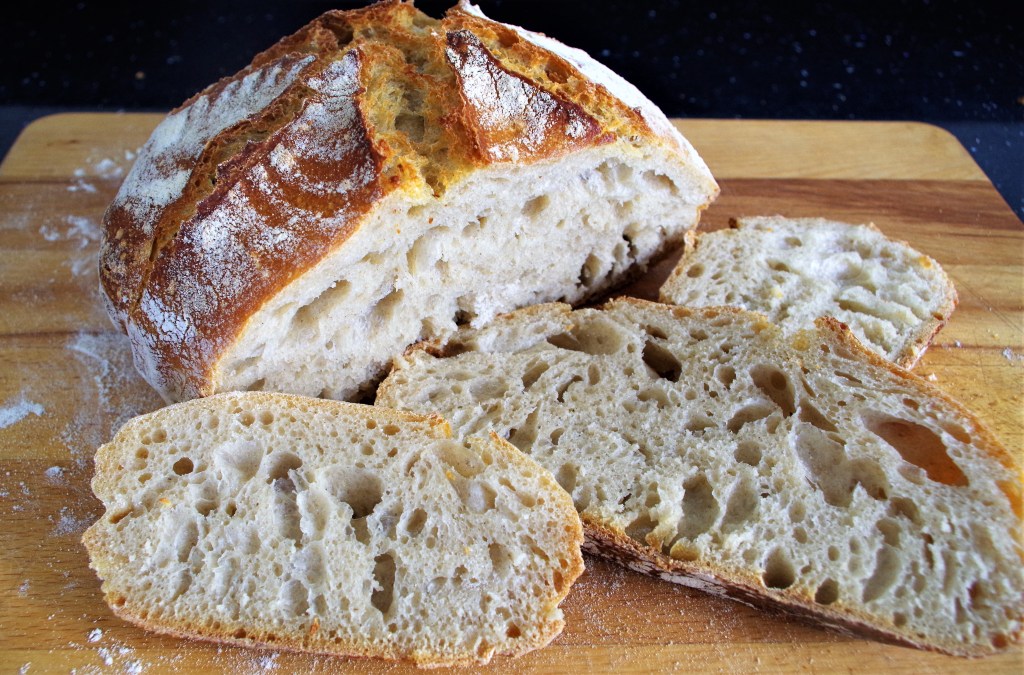
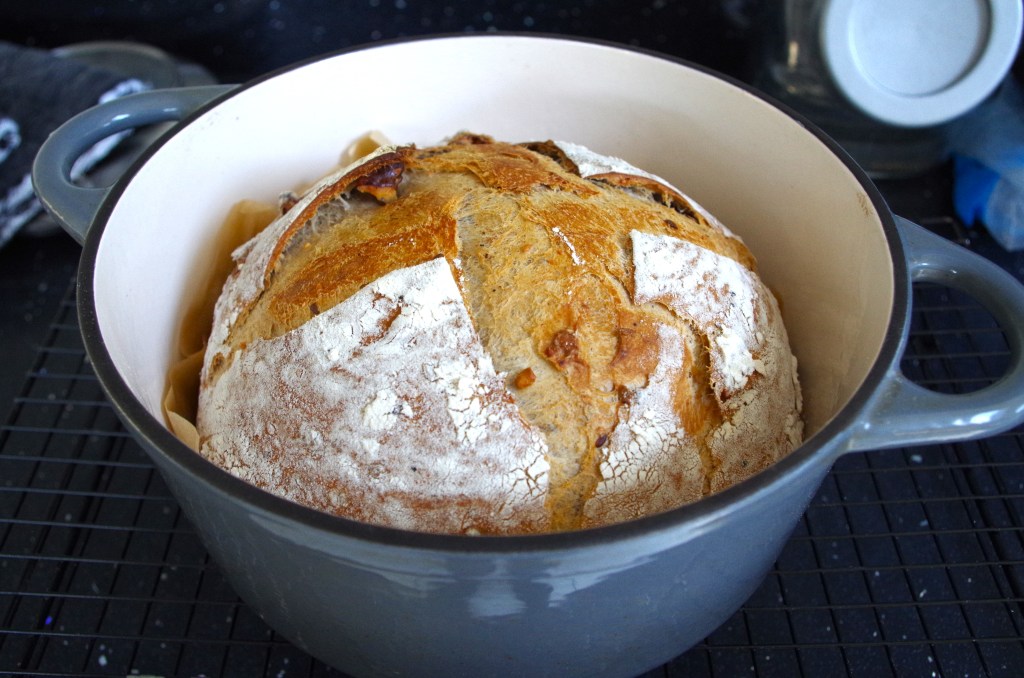
This is the sourdough recipe/method that I’ve been using most weeks for several years. It produces a very tasty medium sized round loaf with a crunchy crust (exterior) and a soft but firm crumb (interior). There are other methods, probably some better methods, but this one works well for me and should work for you too.
Makes: A medium loaf (about 12 slices of varying size)
Time: It’s a two day process. Day 1 hands on: 30 minutes. Prove overnight. Day 2 hands on: 15min. + 15 min. See below for proving and baking times.
Level: Not simple initially, but soon becomes easy if you persevere.
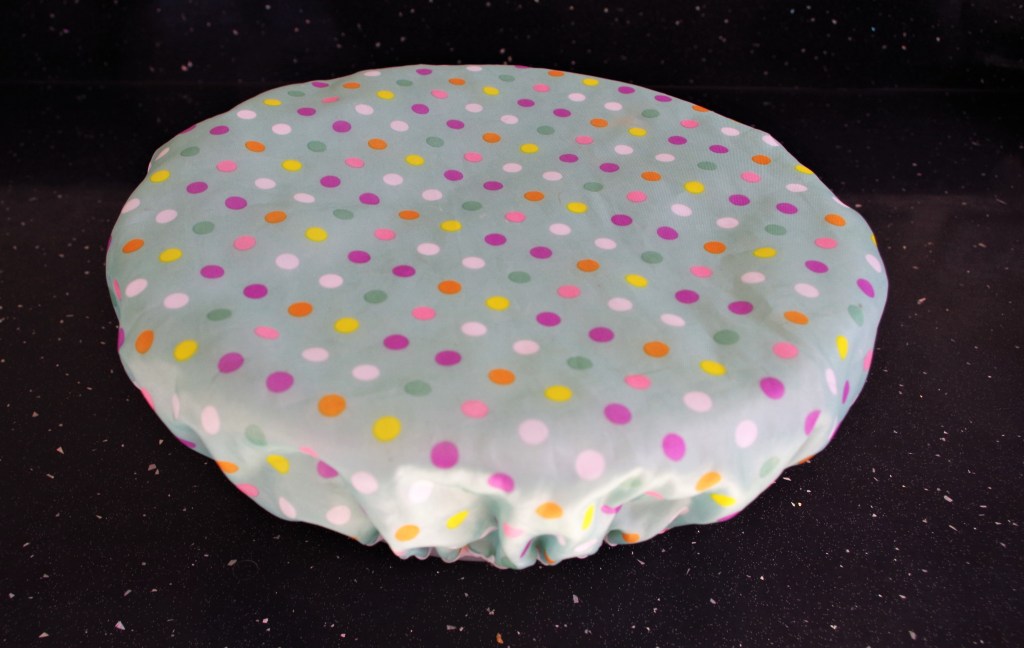
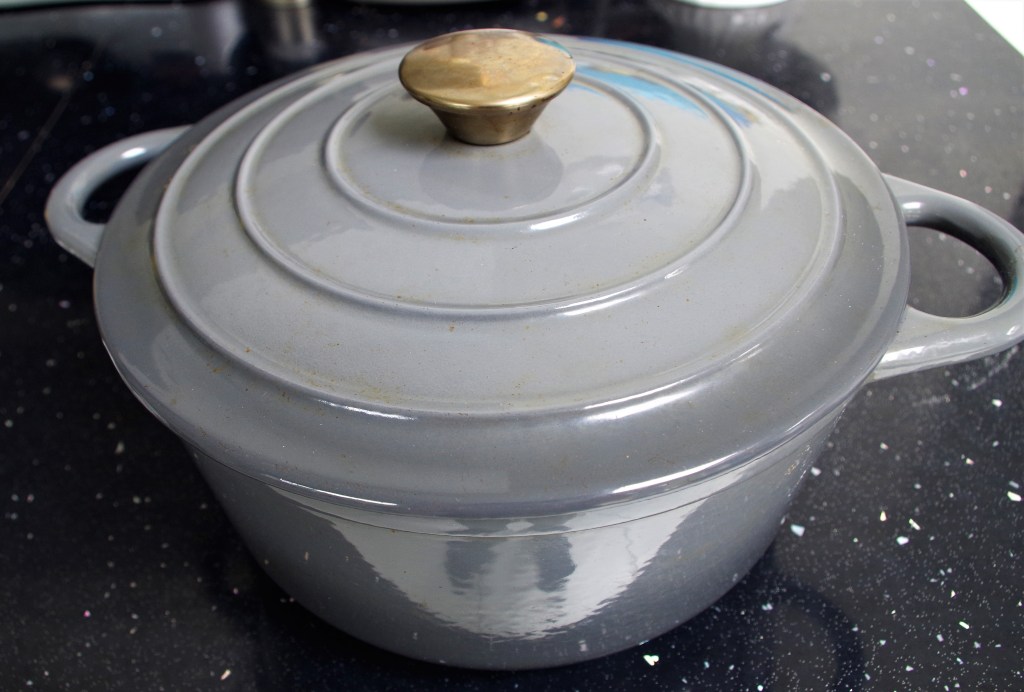
Need: A stand mixer is really useful, but not absolutely essential. Likewise, a banneton and a Dutch oven. An elasticated shower cap is useful, not essential, but quite pretty.


Ingredients
- 250ml active starter (sometimes called a biga or a mother)
- 180 – 190ml tepid water
- 20ml olive oil or sunflower oil (not essential, but I think it helps give a good texture)
- 400g strong white flour
- 10g fine salt
- Lots of patience
HEALTH WARNING: I’ve gone into lots of detail with very full and wordy explanations. It’s all very fascinating, of course, but not exactly Pulitzer Prize winning stuff. Make sure you have a cup of tea or coffee (or something stronger) to hand while reading. If you prefer a shorter, less detailed version skip down to where you’ll find it in Green.
Method
Pre: I keep my starter in the fridge, so it needs to be taken out early on Day 1 to come up to room temperature. Then I tip some away and “feed” the remainder with equal amounts of tepid water and strong flour. (I like to use pre-boiled water from the kettle even though our water in Derbyshire is good quality.)
Later in day 1 – usually in the afternoon, I make my dough. In the summer my dough has sometimes risen as early as 03:00 the following morning. This suits me, as I’m a ridiculously early riser, but you may be more “normal” and will need to adjust your timing. Maybe mix your dough later in the evening so you don’t need to get up so early.
1. Mixing the dough. I pour the starter into the bowl of my stand mixer then add in the tepid water and olive oil. The oil needs to be stirred in vigorously as it doesn’t like being friendly with the water.
2. Tip on the flour and salt then mix it all together, scraping down the sides of the bowl regularly. You can do this with the dough hook or get stuck in by hand. A plastic or rubber spatula is useful here. (Sorry, I forgot to mention that earlier.)
3. Once the dough has been mixed well I knead it using the dough hook, slowly at first then more vigorously. I’m looking for it to form into a ball without lots of loose dough on the sides of the bowl. Usually this takes 8 – 9 minutes in a mixer.
4. I transfer this dough ball to a lightly oiled bowl. I then pull up the sides of the dough ball, stretching pieces of dough up and over while turning the bowl. After a few minutes I invert the dough ball. It should have a soft, round and shiny surface. I cover the bowl with a nice spotty shower cap. That’s Day 1 finished. Leave the bowl somewhere warm (but not over-hot) and go to bed or watch some television maybe.
5. Day 2. Sometime the next morning, it will have risen to at least double the previous volume. I’ve no idea when this will happen in your kitchen, it depends on several factors, the most important being the overnight temperature.
6. Tip it out onto a lightly floured surface. Like earlier, pull pieces over, stretching them gently as you do. Turn the dough ball over and use the palms of your hands to drag the edges under it to form a tight surface.
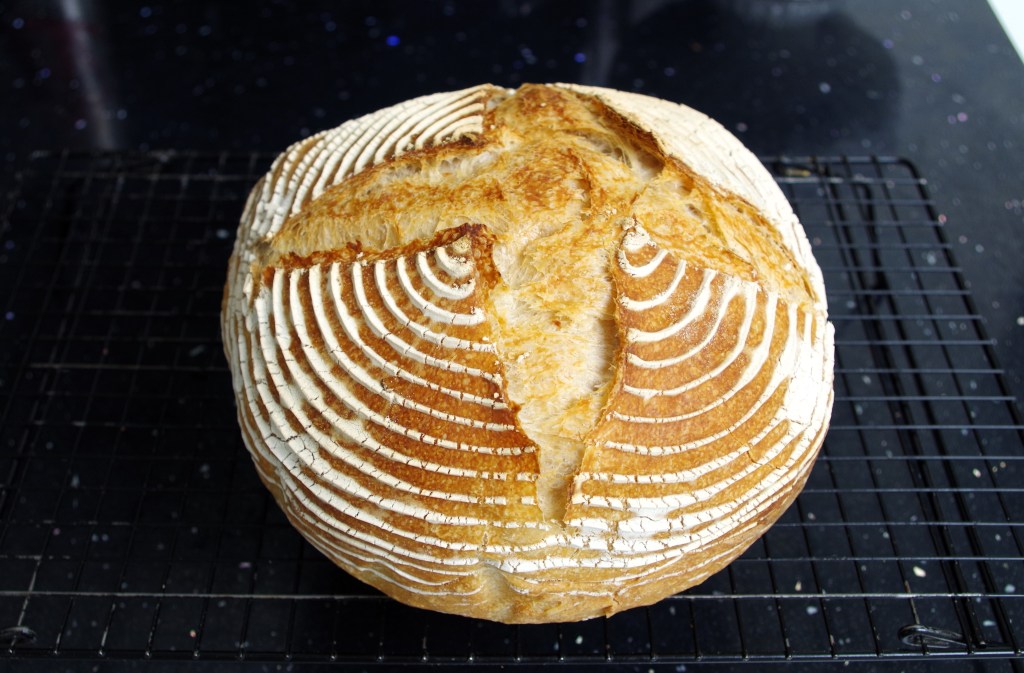
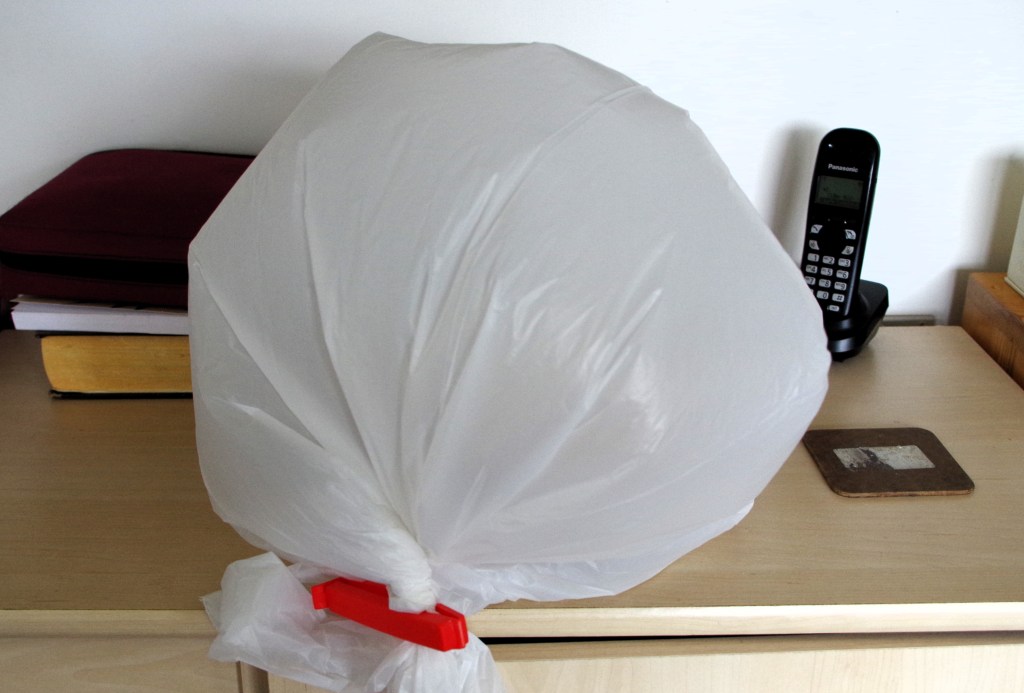
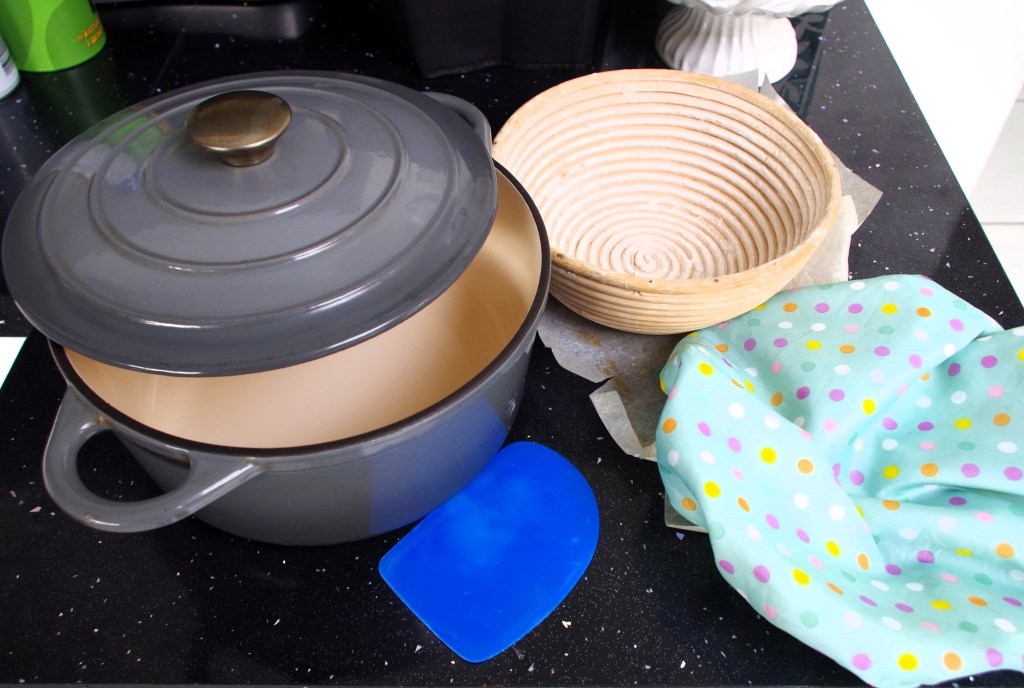
7. Flour your banneton really well then invert the dough ball into it. This then goes inside a large plastic bag. I use a kitchen bin liner. Make sure it has plenty of air in it then twist the neck to seal it and fasten with a peg or a food bag clip.
8. The second prove could be anything from a few hours to half a day. I tend to wait until the dough has risen at least to the top edge of the banneton. A long prove develops more flavour, so some bakers put their dough in a fridge for its second prove. (Our fridge is usually too full, so I sometimes use the garage.)
9. Cut a circle of baking parchment – larger in diameter than the distance across the banneton. Cut 3mm – 5mm snips around the edge. When the dough has risen, place your Dutch oven nearby, ready for the dough.
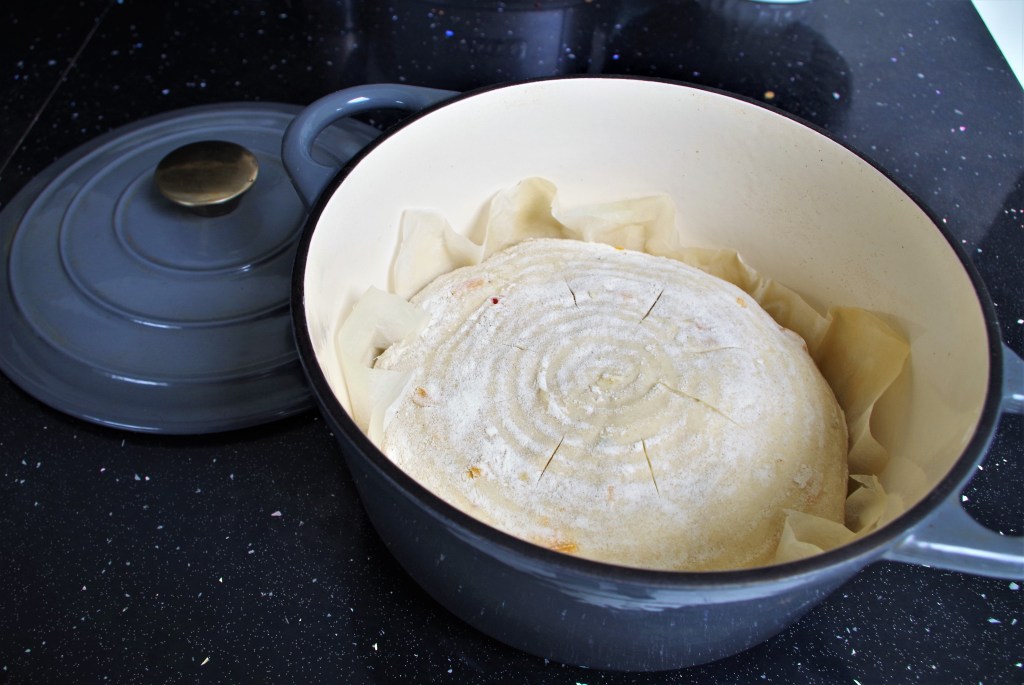
10. Lay the parchment circle over the banneton and invert it so that the dough is sitting on the parchment. (You may need to gently brush off any excess flour.) Use the parchment to lift it all into the banneton and “jiggle it” around so that the dough sits evenly inside.
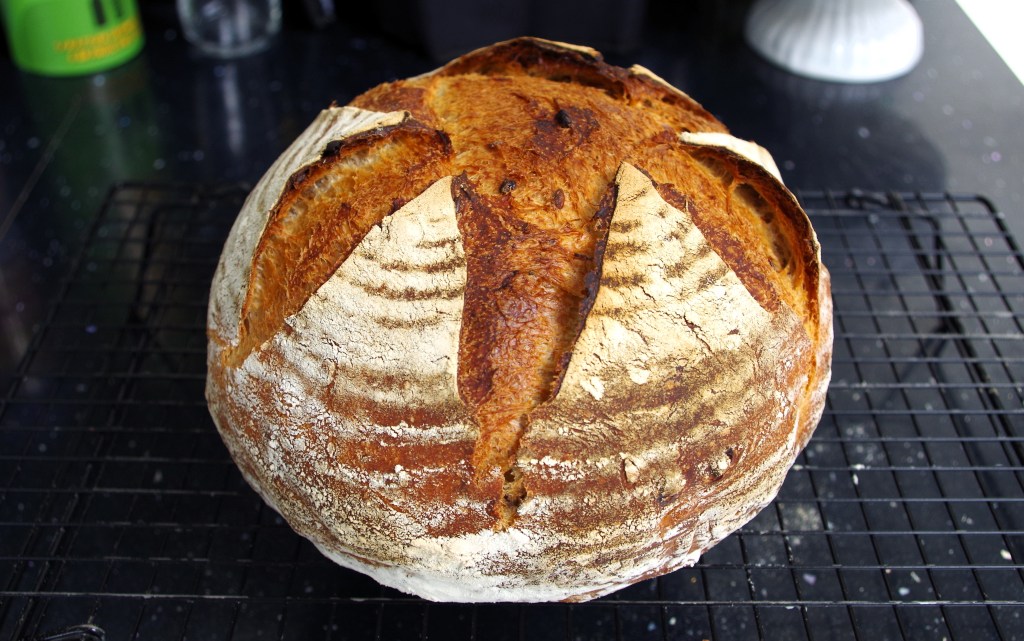
11. Use a very sharp knife, a lame or a razor blade to cut slashes on the surface of the dough.
12. Put the lid on the Dutch oven then place it in a COLD main oven. Turn the oven on to Fan 210°C and bake for 50 minutes. Then take the lid off the Dutch oven and bake for a further 10 – 12 minutes.
13. Lift it out of the oven and do all the normal taps and knocks while listening for that lovely hollow sound that says “I’m done”. Cool your lovely loaf on a wire rack and resist the urge to cut & eat too soon.
The shorter (Green) version.
Day 1: Feed your starter in the morning and later in the day mix 250ml starter with 180ml tepid water and 20ml Olive oil. Tip in 400g strong white flour & 10g salt. Stir and mix to a dough. Knead until smooth and elastic.
Day 2 morning: Tip out the risen dough and fold it over itself a few time then invert into a well floured banneton. Put this inside a bin liner and leave to prove again.
Day 2 later: Invert the dough onto a piece of parchment and use this to lift it into a cold Dutch oven. Cut slashes. Put the lid on the Dutch oven and place in a cold main oven. Turn the oven on to a very high setting and bake for 50 minutes. Remove the Dutch oven lid and bake for a further 10 minutes. Tip it out to cool on a wire rack.
Day 2 later still: You’ve waited patiently, so cut, eat and enjoy.
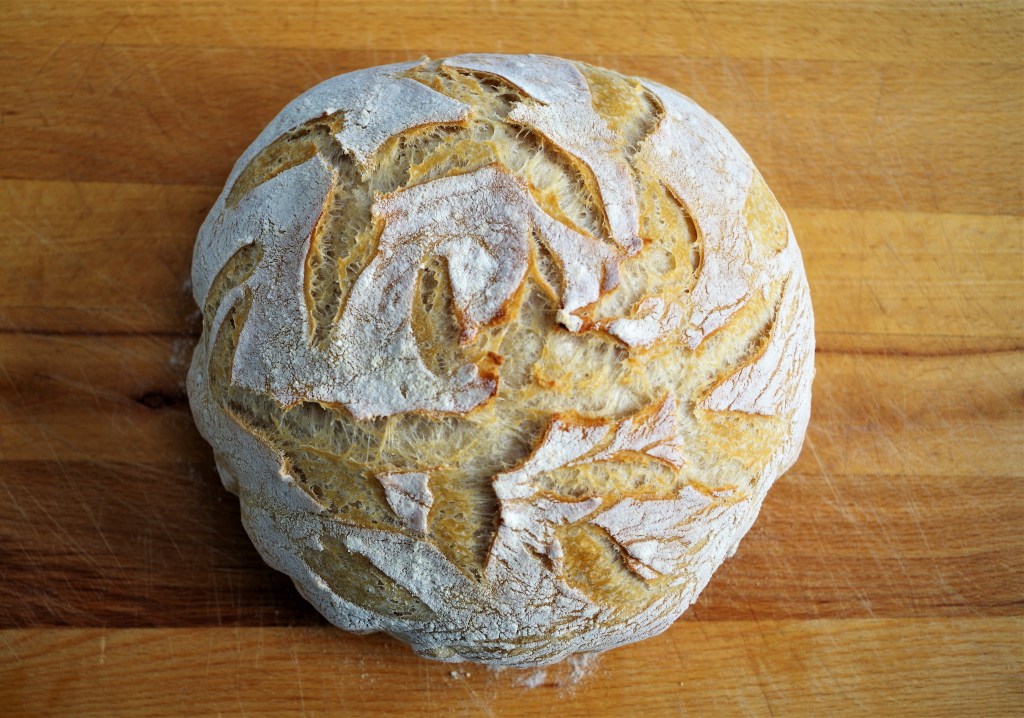
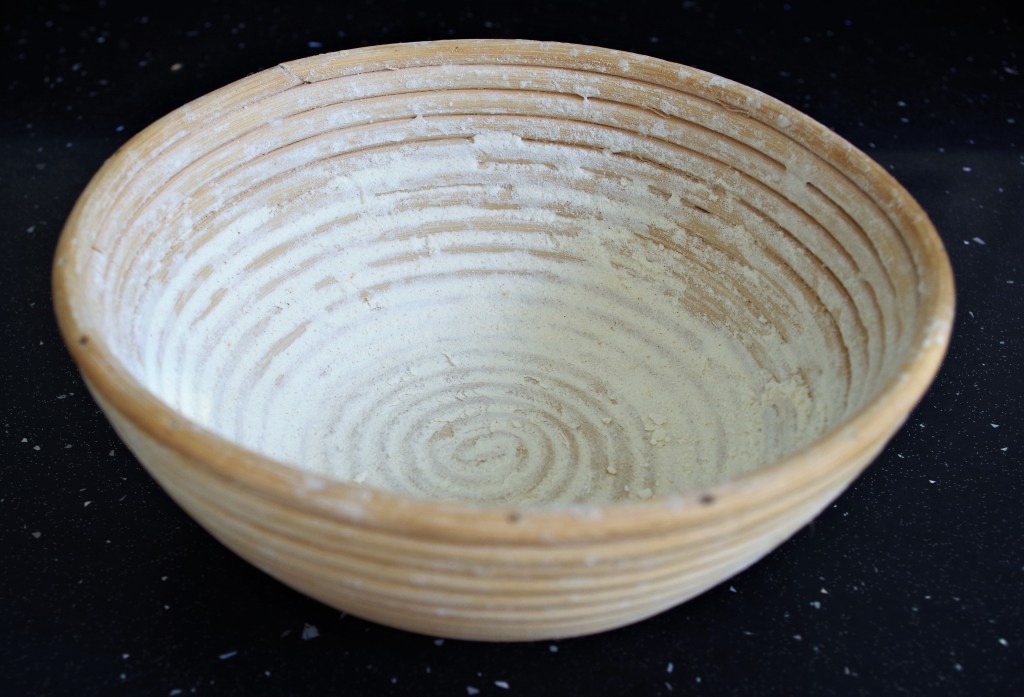
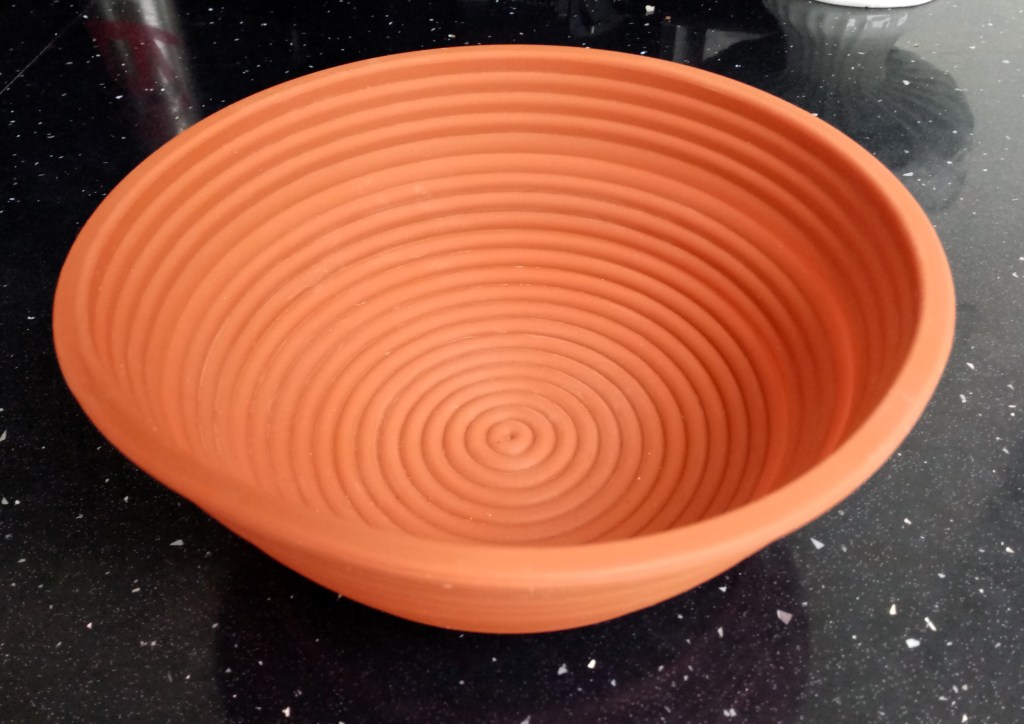
N.B. A word about bannetons. I’ve used a traditional wicker one for several years. It’s OK, but not easy to clean. Recently I bought a silicone version, which is slightly larger. At first I thought it was wonderful. It worked well and was quick to clean. But on several occasions the dough hasn’t released easily and the loaf has been misshapen. It doesn’t always hold the flour as well as my wicker version.
If you want to see lots more of my bread recipes – sweet, savoury, soda bread, festive breads, rolls and a few no-knead items – click on the bread section of my website.