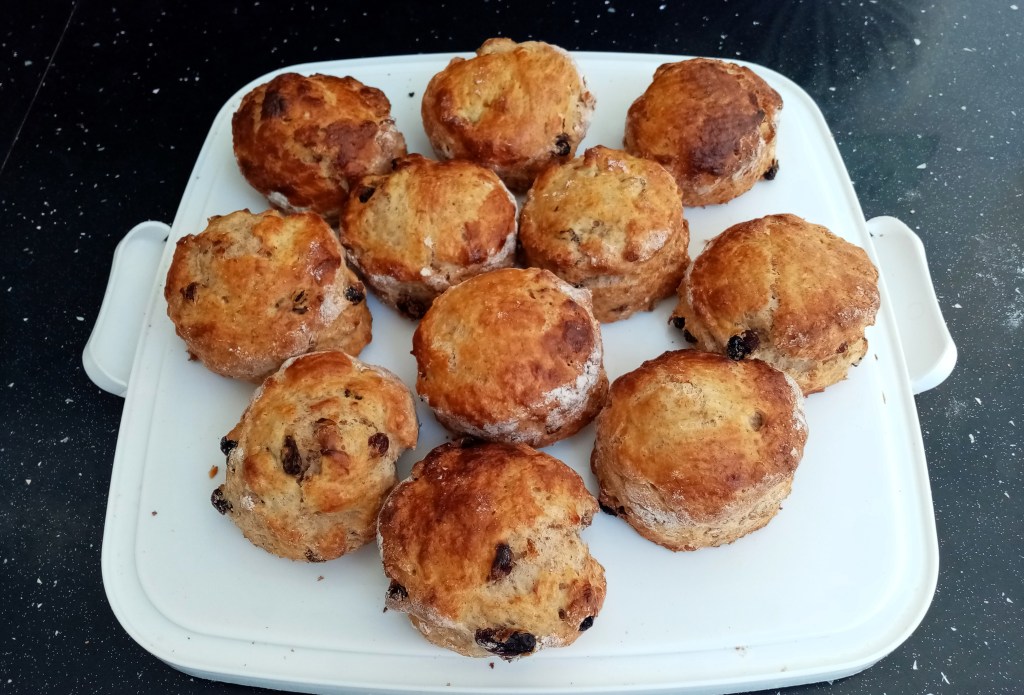
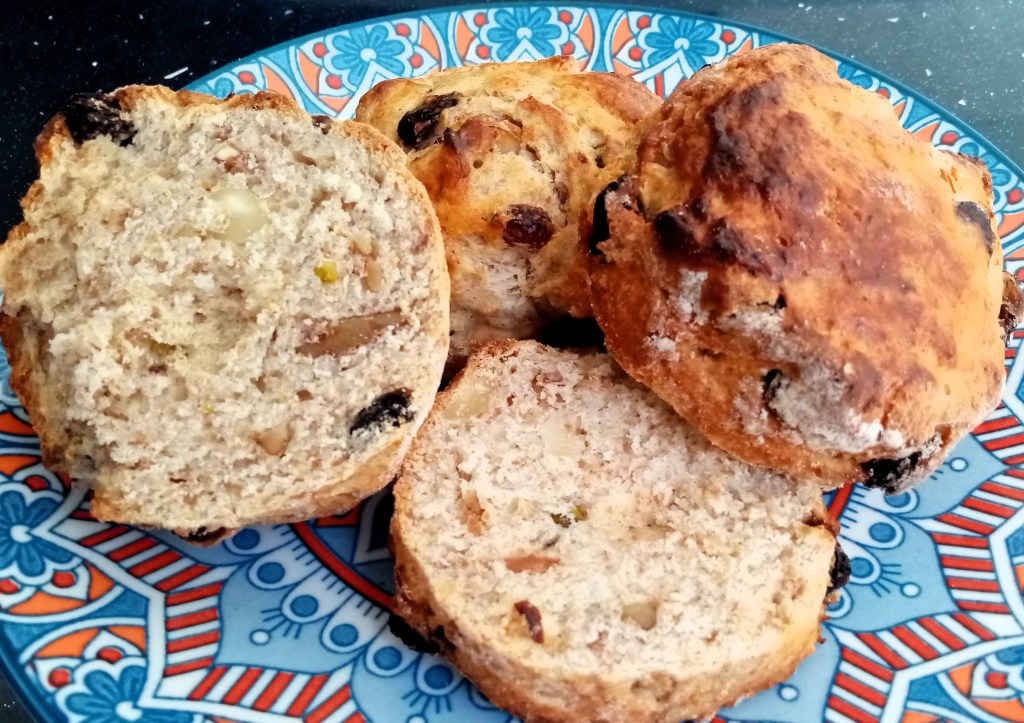
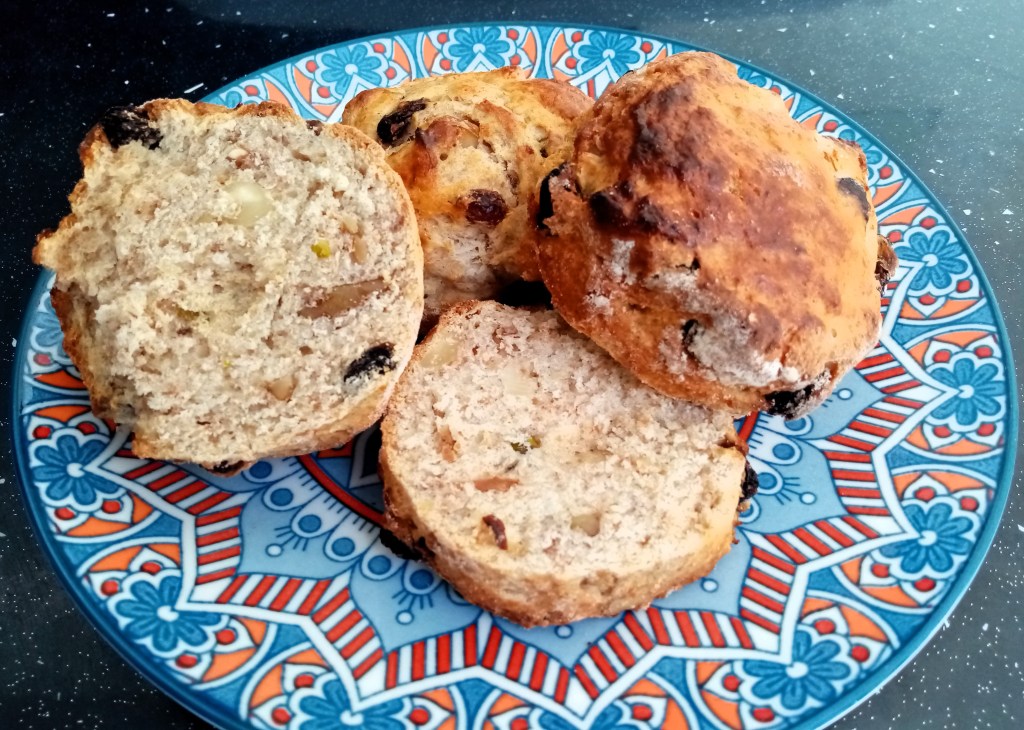
I usually use self-raising flour in my scone recipes, but for this one I opted for strong bread flour. With a high gluten content there’s a danger of the scones being tough, so it’s essential not to overwork the mixture. On the plus side these scones are light with a nice crumb structure. The combination of fruit and nuts gives them a very good taste and texture.

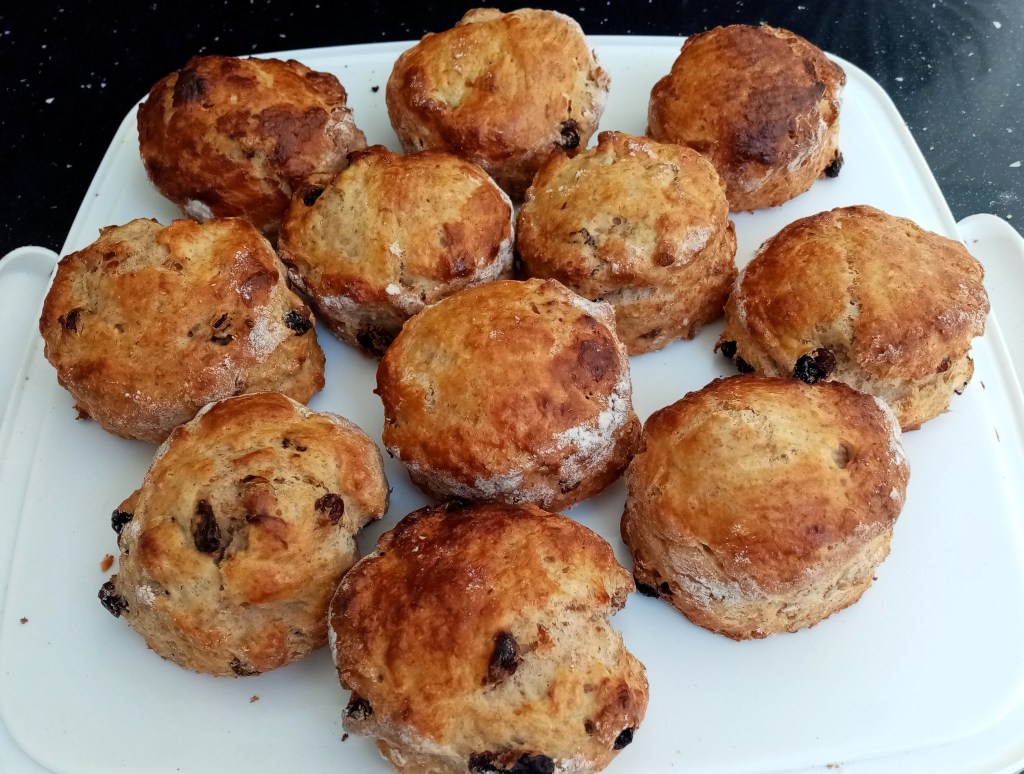
Makes: 12 – 13 medium scones using a 6cm (2½”) cutter
Time: 30 – 35 minutes hands-on then 15 minutes baking.
Level: Easy
Ingredients
- 300g/10oz strong white flour, plus a little extra for rolling out
- 200g/7oz strong wholemeal flour
- ½ tsp fine salt
- 80g/2.75oz softened butter, plus a little extra to grease the baking tray
- 80g – 90g/3oz caster sugar
- 225g – 275g (8oz – 9.5oz) dried fruit & nuts*
- 2 eggs
- 5 tsp baking powder
- 250ml/9fl oz buttermilk or milk + some in reserve
* It’s up to you how you divide this. My last batch was around 125g mixed nuts (mainly walnuts) and 100g raisins and sultanas. I was tempted to put in more and it would probably have been OK. Next time maybe.
Method
1. Preheat the oven to 220C / fan 200C / 425F / Gas 7. Line two baking trays with baking parchment.
2. In a large bowl mix together the flours and salt then set aside roughly 50g/1.75oz to use later.
3. Rub the remaining flours and butter together with fingers to create a breadcrumb-like mixture.
4. Add in the sugar, most of the beaten eggs*, baking powder and fruit & nuts. Mix together gently but thoroughly, incorporating all the ingredients.
* If you save a small amount of beaten egg it can be used later, possibly with the addition of some buttermilk, to glaze the scones prior to baking. (Alternatively, you could break open a whole extra egg, but won’t need it all.)
5. Now add half of the buttermilk/milk and keep turning the mixture gently with a wooden spoon to combine. Then add the remaining buttermilk a little at a time and bring everything together to form a soft, quite wet dough.
6. Sprinkle most of the set aside flour mixture onto a clean work surface. Tip the soft dough out onto it and sprinkle the rest of the flour on top. The mixture will probably still be quite wet and sticky.
7. Use your hands or a plastic scraper to fold the dough over itself several times. If the mixture becomes too sticky use a little extra flour to coat the mixture or your hands to make it more manageable. Be careful not to overwork your dough.
8. Next, roll the dough out or flatten by hand. Aim for about 20 – 25mm depth (around 1”)
9. Using the pastry cutter, stamp out rounds and place them onto the baking tray. Dip the edge of the pastry cutter in flour each time to stop the scones from sticking. Don’t twist the cutter – just press firmly, then lift it up and push the dough out. (Any leftover dough can be worked and rolled again, but the resulting scones won’t be as fluffy.)
10. Place the scones on the baking tray and leave them to rest for a few minutes. Then use a pastry brush to glaze them with the beaten egg and buttermilk mixture.
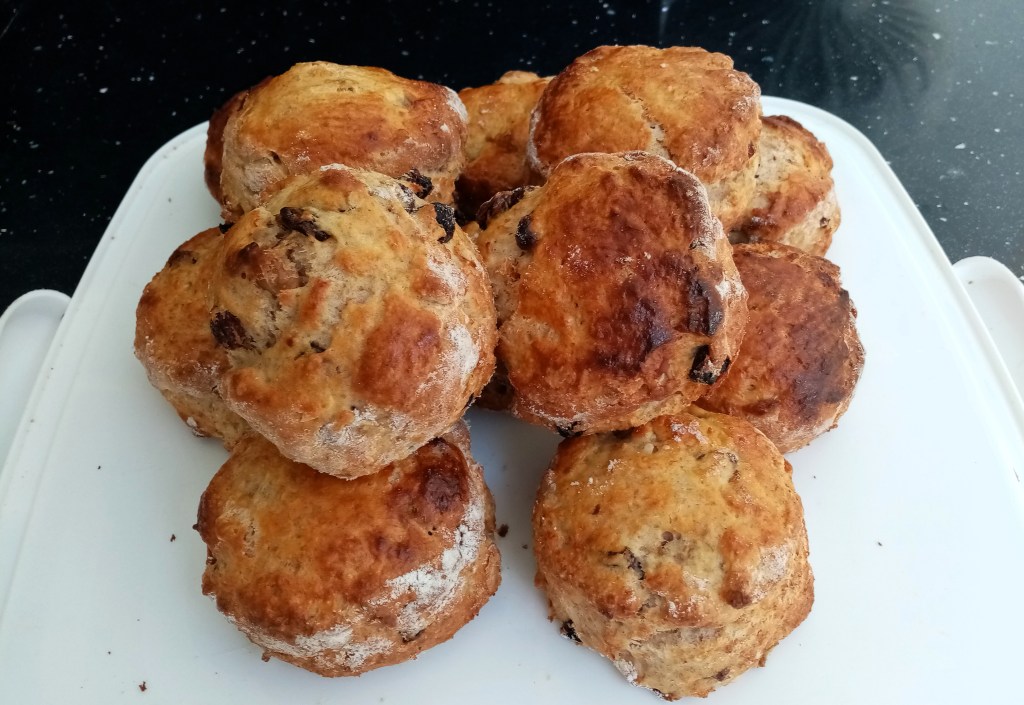
11. Bake the scones in the middle of the oven for around 15 minutes, or until the scones are risen and golden-brown. (I normally bake them for 8 minutes and – working very quickly – I turn the trays around and swap shelves then return them to the oven for a further 8 minutes.) Cool on a wire rack.
I hope you enjoy baking and eating (and maybe sharing) these scones. For more scone recipes click here. If you’d like to make a comment or ask a question please do, via the contact page, or have a look at the rest of my site for lots of other great sweet and savoury recipes.
Here are some more of my bakes that you might like to try:

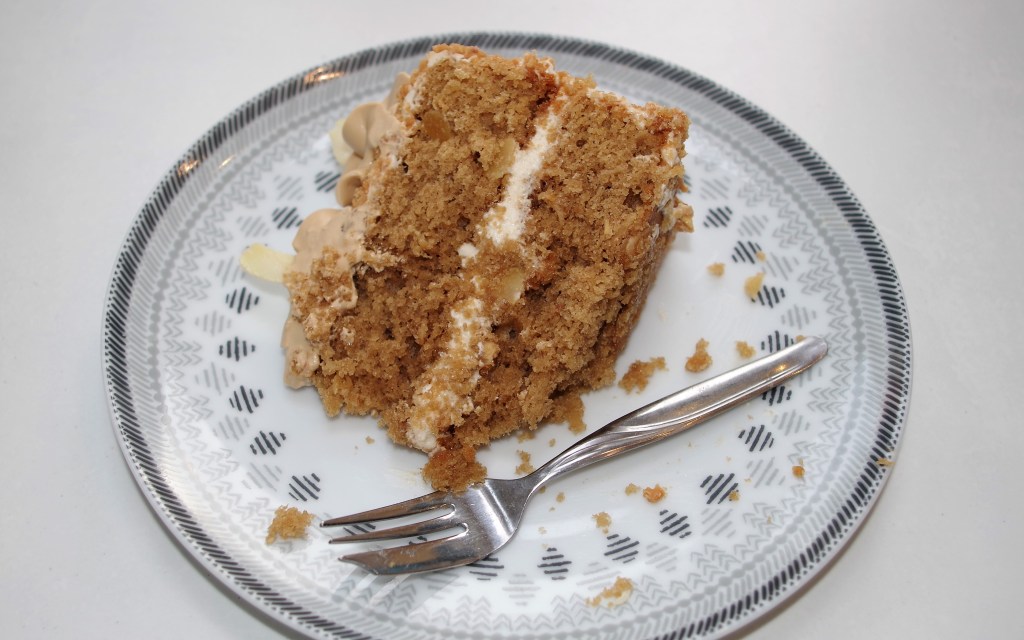
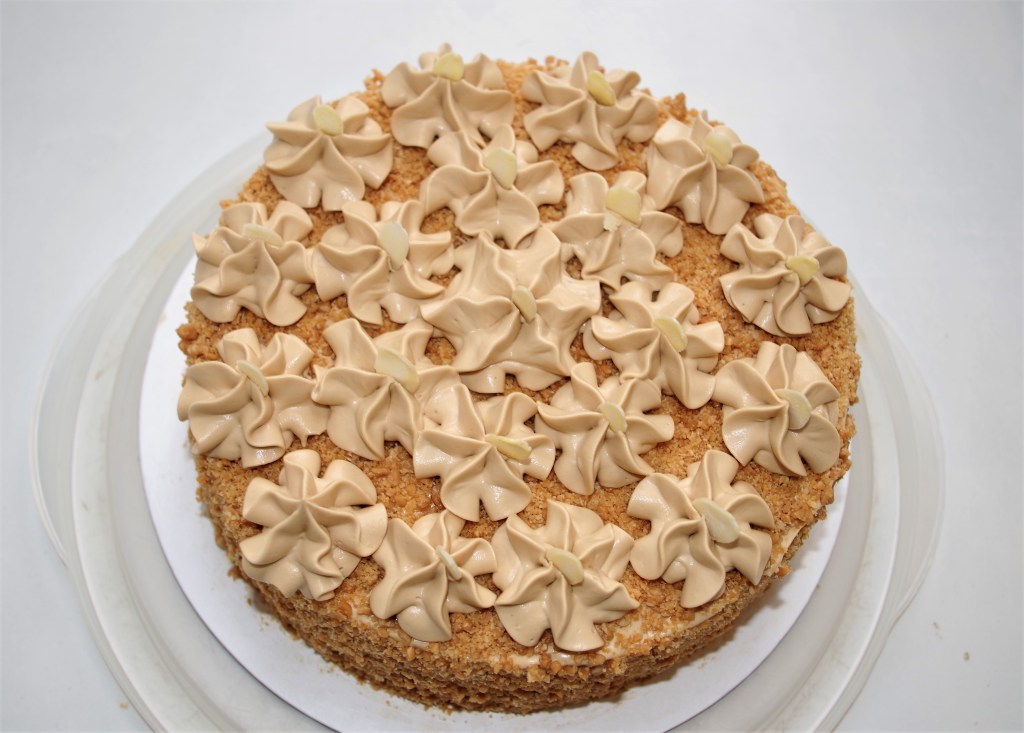

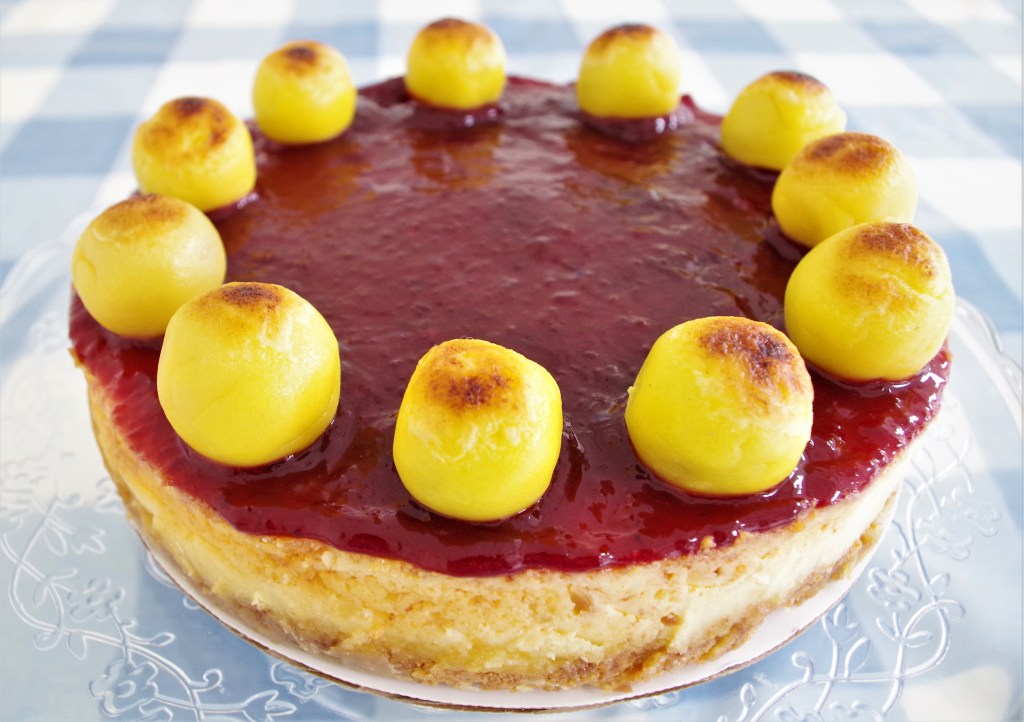
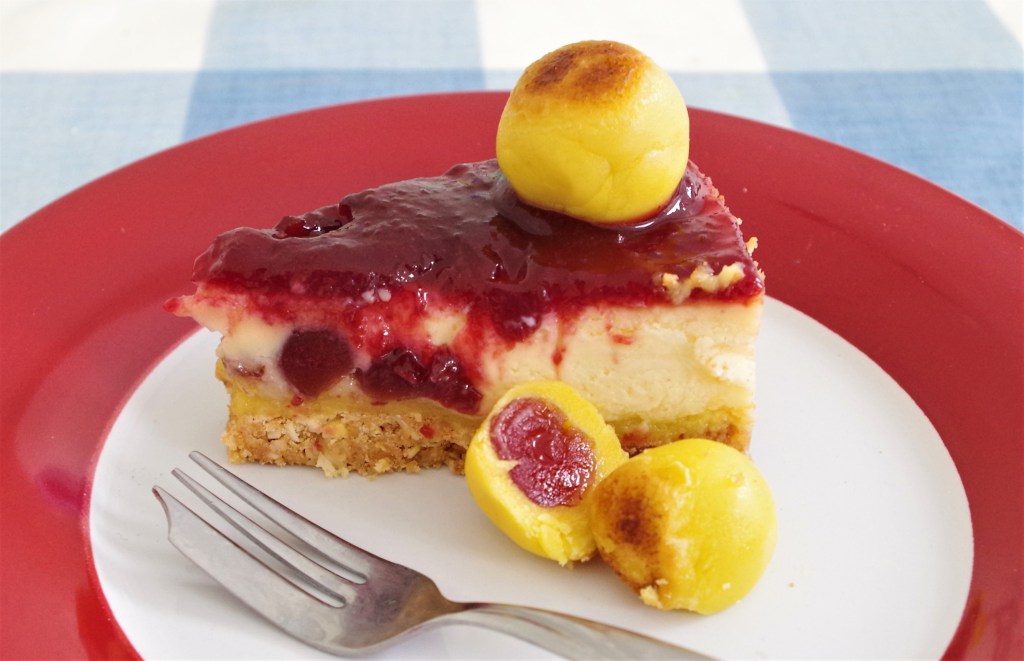
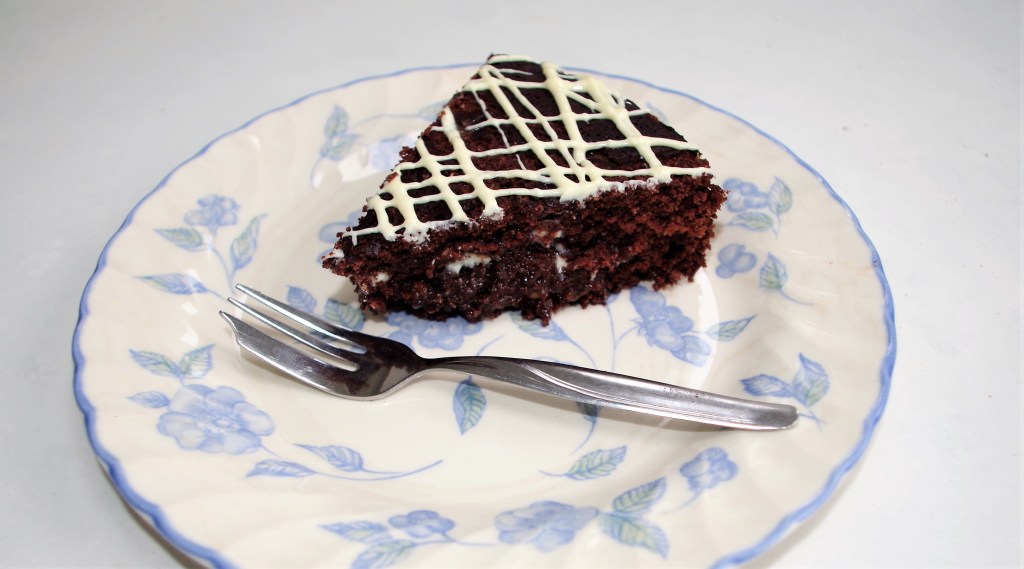
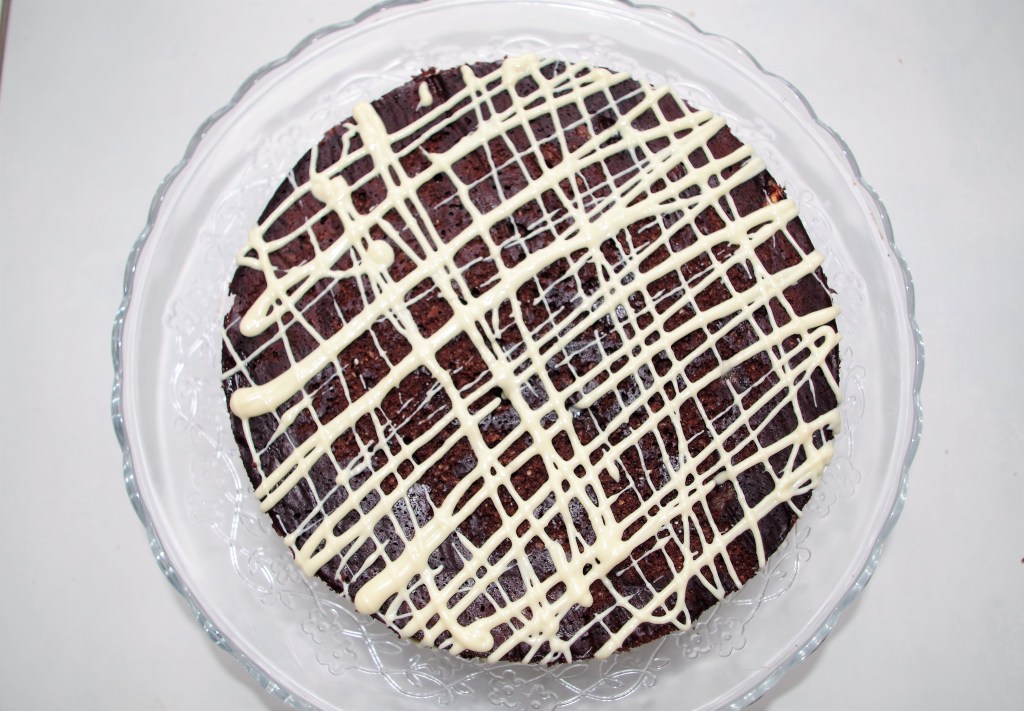
Double Chocolate and Pear Cake

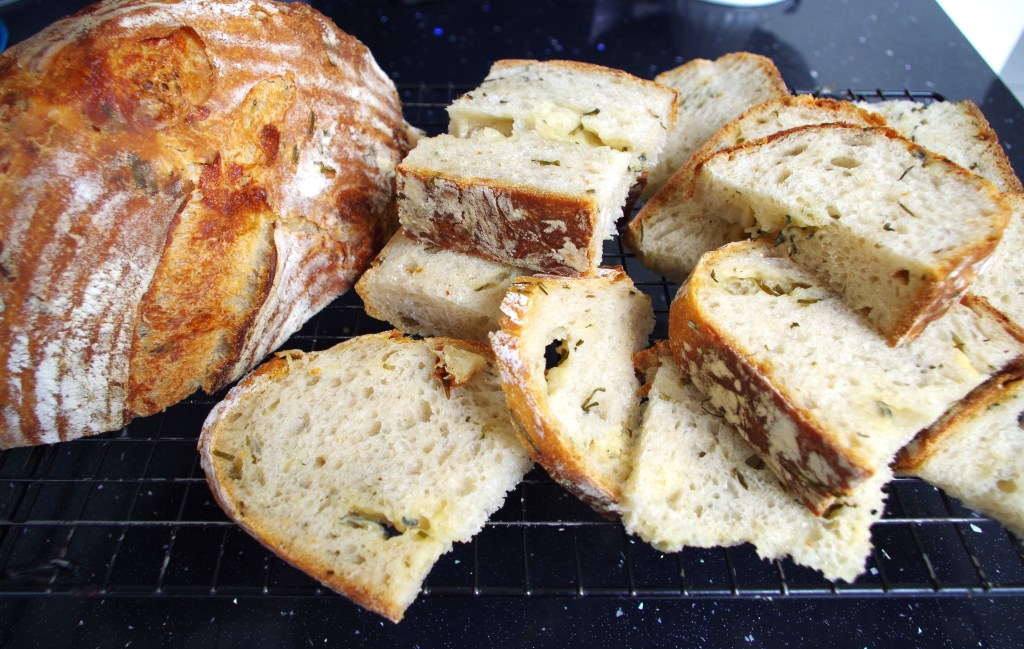
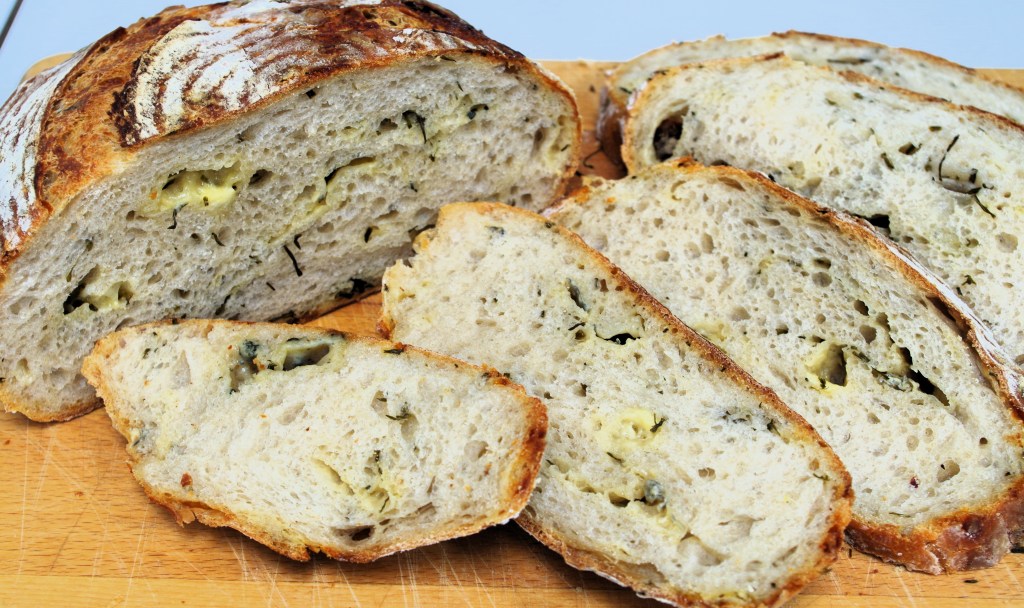
Double Cheese and Chive Sourdough