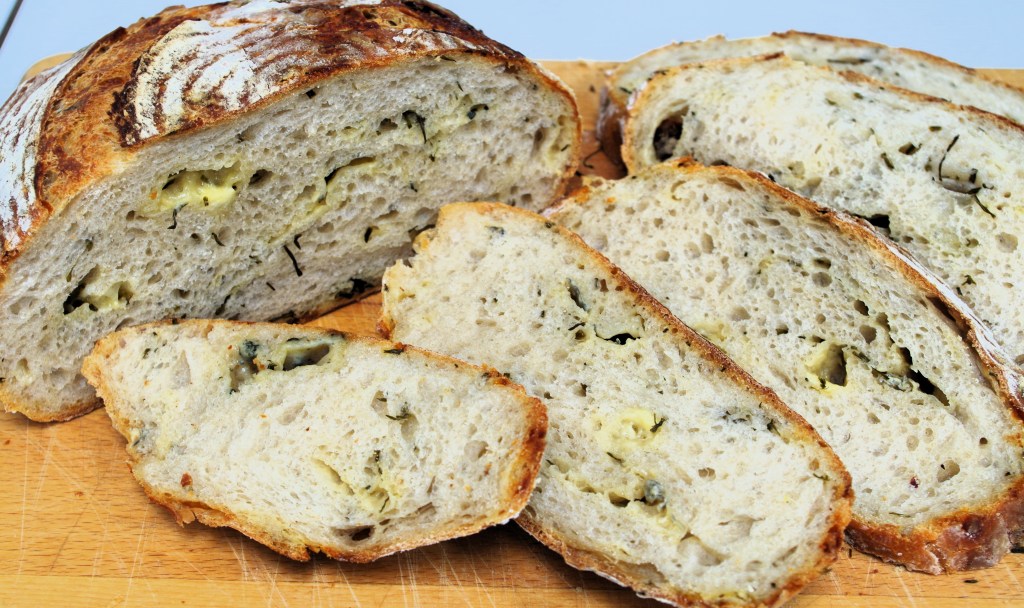
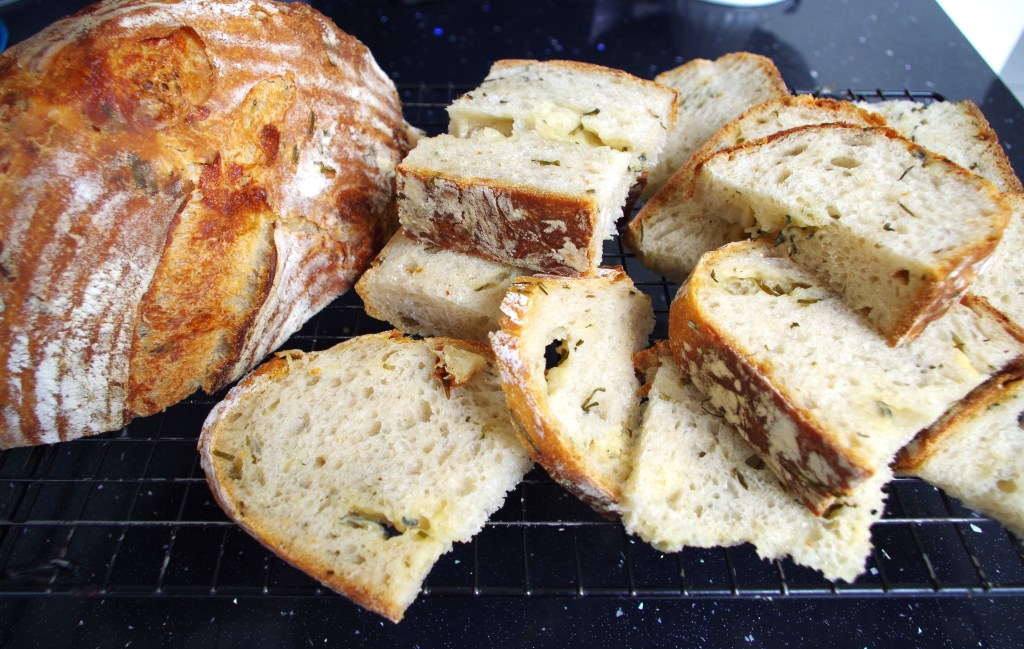
This is one of my favourite loaves. The crumb (interior) is soft and nicely chewy. The crust is dark and crunchy. And it has a lovely strong flavour.

Makes: 1 fairly large loaf
Time: It’s a two day process, but don’t be put off, you only spend a short time with “hands on”.
Level: Easy if you’re familiar with bread making, especially sourdough
Need: The instructions below assume you have a sourdough starter, a stand mixer, a Dutch oven and a banneton.
I’m also assuming that you have some experience of baking using natural yeast. i.e. a sourdough starter. A very similar loaf can be created using traditional yeast; the proving times will be much shorter and the flavour a little less pronounced.
Ingredients
- 200 – 250g active sourdough starter
- 180 – 190ml tepid water
- 20ml olive oil
- 400g strong white flour
- 10g fine salt (a little less if your cheese is salty)
- 20g caster sugar (optional)
- 150g – 180g cheese*
- Some finely chopped chives – up to you how much, but I like plenty
* To fulfil the title you need to use two cheeses. A strong Cheddar is always a good option, and I also like blue cheese, so I chose Dovedale Blue – a lovely soft tangy Derbyshire cheese.
My method
1. The day before I intend baking I take my jar of starter from the fridge, loosen or remove the top (very important*) and leave it to come up to room temperature. I then pour away a small amount and feed the starter equal measures of water and strong white flour. Later in the day, usually around 5pm*, I mix my dough as follows.
2. I pour the starter into my stand mixer bowl then stir in the tepid water* and olive oil, which I mix in well. Next in is the flour and salt. Sometimes I add sugar, but not always. I mix this into a dough, scraping down the sides of the bowl as I go.
3. I use the dough hook in my stand mixer, but you could knead it by hand for about 20 minutes. I find 8 – 9 minutes with a dough hook to be sufficient. While the machine is kneading, I lightly oil a large plastic bowl.
4. I tip my kneaded dough into the oiled bowl and pull the sides of the dough up and fold them over a few times while turning the bowl. This finishes off the kneading process and also brings the dough into a nice ball shape. I cover the bowl with an elasticated shower cap and leave it in the kitchen until the following morning.
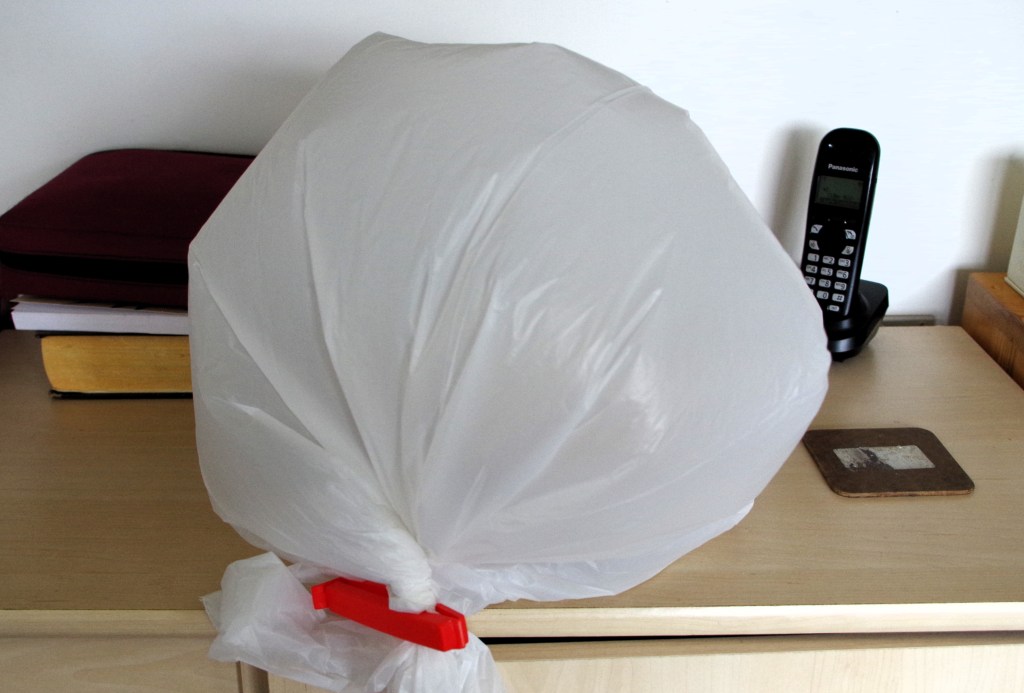
5. The following morning the dough will have risen or still be rising. When it has doubled in size, I knock it back or gently fold it over itself a few times (your choice, I’m happy with either method). It’s at this stage that I add any additions – in this case, the cheese and chives, which I work in gently making sure there’s an even distribution. I bring it to a ball shape and dust it with flour then invert it into a floured banneton. This I place into a white bin liner which I inflate and fasten. I leave this for several hours for the second rise.
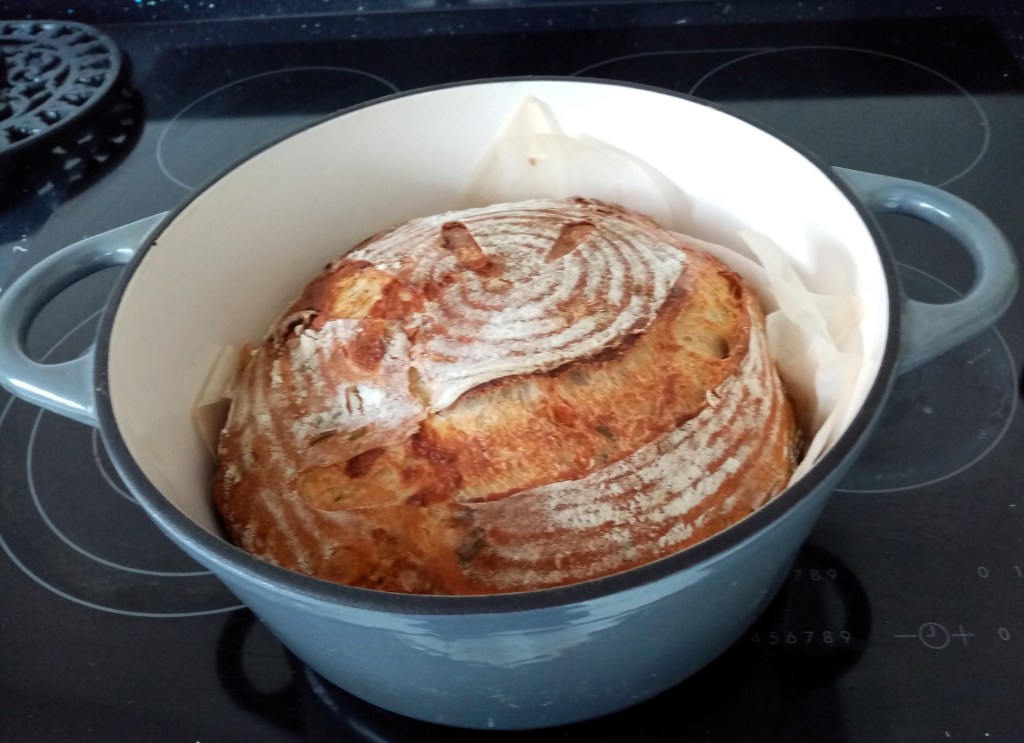
6. When the dough has risen I bring out my Dutch Oven. I then cut a piece of baking parchment and snip a few cuts into the edges. I place this over the dough and invert the banneton so that the dough is released onto the parchment. Using the parchment I lift the dough into my Dutch oven.
7. I like to use a razor blade to cut slashes in my dough, but some people prefer a knife or a lame. It’s up to you how you cut it.
8. I put the lid on my Dutch oven, which I then place into my main oven. Only at this point do I turn the oven on – not before. I use a high setting in my fan oven – 220°. I bake the loaf for 50 minutes then remove the lid of the Dutch oven and bake for a further 10 – 12 minutes, which adds colour and crunchiness.
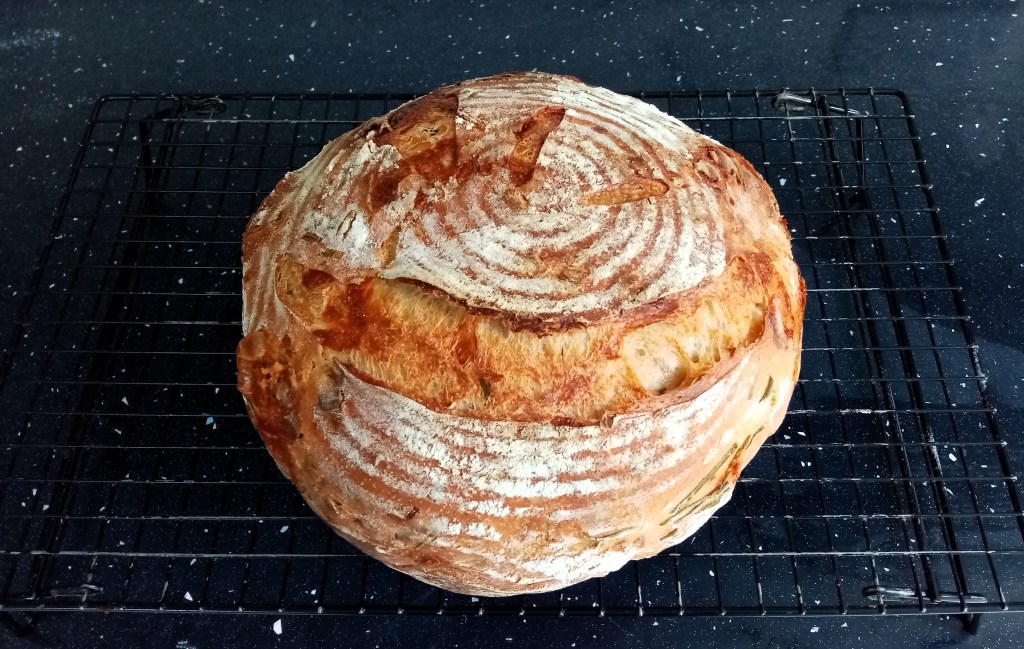
9. I leave the baked loaf in the Dutch oven for a few minutes then take it out and leave it on a wire rack to cool fully.
* Once, after feeding the starter, I kept the top fastened and the jar shattered due to the build up of gases with nowhere to go.
* In the winter I mix it earlier, in summer later. I can’t give exact times. Temperature is a big factor when proving sourdough. Also, if you’re not an early morning person, like I am, you may prefer a later time to mix your dough, otherwise be prepared to rise early.
* Most tap waters are probably OK, but I prefer to use pre-boiled water from the kettle.
Gallery 1

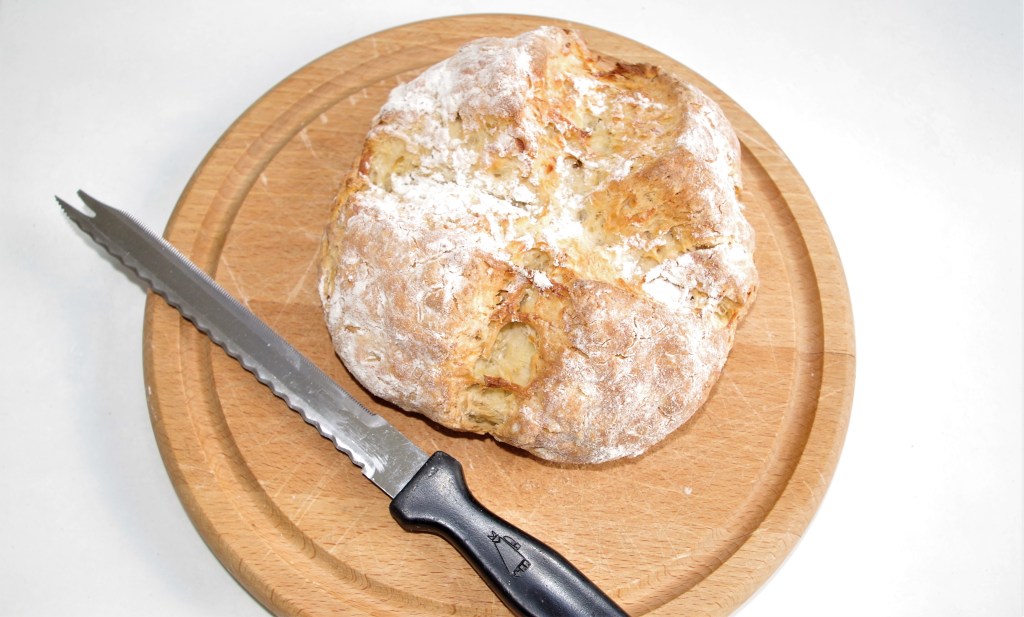
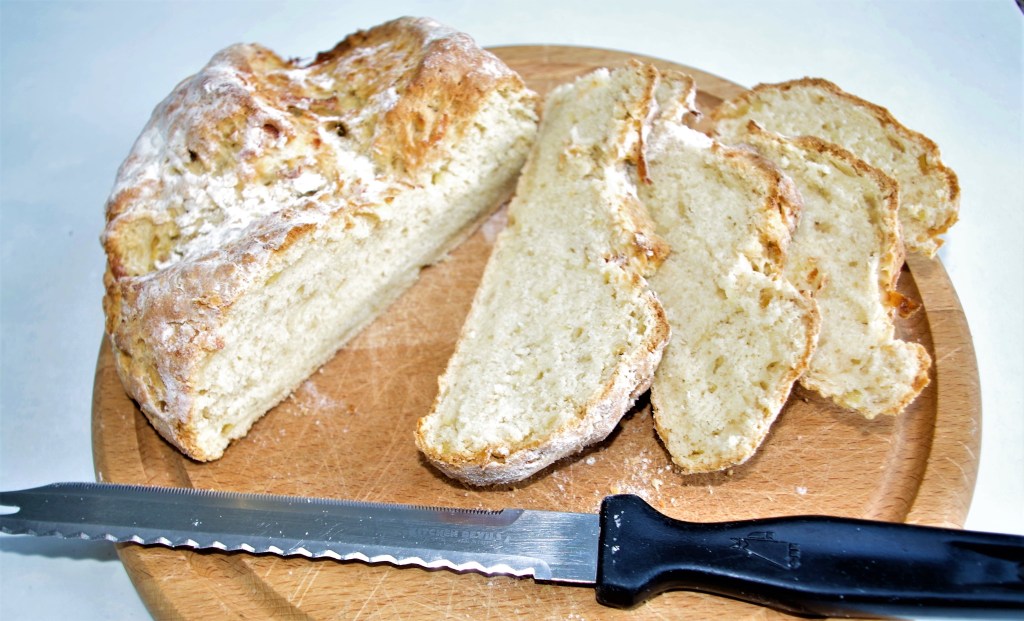
Gallery 2
I hope this has been helpful and has encouraged you into giving it a go. If you want more bread recipes click this link.
Here are some quite different breads that you might want to try:

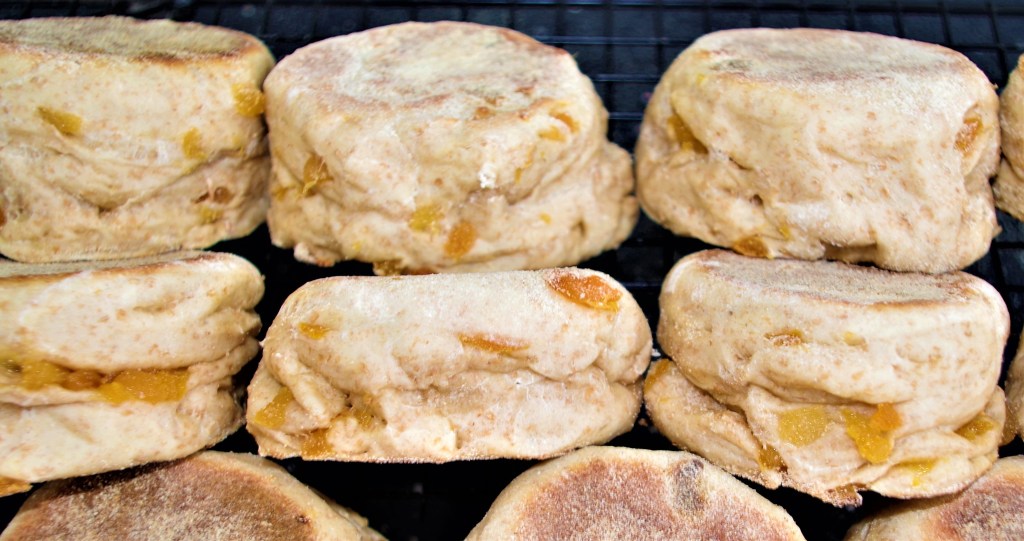
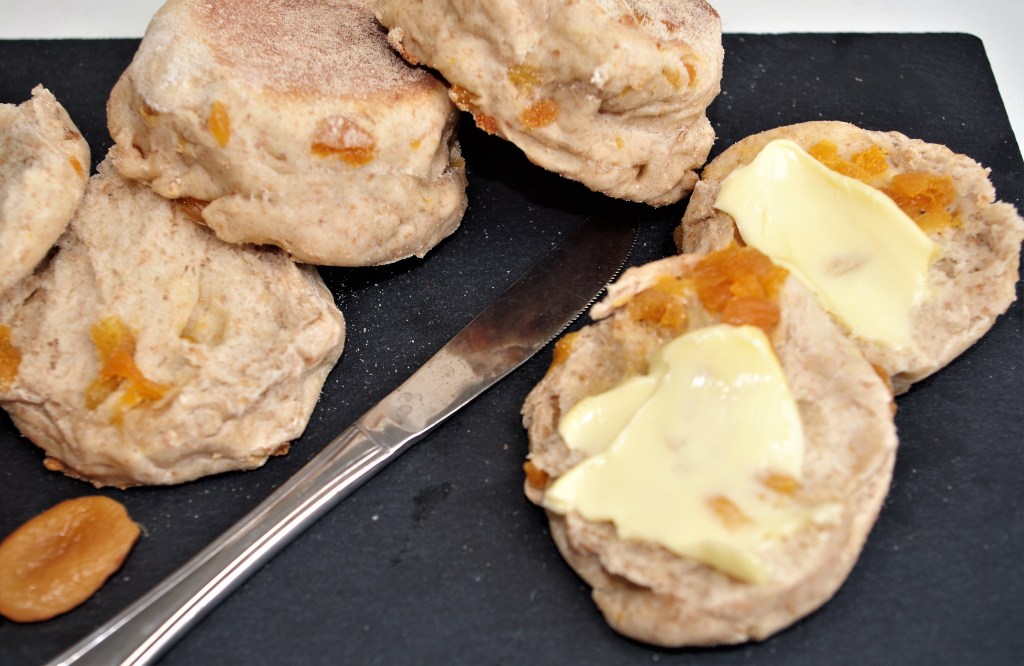
Rye & Wholemeal Apricot English Muffins

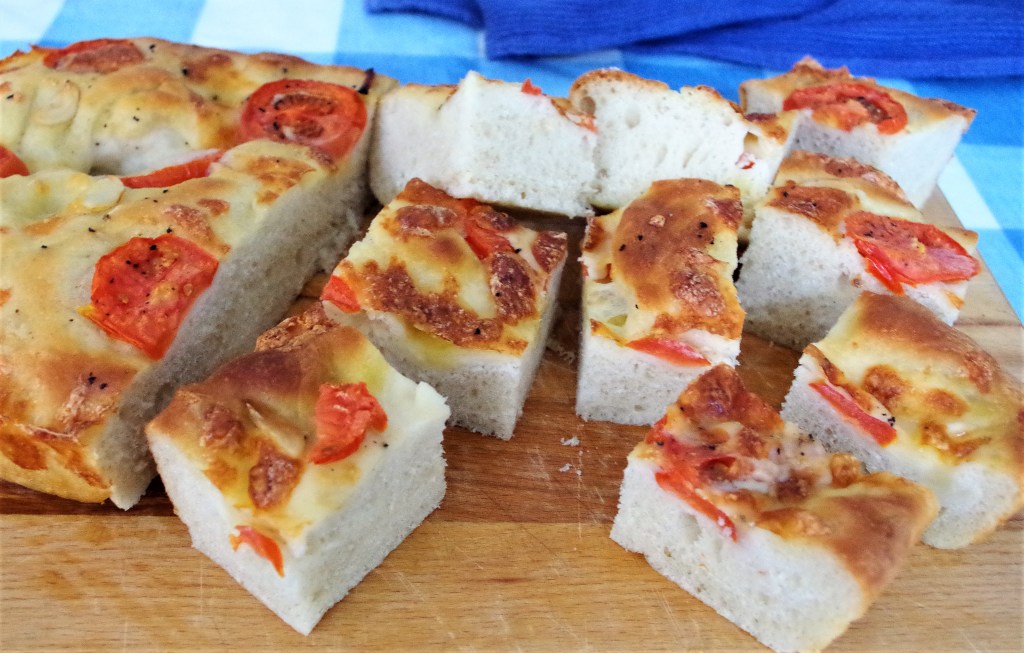
Focaccia con Mozzarella, pomodoro e aglio


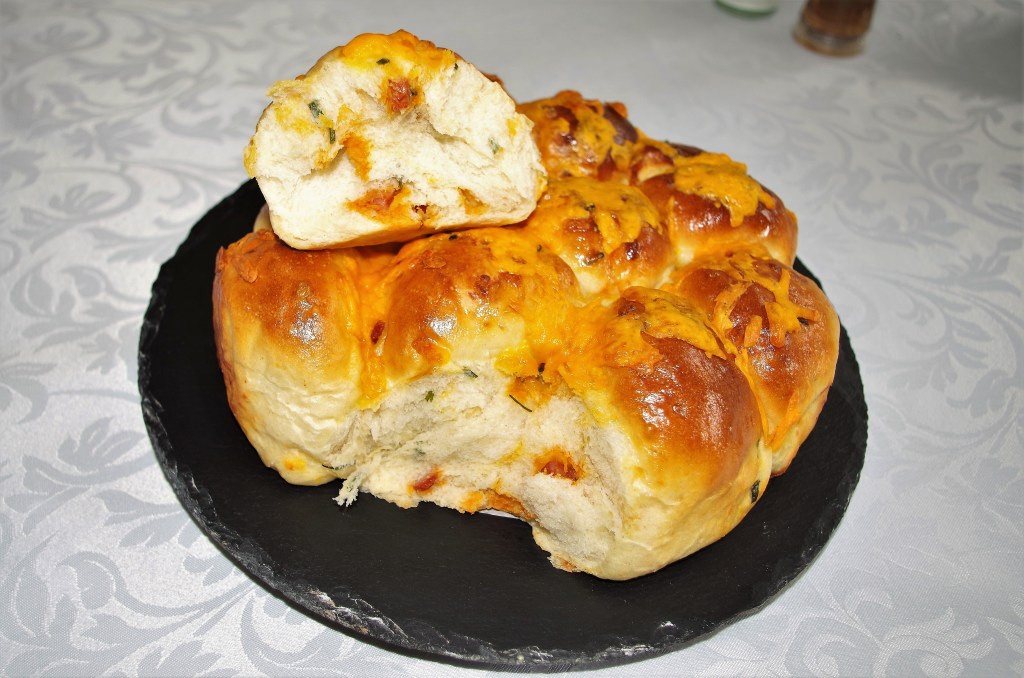
Tear & Share Bread with Cheese, Herbs & Sun-dried tomatoes


If you’d like to make a comment or ask a question please do, via the contact page.
