Recently I was staying with friends in Italy: a lovely couple, both of whom were very good cooks. I was with them for almost two weeks; we ate very well, drank plenty of red wine and talked about food extensively. (It’s not possible to spend time with Italians and not talk about food.) They knew that I bake regularly, so inevitably and quite happily, I was allowed into their kitchen to bake a couple of things, including bread.
The recipe below is quite simple, but it required me to be adaptable. The yeast was different, there was no stand mixer (I know, I’ve become lazy in my old age) and I didn’t have the use of a Dutch oven.
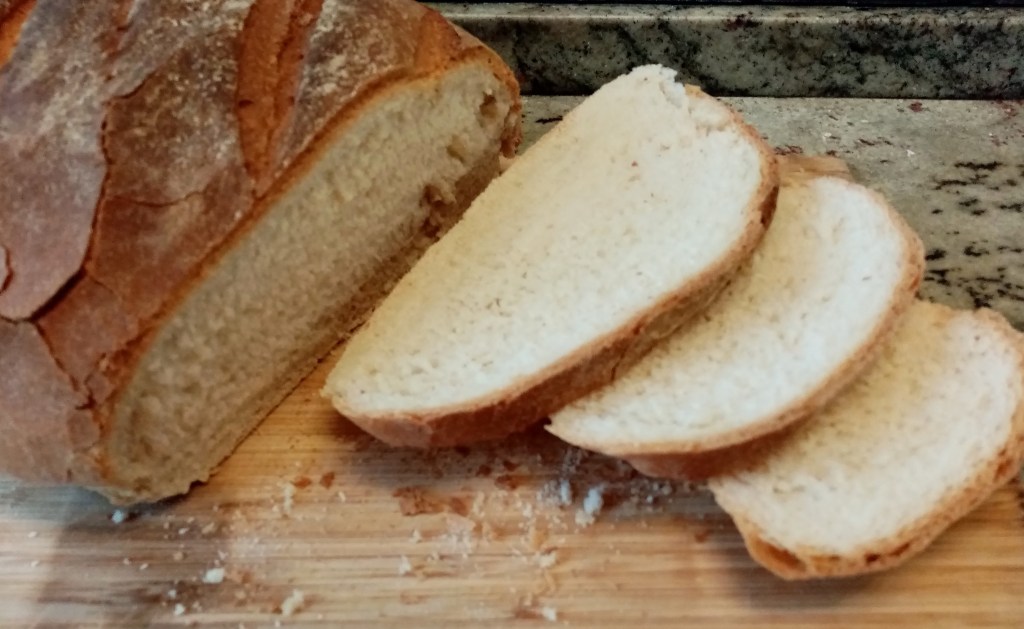
It isn’t anything super special. It’s a return to basics but it makes a very nice soft white loaf. I offer it here as an example of adaptability.
Makes: One large loaf (12 – 15 slices)
Time: Initial hands on: 20 min. First prove: 60 – 75 min depending on room temperature. Shaping and second prove: about 60 min. Baking: about 45 min.
Level: Easy
Need: A bowl, an oven and some cling film – not much else.

Ingredients
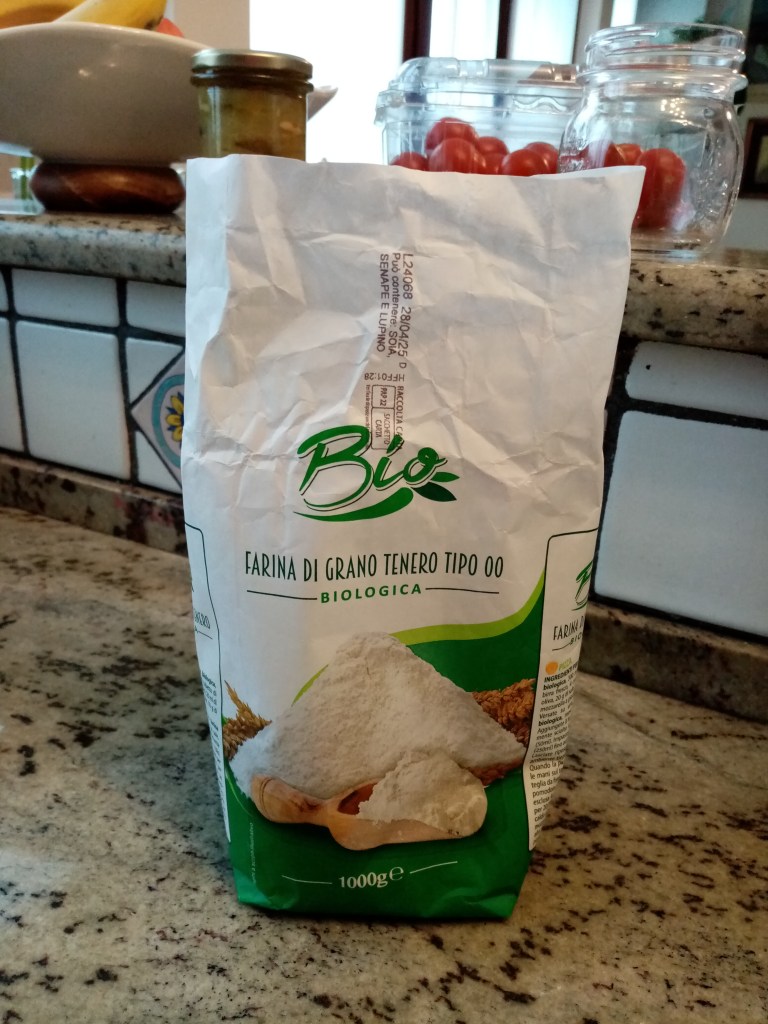
- 500g strong white flour (I used 00 flour – readily available in UK too)
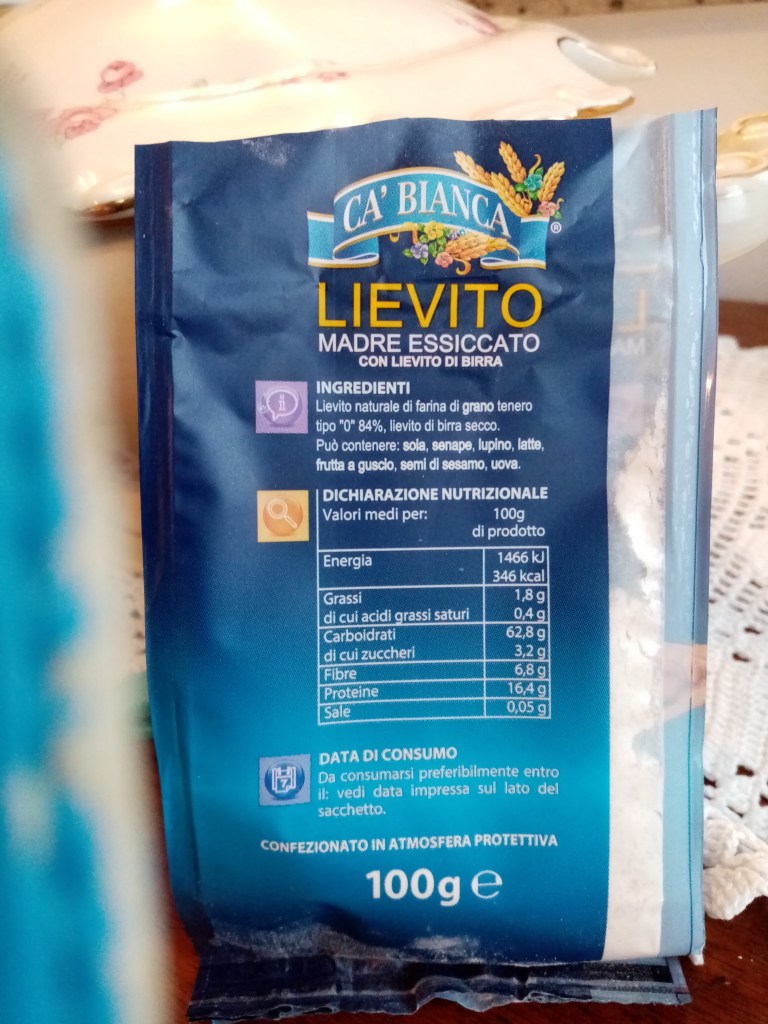
- 35g Dried sourdough starter (see photos) – in UK use a 7g sachet of instant yeast
- 10g – 15g sugar
- 10g fine salt
- 100ml lukewarm water + another 100ml to use later if needed
- 125ml lukewarm milk
- 50g melted butter
Method
1. Mix together the flour, yeast and sugar then add in the salt and mix again. (Salt and yeast must not come into direct contact.)
2. Mix together 100ml water, the milk and the melted butter.
3. Add the wet into the dry and mix well with your hands. Add some of the reserved water as necessary to create a smooth, non-sloppy dough.
4. Tip the dough out and knead by hand for about 12 min – until the dough is stretchy, smooth and springy. Tip it into a lightly oiled bowl. Cover with cling film or a tea towel and leave to double on size – about 60 – 75 min.
5. Tip the risen dough out. Knock it back (punch out the air, fold it over a few times – stuff like that.)
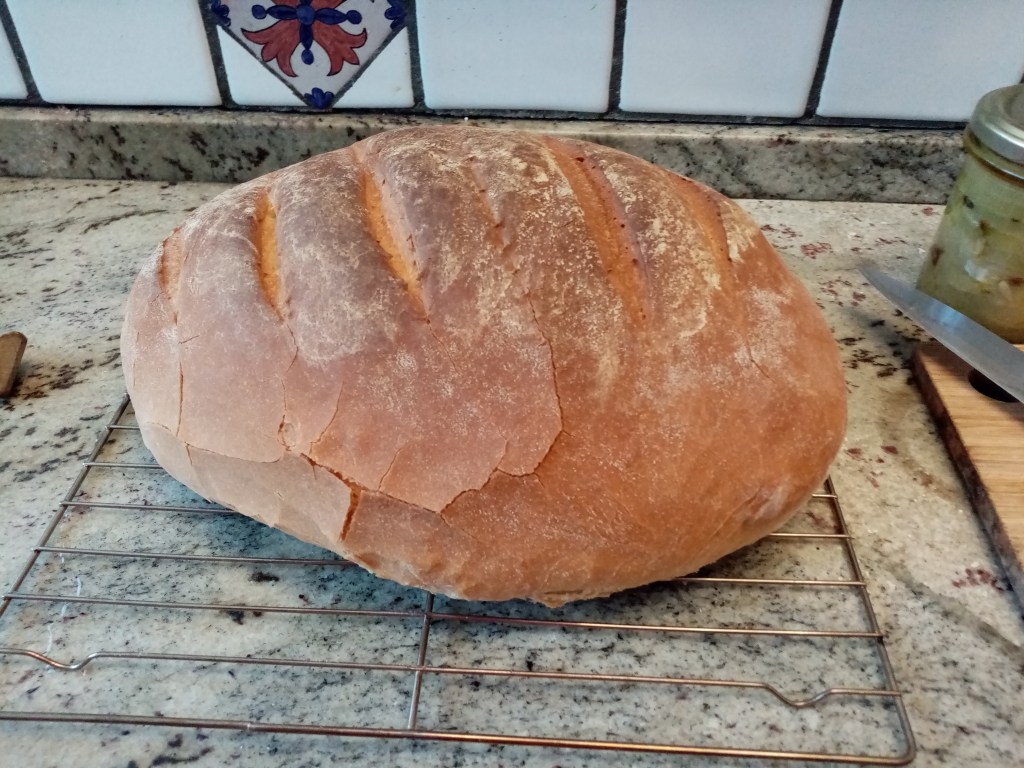
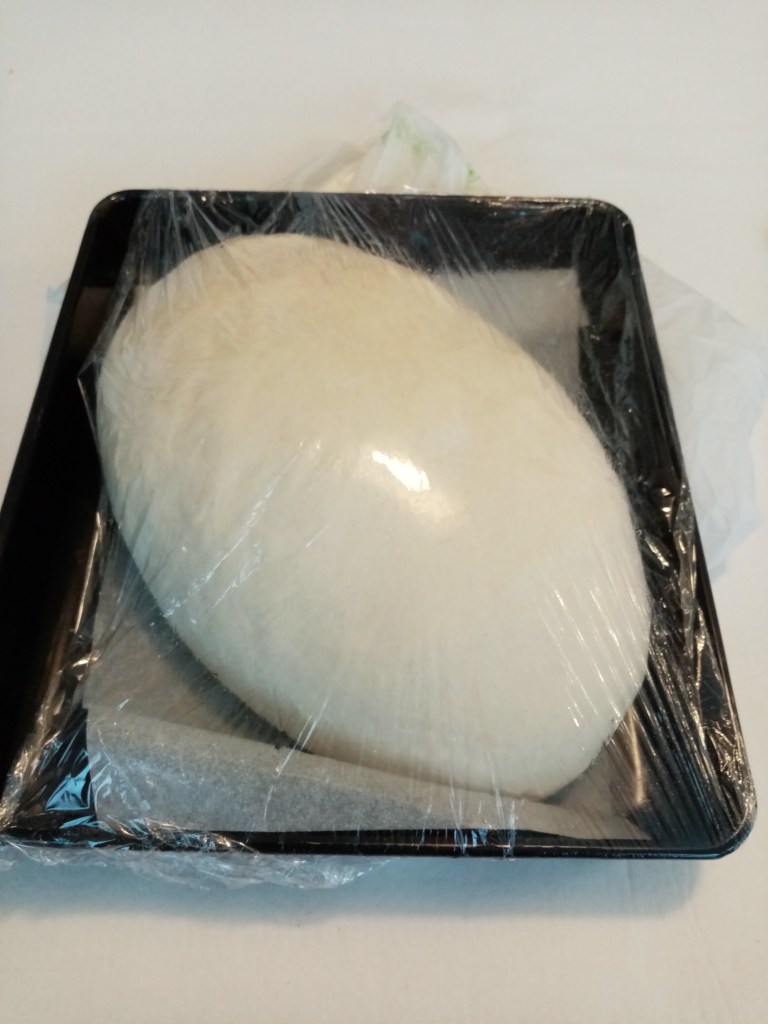
6. Shape the dough into a ball, dragging the outer surface taught with your palms. then elongate it a little with slightly pointed ends. (This is a shape that I quite like, but feel free to choose other shapes.) Place the dough onto a piece of baking parchment. Cover it with oiled cling film and leave to rise again for the second prove – probably about 45 min.
7. Towards the end of the second prove turn the oven on to reach 230°C / fan 210°C / 450°F. Put a baking tray or a baking stone in the oven and a metal dish on the bottom shelf to heat up.
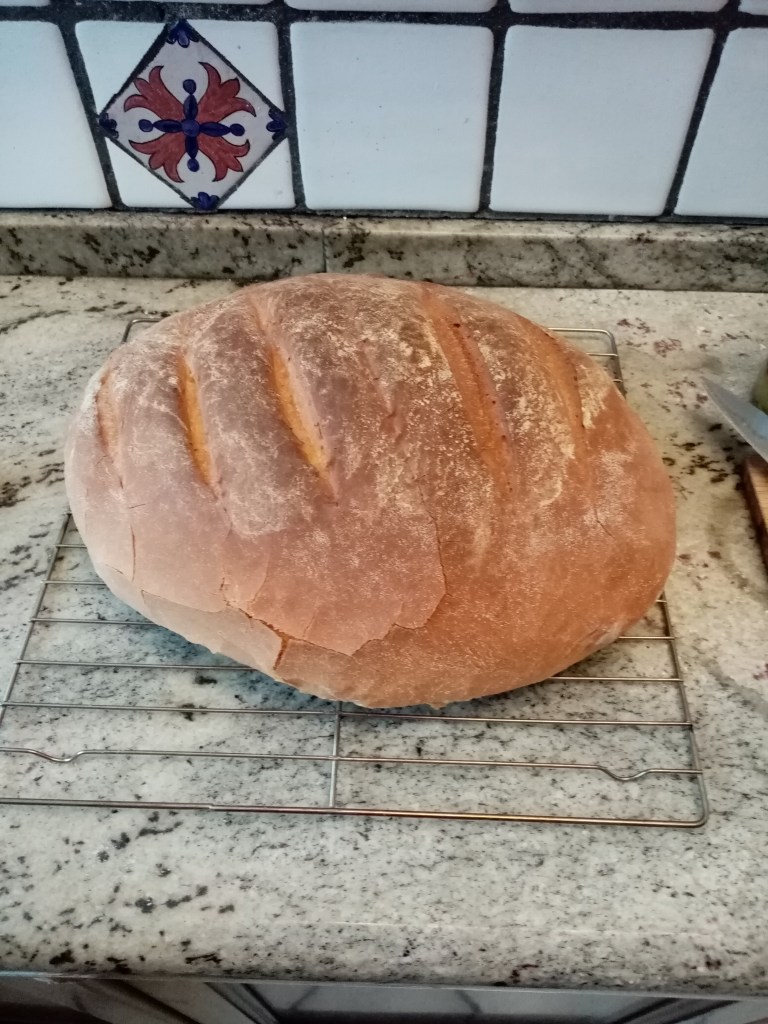
8. With a very sharp knife or a razor blade cut slashes in the risen dough. Use the baking parchment to slide the risen dough onto the hot baking sheet/stone and put it in the oven. Pour cold water into the heated metal dish. This will create steam, which gives a crispy crust.
9. Bake the loaf for 15 min then reduce the heat to 210°C / fan 190°C / 400°F and bake for a further 20 – 25 min.
10. Test the loaf by tapping it. A clear hollow sound indicates that it has baked. Cool on a wire rack.
Products that I used in Italy

If you want to see more of my bread recipes click this link. If you’d like to make a comment or ask a question please do, via the contact page.
